This is a personal note I want to share.
Some tips to limited the exposition of the cam DG-M1Q.
I have 2 version:
1- Block the access to the Internet. The default route will be deleted, the cam will not be able to connect to the Internet.
2- Add a user with a password and remove root
3- Disable telnet after 1 minute
The first configuration was made with the DigooEye app. Once done, I will not use this app anymore (maybe to check some update) and use another app (like Onvifer on the Play Store).
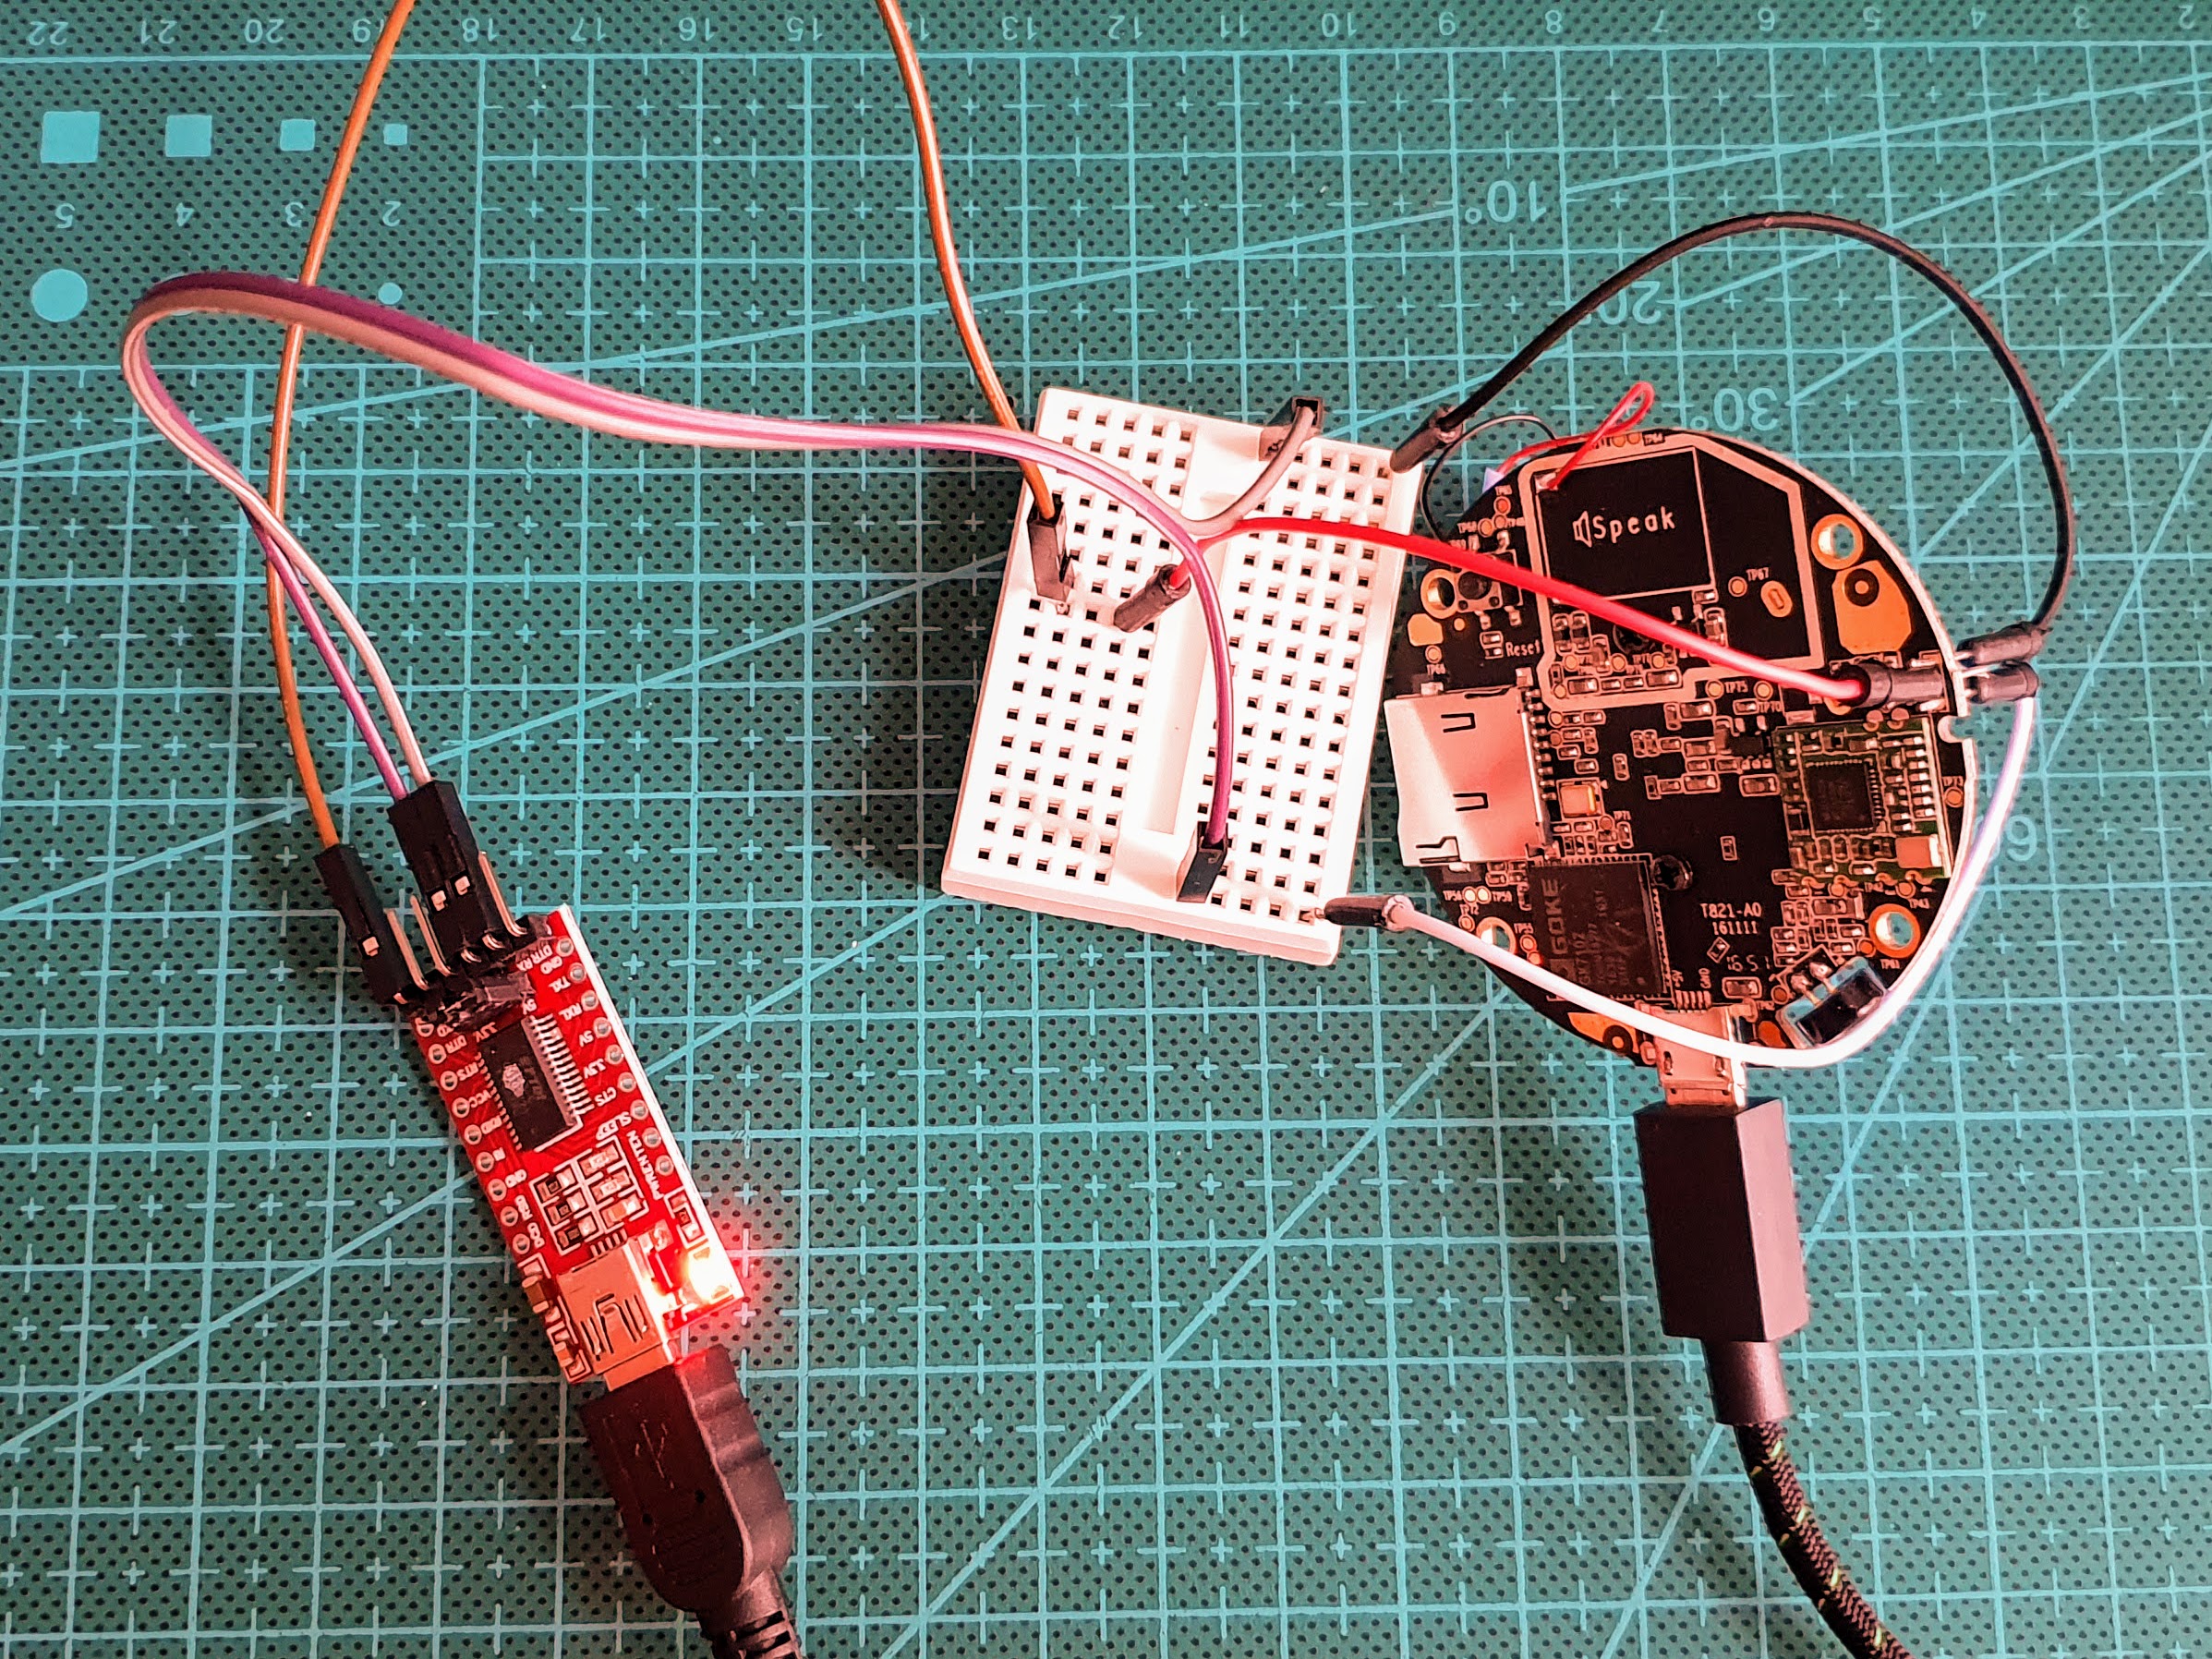
Edit: I buy a serial adapter and we must configure the network without the DigooEye app (not tested).
The adapter is https://goo.gl/RXCBHF
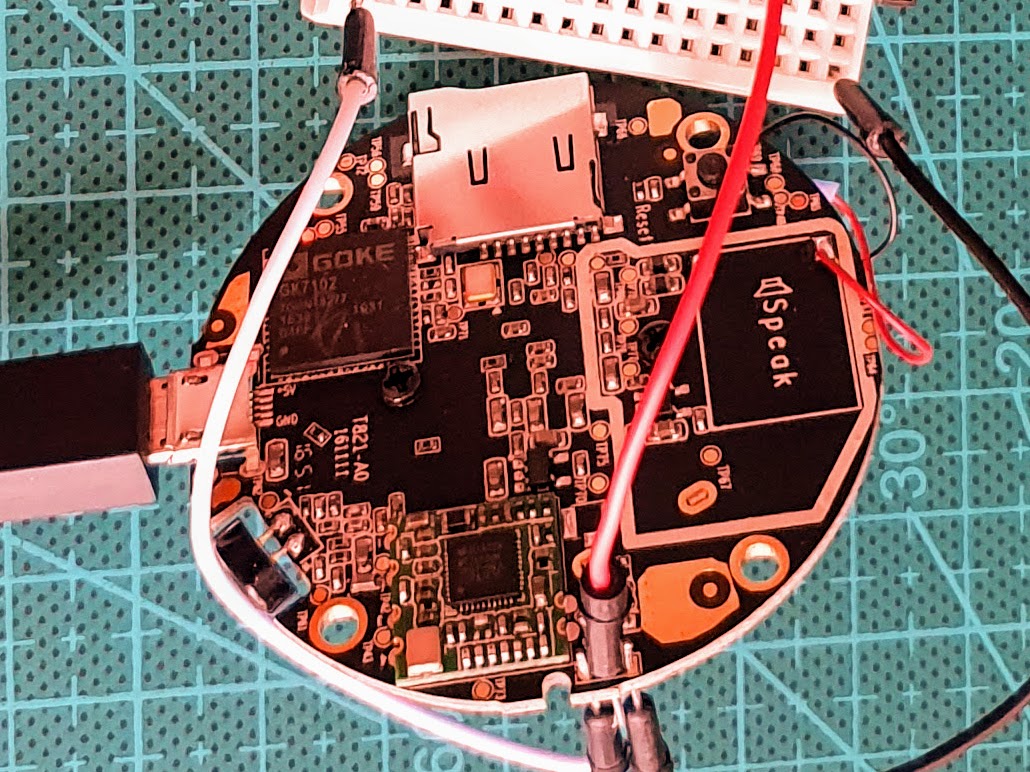
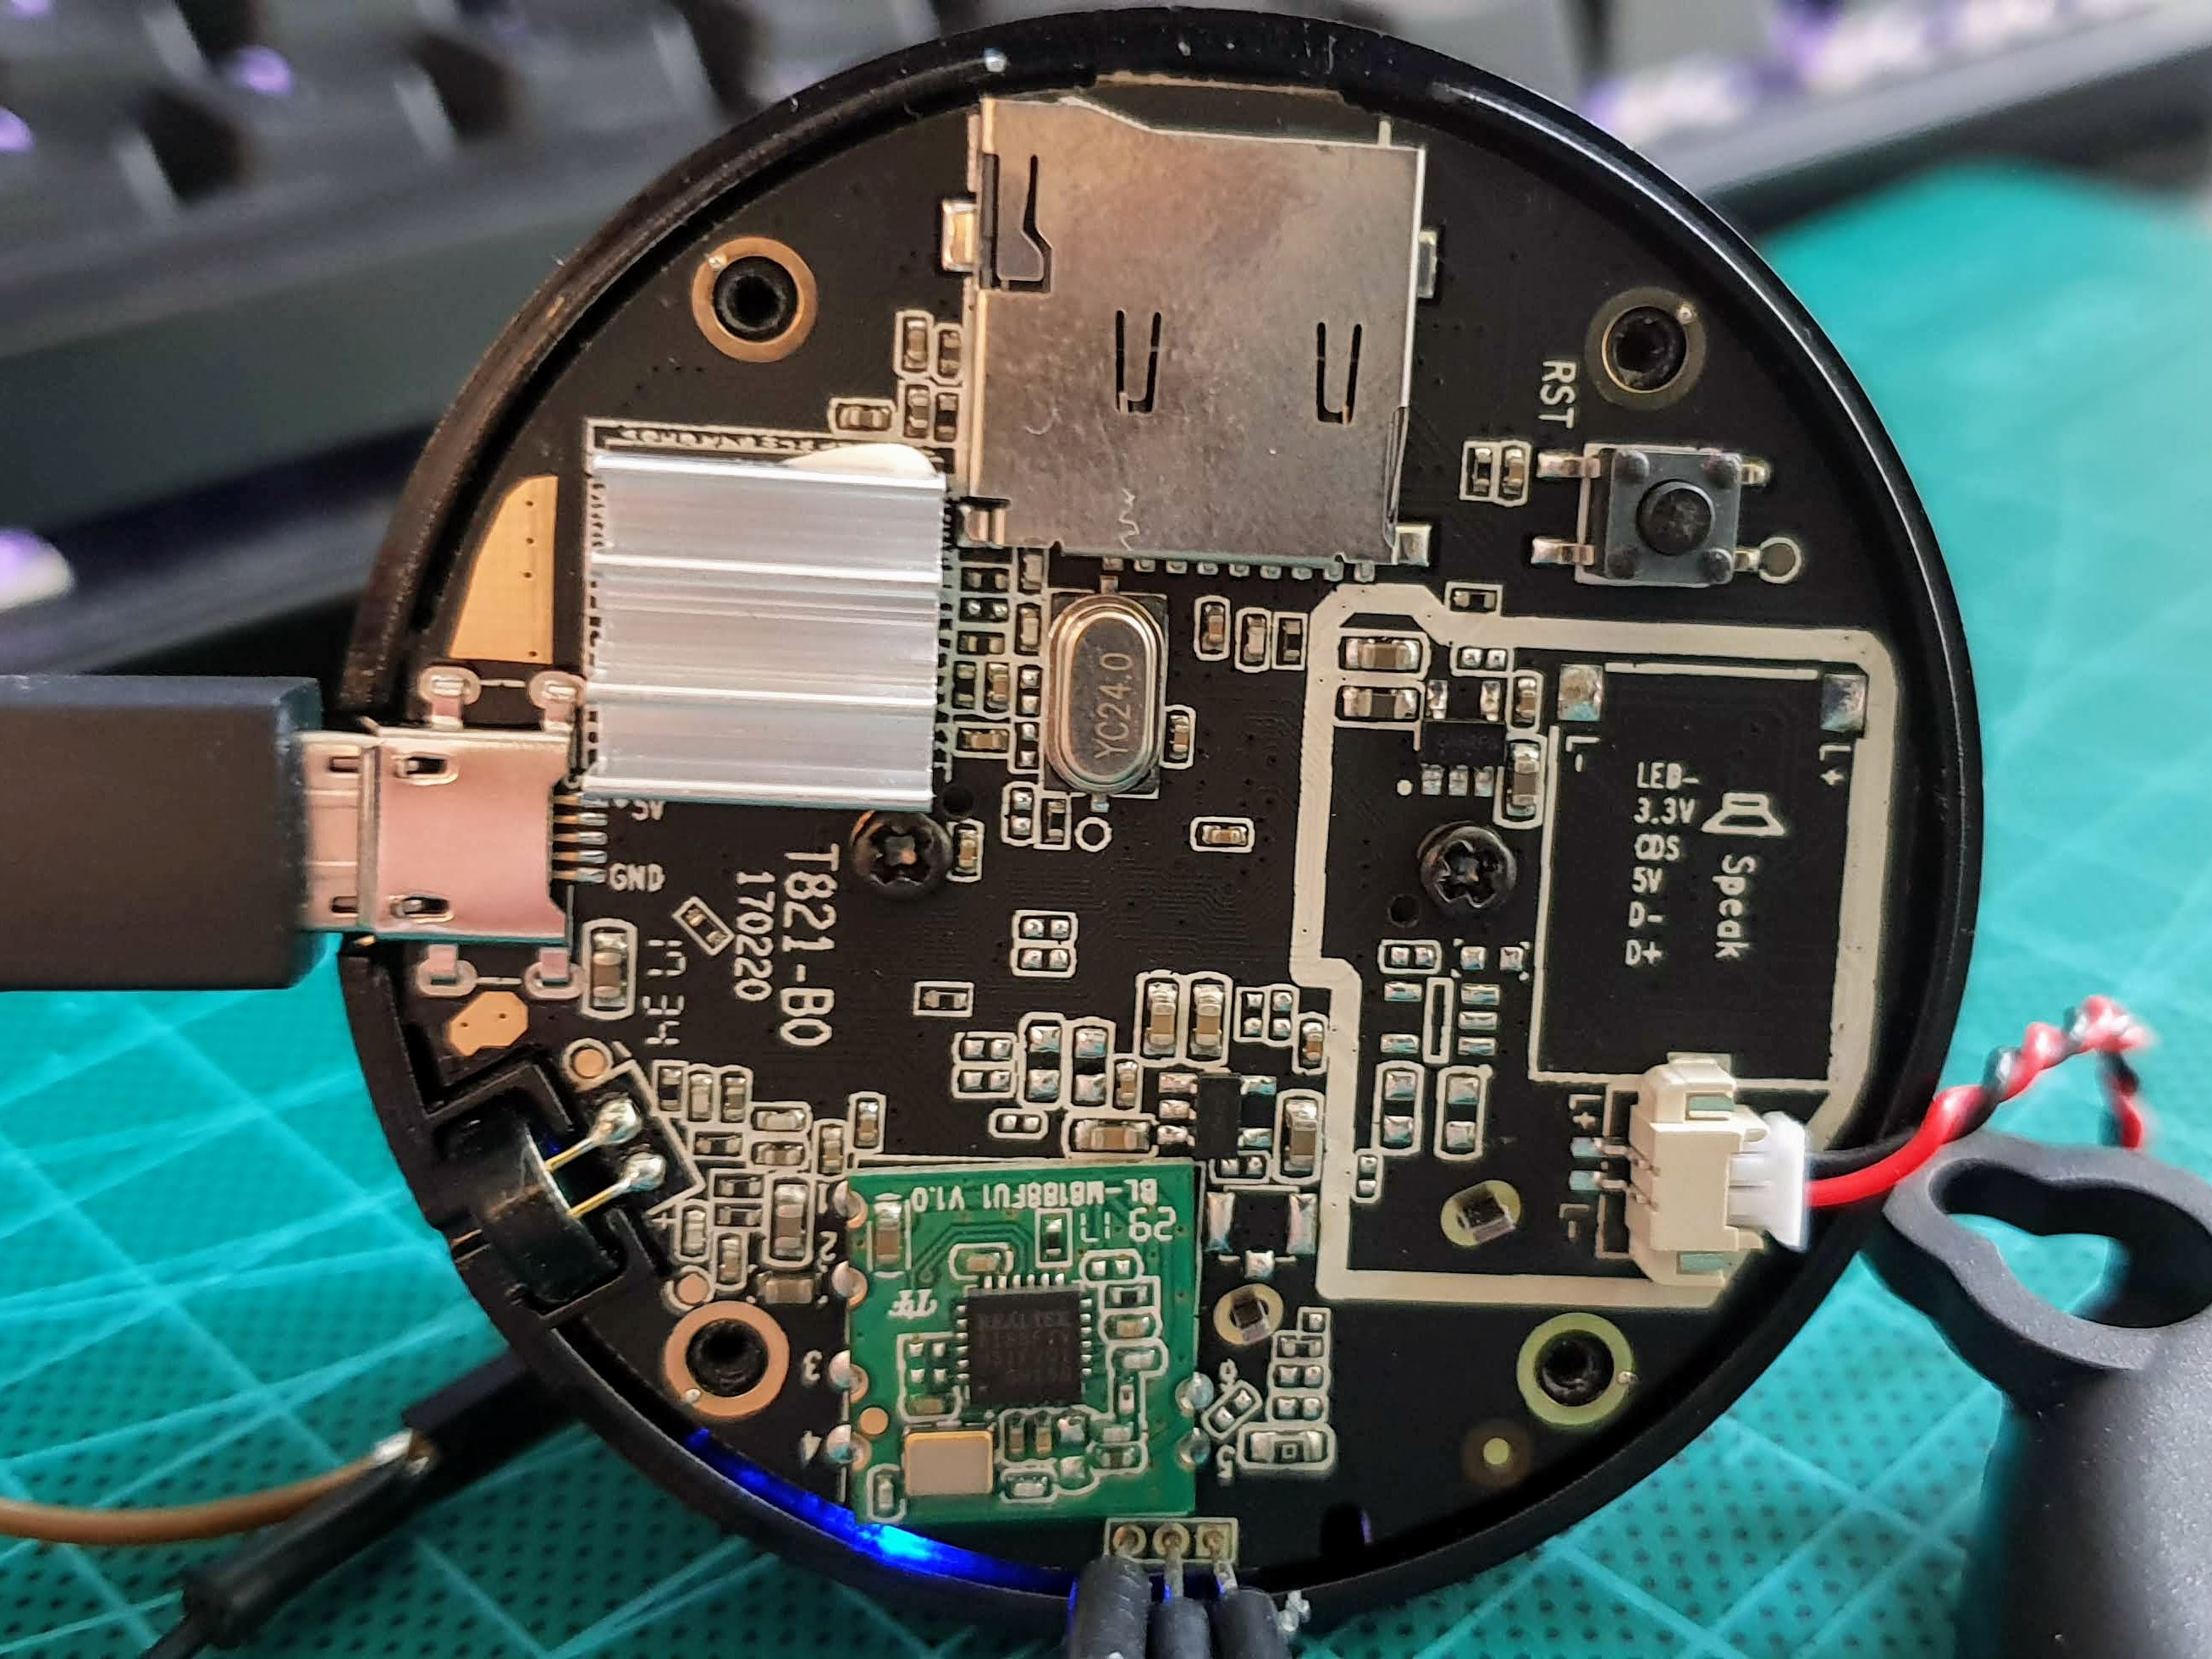
Here a quick and dirty connection but works like a charm!
I retreive the IP address within the app and I connect to it with telnet (you can do this in a serial console like Putty).
Default login is root without password.
Some of the configuration are store in the /rom folder witch is a persistent folder (eg. modifications inside this folder are saved).
I created a folder /rom/postconf
I copied /etc/passwd and /etc/shadow to /rom/postconf
I setuped the password for root with the command "passwd -a 2" (MD5, we cannot use sha256 or sha256 ... but it's useless because of telnet but better than DES - option -a 1).
I added a new user to /rom/postconf/passwd and /rom/postconf/shadow (just copy the root user and rename it). I copied the password generated on /etc/shadow and copied it to /rom/postconf/shadow for my new user.
I edited /npc/boot.sh (witch is persistent) and added the following lines at the top:
cp /rom/postconf/passwd /etc/
cp /rom/postconf/shadow /etc/
At this stage, I can connect with my new user with the password.
I change the root password. Now, the access is password protected.
To delete the default gateway, I edited /npc/dhcp.script and add /sbin/ip route delete default (see the attach file).
There are a better way but it works.
I use a VPN to connect to the stream and an application on my phone: rtsp://my-ip:554/onvif1 (UDP with the credentials I configured)
As a lot of people said, this camera must not be on the Internet for security and privacy reasons.
If you can, you must dedicated a vlan for this kind of devices with strong restrictions.
I removed accidentally some files in /npc and I forgot to make a backup.
Output serial console logs:
Media driver version (gcc version 4.6.1 (crosstool-NG 1.18.0) (uClibc)) v1.1.2 #svn r8850 Wed Jul 6 17:44:23 CST 2016
sh: can't open '/npc/boot.sh'
=========================================================================
 Start startup!
startup 0 0
no key detect
vStarNpc:
/npc/upgfile_ok or /npc/npc or /npc/version.txt is not exist!
/bak/npc/npc.tar.gz is not exist!
=========================================================================
There is a /bak folder with the npc.tar.gz file.
We need to copy /bak/npc.tar.gz to /tmp, then gunzip and tar the archive. Last, move the file to /npc and edit the file as needed.
Serial connection is the same as the older cam.
Telnet is activated and credentials are:
login: root
password: cxlinux
Logs for the 1st boot: https://github.com/reedcrif/DG-M1Q/blob/master/boot.log
Persistent folder is /home
# mount
rootfs on / type rootfs (rw)
/dev/sys on /sys type sysfs (rw,relatime)
proc on /proc type proc (rw,relatime)
tmpfs on /dev type tmpfs (rw,relatime)
tmpfs on /tmp type tmpfs (rw,relatime)
devpts on /dev/pts type devpts (rw,relatime,mode=600,ptmxmode=000)
/dev/mtdblock2 on /home type jffs2 (rw,relatime)
Next step: try to setup the cam without the Digoo-Cloud app. Once the cam is configured, you can remove the default gateway:
route delete default gw [IP_DEFAULT_GW]
Access to the stream: rtsp://MY_IP_CAM:554/onvif1
Login is admin with no password


