-
Notifications
You must be signed in to change notification settings - Fork 2
Developer Guide
This guide contains instructions to help you get started with the development of COMPAS FormFinder.
- Rhino 8
- VS Code (or similar, optional)
Clone the development repo onto your computer.
git clone https://github.com/BlockResearchGroup/compas-FoFin.gitThe repo contains the following directories
-
data-- sample data for testing. -
gitbook-- source code for the documentation gitbook. -
plugin-- command scripts and project definition -
resources-- general package resources such as illustrator files -
src-- source code ofcompas_fofin
Note that the functionality of compas_fofin is not meaningful outside the context of this plugin in Rhino 8.
It is therefore not released on PyPI, and it is not listed as one of the requirements in requirements.txt.
It is included as a plugin "Library" and can be used in all command scripts without explicit installation.
Create a development environment, and install all "dev" requirements.
conda create -n formfinder-dev python=3.9 -y
conda activate formfinder-dev
cd compas-FoFin
python -m pip install -e ".[dev]"
Warning
This environment is independent of Rhino. It doe not replace the steps described in the next section. It is useful for working in parallel in VS Code, and for making "editable installs" as described later.
The Rhino commands of COMPAS FormFinder define their requirements
at the top of each command script using the Rhino "requirements comment" syntax (# r: ...).
If these requirements are not already available in Rhino,
they will be installed automatically in an environment called formfinder.
#! python3
# venv: formfinder
# r: compas>=2.4, compas_dr>=0.3, compas_fd>=0.5, compas_rui>=0.2, compas_session>=0.2
If you want to modify a command in a way that requires additional packages, or different versions of packages, you should make the corresponding changes in those comments.
Note that you can manually overwrite the command requirements with editable installs from local source, using pip with as a --target the Rhino formfinder environment. For example, if you want to use the version of compas_fd you changed locally.
cd path/to/compas_fd
~/.rhinocode/py39-rh8/python3.9 -m pip install --upgrade pip
~/.rhinocode/py39-rh8/python3.9 -m pip install -e ".[dev]" --target ~/.rhinocode/py39-rh8/site-envs/formfinder-gfBIV8IL --upgrade --no-deps
Note
Rhino automatically adds a unique suffix to the name of "site-envs".
Here it is gfBIV8IL resulting in formfinder-gfBIV8IL instead of just formfinder.
This suffix might be different on your machine...
The plugin project is defined in plugin/FoFin.rhproj.
This is a JSON file with a special extension (.rhproj) containing all project settings.
The contents of the file can be modified using Rhino Script Editor.
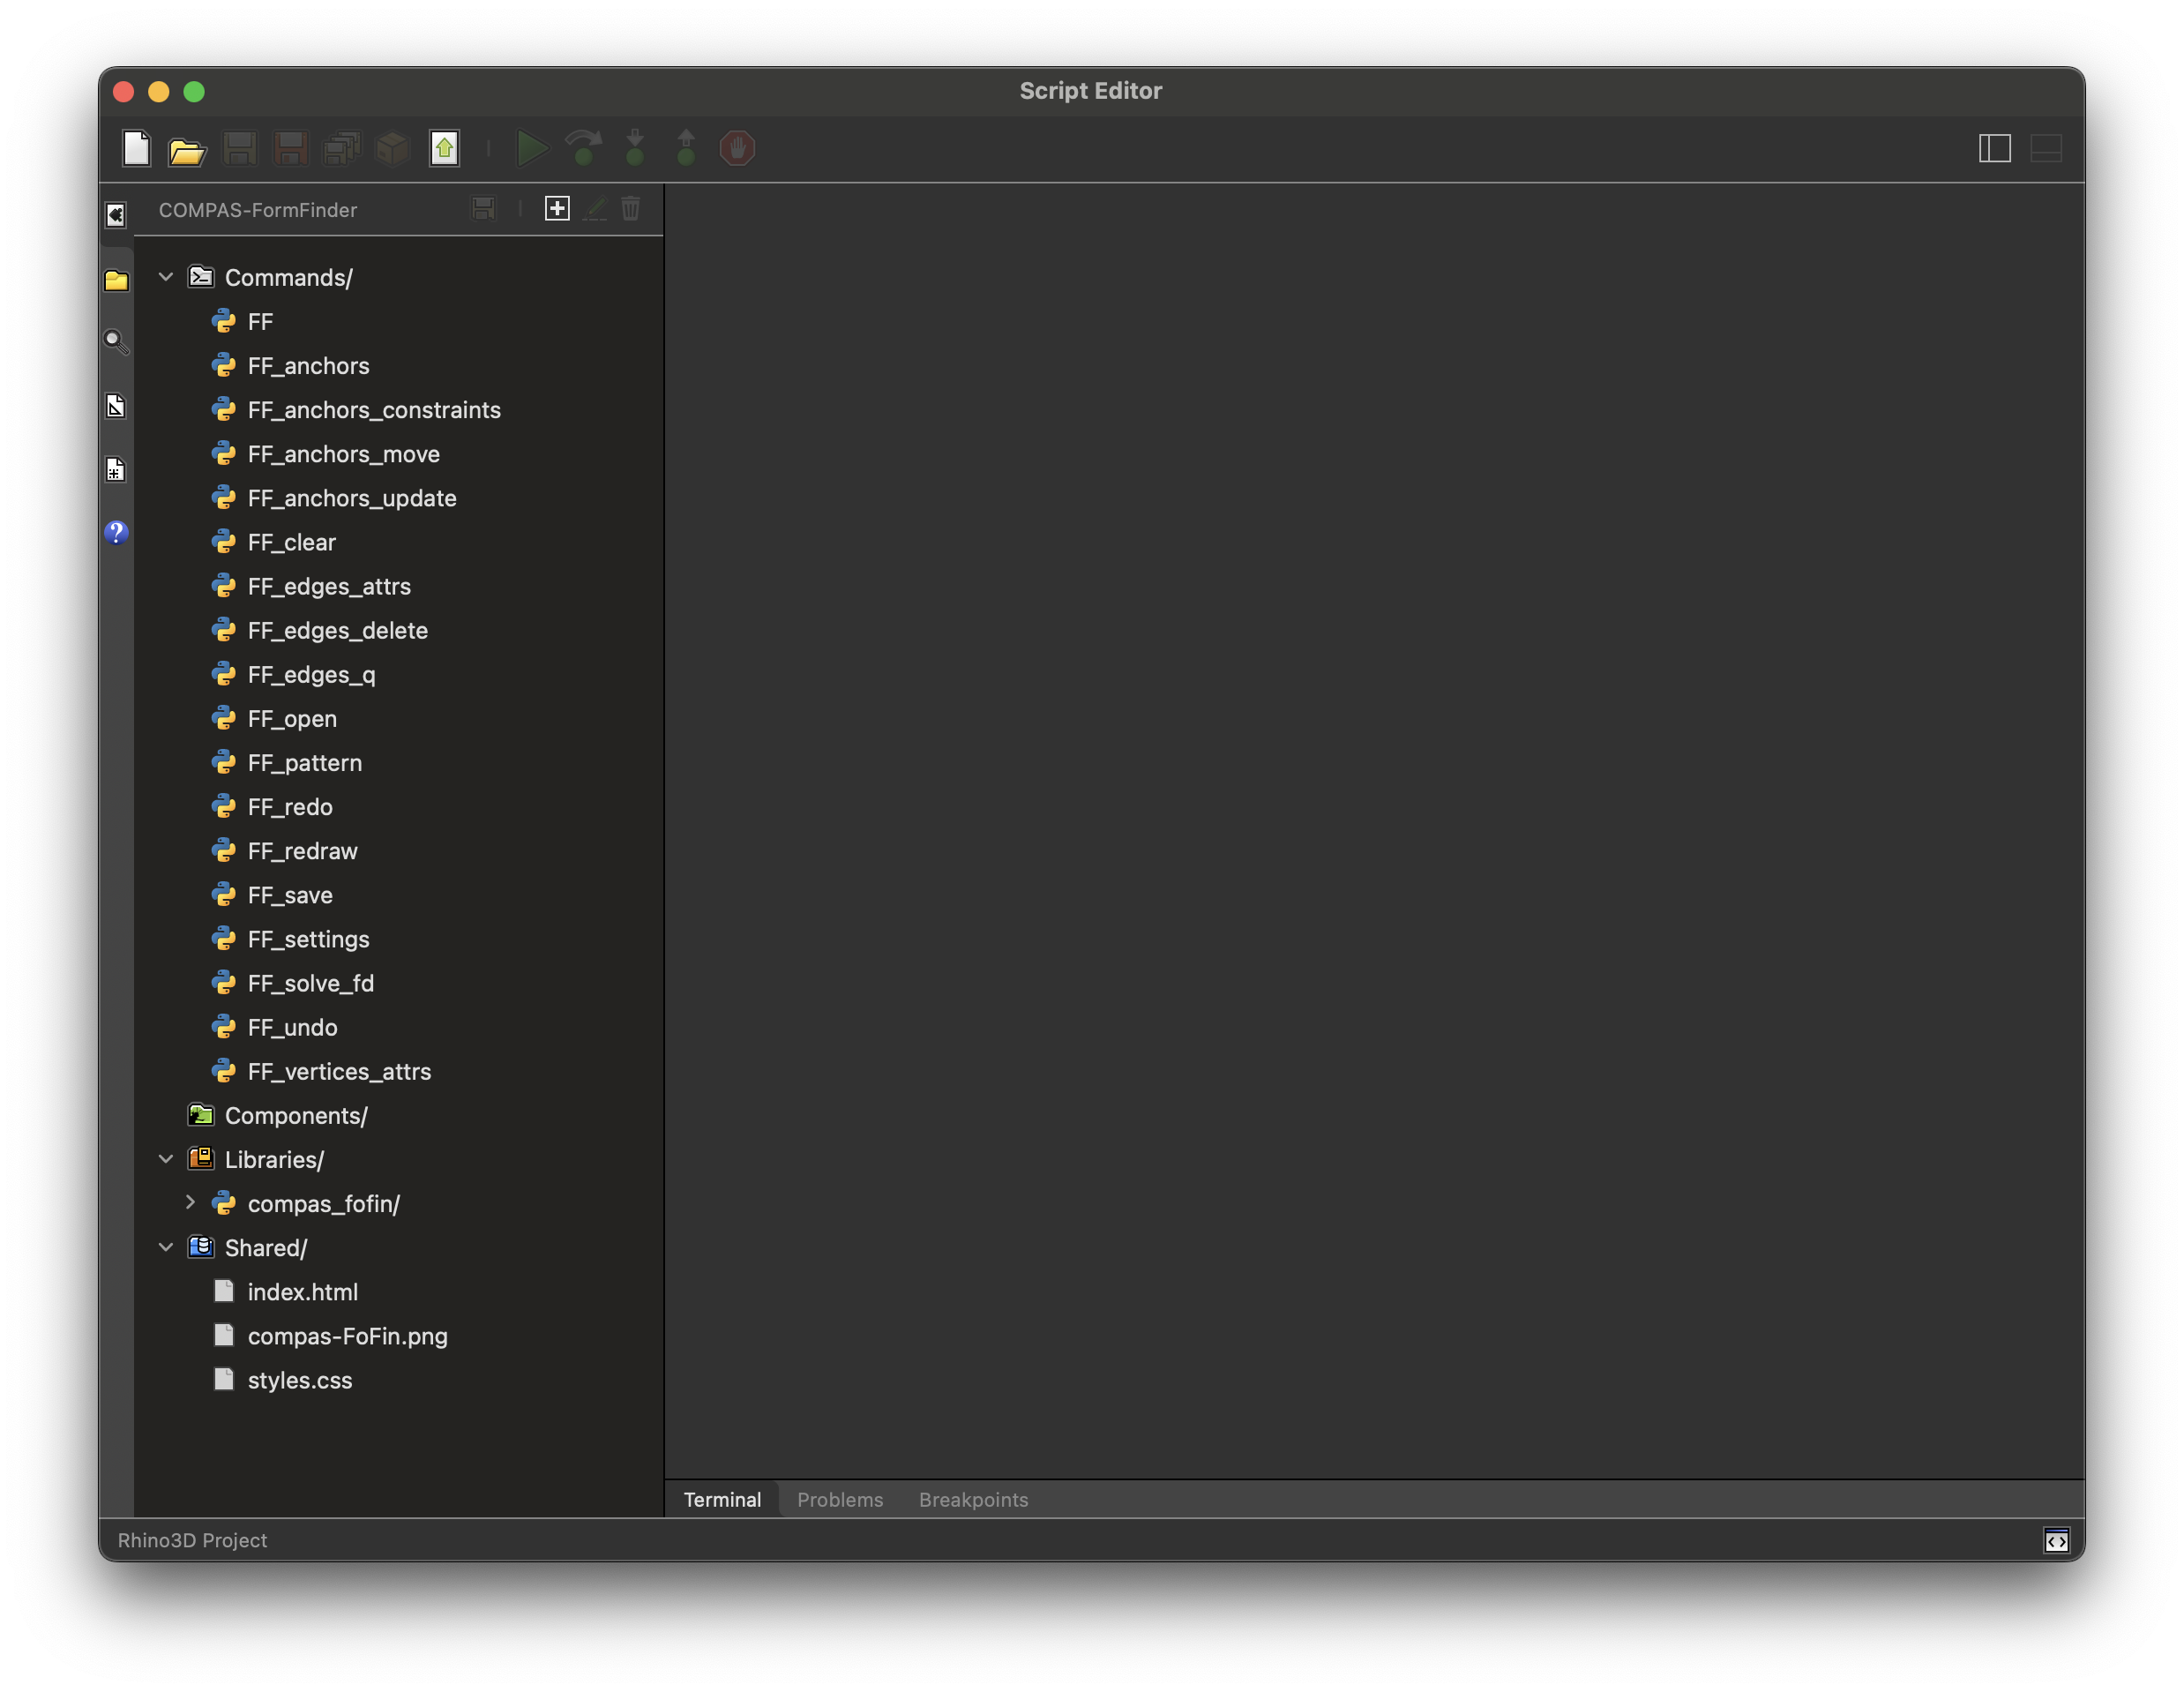
To open the editor, type ScriptEditor.
Then open the project with File > Open Project.

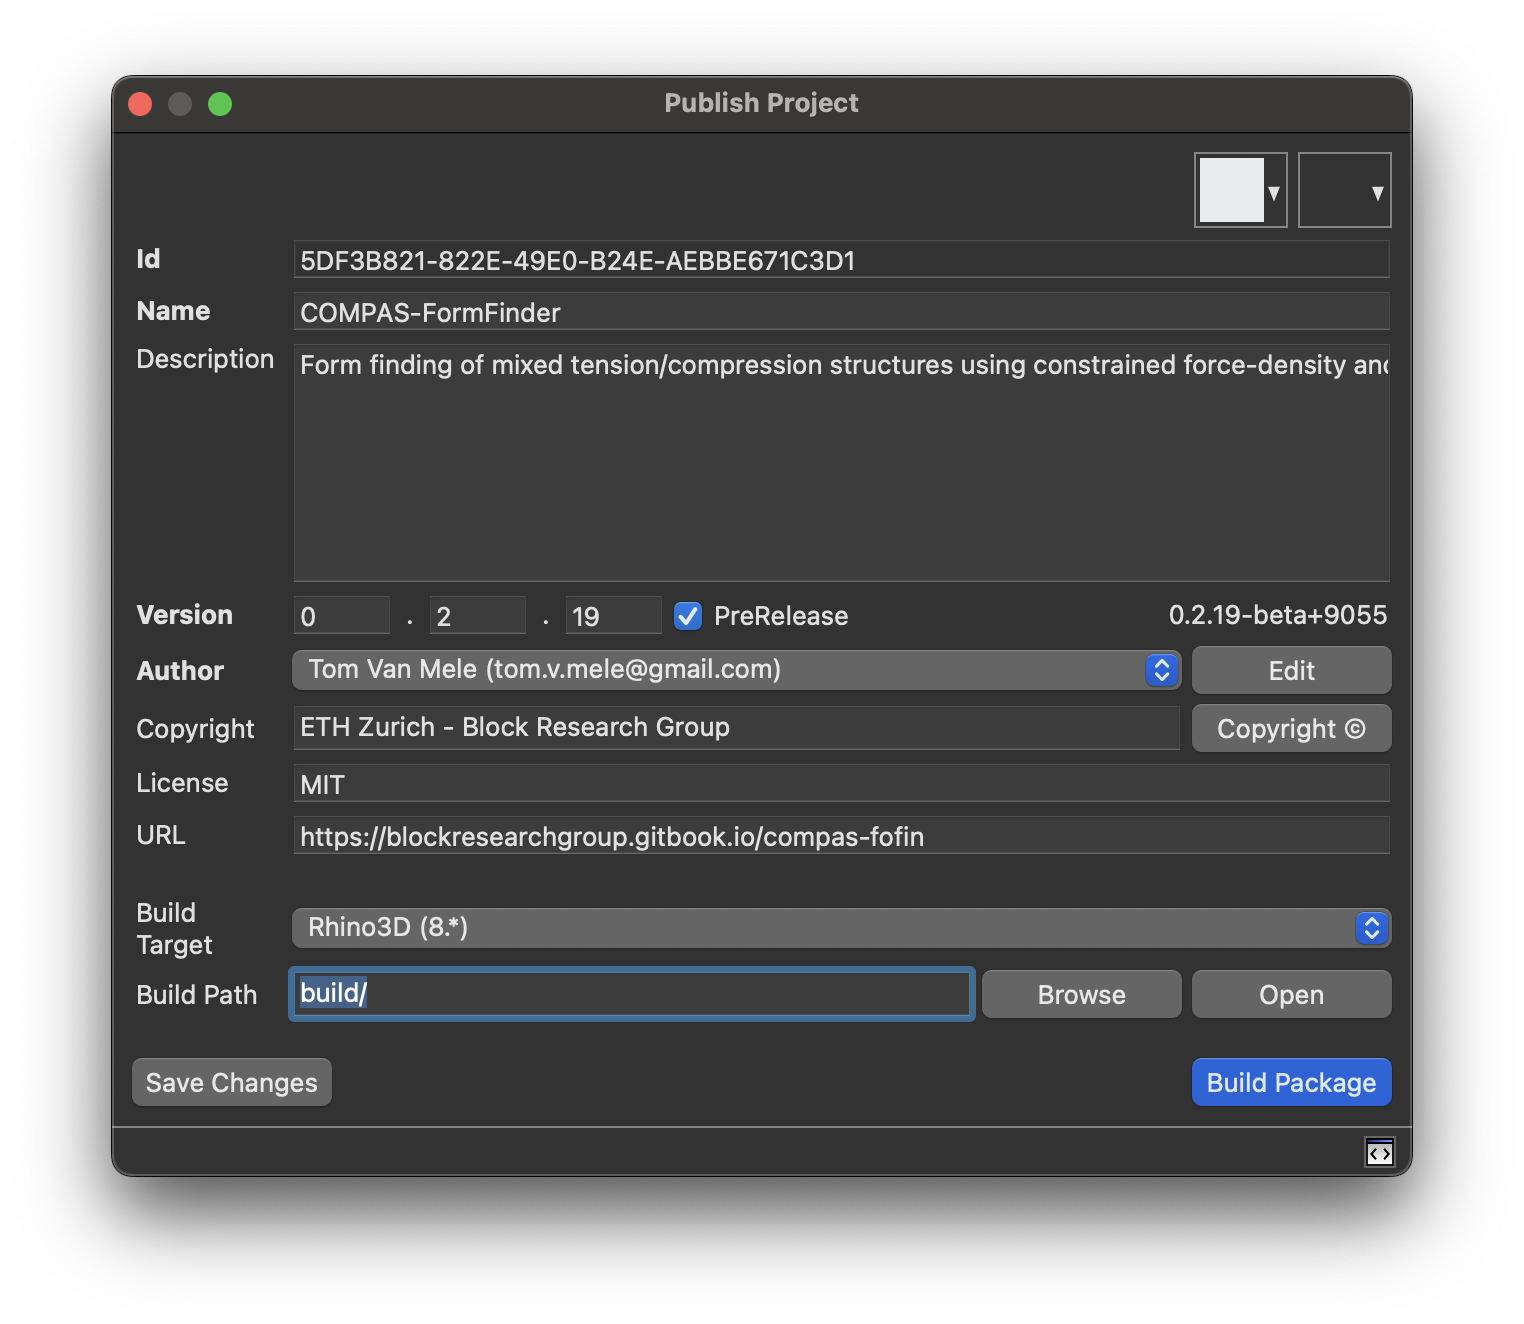
You can add new commands, embed libraries, or add shared resources. Whenever you make changes, the project has to be rebuilt, and you have to restart Rhino before the changes have effect.

Detailed information about Rhino Plugin Projects can be found here:
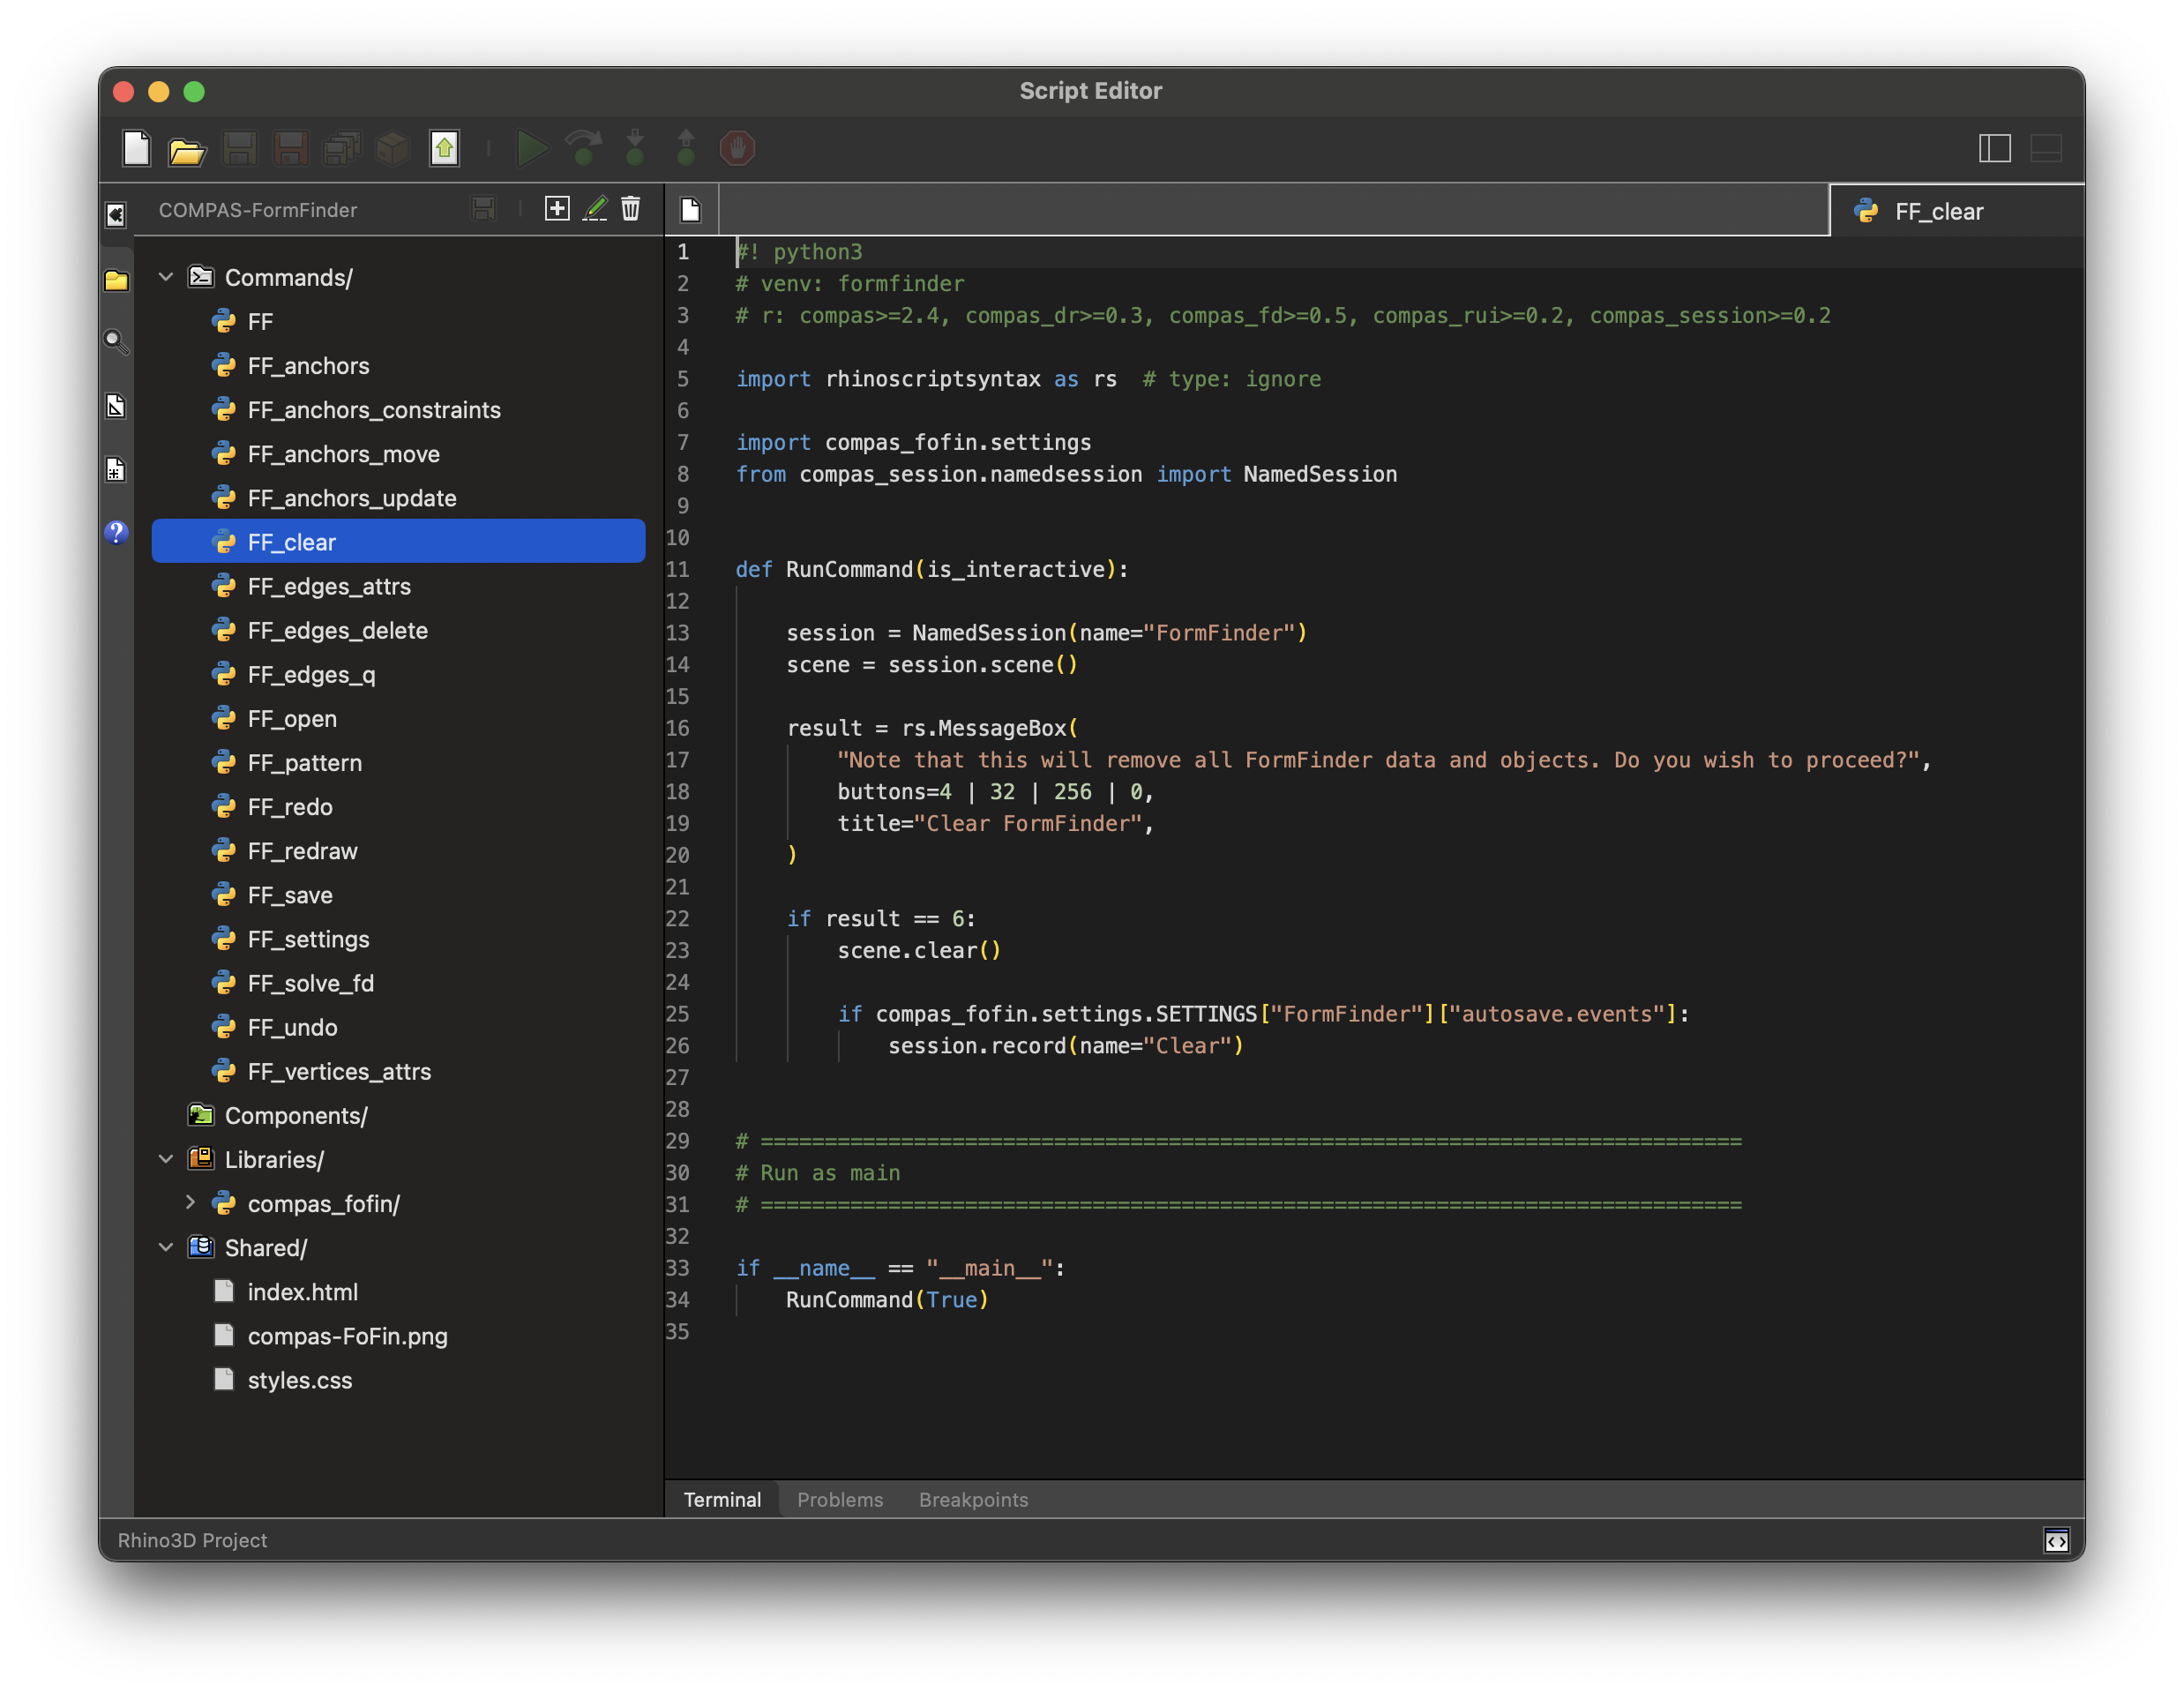
The items listed under Commands in the project browser are command names
and provide only "views" of the corresponding source code.
These views cannot be modifed directly.

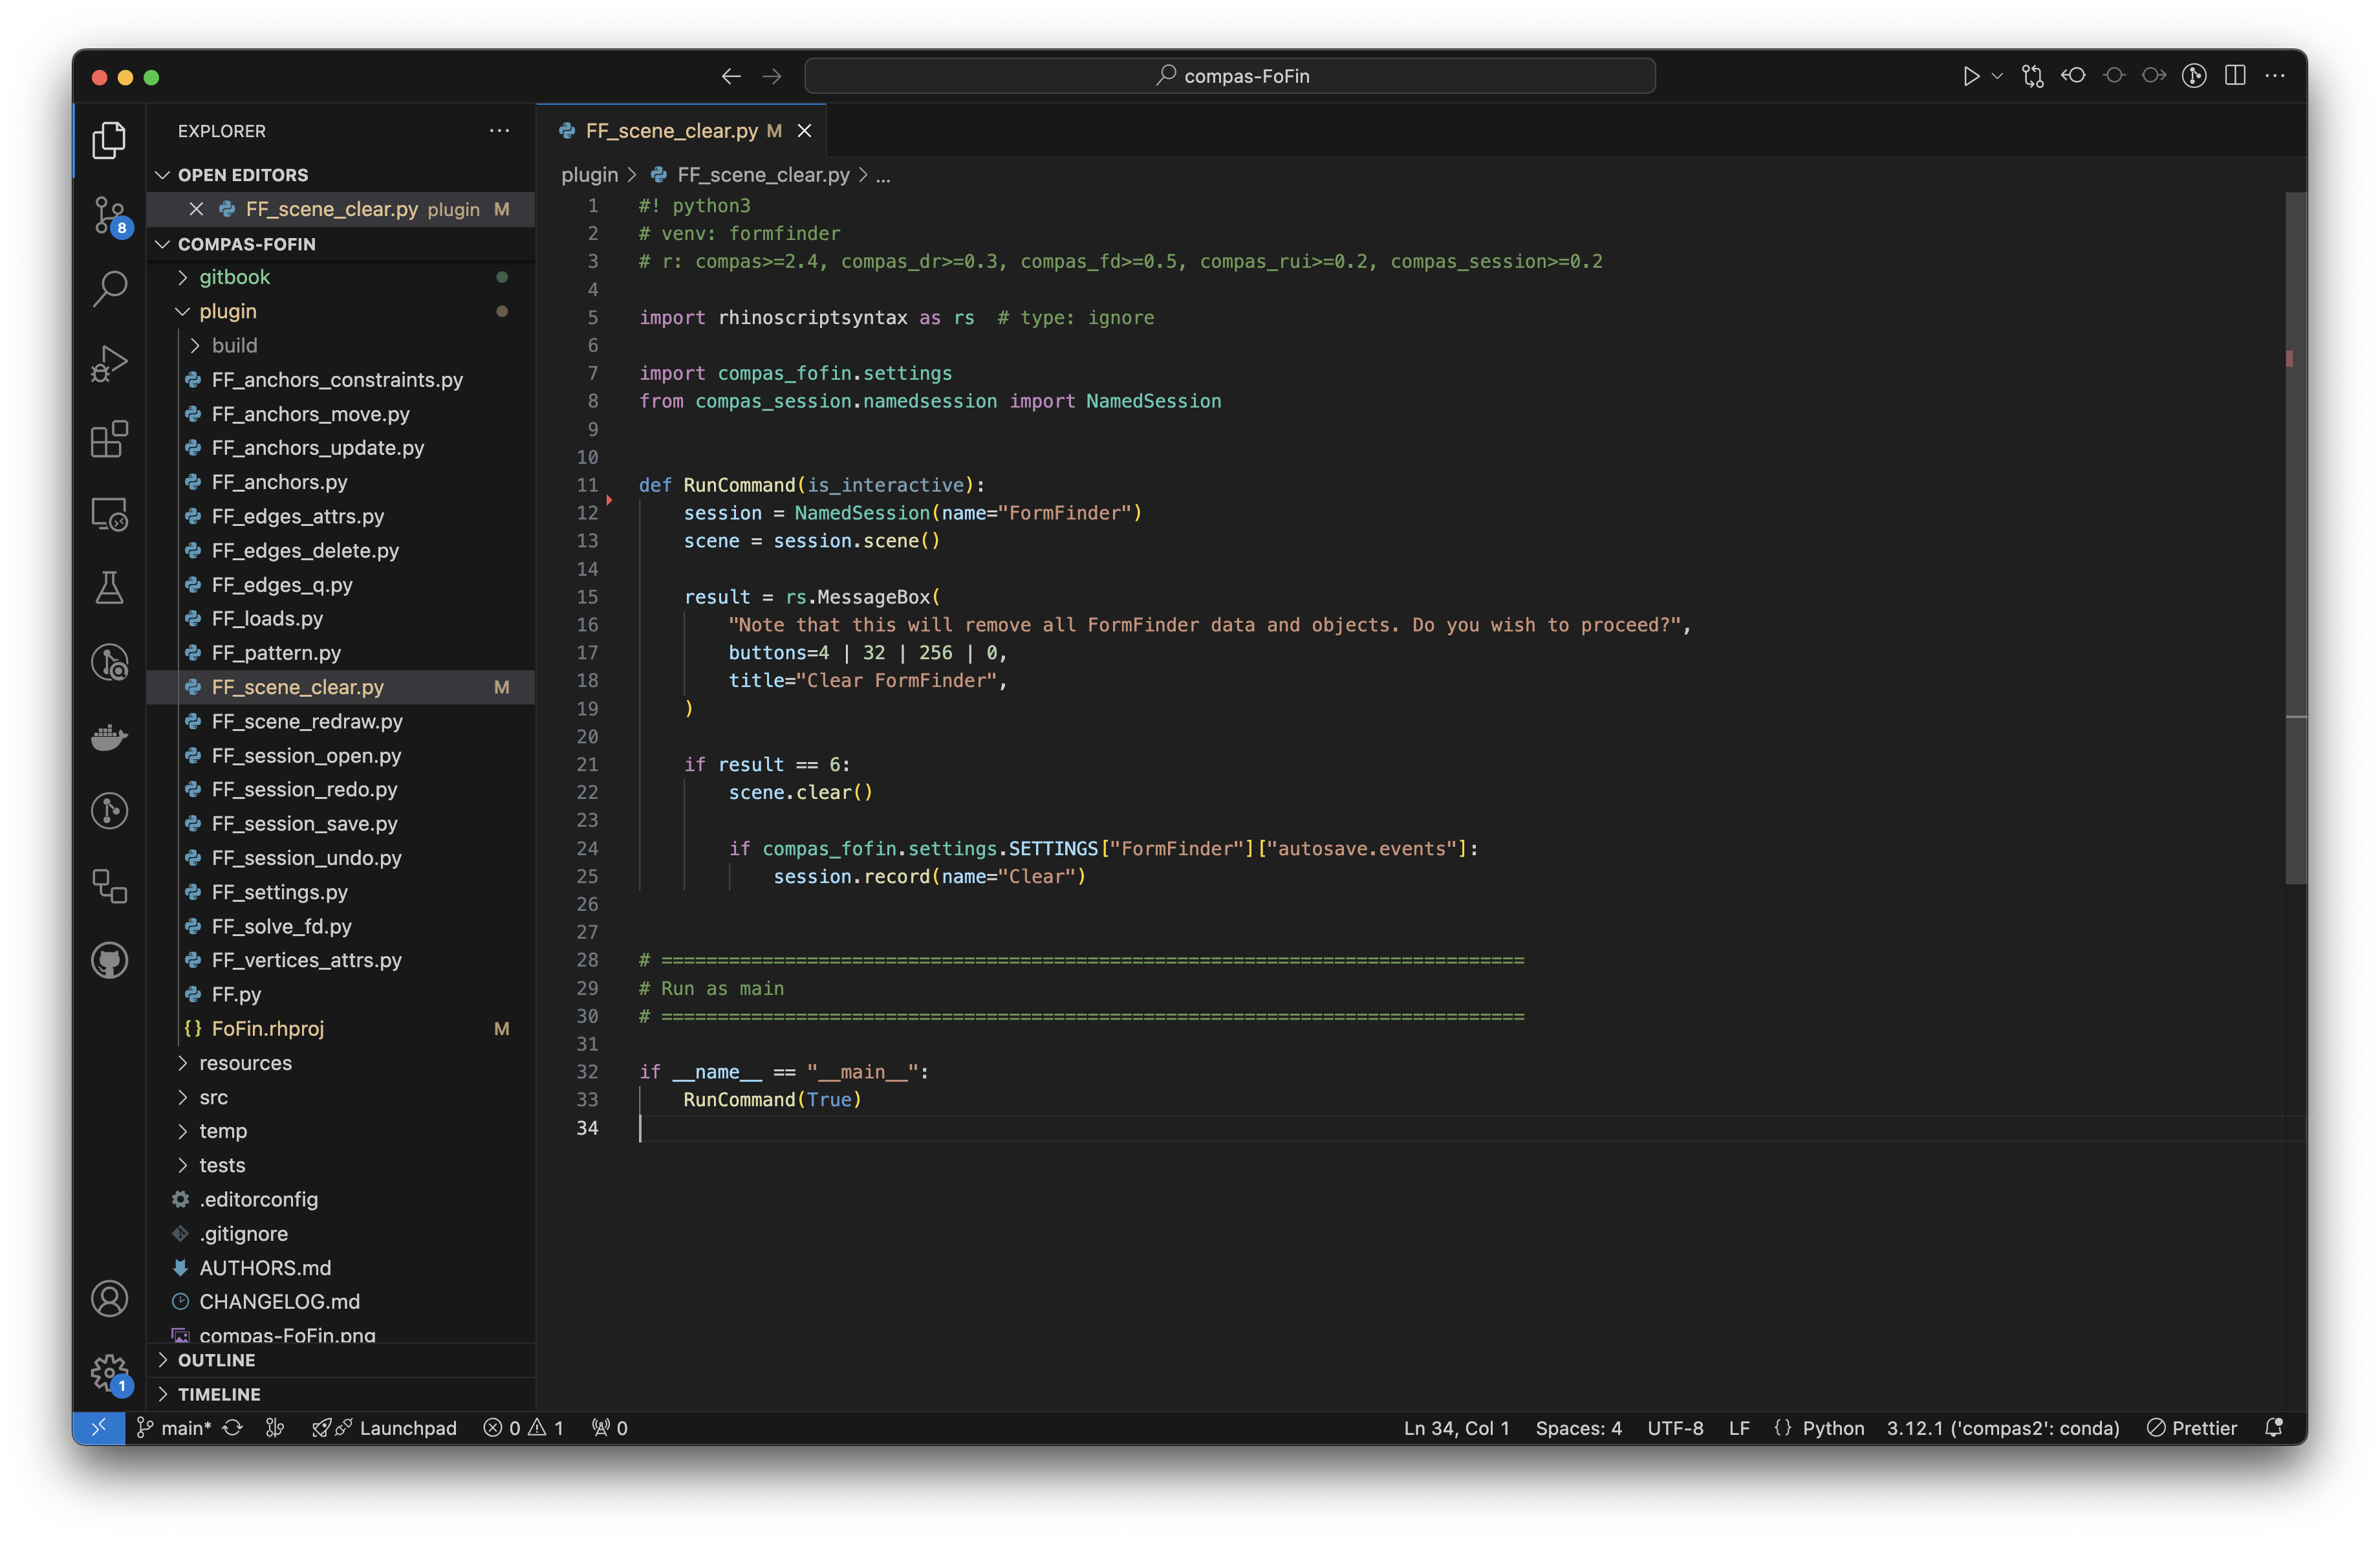
To modify a command, you need to open the actual corresponding script.
Note that the command name is not necessarily the same as the script name.
For example, FF_clear is a command name, and FF_scene_clear.py is the corresponding script.
My personal preference is to work on the scripts in VS Code, and to use the Rhino Script Editor to update the plugin project.

Just FYI, the command and the script are linked through an entry in FoFin.rhproj.
{
    "id": "0ab34e86-7959-481c-a175-ad8cdf4dc1a3",
    "language": {
    "id": "*.*.python",
    "version": "3.*.*"
    },
    "title": "FF_clear",
    "uri": "FF_scene_clear.py",
    "image": {
    "light": {
        "type": "svg",
        "data": "..."
    },
    "rendered": {
        "light": {
        "bytes": "...",
        "width": 24,
        "height": 24
        },
        "dark": {
        "bytes": "...",
        "width": 24,
        "height": 24
        }
    }
    }
}Coming soon...