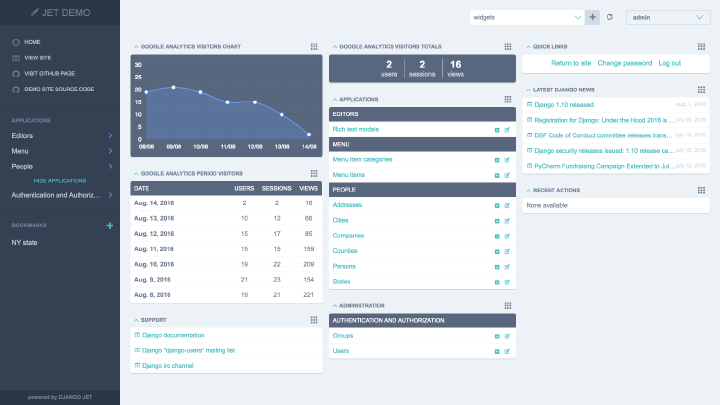
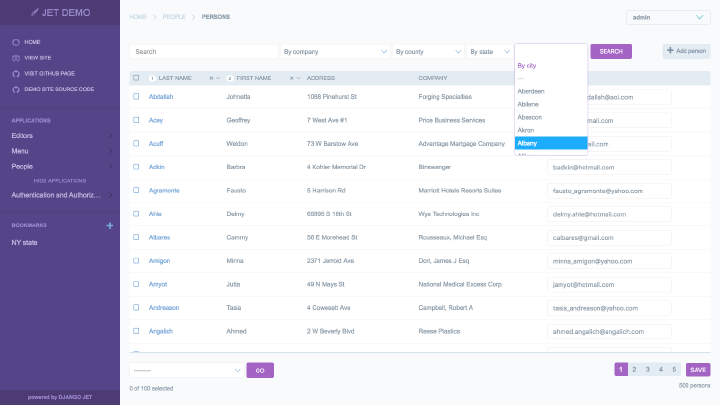
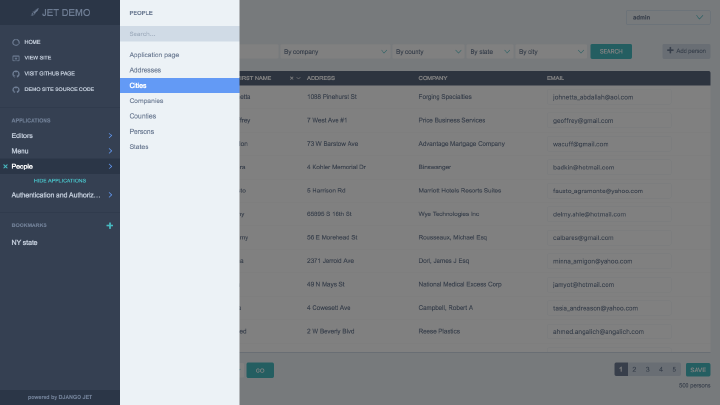
Modern template for Django admin interface with improved functionality
Django JET has two kinds of licenses: open-source (GPLv2) and commercial. Please note that using GPLv2 code in your programs make them GPL too. So if you don't want to comply with that we can provide you a commercial license (visit Home page). The commercial license is designed for using Django JET in commercial products and applications without the provisions of the GPLv2.
- Home page: http://jet.geex-arts.com/
- Live Demo: http://demo.jet.geex-arts.com/admin/
- Documentation: http://jet.readthedocs.org/
- PyPI: https://pypi.python.org/pypi/django-jet
- Support: support@jet.geex-arts.com


Django JET is licensed under a The GNU General Public License, Version 2
- Download and install latest version of Django JET:
pip install django-jet
# or
easy_install django-jet- Add 'jet' application to the INSTALLED_APPS setting of your Django project settings.py file (note it should be before 'django.contrib.admin'):
INSTALLED_APPS = (
    ...
    'jet',
    'django.contrib.admin',
)- Make sure
django.template.context_processors.requestcontext processor is enabled in settings.py (Django 1.8+ way):
TEMPLATES = [
    {
        'BACKEND': 'django.template.backends.django.DjangoTemplates',
        'DIRS': [],
        'APP_DIRS': True,
        'OPTIONS': {
            'context_processors': [
                ...
                'django.template.context_processors.request',
                ...
            ],
        },
    },
]
Warning
Before Django 1.8 you should specify context processors different way. Also use django.core.context_processors.request instead of django.template.context_processors.request.
from django.conf import global_settings

TEMPLATE_CONTEXT_PROCESSORS = global_settings.TEMPLATE_CONTEXT_PROCESSORS + (
    'django.core.context_processors.request',
)- Add URL-pattern to the urlpatterns of your Django project urls.py file (they are needed for related–lookups and autocompletes):
urlpatterns = patterns(
    '',
    url(r'^jet/', include('jet.urls', 'jet')),  # Django JET URLS
    url(r'^admin/', include(admin.site.urls)),
    ...
)- Create database tables:
python manage.py migrate jet
# or
python manage.py syncdb- Collect static if you are in production environment:
python manage.py collectstatic- Clear your browser cache
Note
Dashboard is located into a separate application. So after a typical JET installation it won't be active. To enable dashboard application follow these steps:
- Add 'jet.dashboard' application to the INSTALLED_APPS setting of your Django project settings.py file (note it should be before 'jet'):
INSTALLED_APPS = (
    ...
    'jet.dashboard',
    'jet',
    'django.contrib.admin',
    ...
)- Add URL-pattern to the urlpatterns of your Django project urls.py file (they are needed for related–lookups and autocompletes):
urlpatterns = patterns(
    '',
    url(r'^jet/', include('jet.urls', 'jet')),  # Django JET URLS
    url(r'^jet/dashboard/', include('jet.dashboard.urls', 'jet-dashboard')),  # Django JET dashboard URLS
    url(r'^admin/', include(admin.site.urls)),
    ...
)- For Google Analytics widgets only install python package:
pip install google-api-python-client
- Create database tables:
python manage.py migrate dashboard
# or
python manage.py syncdb- Collect static if you are in production environment:
python manage.py collectstatic