Development Dependencies are defined in a
pip requirements file
named requirements-dev.txt.
Example Installation Instructions for Linux are shown below:
# "optional": create a python virtualenv and activate it for the current shell session
$ python3 -m venv venv
$ source venv/bin/activate

$ python3 -m pip install -r requirements-dev.txt
Please take a look at my Ansible Role Development Guidelines.
If interested, I’ve also written down some General Ansible Role Development (Best) Practices.
Versions are defined using Tags, which in turn are recognized and used by Ansible Galaxy.
Versions must not start with v.
When a new tag is pushed,
a GitHub CI workflow
()
takes care of importing the role to my Ansible Galaxy Account.
Automatic Tests are run on each Contribution using GitHub Workflows.
The Tests primarily resolve around running Molecule on a varying set of linux distributions and using various ansible versions.
The molecule test also includes a step which lints all ansible playbooks using
ansible-lint
to check for best practices and behaviour that could potentially be improved.
To run the tests, simply run tox on the command line.
You can pass an optional environment variable to define the distribution of the
Docker container that will be spun up by molecule:
$ MOLECULE_DISTRO=ubuntu2204 tox
For a list of possible values fed to MOLECULE_DISTRO,
take a look at the matrix defined in .github/workflows/ci.yml.
-
Run your molecule tests with the option
MOLECULE_DESTROY=never, e.g.:$ MOLECULE_DESTROY=never MOLECULE_DISTRO=ubuntu1604 tox -e py3-ansible-5 ... TASK [ansible-role-pip : (redacted).] ************************ failed: [instance-py3-ansible-9] => changed=false ... ___________________________________ summary ____________________________________ pre-commit: commands succeeded ERROR: py3-ansible-9: commands failed
-
Find out the name of the molecule-provisioned docker container:
$ docker ps
30e9b8d59cdf   geerlingguy/docker-debian12-ansible:latest   "/lib/systemd/systemd"   8 minutes ago   Up 8 minutes                                                                                                    instance-py3-ansible-9
-
Get into a bash Shell of the container, and do your debugging:
$ docker exec -it 30e9b8d59cdf /bin/bash

root@instance-py3-ansible-2:/#
TipIf the failure you try to debug is part of your
verify.ymlstep and not the actualconverge.yml, you may want to know that the output of ansible’s modules (vars), hosts (hostvars) and environment variables have been stored into files on both the provisioner and inside the docker machine under:-
/var/tmp/vars.yml(contains host variables under thehostvarskey) -
/var/tmp/environment.yml
grep,cator transfer these as you wish! -
-
After you finished your debugging, exit it and destroy the container:
root@instance-py3-ansible-2:/# exit

$ docker stop 30e9b8d59cdf

$ docker container rm 30e9b8d59cdf
or
$ docker container prune
Although a standard feature in tox 3, this now only happens when tox recognizes the presence of a CI variable. For example:
$ CI=true tox
This Project offers a definition for a "1-Click Containerized Development Environment".
This Container even enables one to run docker containers inside of it (Docker-In-Docker, dind), allowing for molecule execution.
To use it:
-
Ensure you fullfill the the System requirements of Visual Studio Code Development Containers, optionally following the Installation-Section of the linked page section.
This includes: Installing Docker, Installing Visual Studio Code itself, and Installing the necessary Extension. -
Clone the project to your machine
-
Open the folder of the repo in Visual Studio Code (File - Open Folder…).
-
If you get a prompt at the lower right corner informing you about the presence of the devcontainer definition, you can press the accompanying button to enter it. Otherwise, you can also execute the Visual Studio Command
Remote-Containers: Open Folder in Containeryourself (View - Command Palette → type in the mentioned command).
|
Tip
|
I recommend using |
|
Note
|
You may need to configure your host system to enable the container to use your SSH/GPG Keys. The procedure is described in the official devcontainer docs under "Sharing Git credentials with your container". |
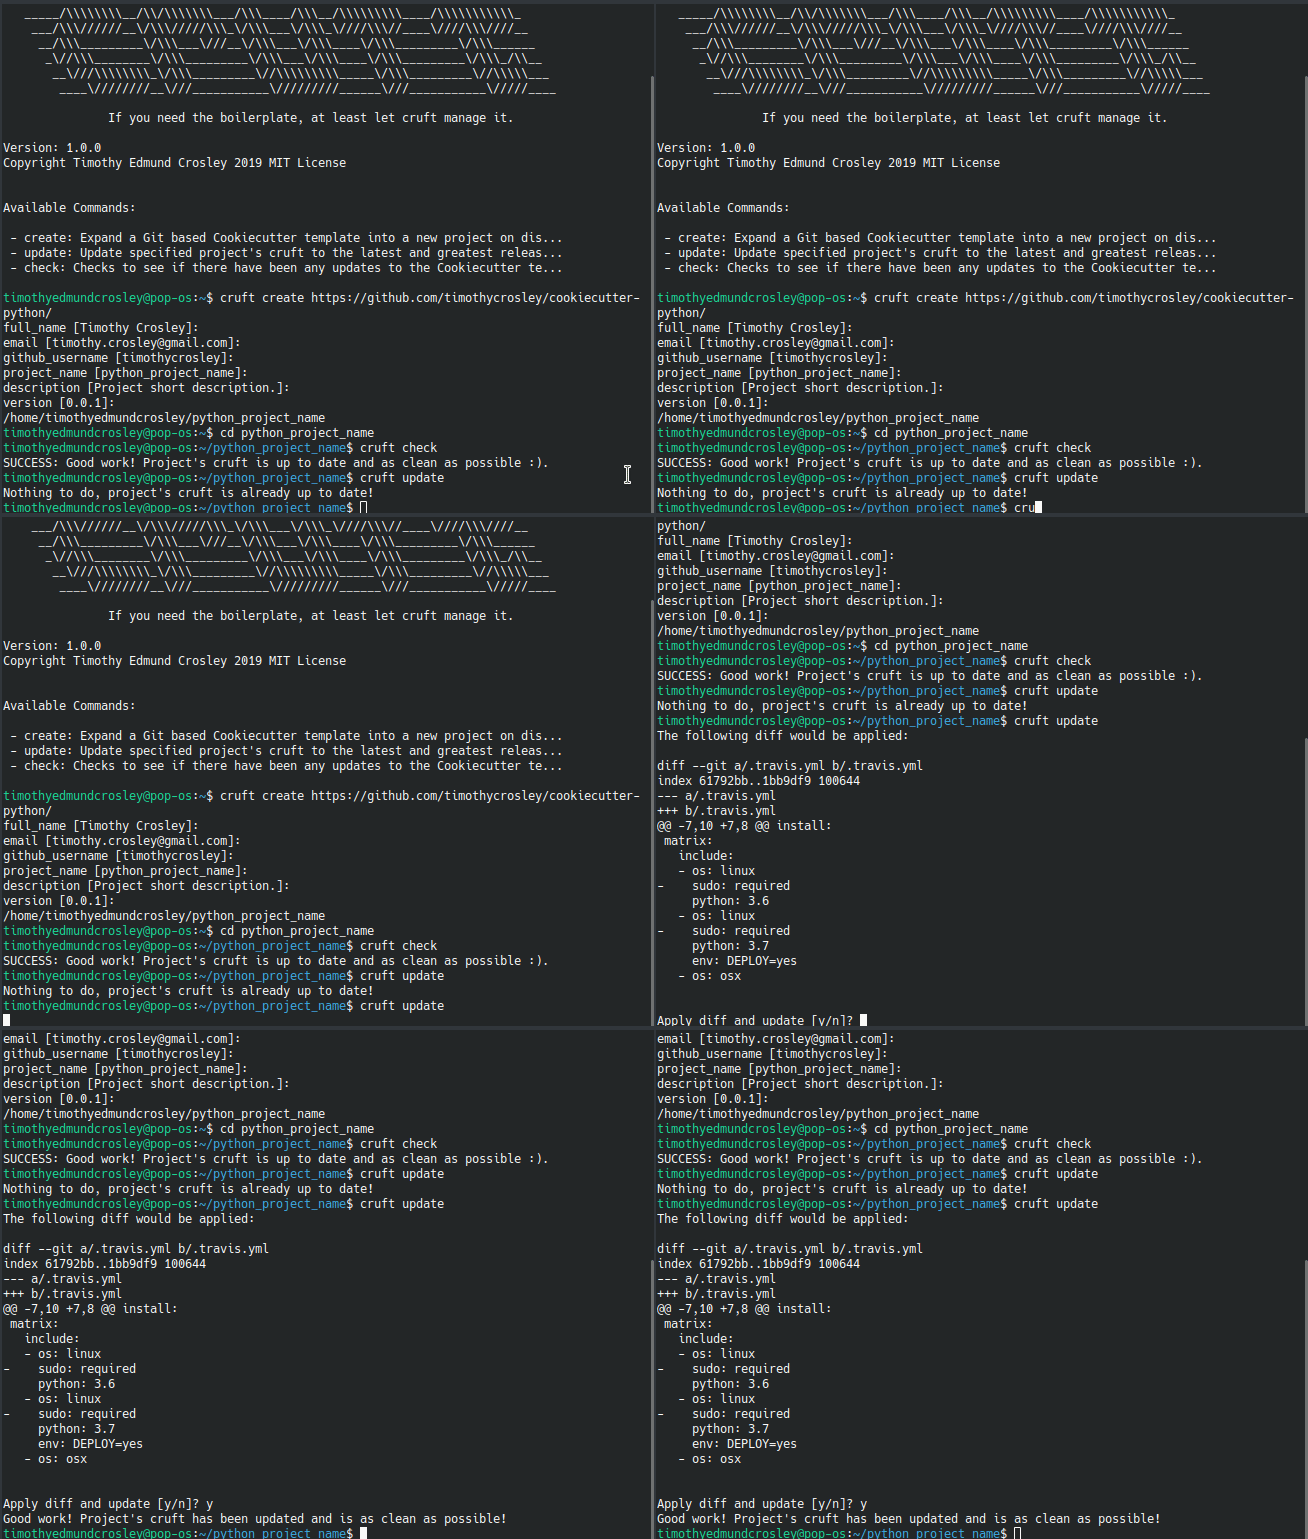
This Project shall be kept in sync with the CookieCutter it was originally templated from using cruft (if possible) or manual alteration (if needed) to the best extend possible.
General Linting and Styling Conventions are
automatically held up to Standards
by various pre-commit hooks, at least to some extend.
Automatic Execution of pre-commit is done on each Contribution using
pre-commit.ci*.
Pull Requests even automatically get fixed by the same tool,
at least by hooks that automatically alter files.
|
Note
|
Not to confuse: Although some pre-commit hooks may be able to warn you about script-analyzed flaws in syntax or even code to some extend (for which reason pre-commit’s hooks are part of the test suite), pre-commit itself does not run any real Test Suites. For Information on Testing, see 🧪 Testing. |
|
Tip
|
Nevertheless, I recommend you to integrate pre-commit into your local development workflow yourself. This can be done by cd’ing into the directory of your cloned project and running You can also, for example, execute pre-commit’s hooks at any time by running |

