Gotify is a self-hosted push notification service created for sending and receiving messages in real time.
To use Gotify as your notification service, you need an application token. You can generate a new token in the Gotify Web UI.
To set up Gotify in Netdata:
-
Switch to your config directory and edit the file
health_alarm_notify.confusing the edit config script../edit-config health_alarm_notify.conf
-
Change the variable
GOTIFY_APP_TOKENto the application token you generated in the Gotify Web UI. ChangeGOTIFY_APP_URLto point to your Gotify instance.SEND_GOTIFY="YES" # Application token # Gotify instance url GOTIFY_APP_TOKEN=XXXXXXXXXXXXXXX GOTIFY_APP_URL=https://push.example.de/Changes to
health_alarm_notify.confdo not require a Netdata restart. -
Test your Gotify notifications configuration by running the following commands, replacing
ROLEwith your preferred role:# become user netdata sudo su -s /bin/bash netdata # send a test alarm /usr/libexec/netdata/plugins.d/alarm-notify.sh test ROLE
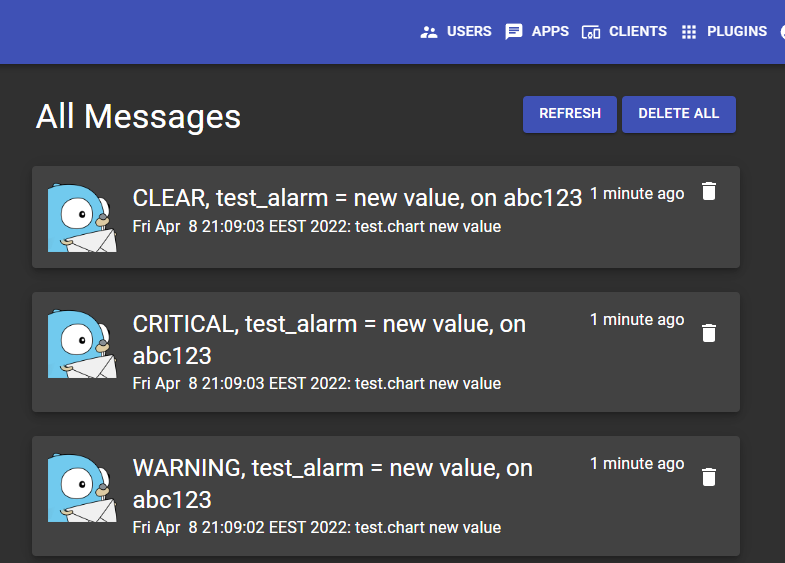
🟢 If everything works, you'll see alarms in Gotify:
🔴 If sending the test notifications fails, check
/var/log/netdata/error.logto find the relevant error message:2020-09-03 23:07:00: alarm-notify.sh: ERROR: failed to send Gotify notification for: hades test.chart.test_alarm is CRITICAL, with HTTP error code 401.
