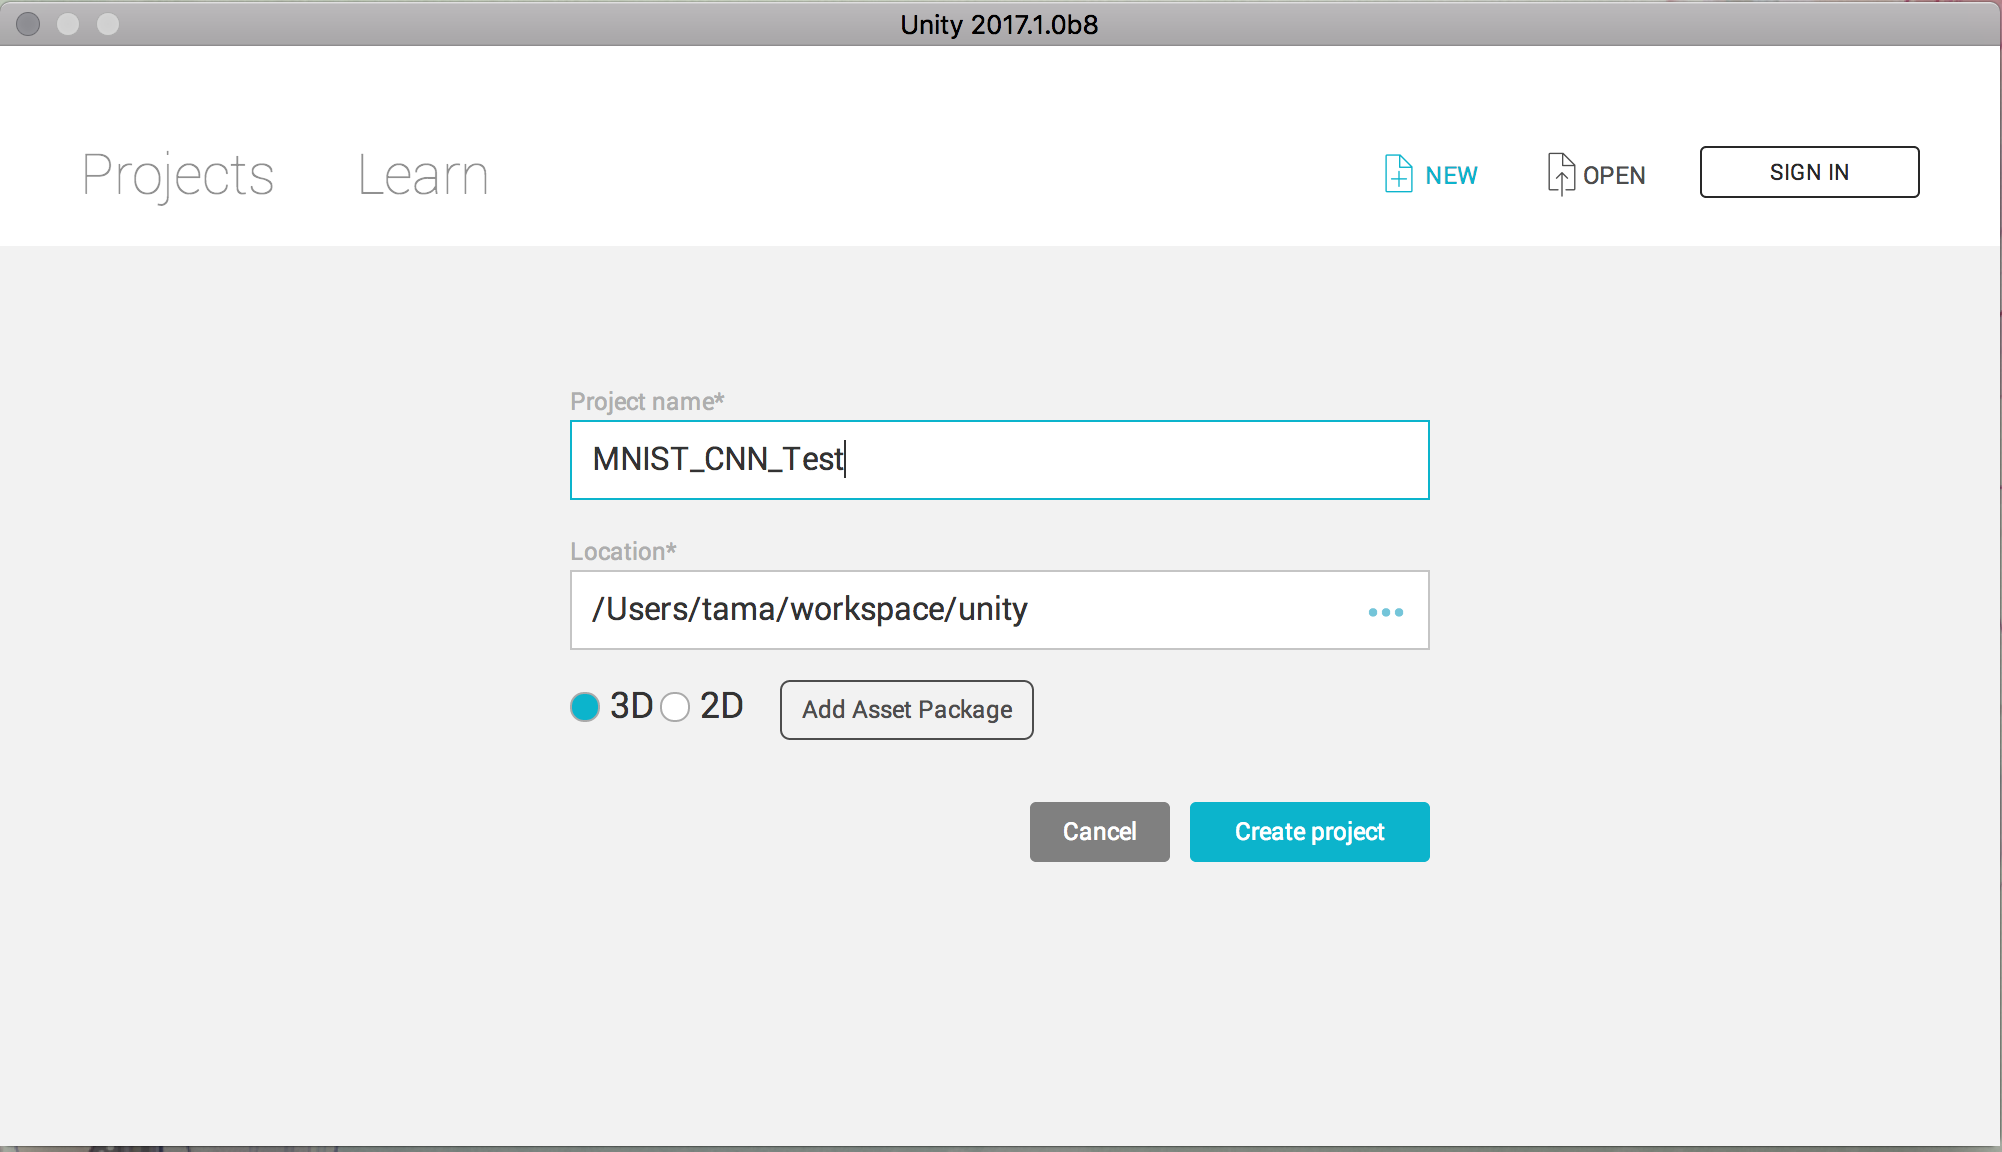
Since there is a code unless it moves grammatically in C # 6, please download the latest version (Unity 2017.1 or higher) from here.
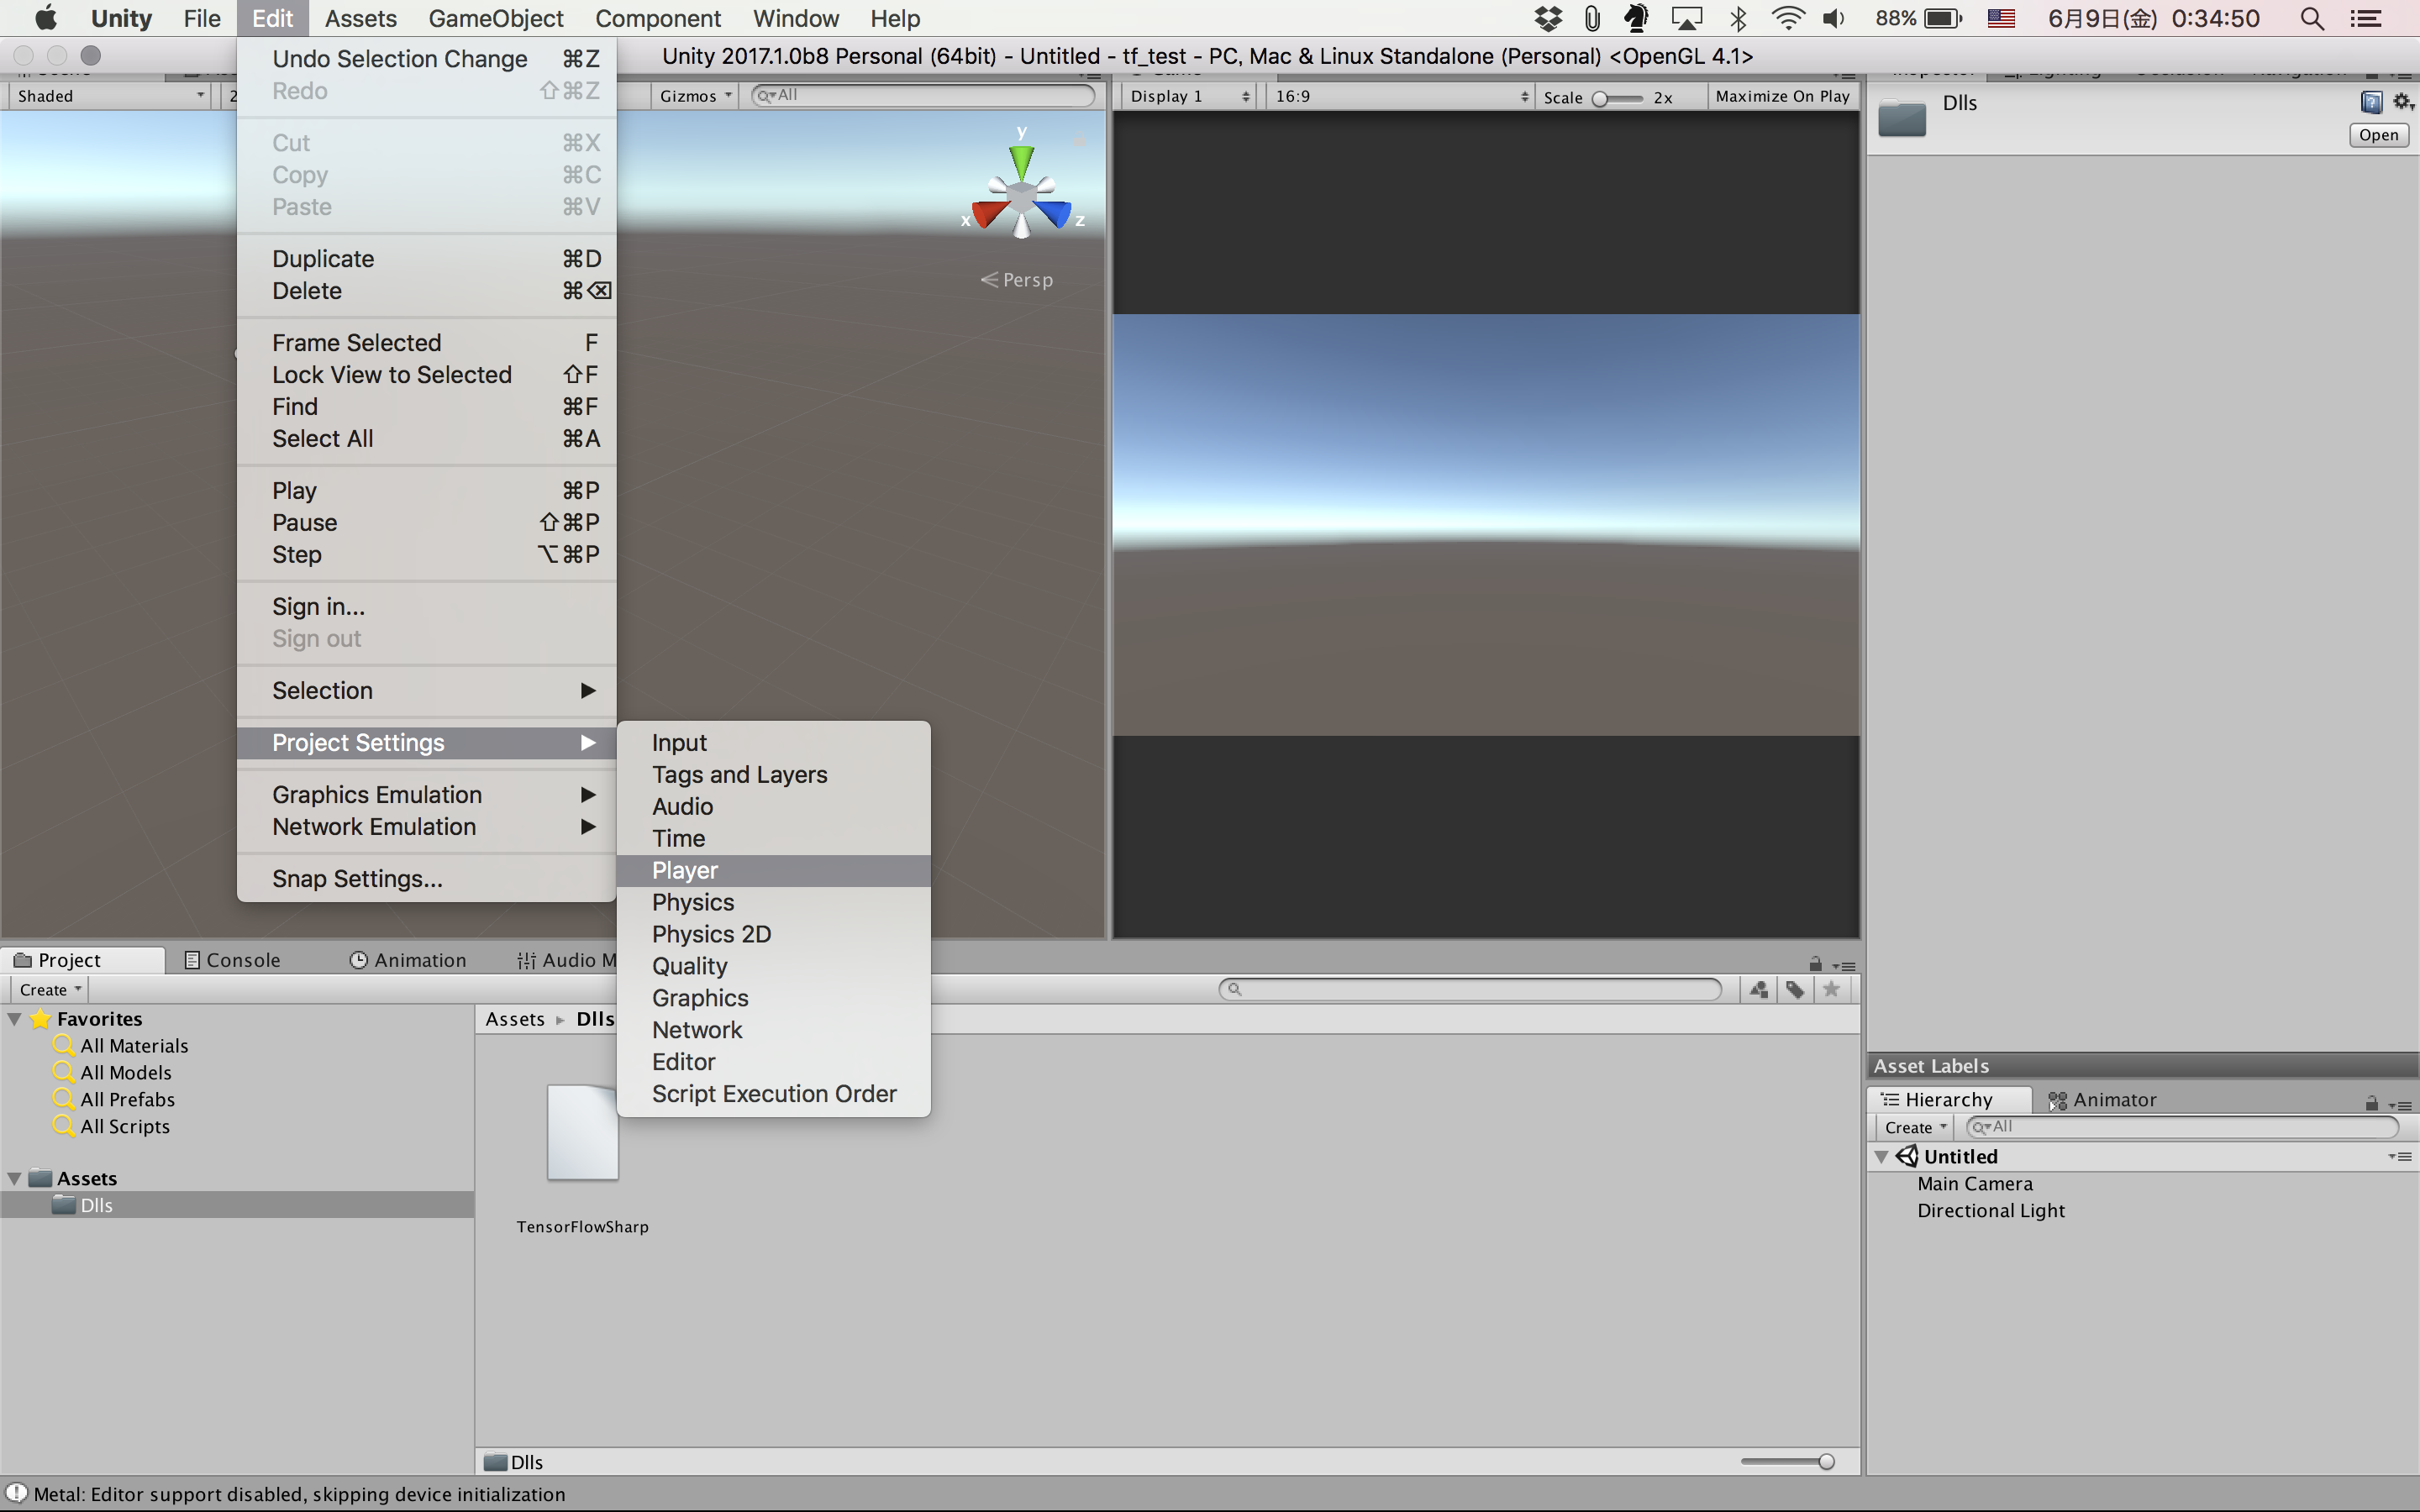
After creating the project, create a folder called Dlls under Assets and copy TensorFlowSharp.dll and System.ValueTuple.dll under TensorFlowSharp/TensorFlowSharp/bin/Debug.
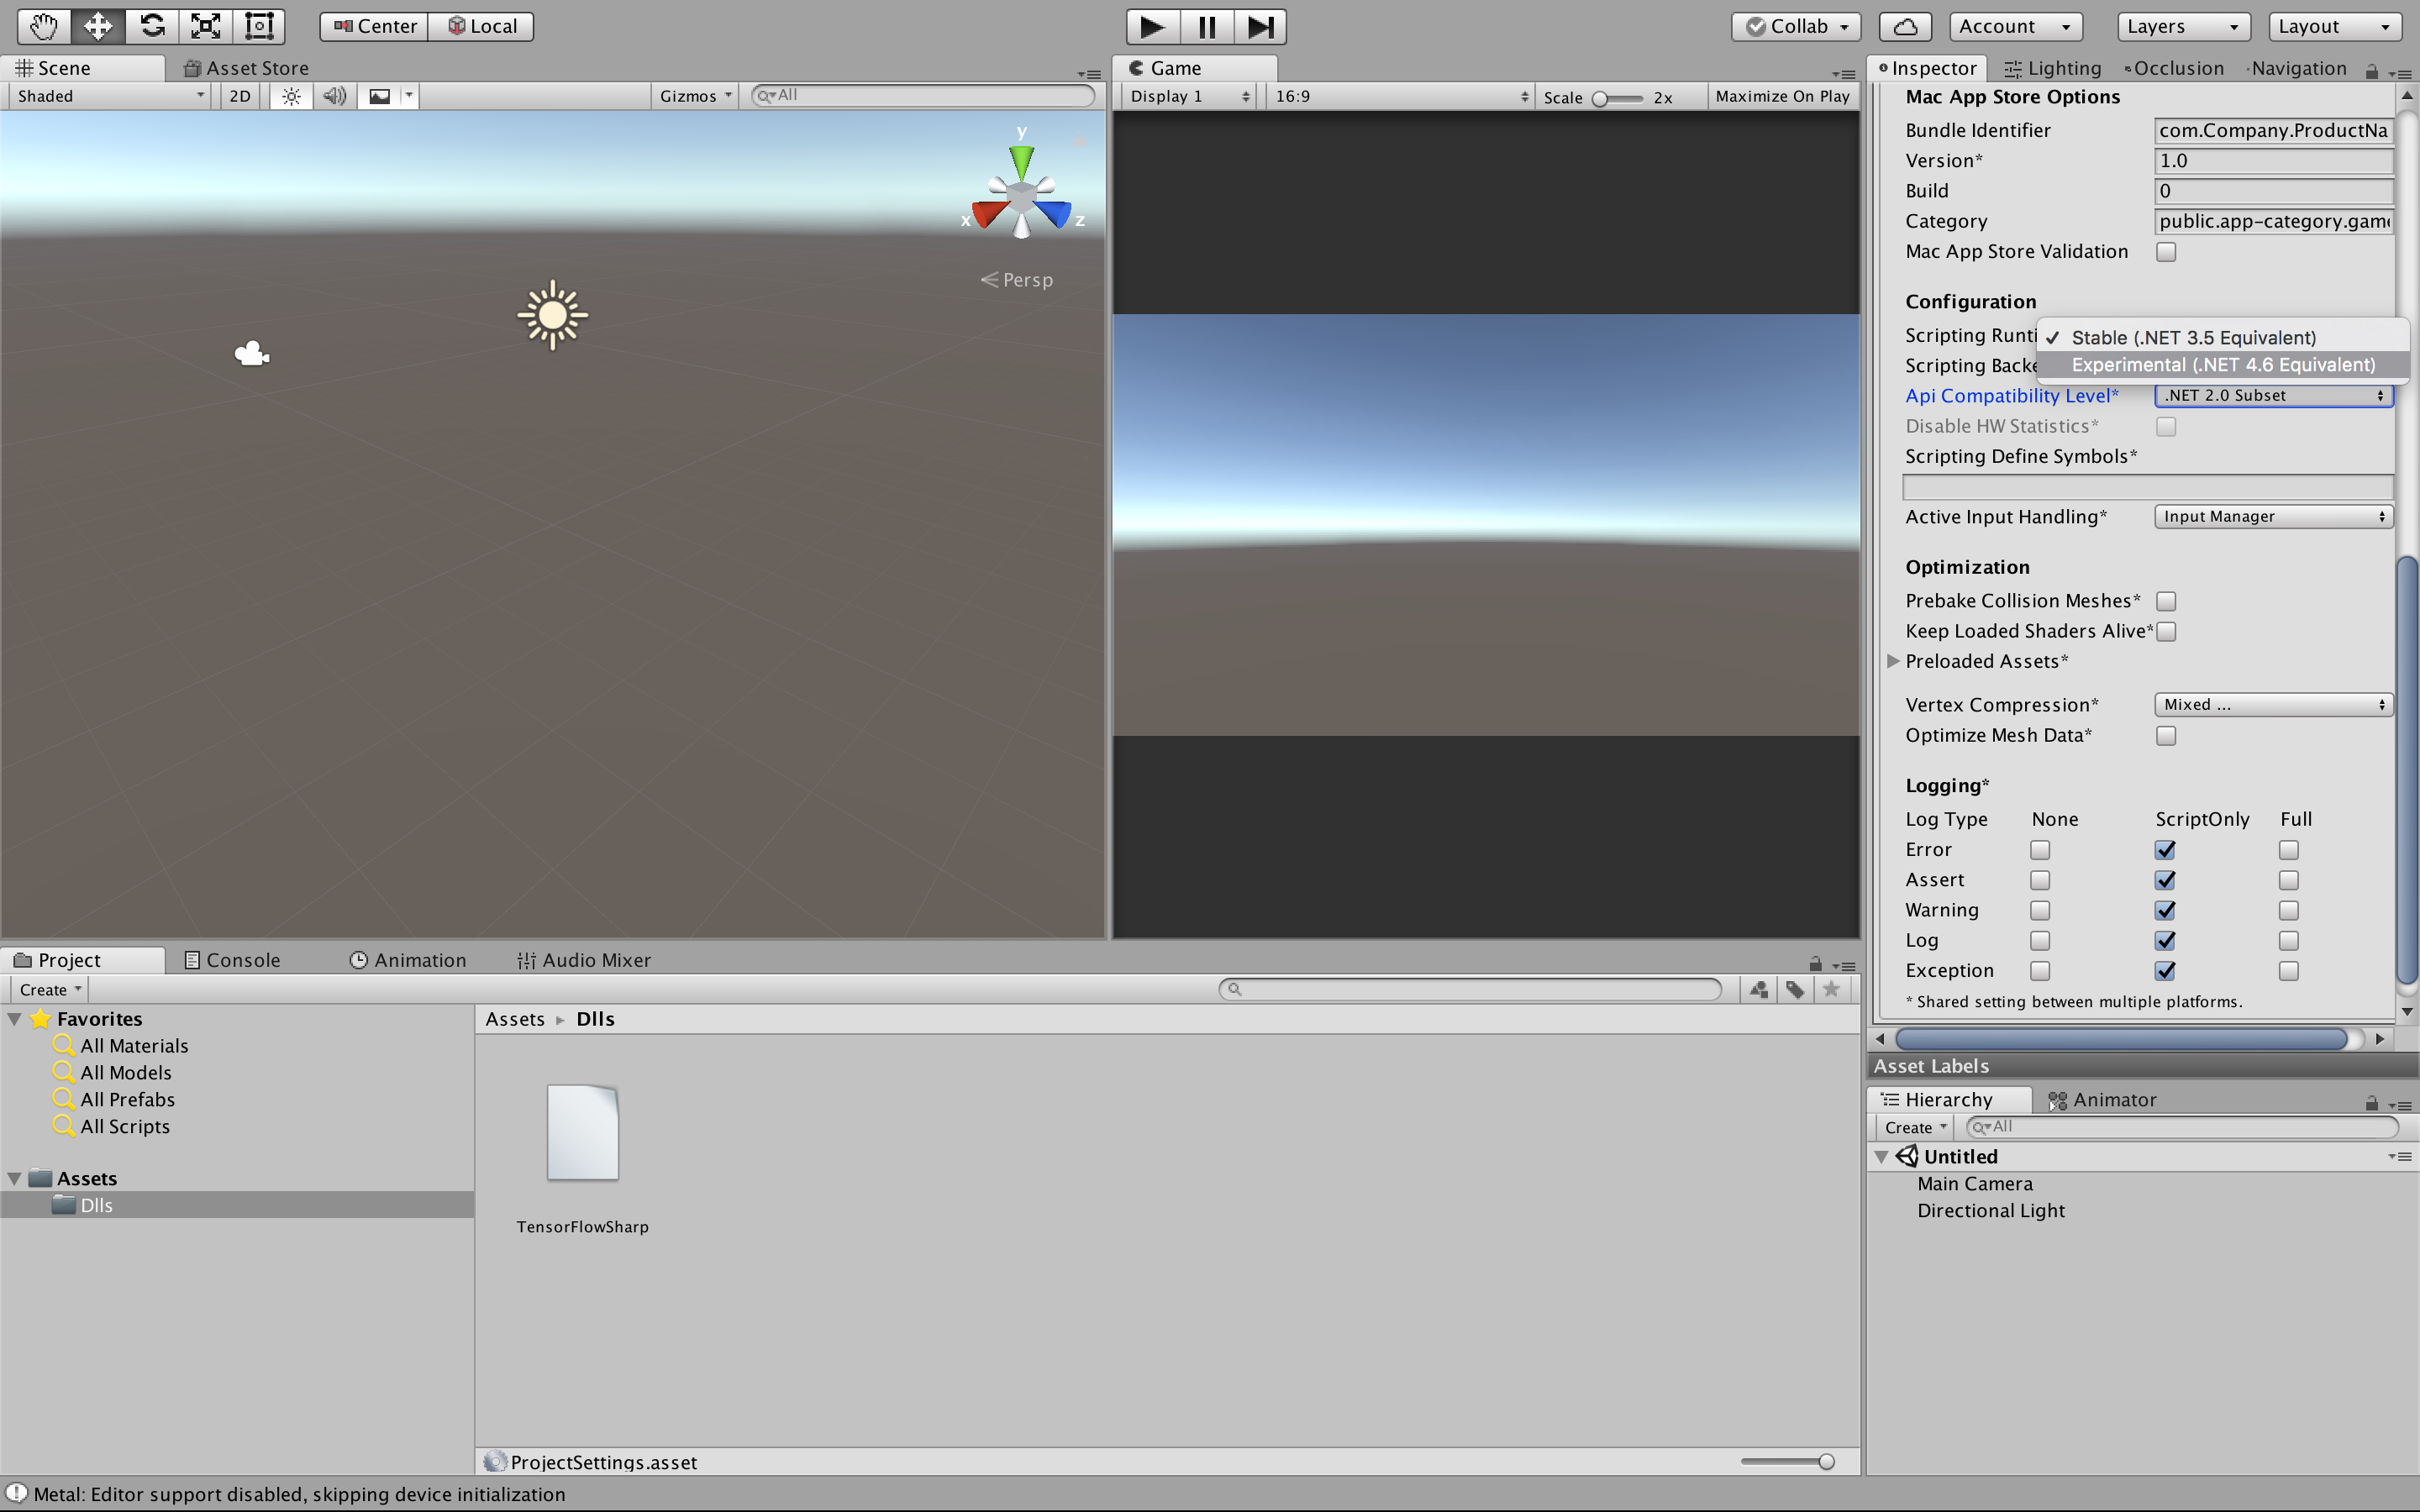
Change Scripting Runtime Version to Experiental (.NET 4.6 Equvalent)
After change, restart unification.
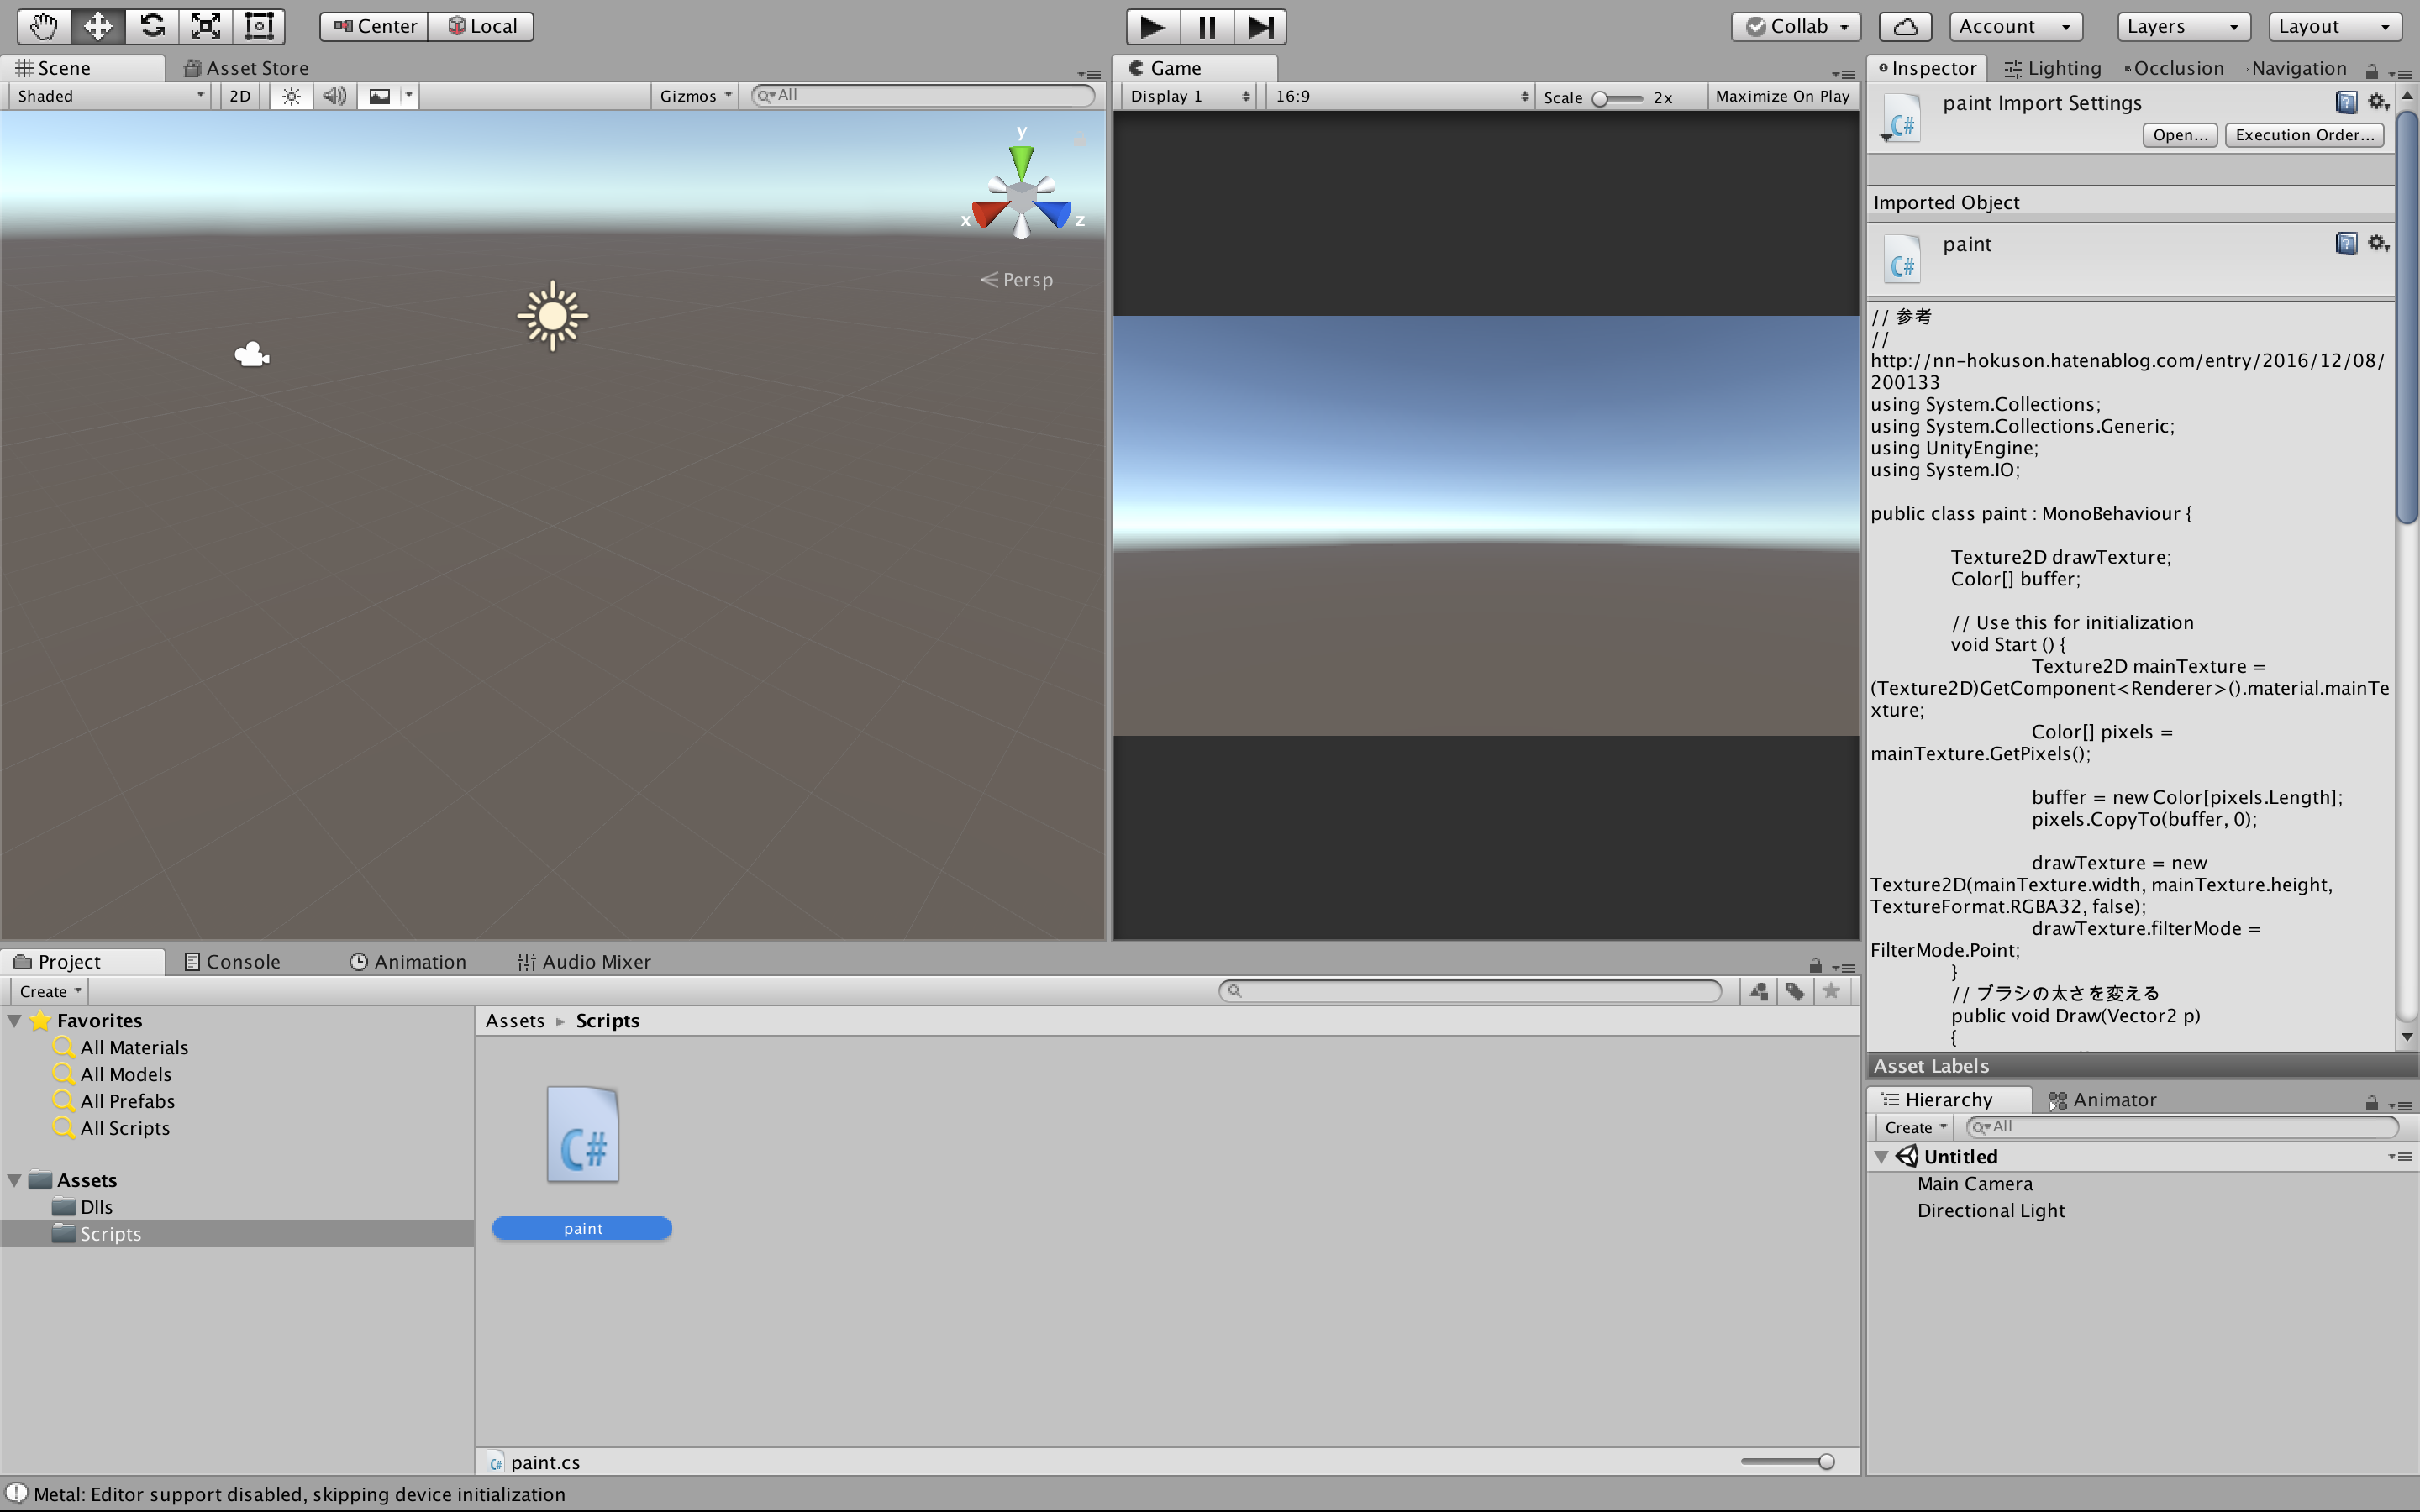
// Reference : http://nn-hokuson.hatenablog.com/entry/2016/12/08/200133
using System.Collections;
using System.Collections.Generic;
using UnityEngine;
using System.IO;

public class paint : MonoBehaviour {

	Texture2D drawTexture;
	Color[] buffer;

	// Use this for initialization
	void Start () {
		Texture2D mainTexture = (Texture2D)GetComponent<Renderer>().material.mainTexture;
		Color[] pixels = mainTexture.GetPixels();

		buffer = new Color[pixels.Length];
		pixels.CopyTo(buffer, 0);

		drawTexture = new Texture2D(mainTexture.width, mainTexture.height, TextureFormat.RGBA32, false);
		drawTexture.filterMode = FilterMode.Point;
	}
	// Change the stroke width of the brush.
	public void Draw(Vector2 p)
	{
		//buffer.SetValue(Color.black, (int)p.x + 256 * (int)p.y);

		// boldface.
		for (int x = 0; x < 256; x++)
		{
			for (int y = 0; y < 256; y++)
			{
				if ((p - new Vector2(x, y)).magnitude < 5)
				{
					buffer.SetValue(Color.black, x + 256 * y);
				}
			}
		}
	}

	// Every frame, check all pixels on the texture, fill black if the distance from the coordinates on which the mouse is on is less than 8.
	void Update () {
		if (Input.GetMouseButton(0))
		{
			Ray ray = Camera.main.ScreenPointToRay(Input.mousePosition);
			RaycastHit hit;
			if (Physics.Raycast(ray, out hit, 100.0f))
			{
				Draw(hit.textureCoord * 256);
			}

			drawTexture.SetPixels(buffer);
			drawTexture.Apply();
			GetComponent<Renderer>().material.mainTexture = drawTexture;
		}
	}
  // Save texture as jpg.
	public void SaveTexture()
	{
		byte[] data = drawTexture.EncodeToJPG();
		File.WriteAllBytes(Application.dataPath + "/saveImage.jpg", data);
	}
}
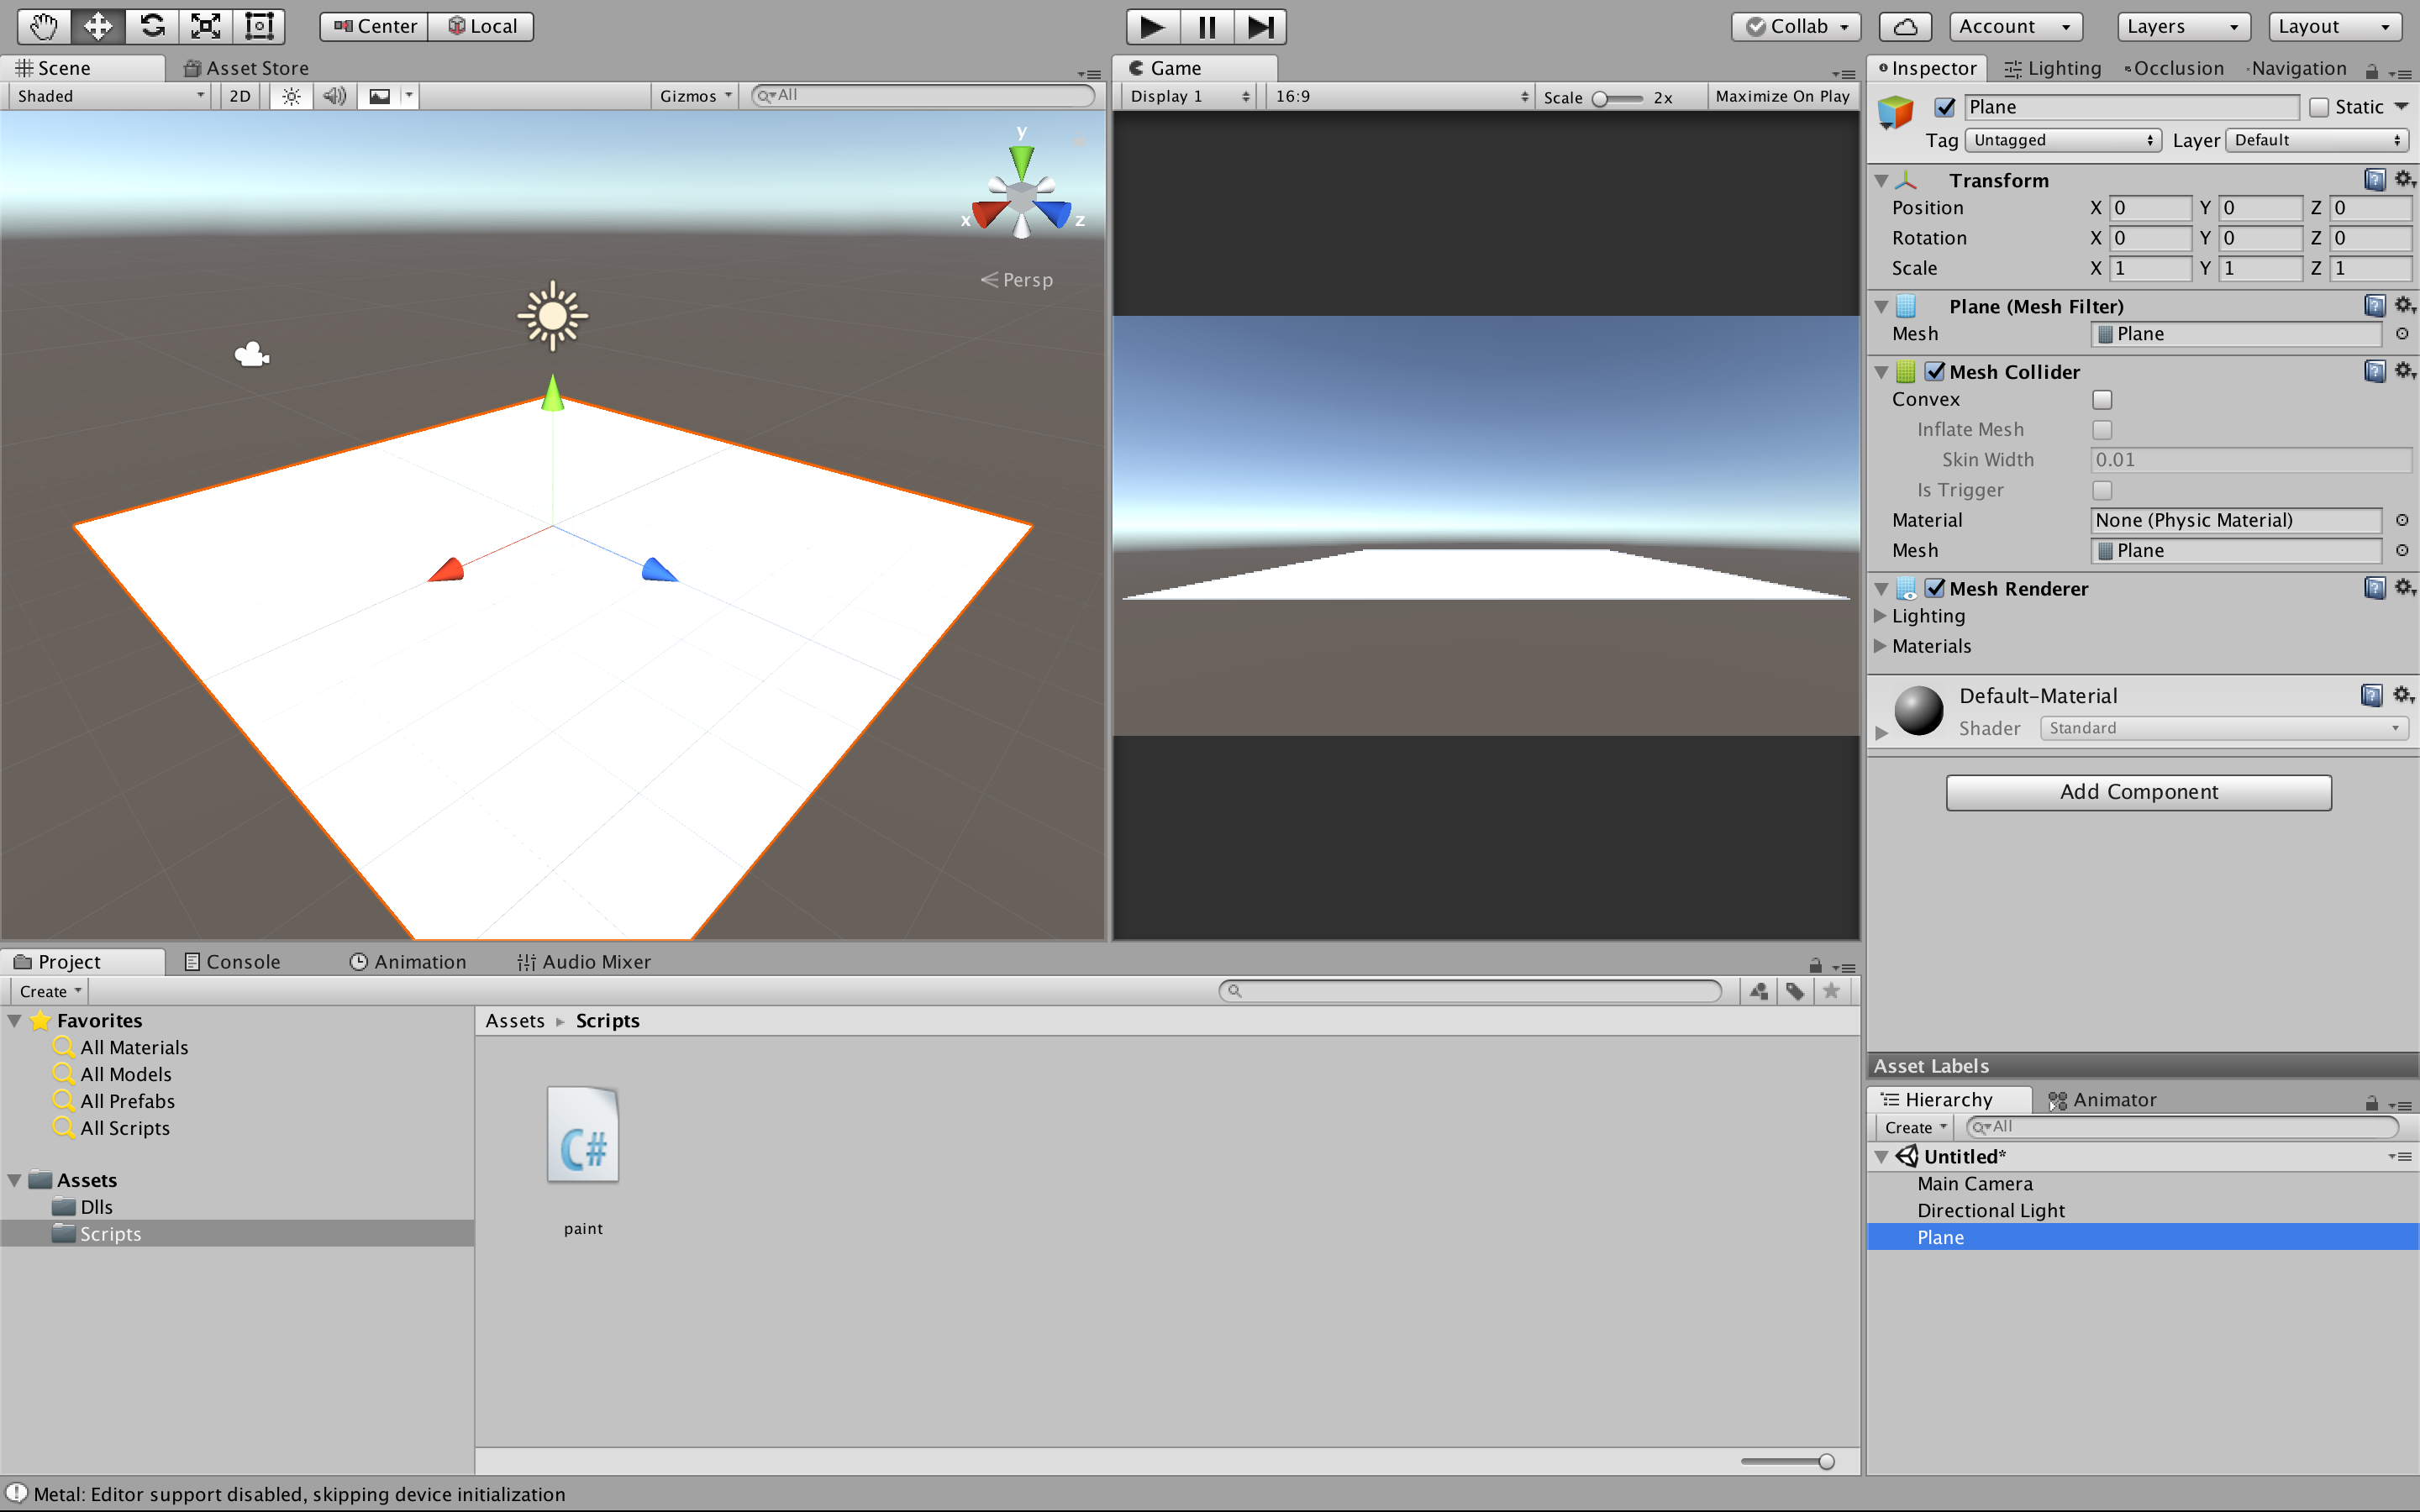
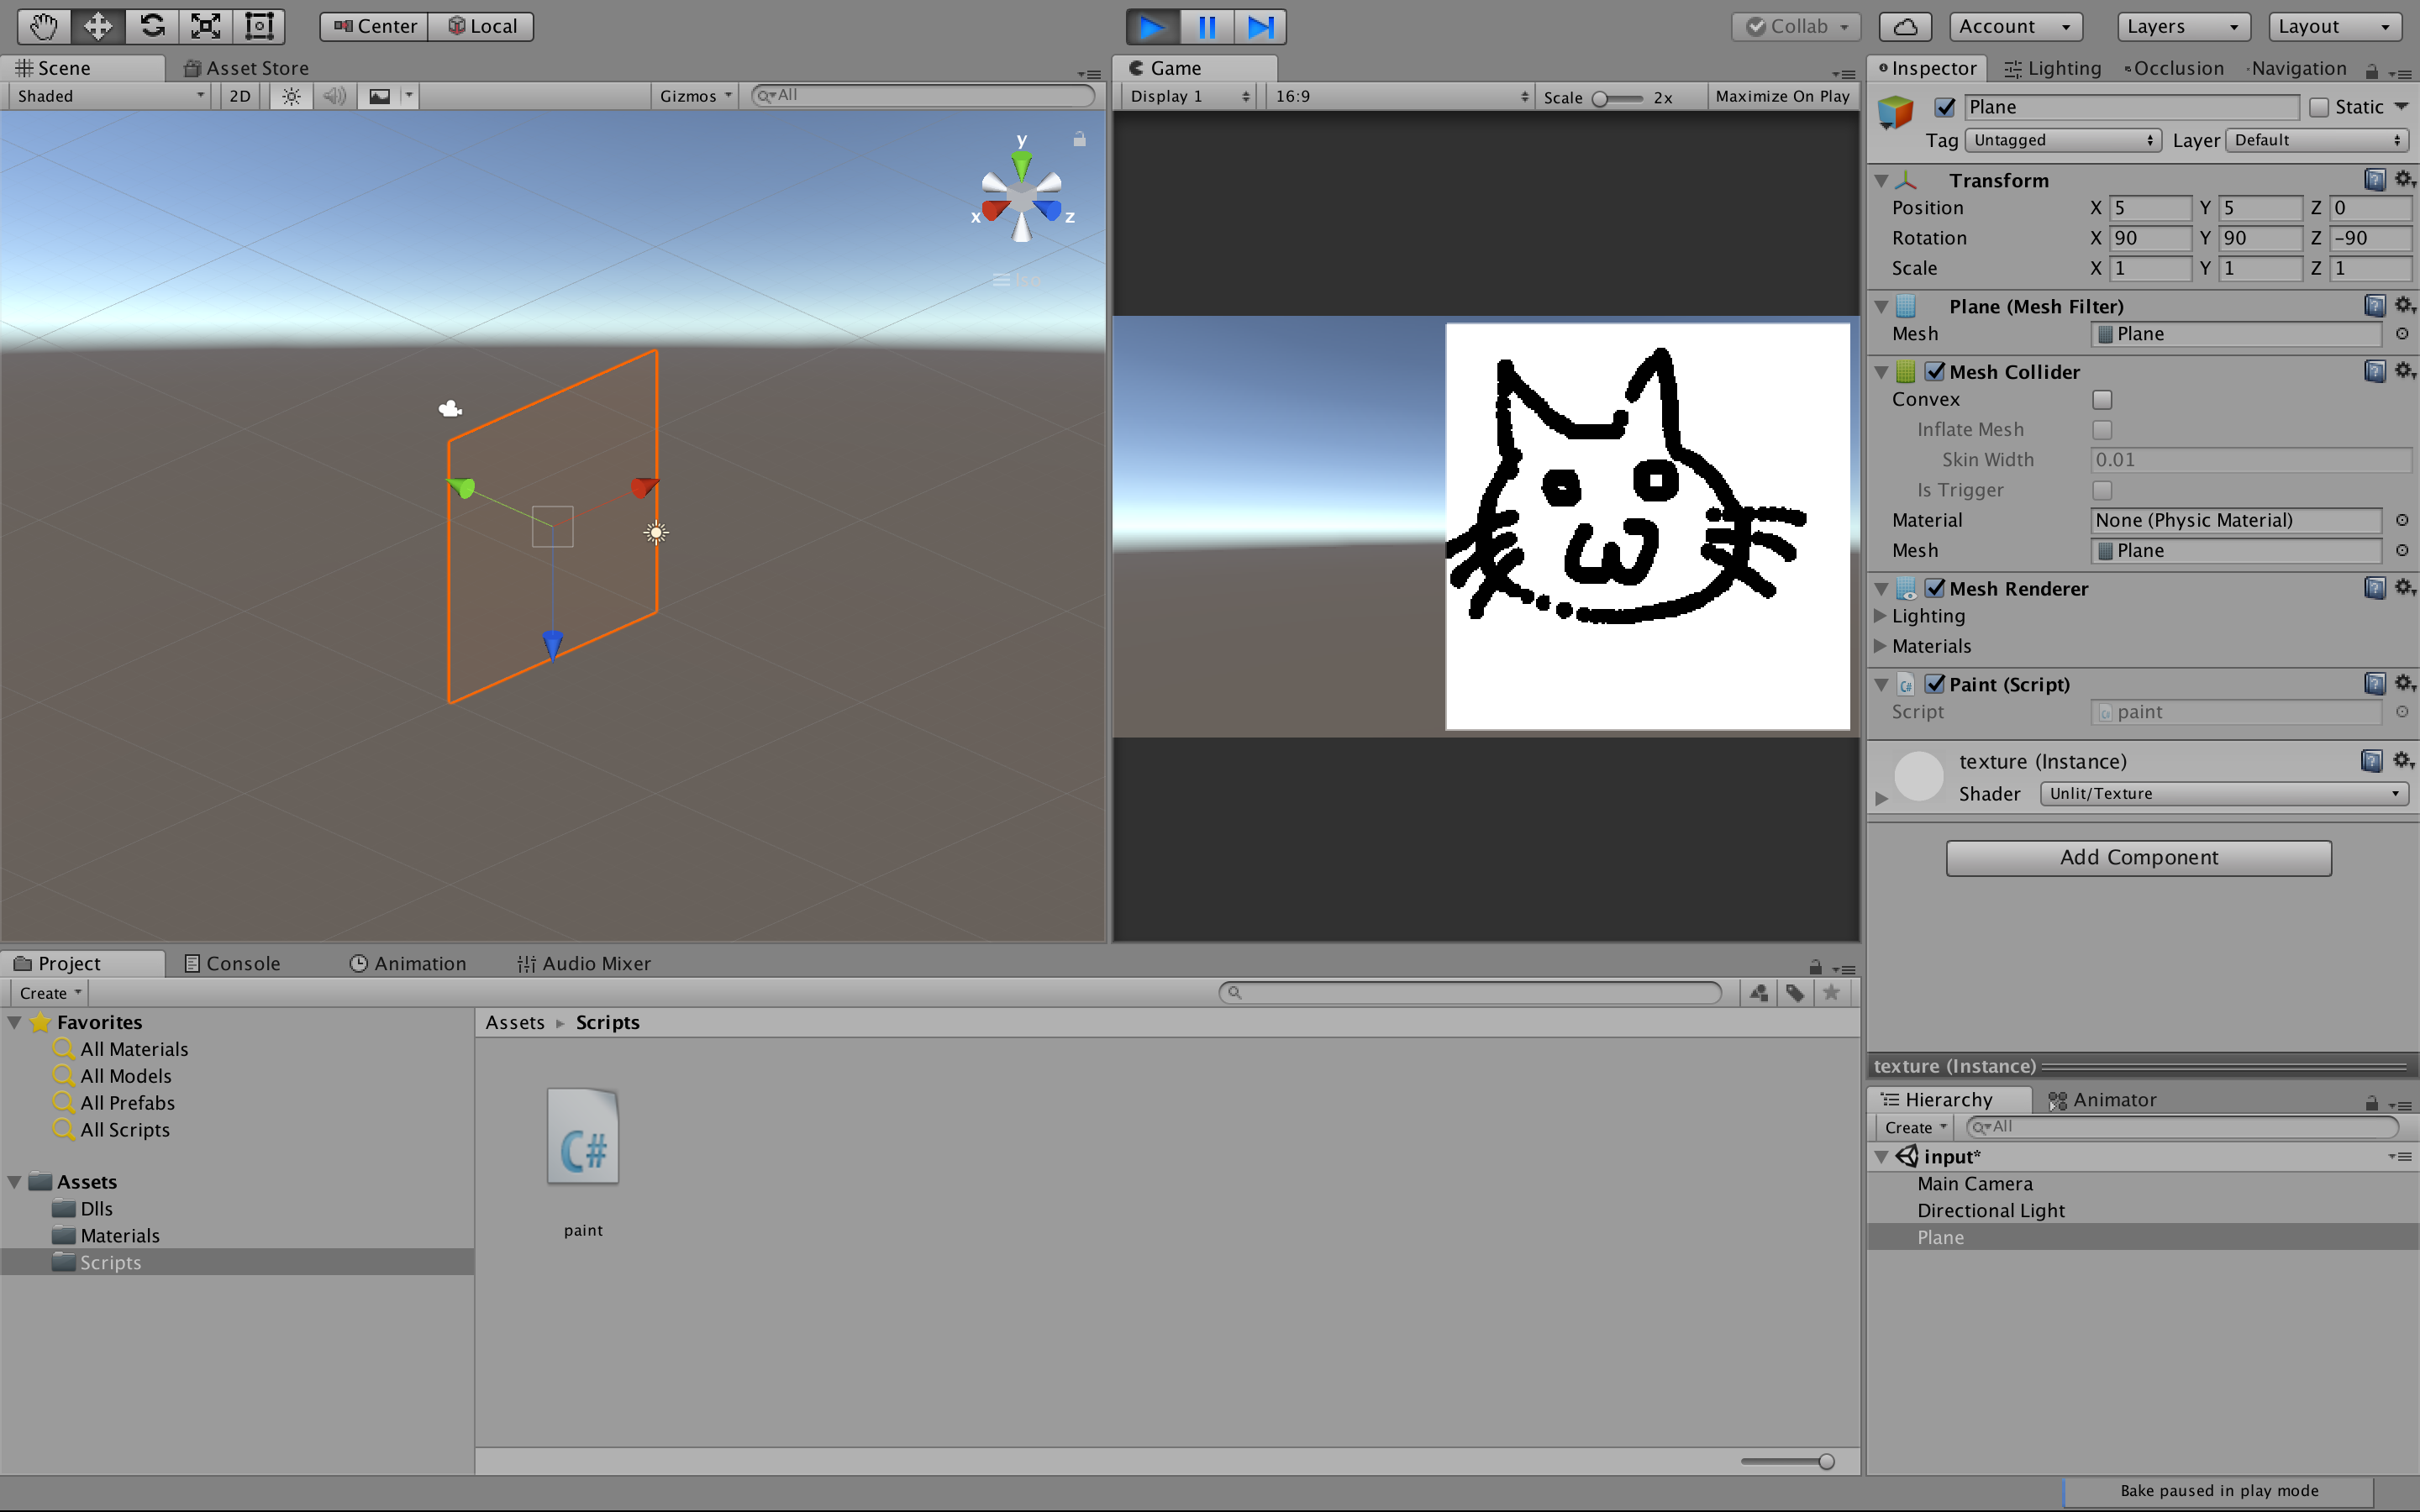
Add a plane to be an input pad.
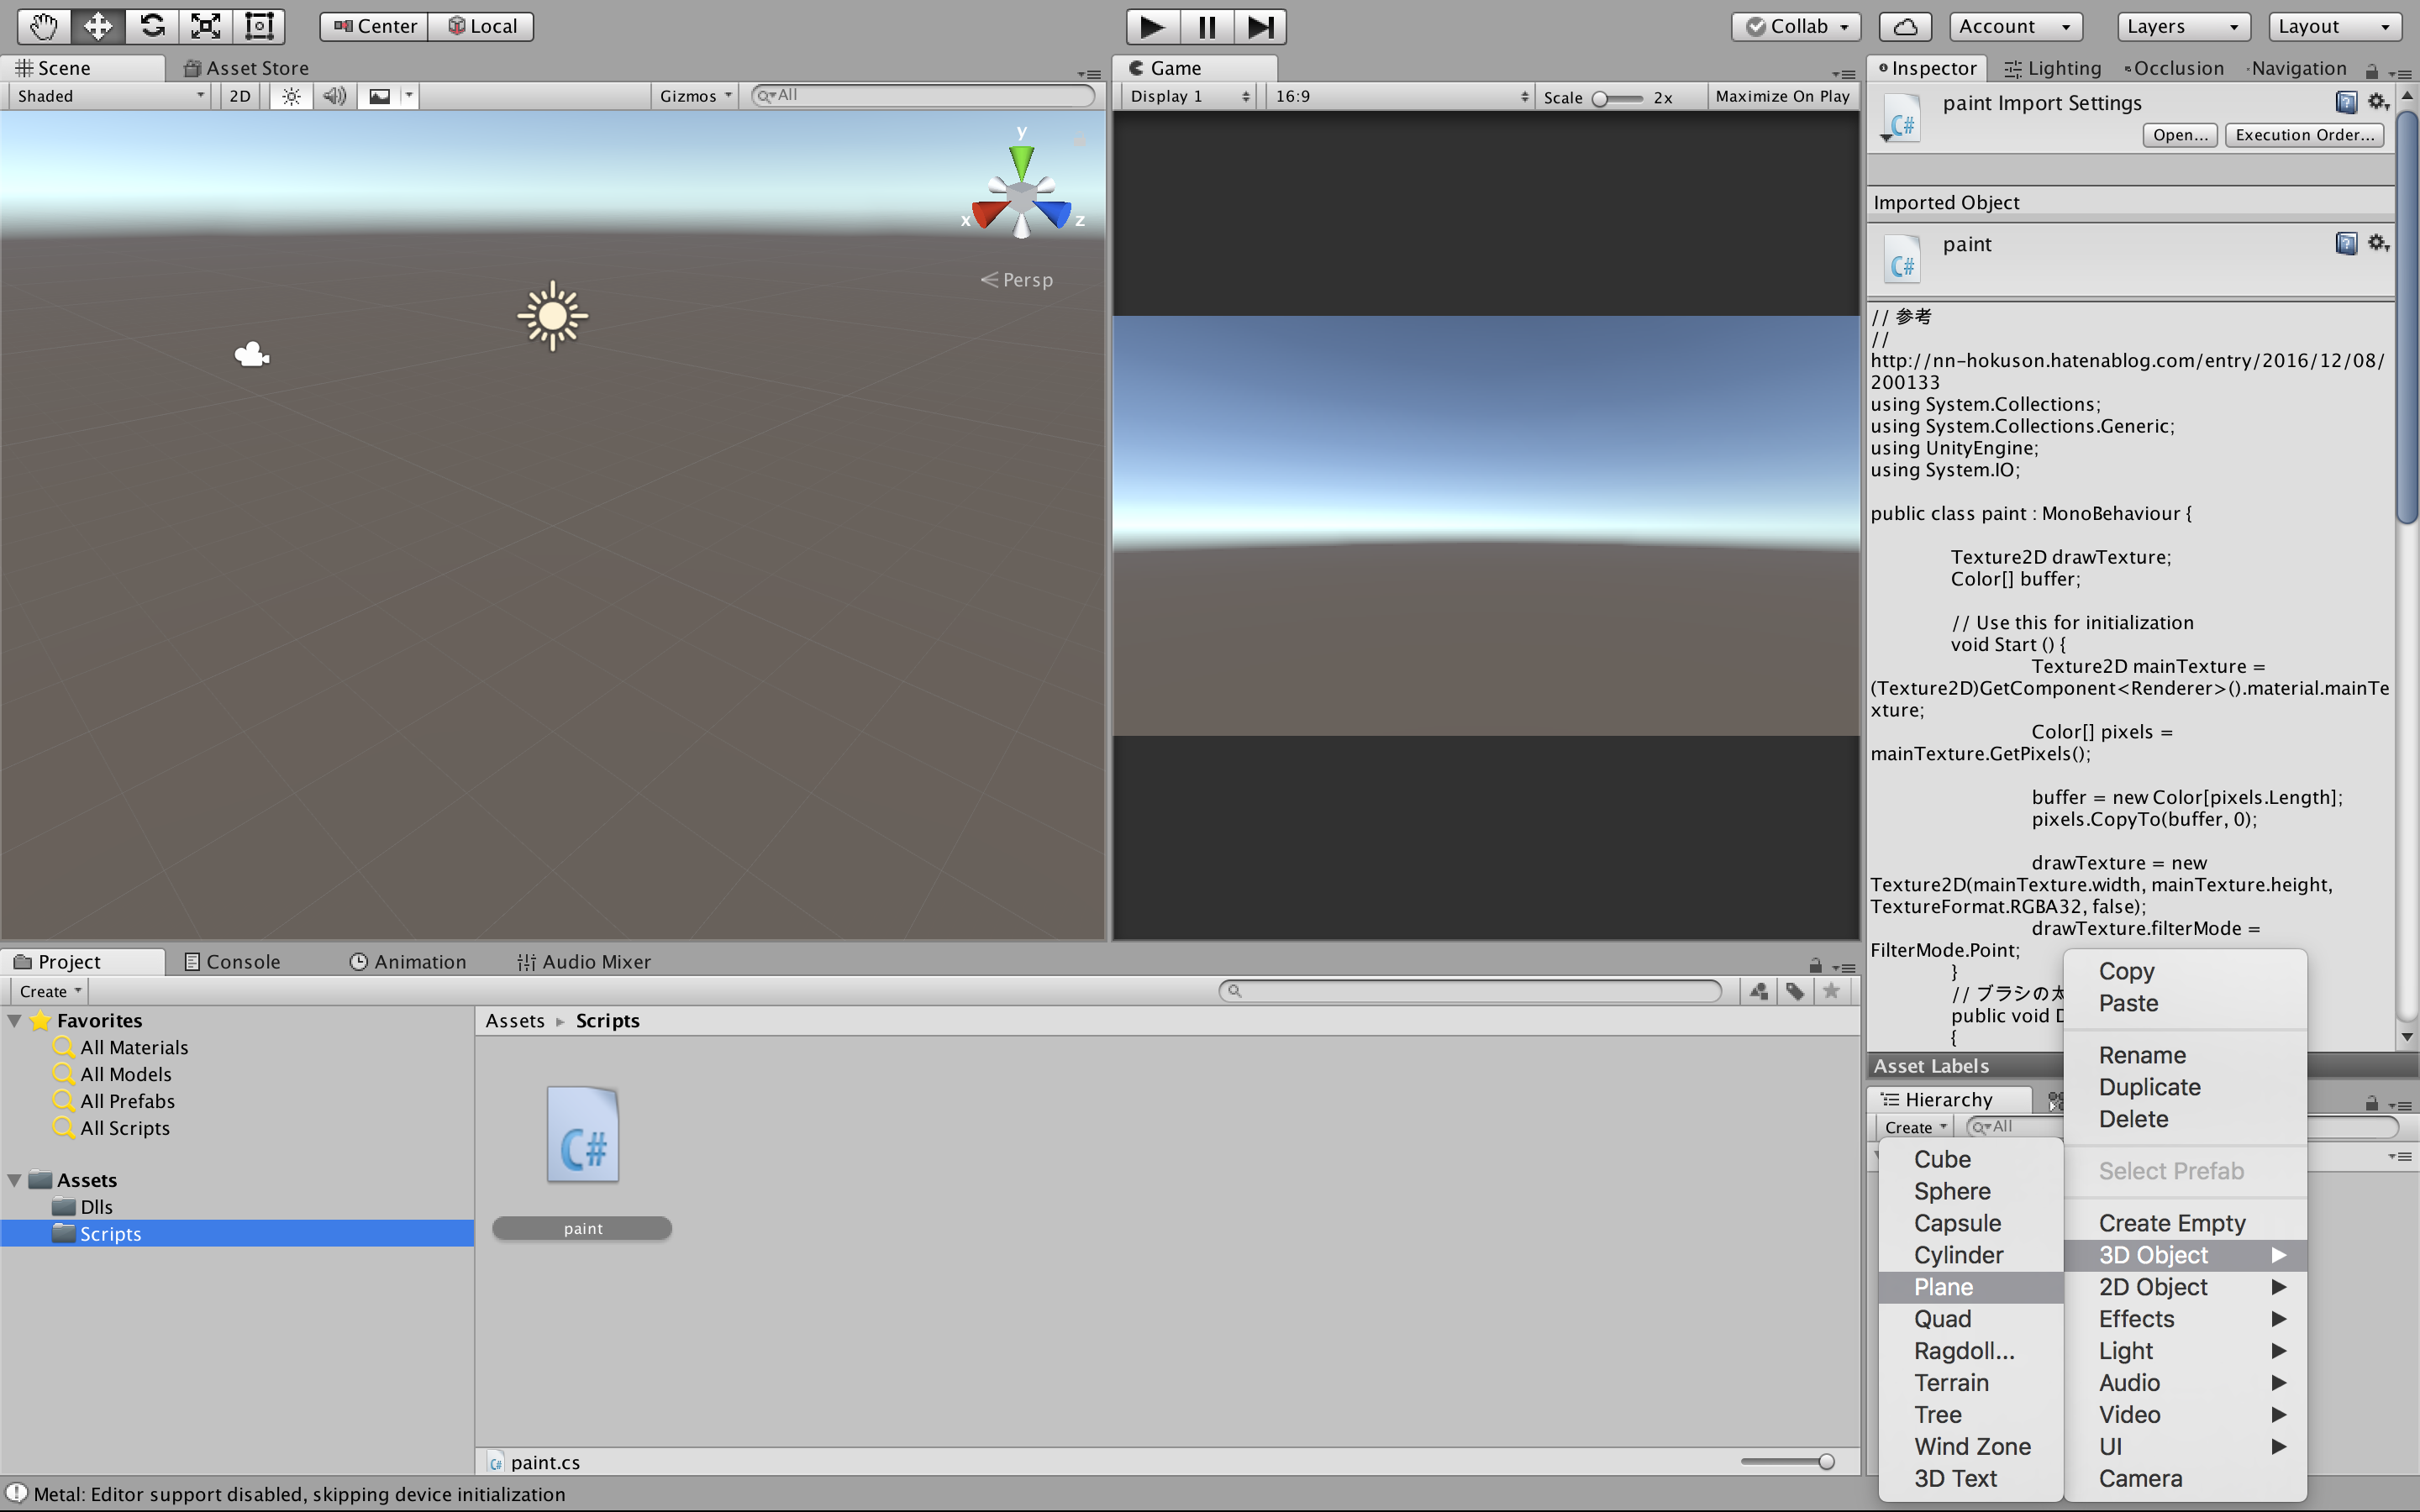
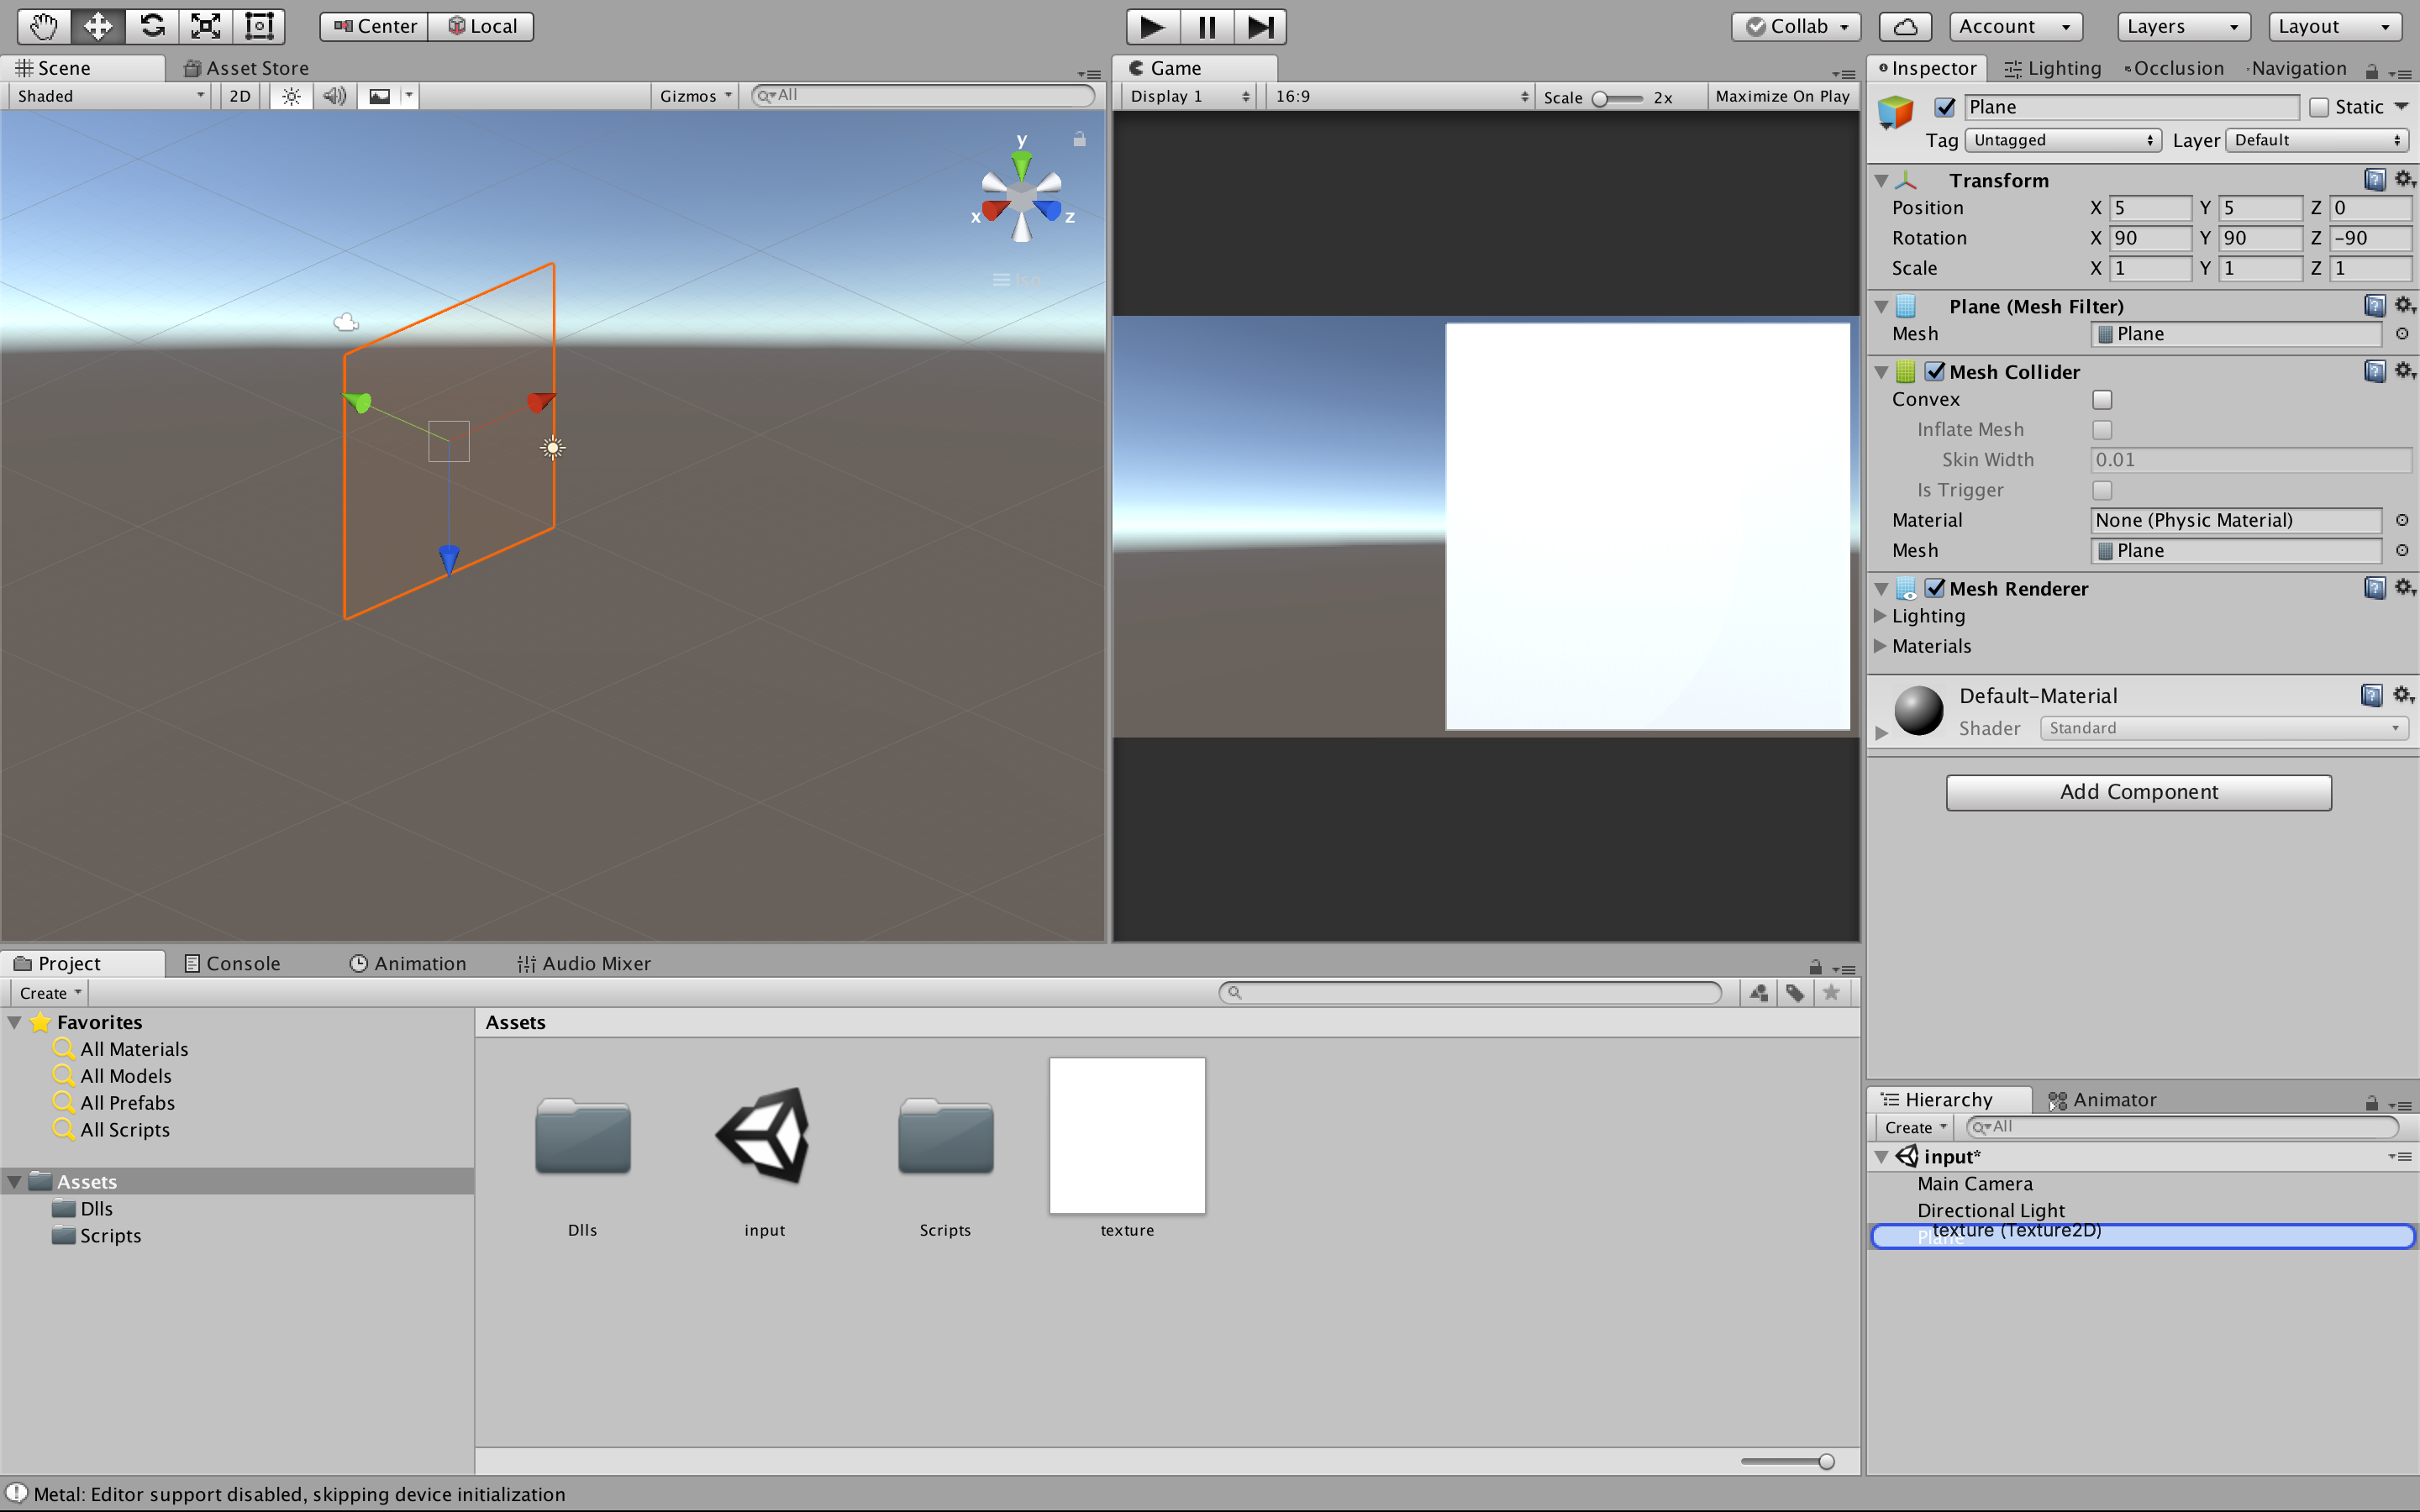
Change the position of plane as follows.
Operate Main camera.
X: 1, y: 5, z: -9 is just right.
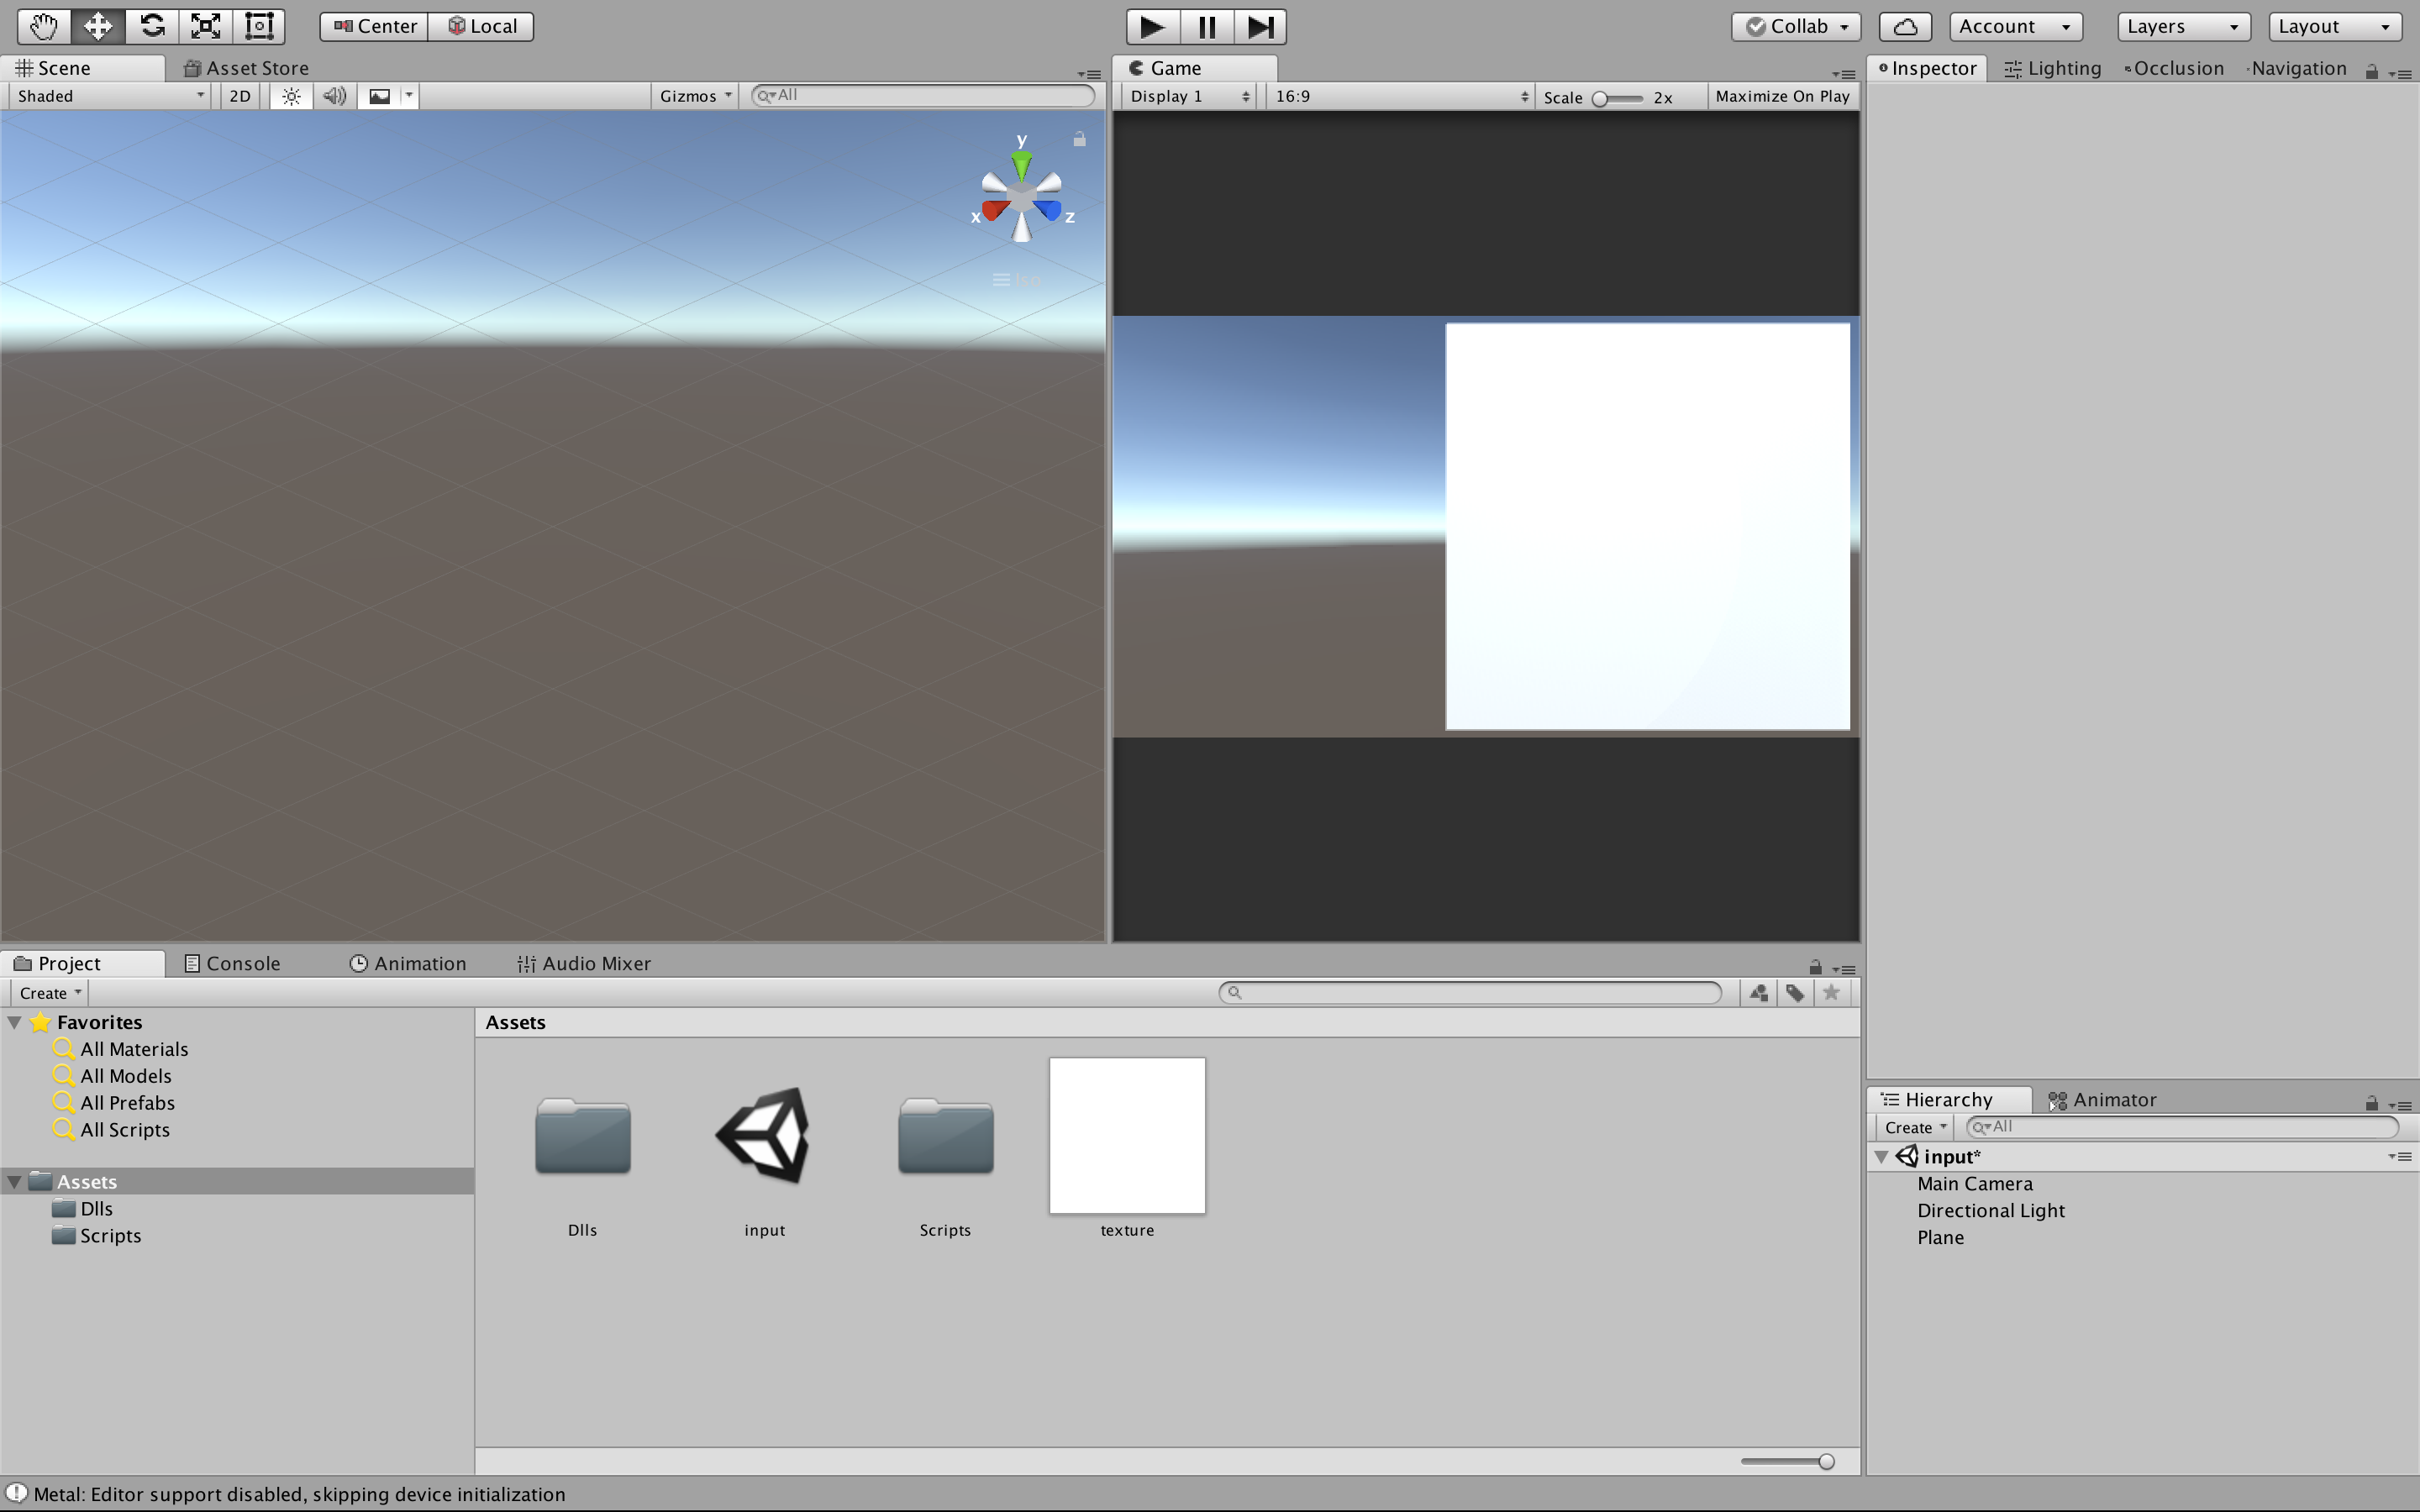
↓Texture image
Place texture.jpg directly under Assets.
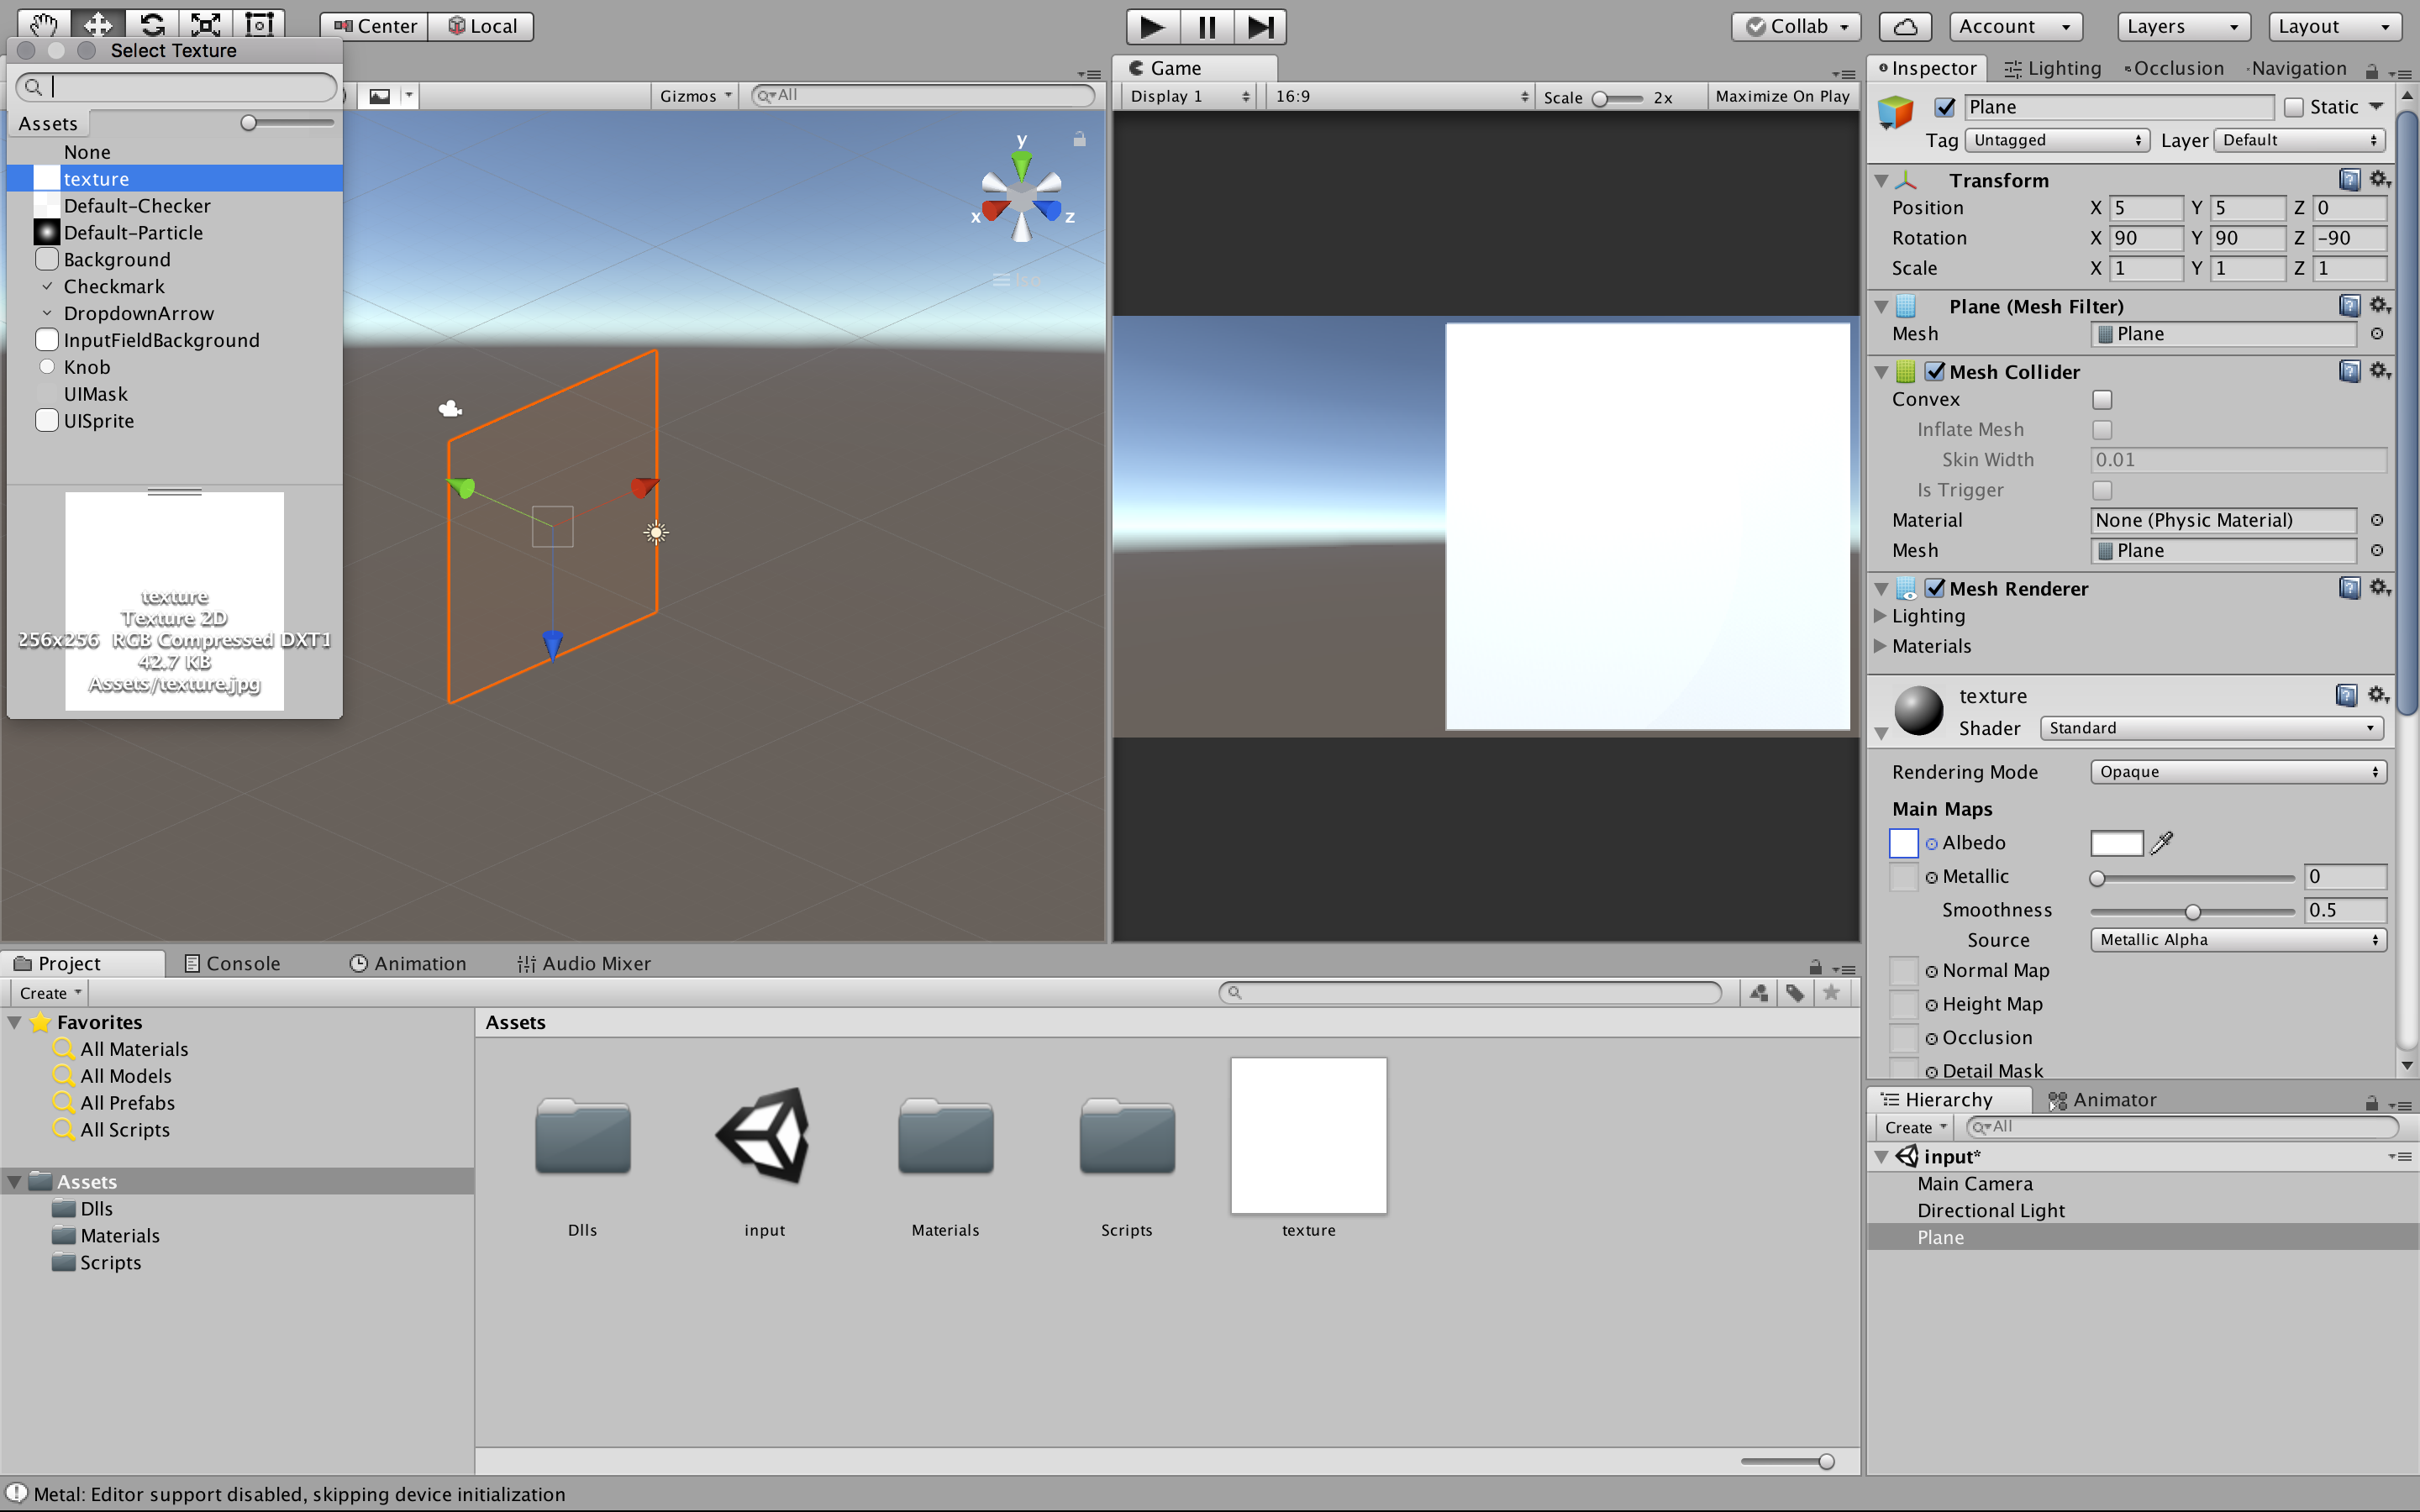
Drag and drop the texture.jpg onto the plane and attach it.
By clicking Albedo you can see that texture.jpg is attached.
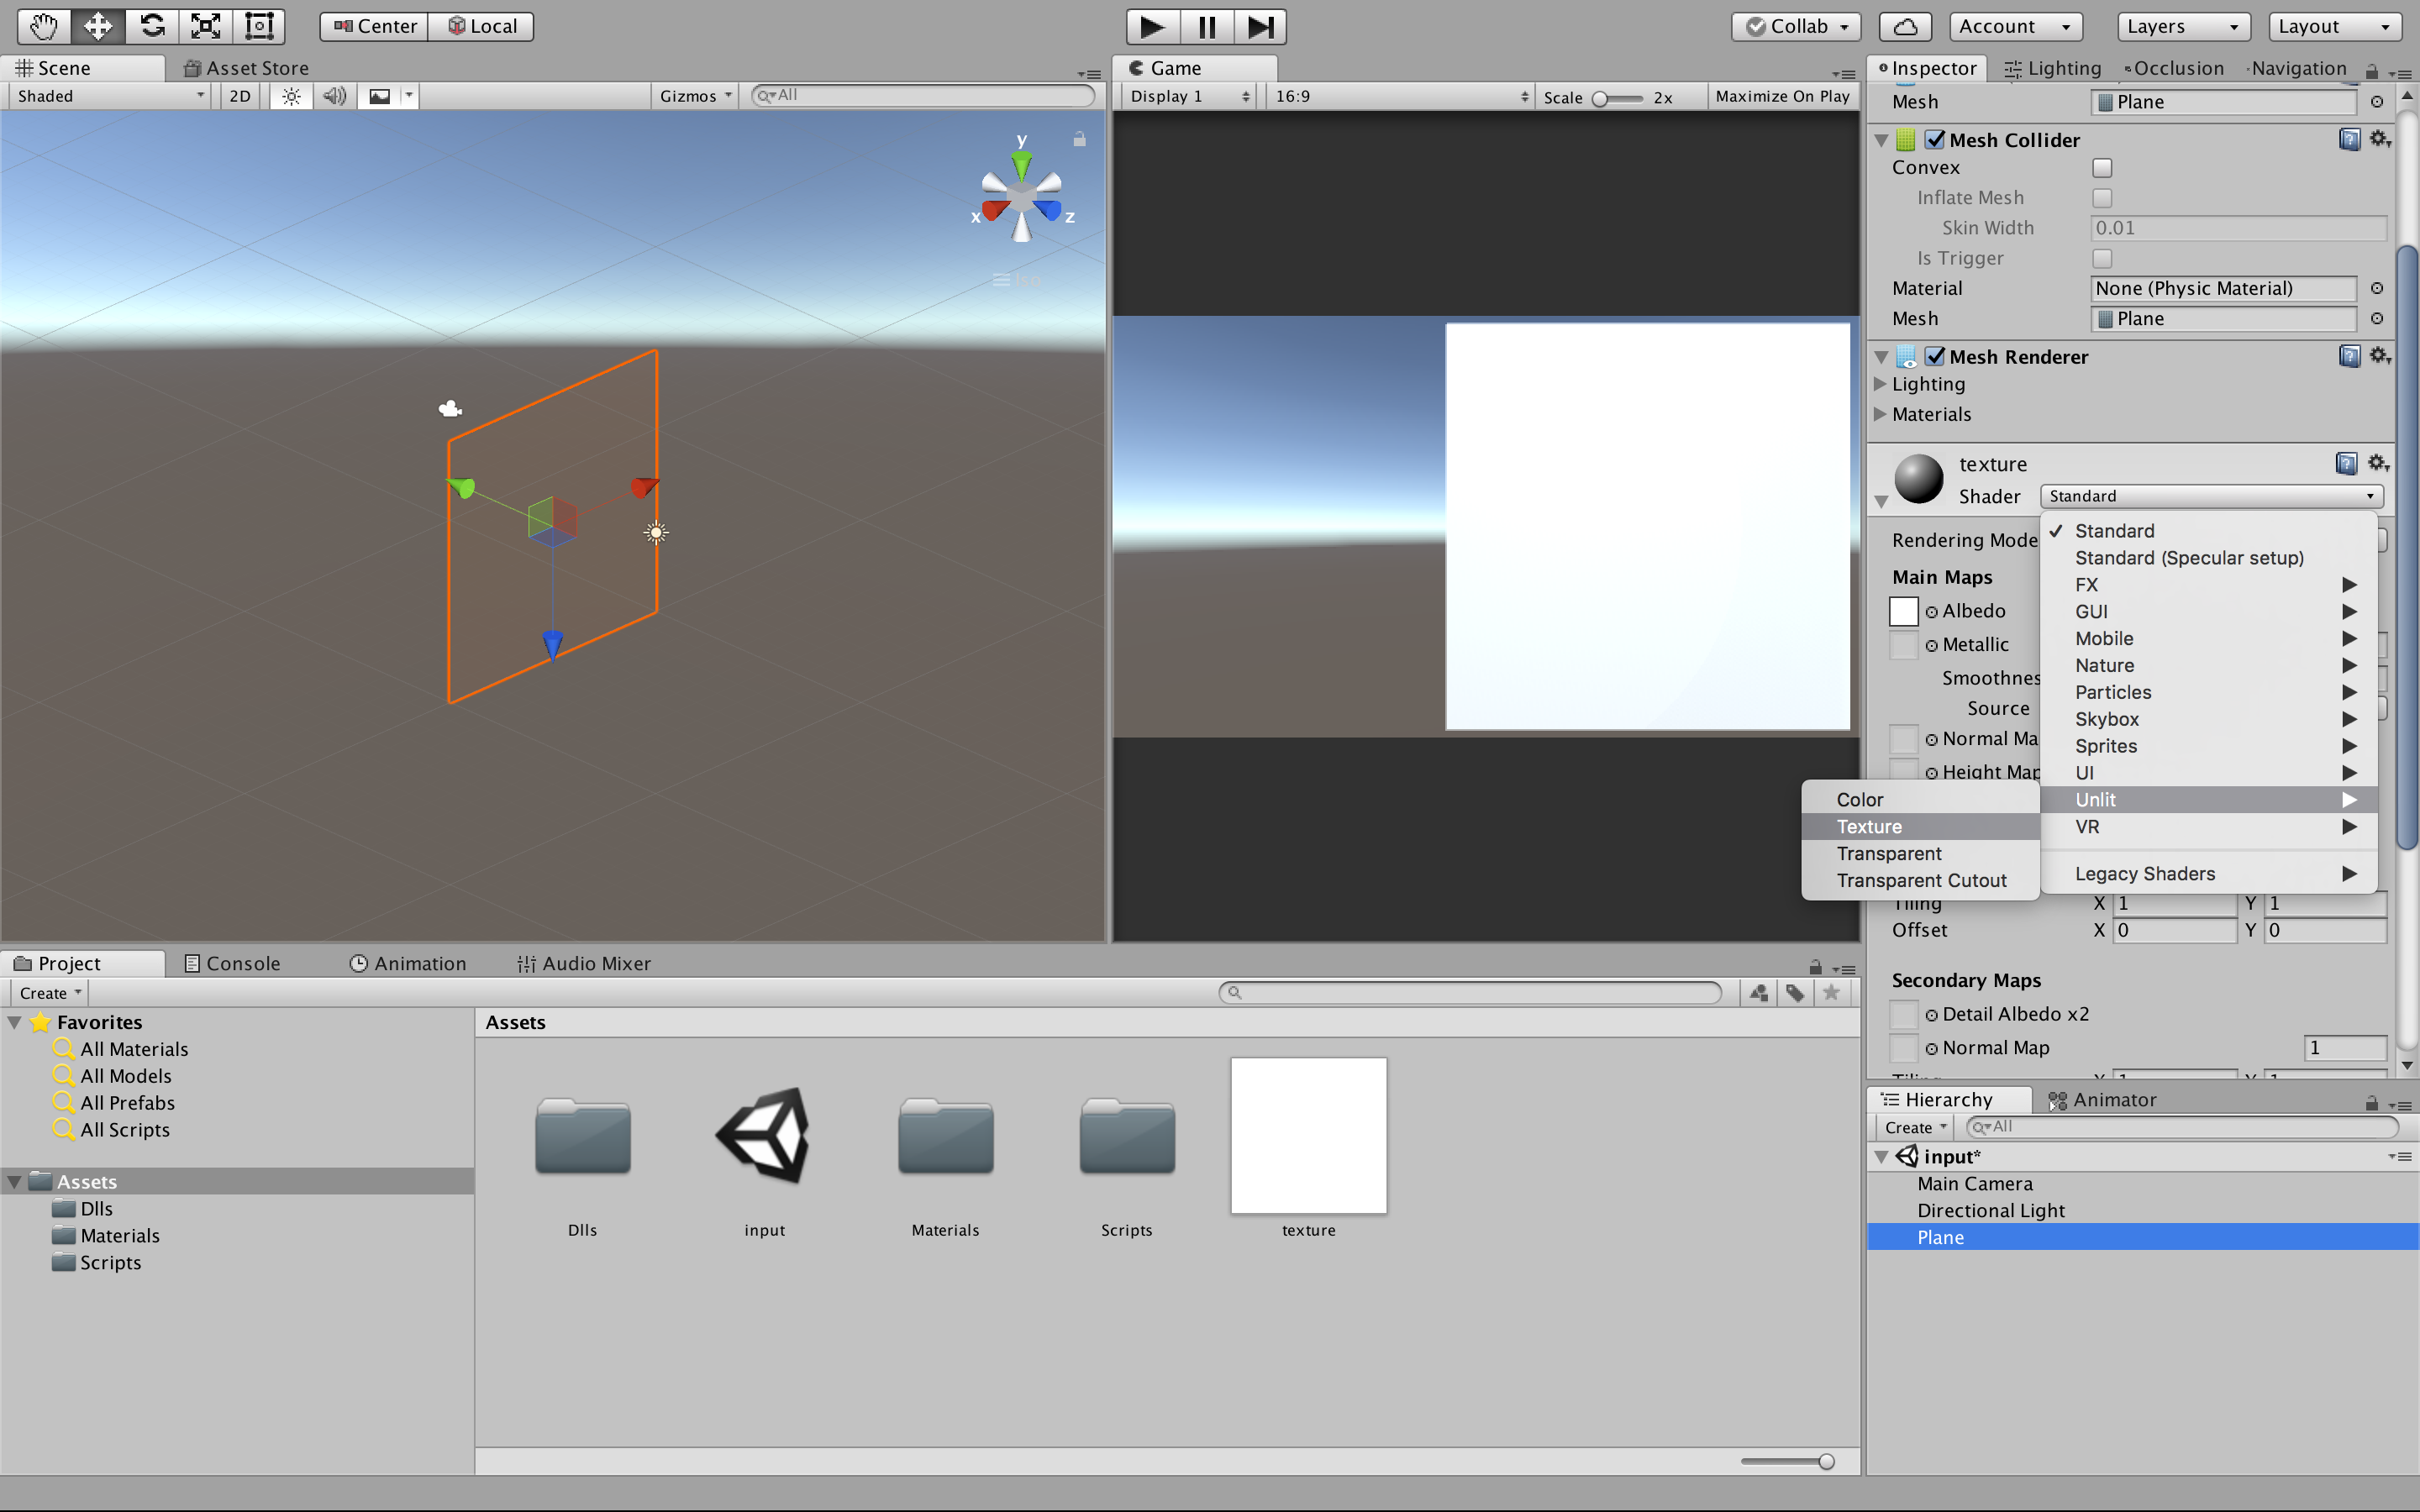
Change Shader from Standard to Unit -> Texture.
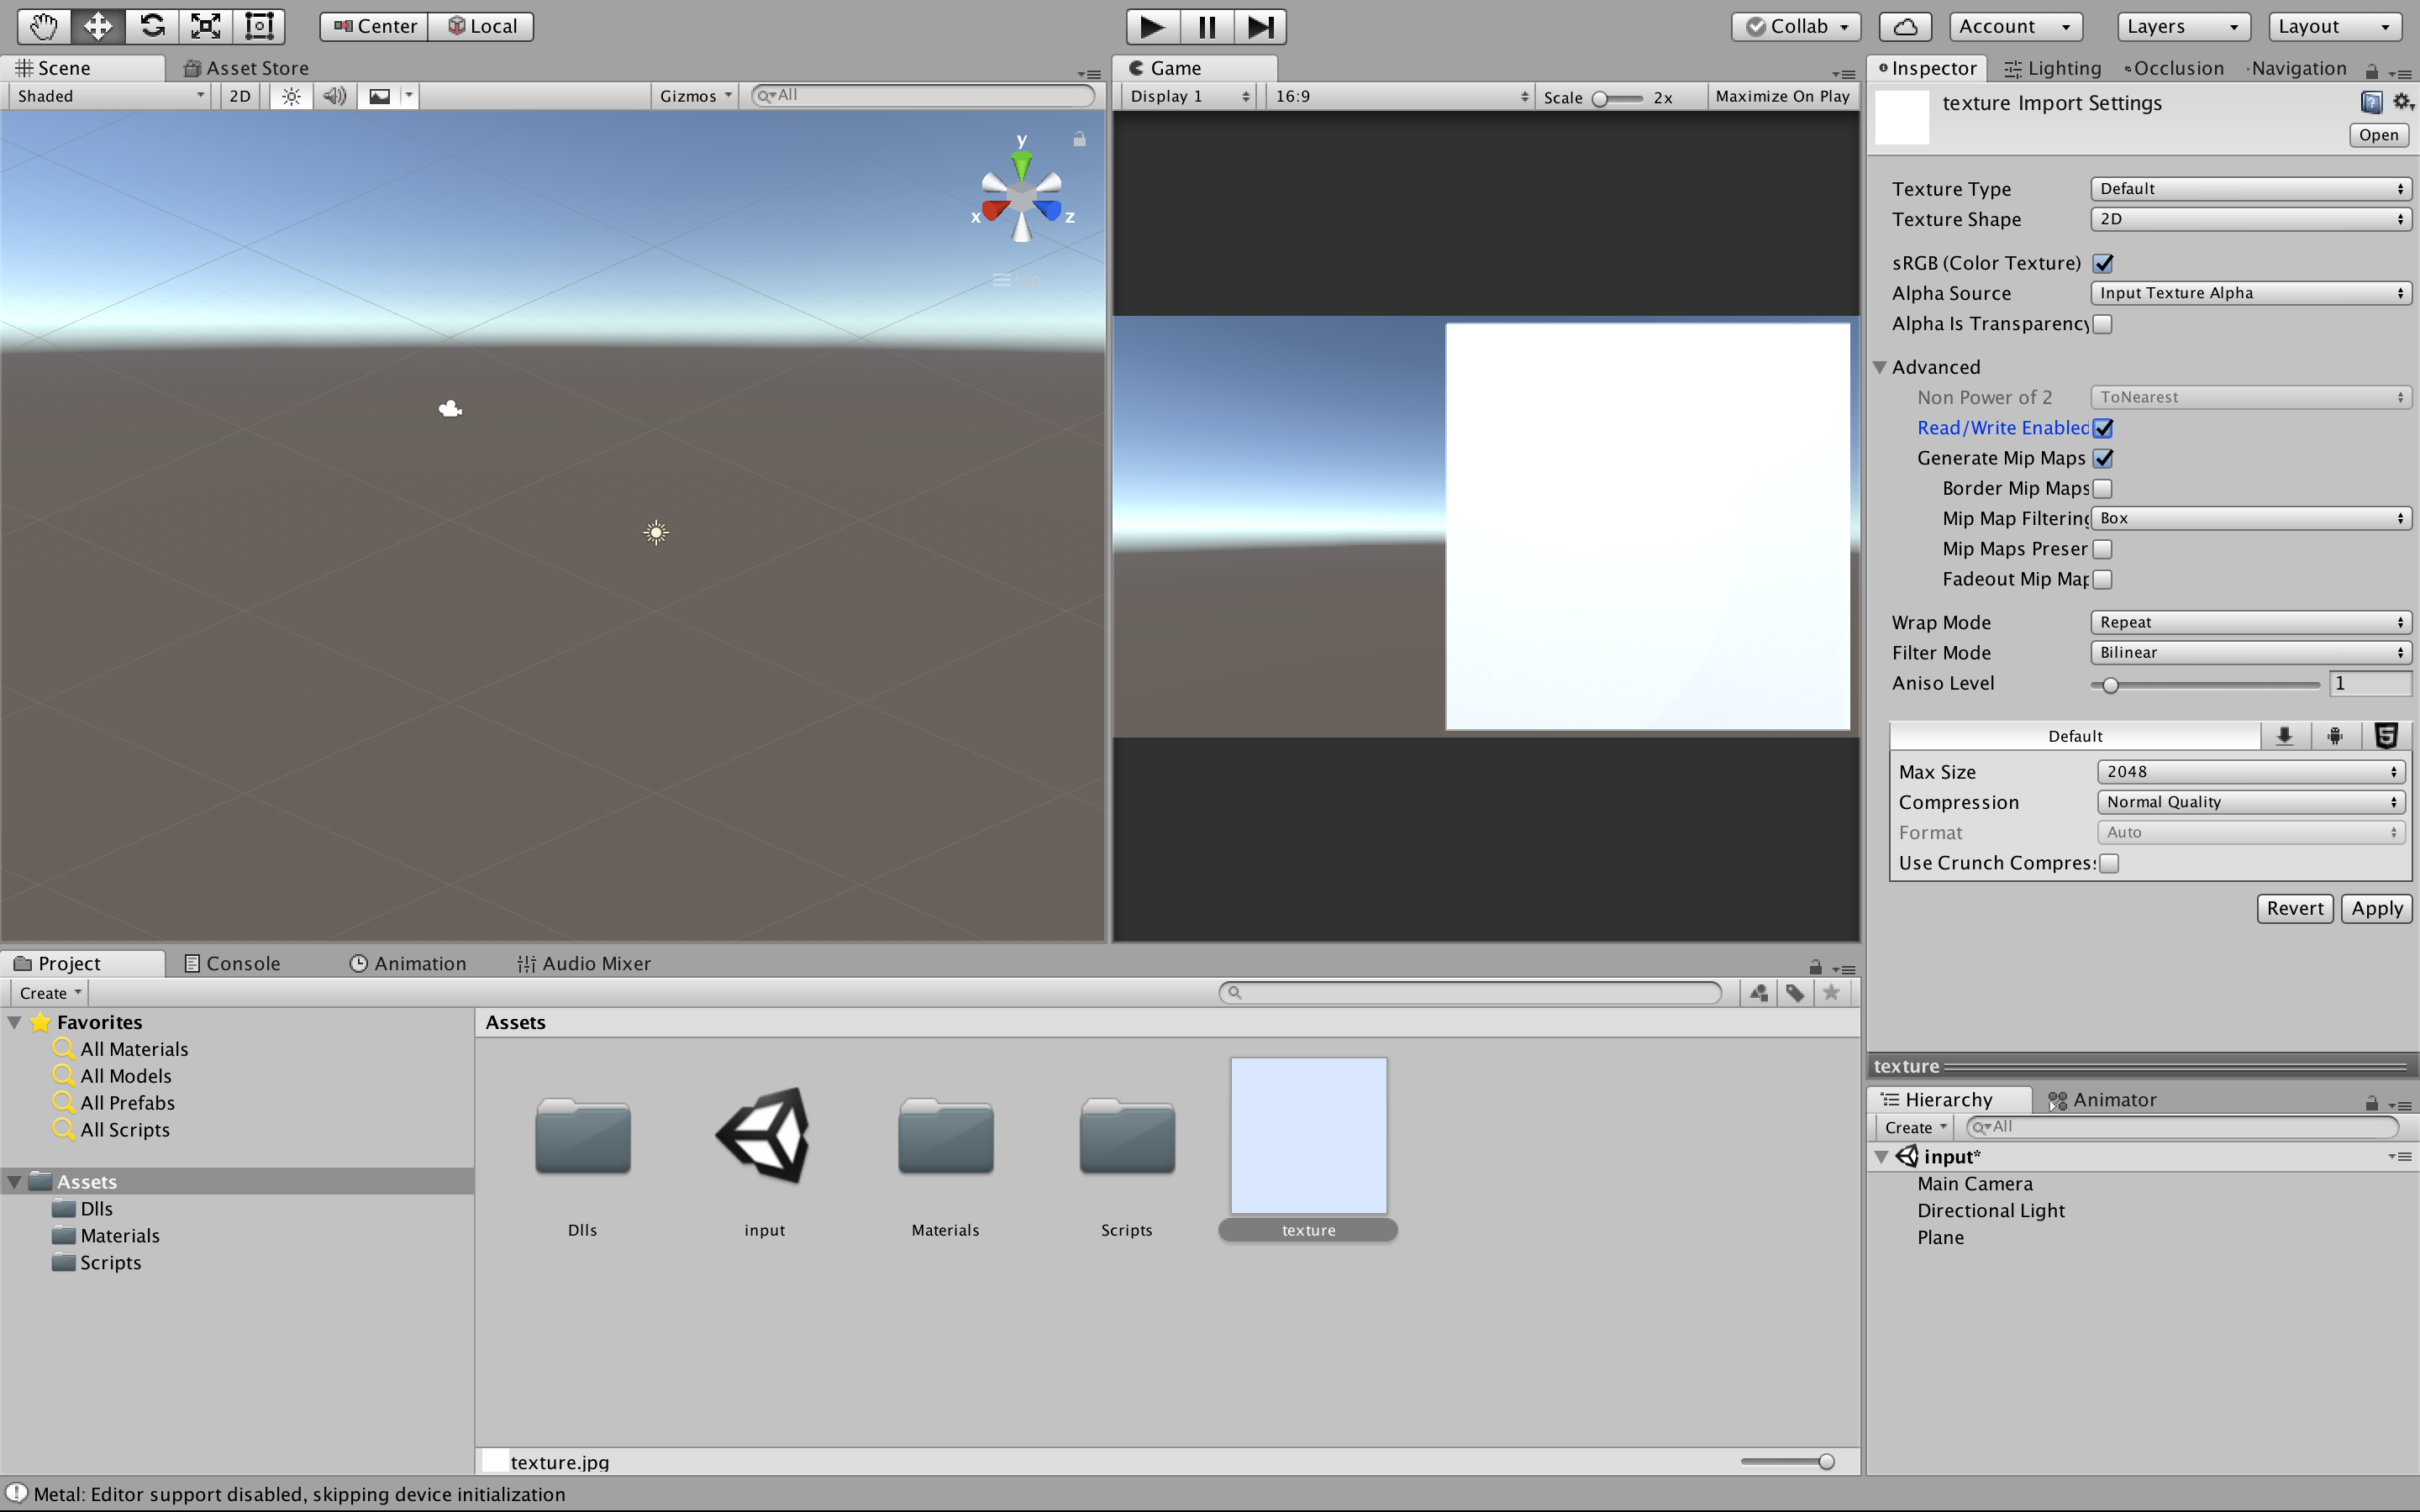
Next select texture.jpg and check [Read / Write Enabled].
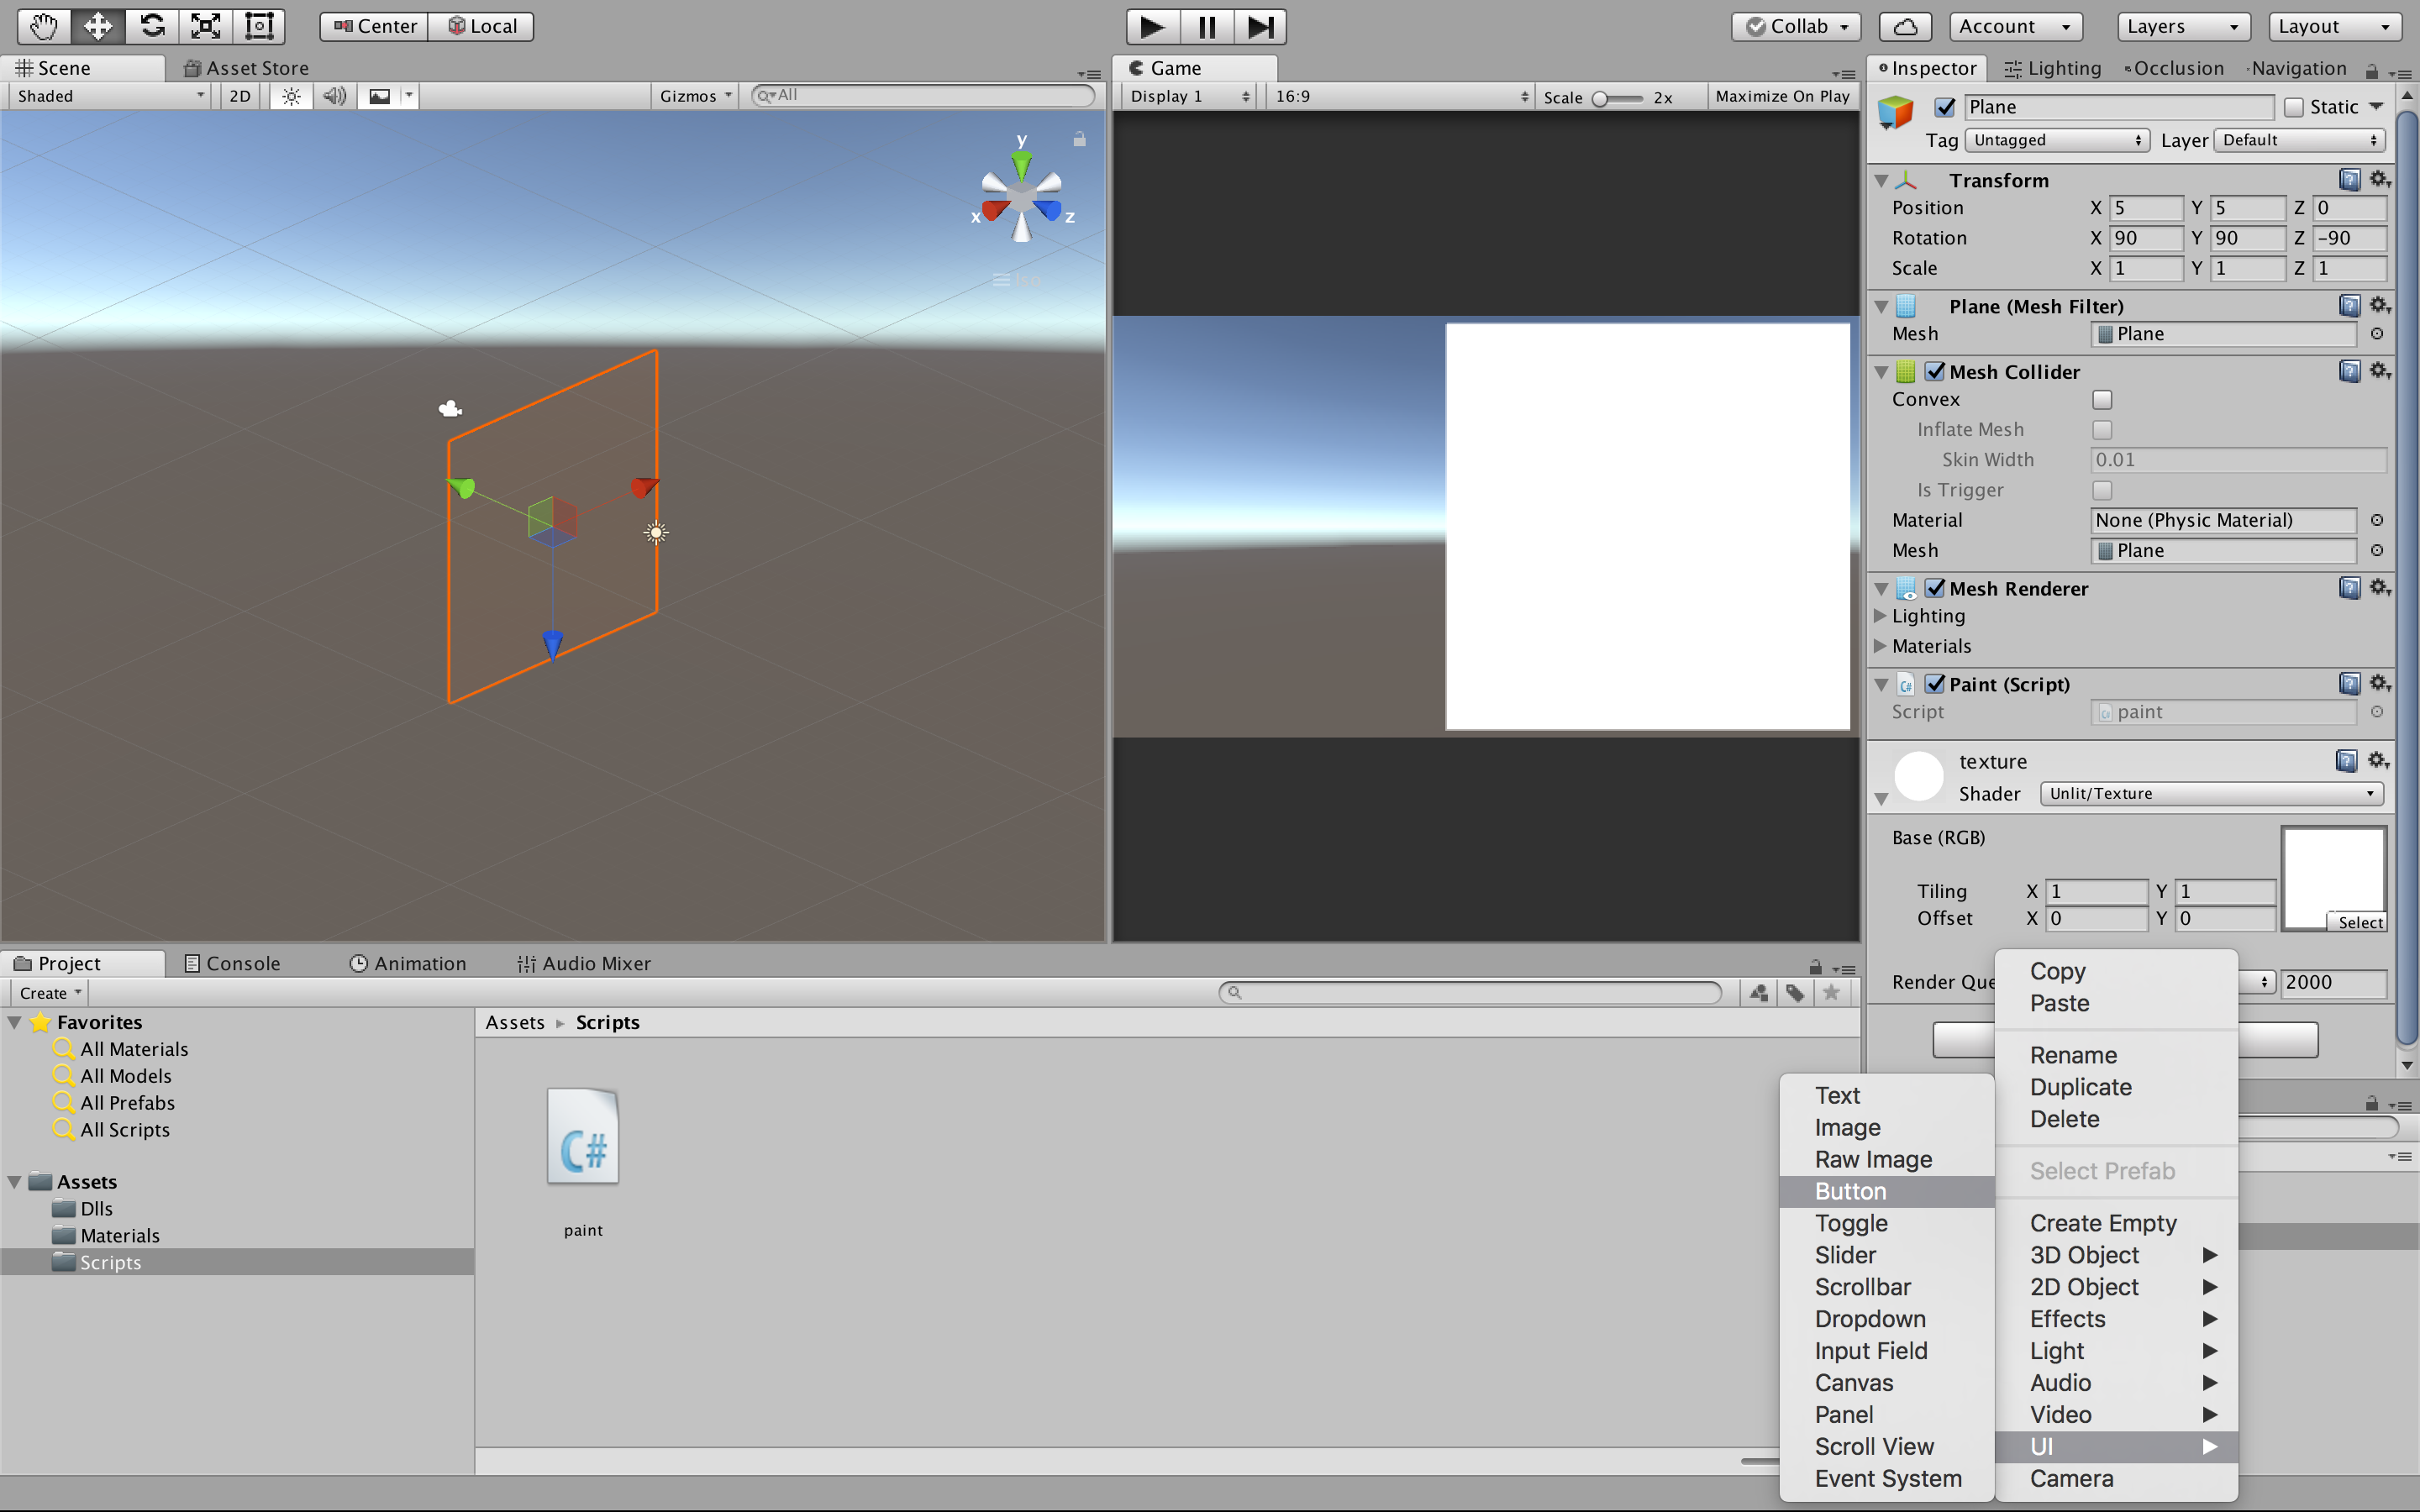
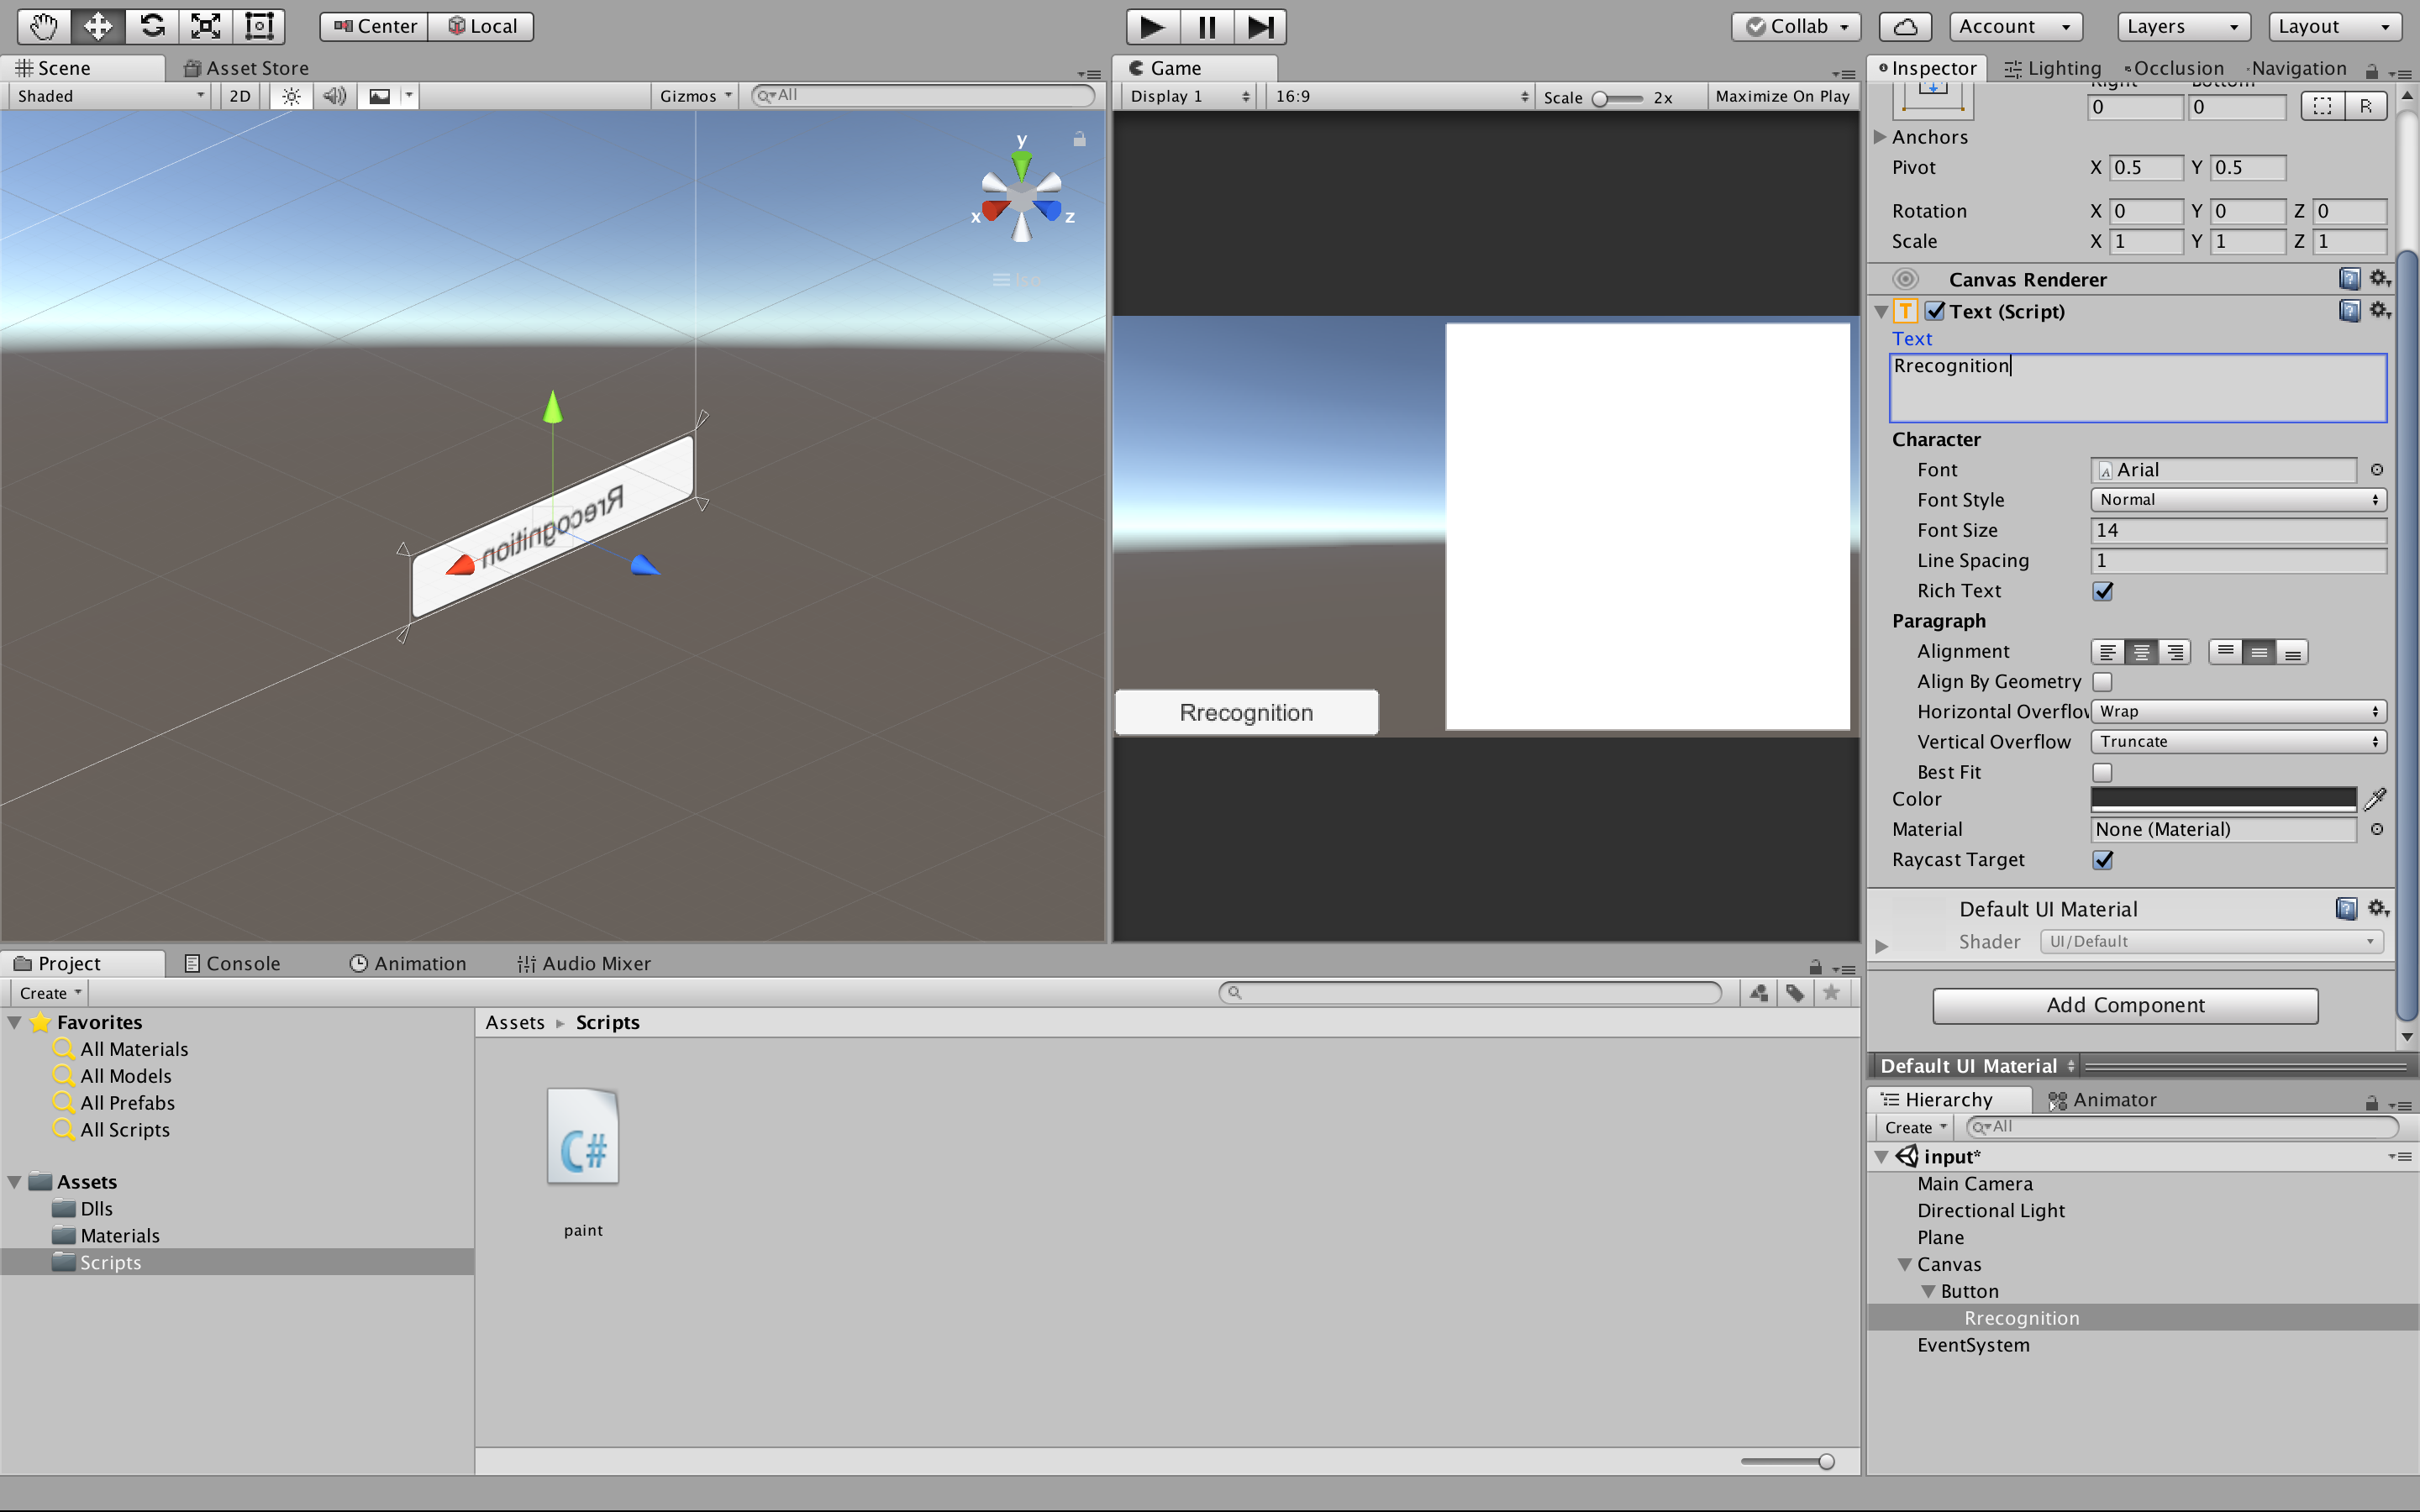
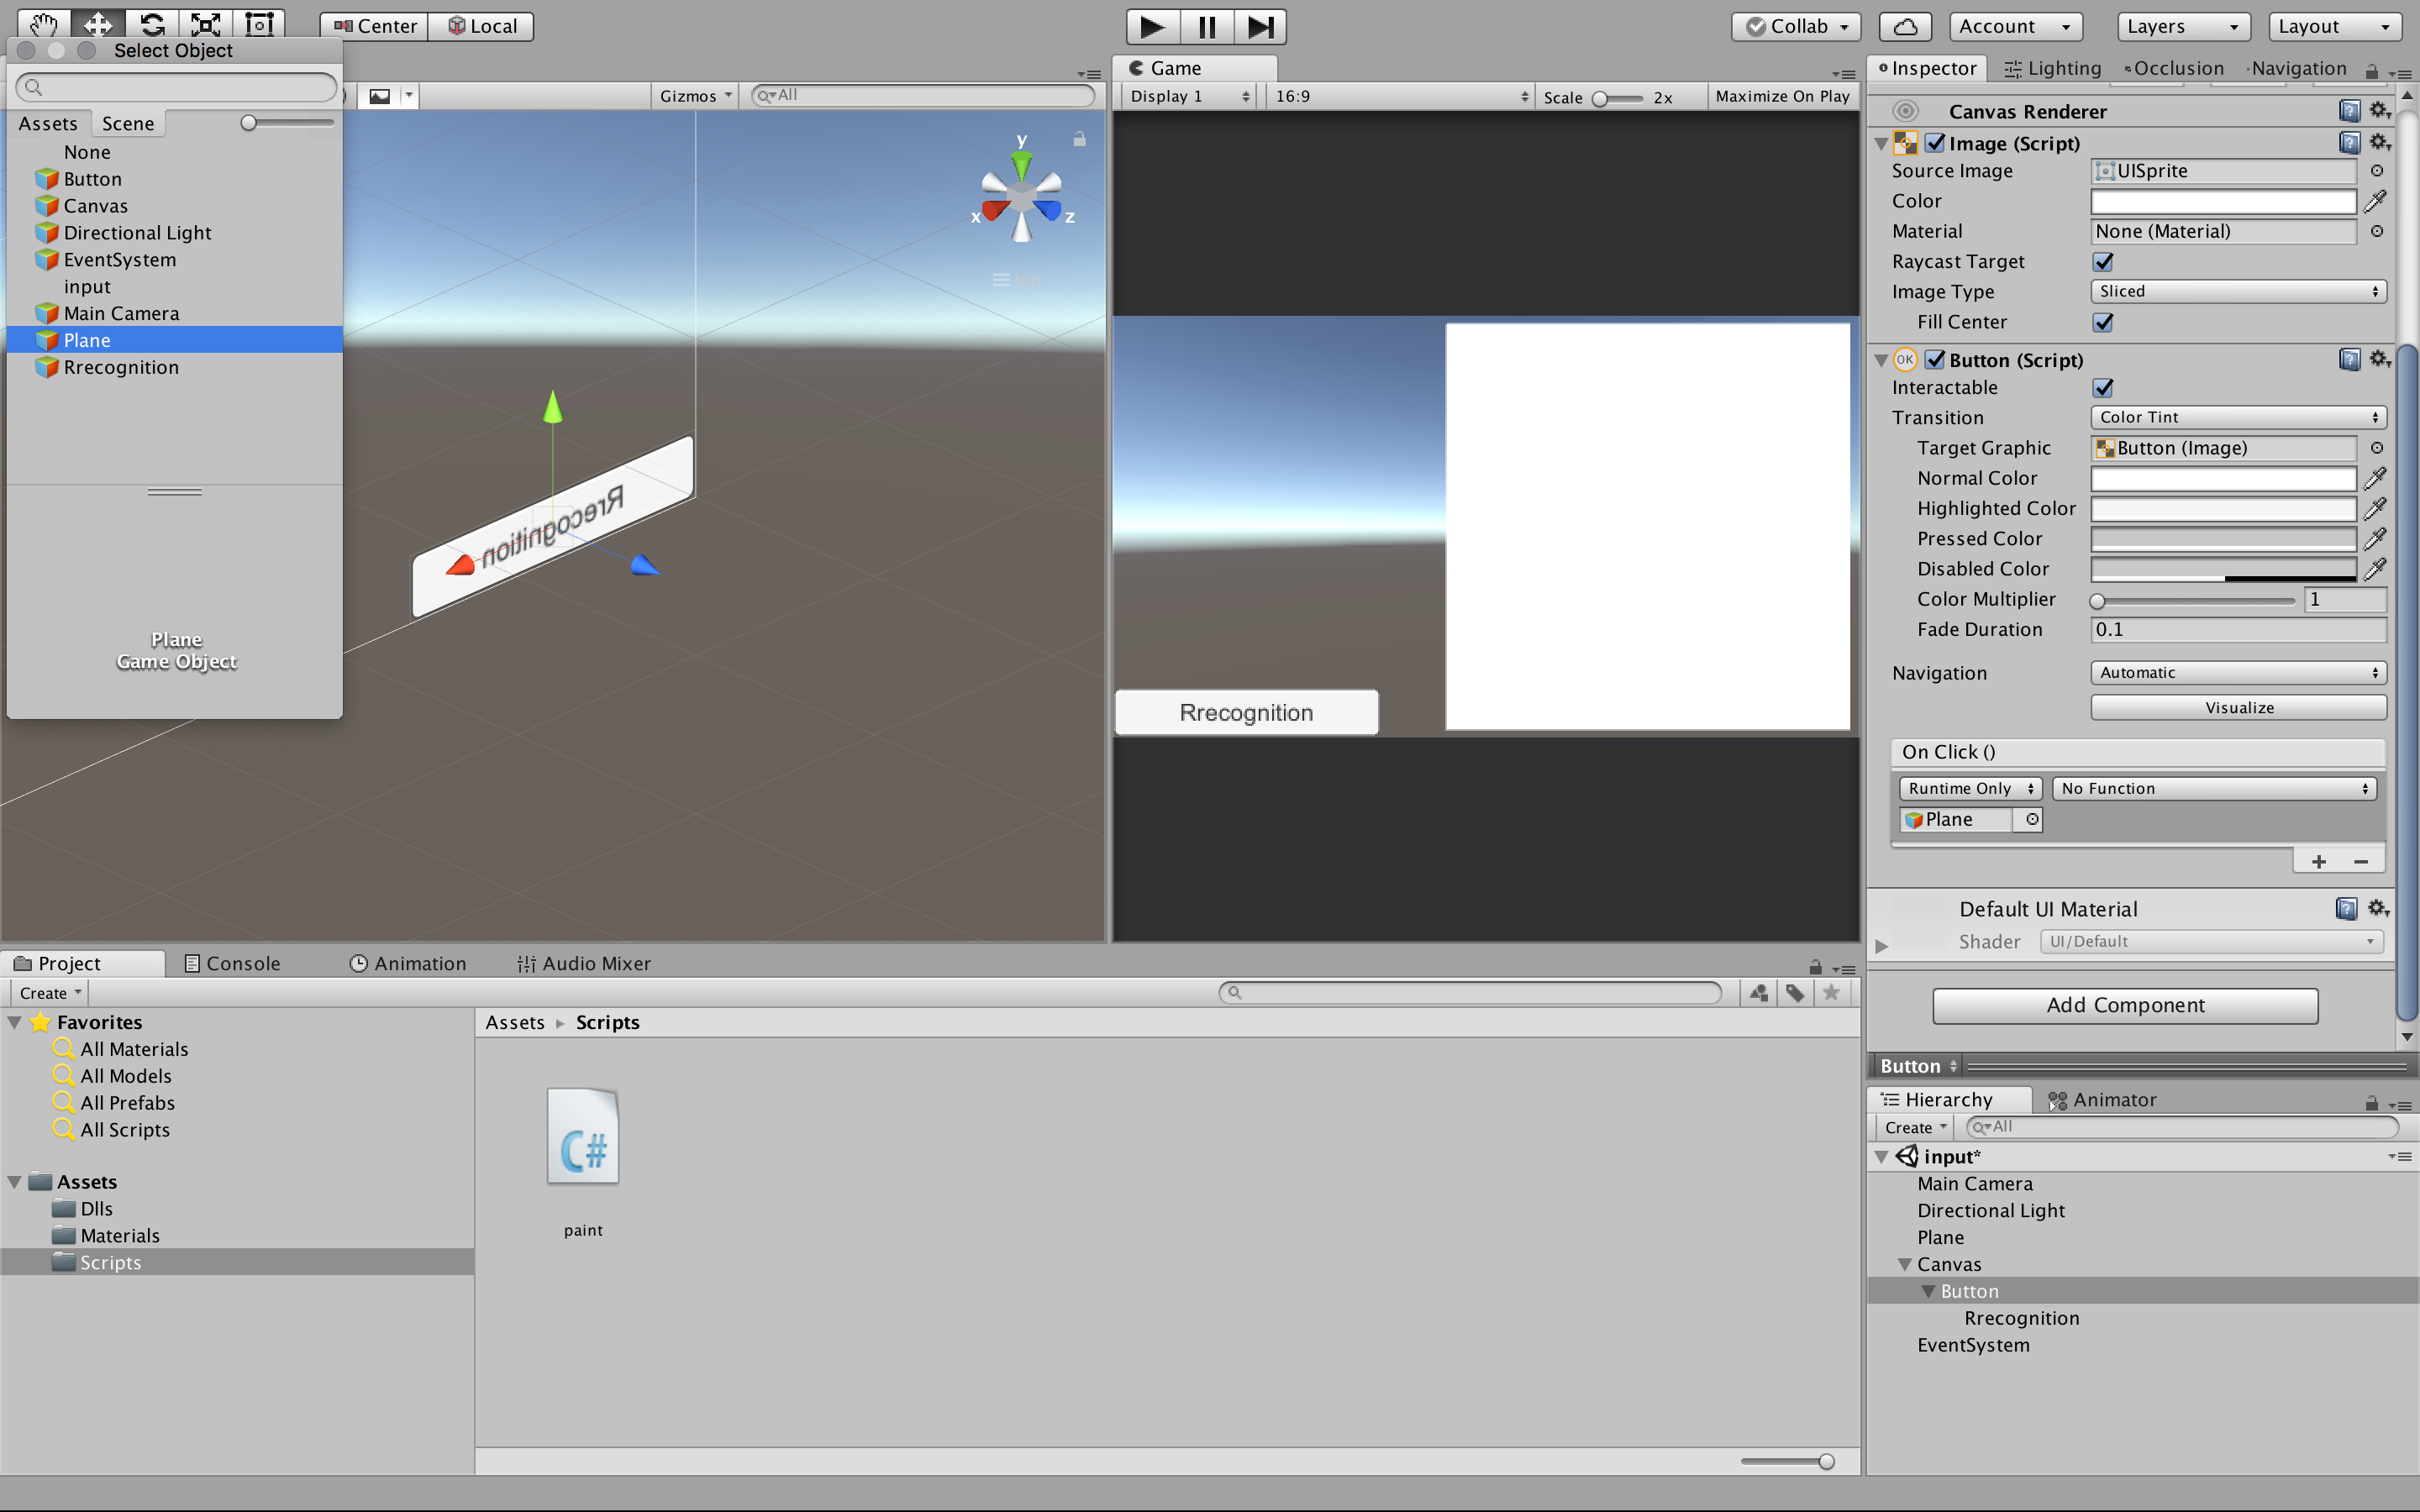
Set the text of the button to Rrecognition.
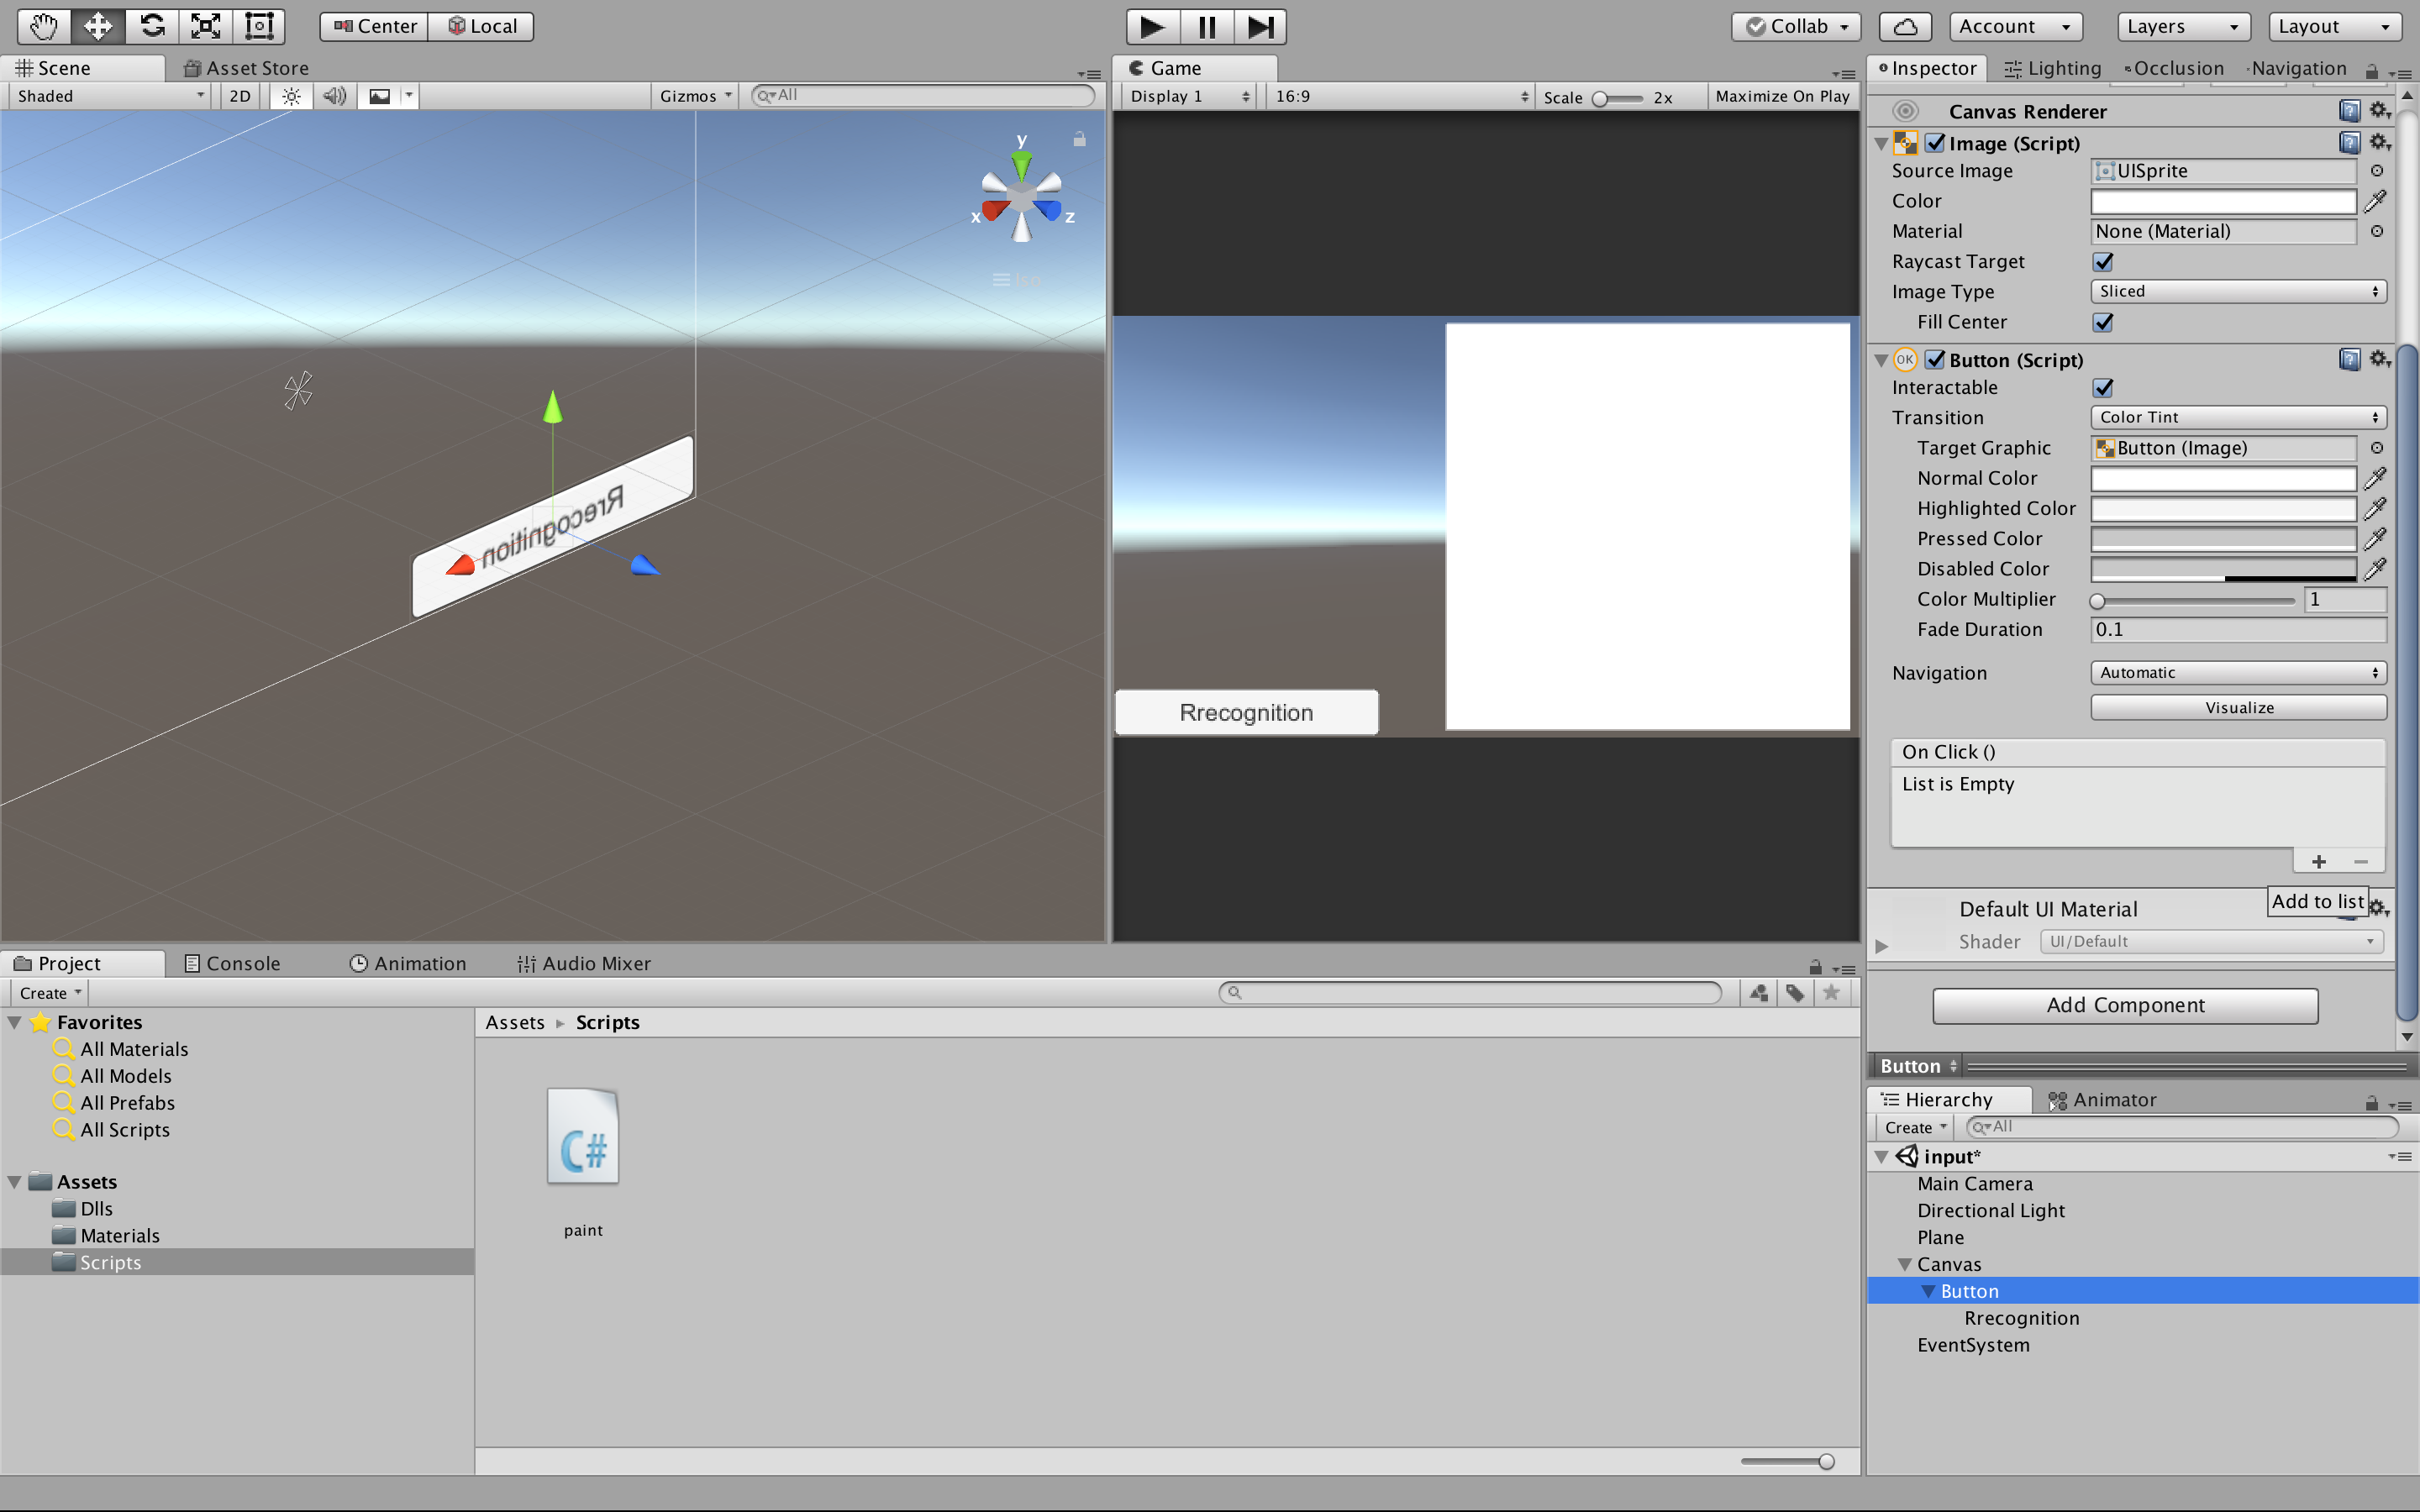
Set onclick of the button.
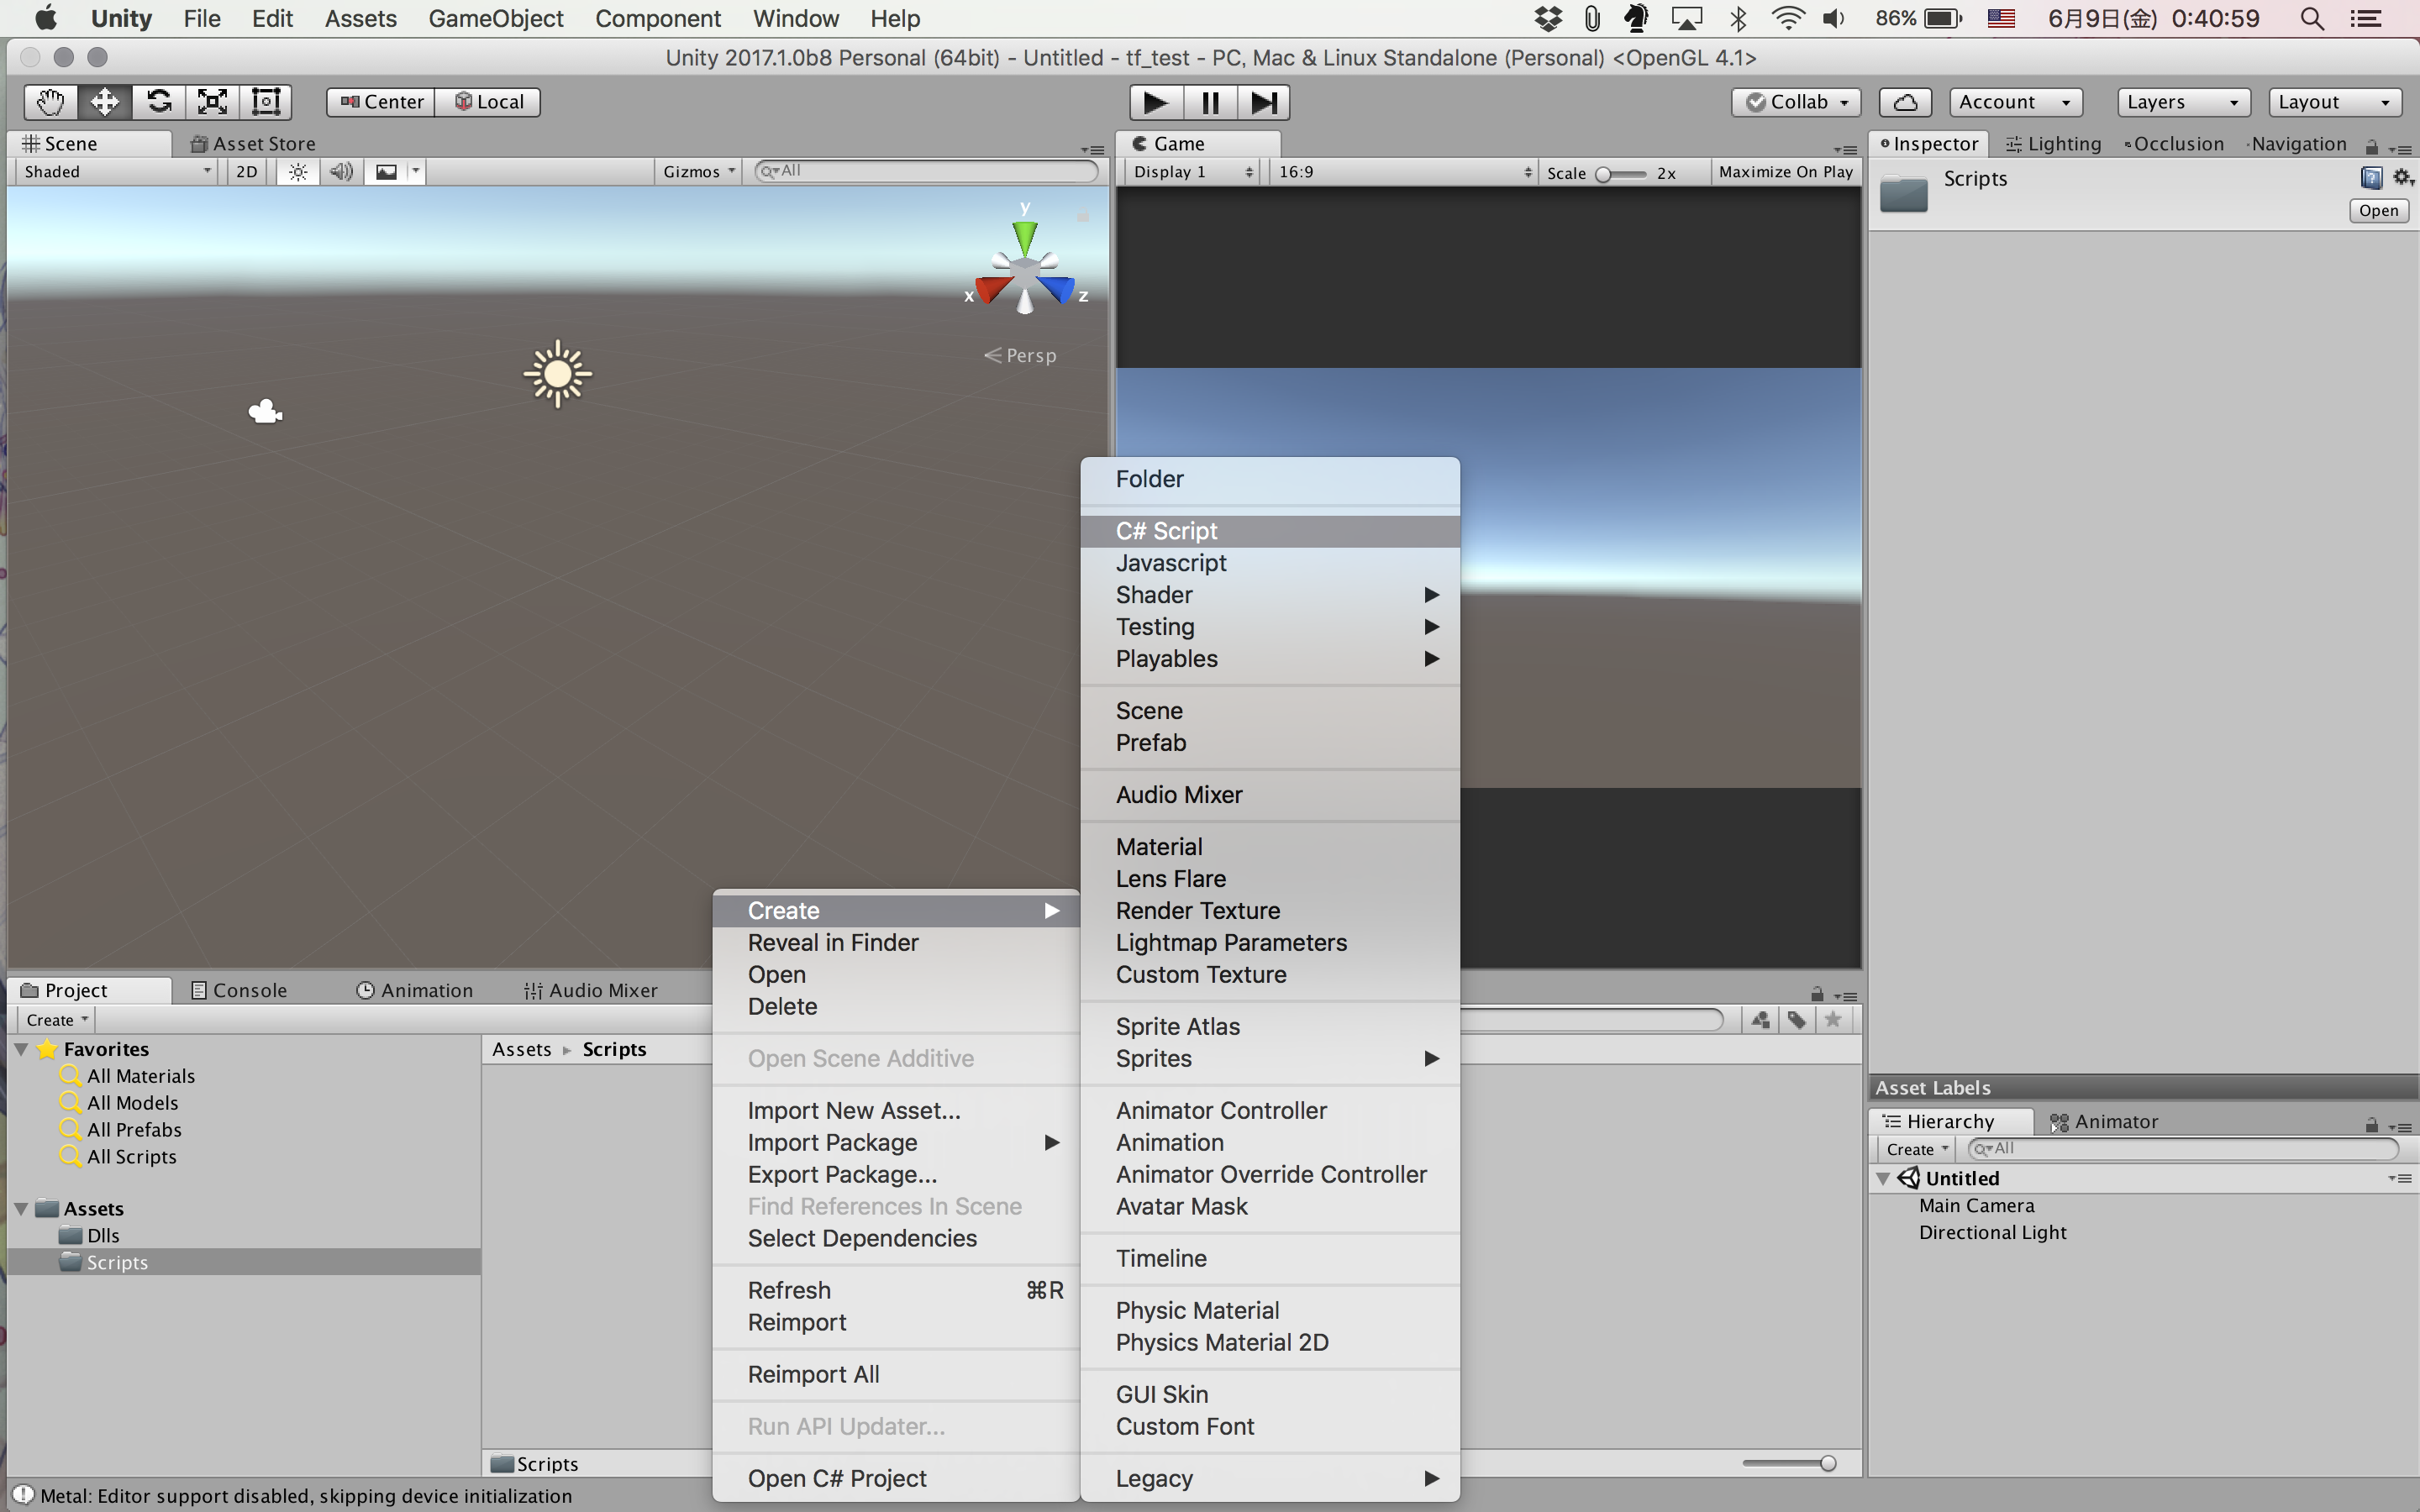
Press On Click () [+] on Inspector to add the listener method. Add paint.SaveTexture().
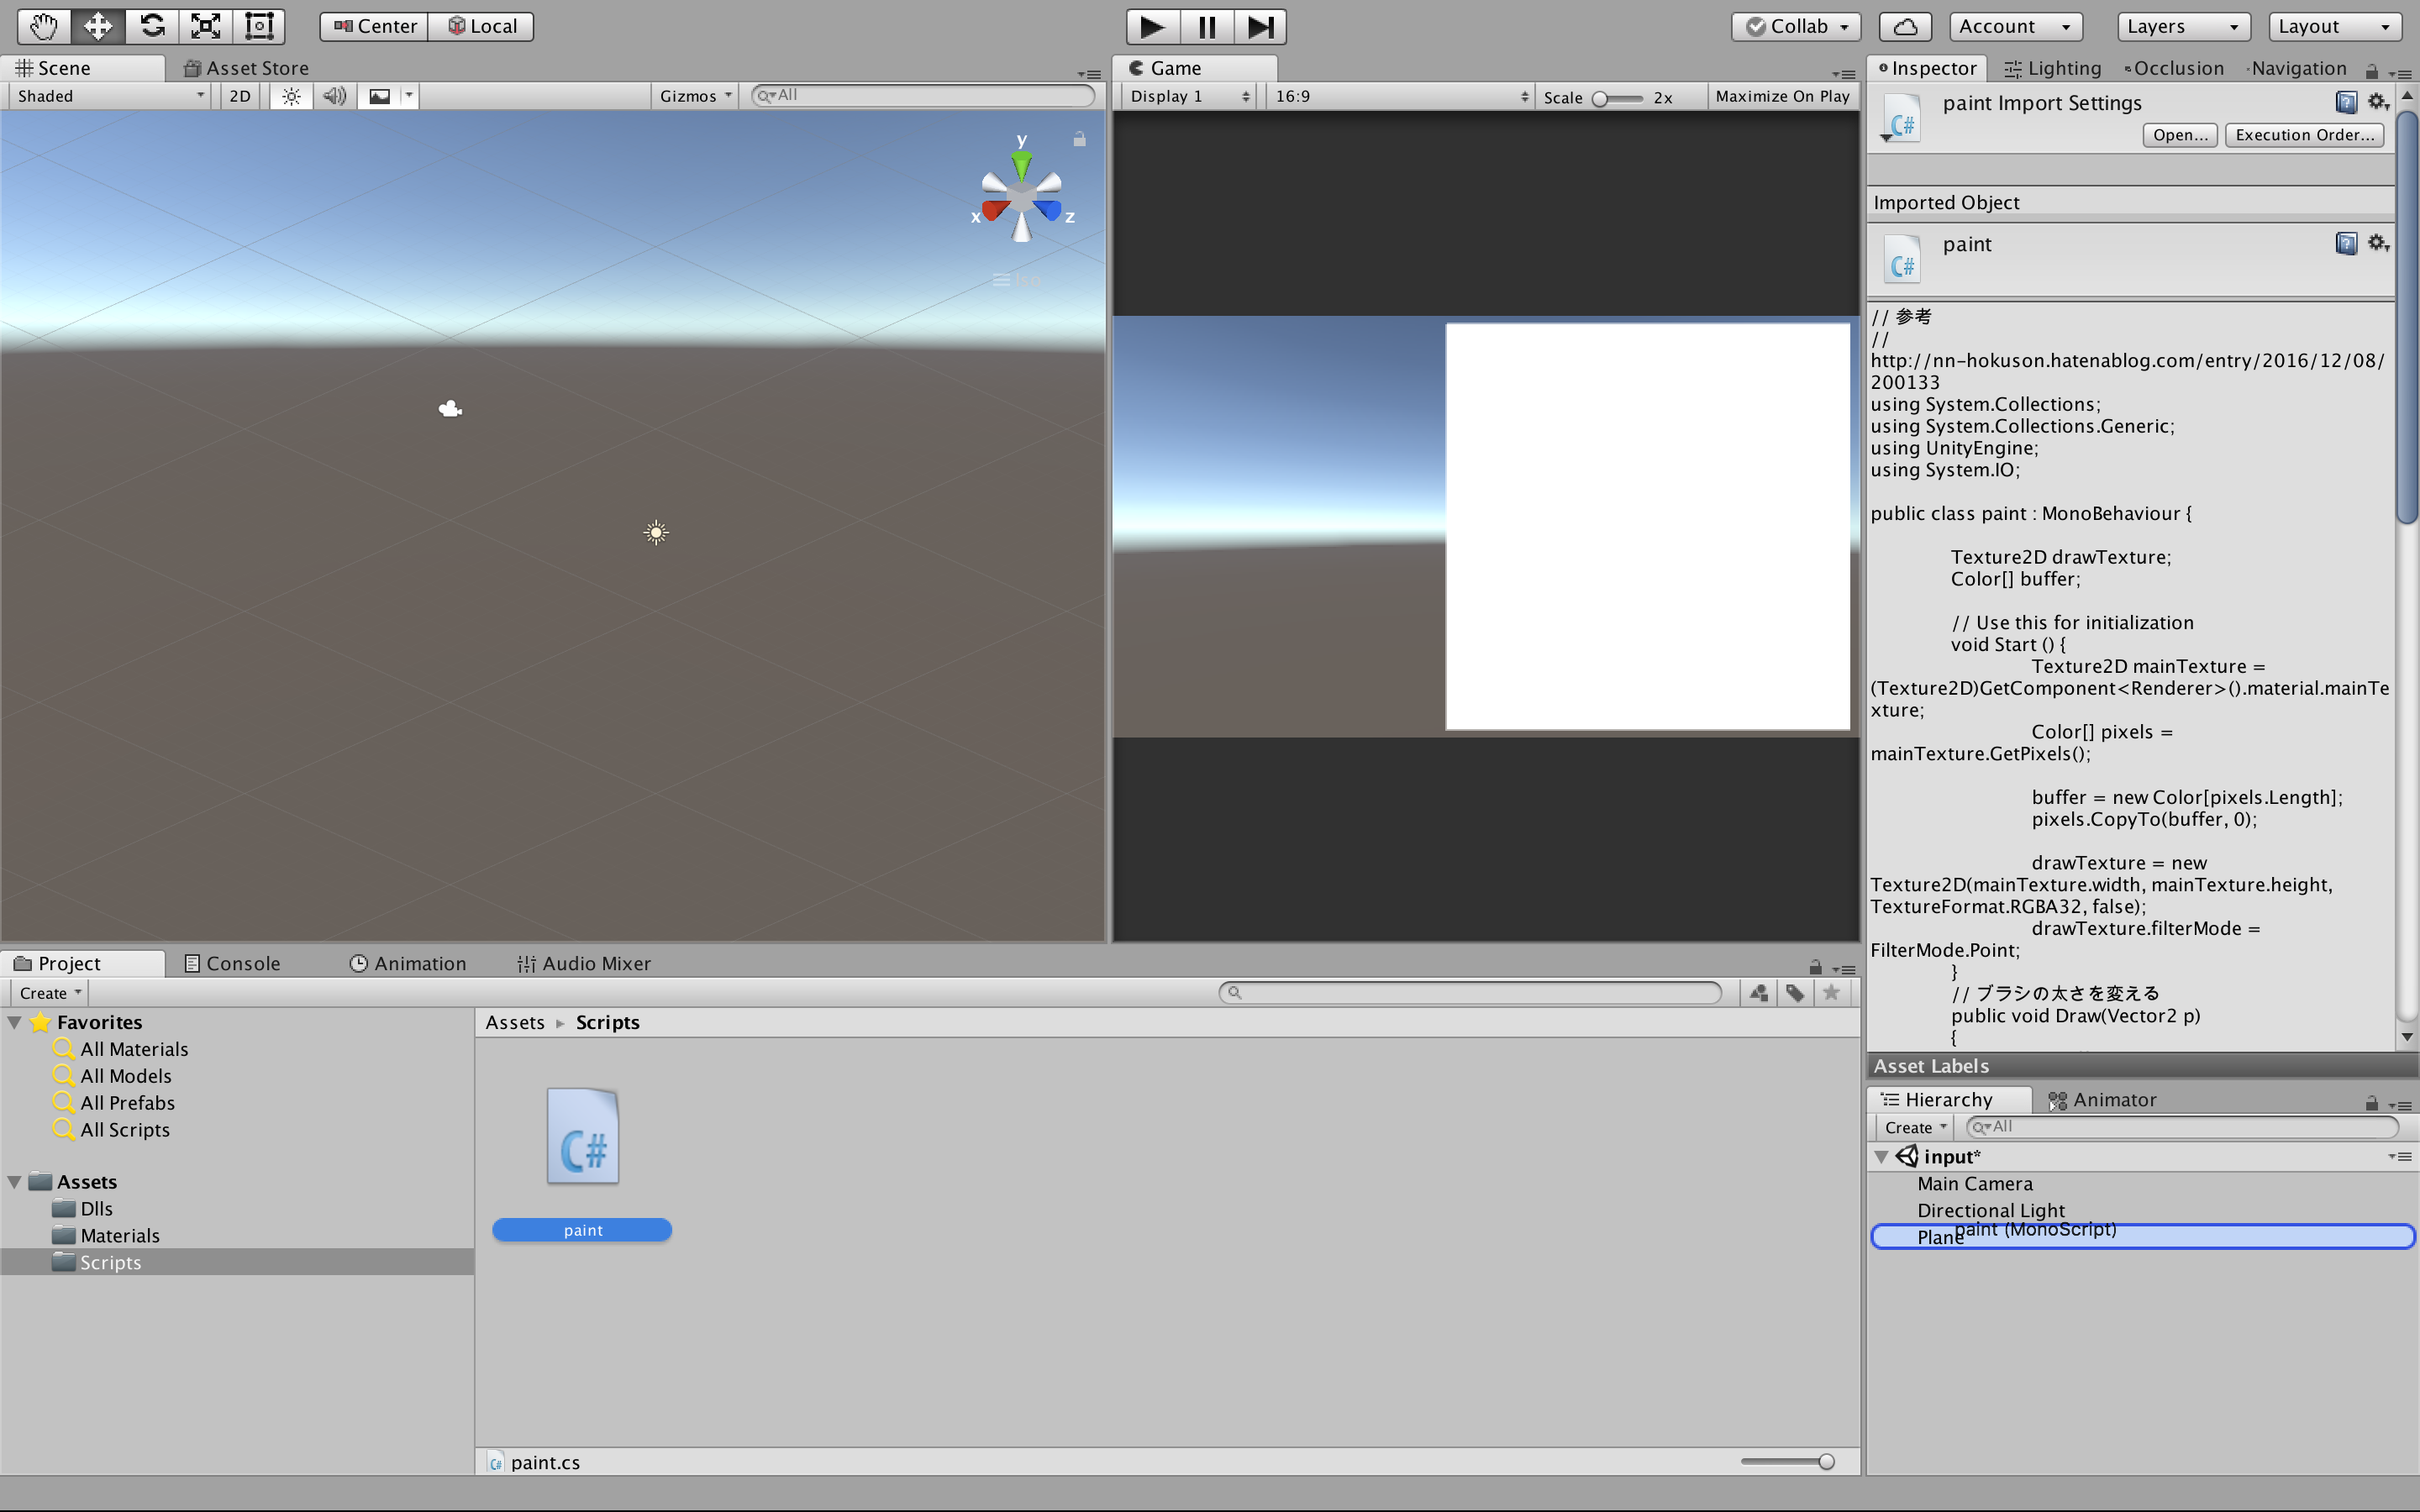
Since paint.cs is attached to plane, select plane.
The method selects paint -> SaveTexture().
Then, after writing something to plane, press the button and the image is saved just under Assets.
Add code to paint.cs.
public void SaveTexture()
{
	・・・
	Debug.Log("Environment.CurrentDirectory");
	Debug.Log("TensorFlow version: " + TFCore.Version);

	var t = new SampleTest.MainClass();
	t.MNSIT_read_model();
}
With such a configuration, we arrange scripts and learning models. Use the model created here.
Assets ├── Scripts │ ├── DataConverter.cs │ ├── Datasets │ │ ├── Helper.cs │ │ └── MNIST.cs │ ├── SampleTest.cs │ └── paint.cs └── models ├── Auto_model.pb └── labels.txt
Position DataConverter.cs and Datasets/Helper.cs, Datasets/MNIST.cs in Learn of TensorFlowSharp under Scripts.
using System.Collections;
using System;
using System.Runtime.CompilerServices;
using System.Runtime.InteropServices;
using TensorFlow;
using System.IO;
using System.Collections.Generic;
using Learn.Mnist;
using System.Linq;
using UnityEngine;

namespace SampleTest
{
	class MainClass
	{

		// Convert the image in filename to a Tensor suitable as input to the Inception model.
		static TFTensor CreateTensorFromImageFile(string file)
		{
			var contents = File.ReadAllBytes(file);

			// DecodeJpeg uses a scalar String-valued tensor as input.
			var tensor = TFTensor.CreateString(contents);

			TFGraph graph;
			TFOutput input, output;

			// Construct a graph to normalize the image
			ConstructGraphToNormalizeImage(out graph, out input, out output);

			// Execute that graph to normalize this one image
			using (var session = new TFSession(graph))
			{
				var normalized = session.Run(
					inputs: new[] { input },
					inputValues: new[] { tensor },
					outputs: new[] { output });

				return normalized[0];
			}
		}

		// The inception model takes as input the image described by a Tensor in a very
		// specific normalized format (a particular image size, shape of the input tensor,
		// normalized pixel values etc.).
		//
		// This function constructs a graph of TensorFlow operations which takes as
		// input a JPEG-encoded string and returns a tensor suitable as input to the
		// inception model.
		static void ConstructGraphToNormalizeImage(out TFGraph graph, out TFOutput input, out TFOutput output)
		{
			// - The model was trained after with images scaled to 28x28 pixels.
			// - Image is monochrome, only one color is represented.
      // Since the pixel value convert the range from 0~255 to 0~1,
      // Mean = 255, Scale = 255
      // using [the conversion value = (pixel value - Mean) / Scale].

			const int W = 28;
			const int H = 28;
			const float Mean = 255;
			const float Scale = 255;
			const int channels = 1;

			graph = new TFGraph();
			input = graph.Placeholder(TFDataType.String);

			output = graph.Div(
				x: graph.Sub(
					x: graph.ResizeBilinear(
						images: graph.ExpandDims(
							input: graph.Cast(
								graph.DecodeJpeg(contents: input, channels: channels), DstT: TFDataType.Float),
							dim: graph.Const(0, "make_batch")),
						size: graph.Const(new int[] { W, H }, "size")),
					y: graph.Const(Mean, "mean")),
				y: graph.Const(Scale, "scale"));
		}
		// Load models created with python
		public void MNSIT_read_model()
		{
			var graph = new TFGraph();

			//var model = File.ReadAllBytes("tensorflow_inception_graph.pb");

			// Load serialized GraphDef from file.
			var model = File.ReadAllBytes(Application.dataPath + "/models/Auto_model.pb");
			graph.Import(model, "");

			using (var session = new TFSession(graph))
			{
				var labels = File.ReadAllLines(Application.dataPath + "/models/labels.txt");

				var file = Application.dataPath + "/saveImage.jpg";

				// Execute inference on an image file.
				// For multiple images, session.Run () can be called (simultaneously) in a loop.
				// Alternatively, the model accepts a batch of image data as input, so you can batch the image.
				var tensor = CreateTensorFromImageFile(file);

				var runner = session.GetRunner();
				// Specify a graph of the learning model.
				// Register the name of the input / output tensor in session.
        // When reading manually converted models, .AddInput (graph ["dropout"] [0], 0.5f) does not use.
				runner.AddInput(graph["input"][0], tensor).AddInput(graph["dropout"][0], 0.5f).Fetch(graph["output"][0]);
				var output = runner.Run();

				// output[0].Value()is the background containing the accuracy of the label of each image in the "batch". The batch size was 1.
				var result = output[0];
				var rshape = result.Shape;
				if (result.NumDims != 2 || rshape[0] != 1)
				{
					var shape = "";
					foreach (var d in rshape)
					{
						shape += $"{d} ";
					}
					shape = shape.Trim();
					Debug.Log($"Error: expected to produce a [1 N] shaped tensor where N is the number of labels, instead it produced one with shape [{shape}]");
					Environment.Exit(1);
				}

				var bestIdx = 0;
				float best = 0;
				// Find and display numbers with most probability
				var probabilities = ((float[][])result.GetValue(true))[0];
				for (int i = 0; i < probabilities.Length; i++)
				{
					if (probabilities[i] > best)
					{
						bestIdx = i;
						best = probabilities[i];
					}
				}
				Debug.Log($"{file} best match: [{bestIdx}] {best * 100.0}% {labels[bestIdx]}");
			}
		}
	}
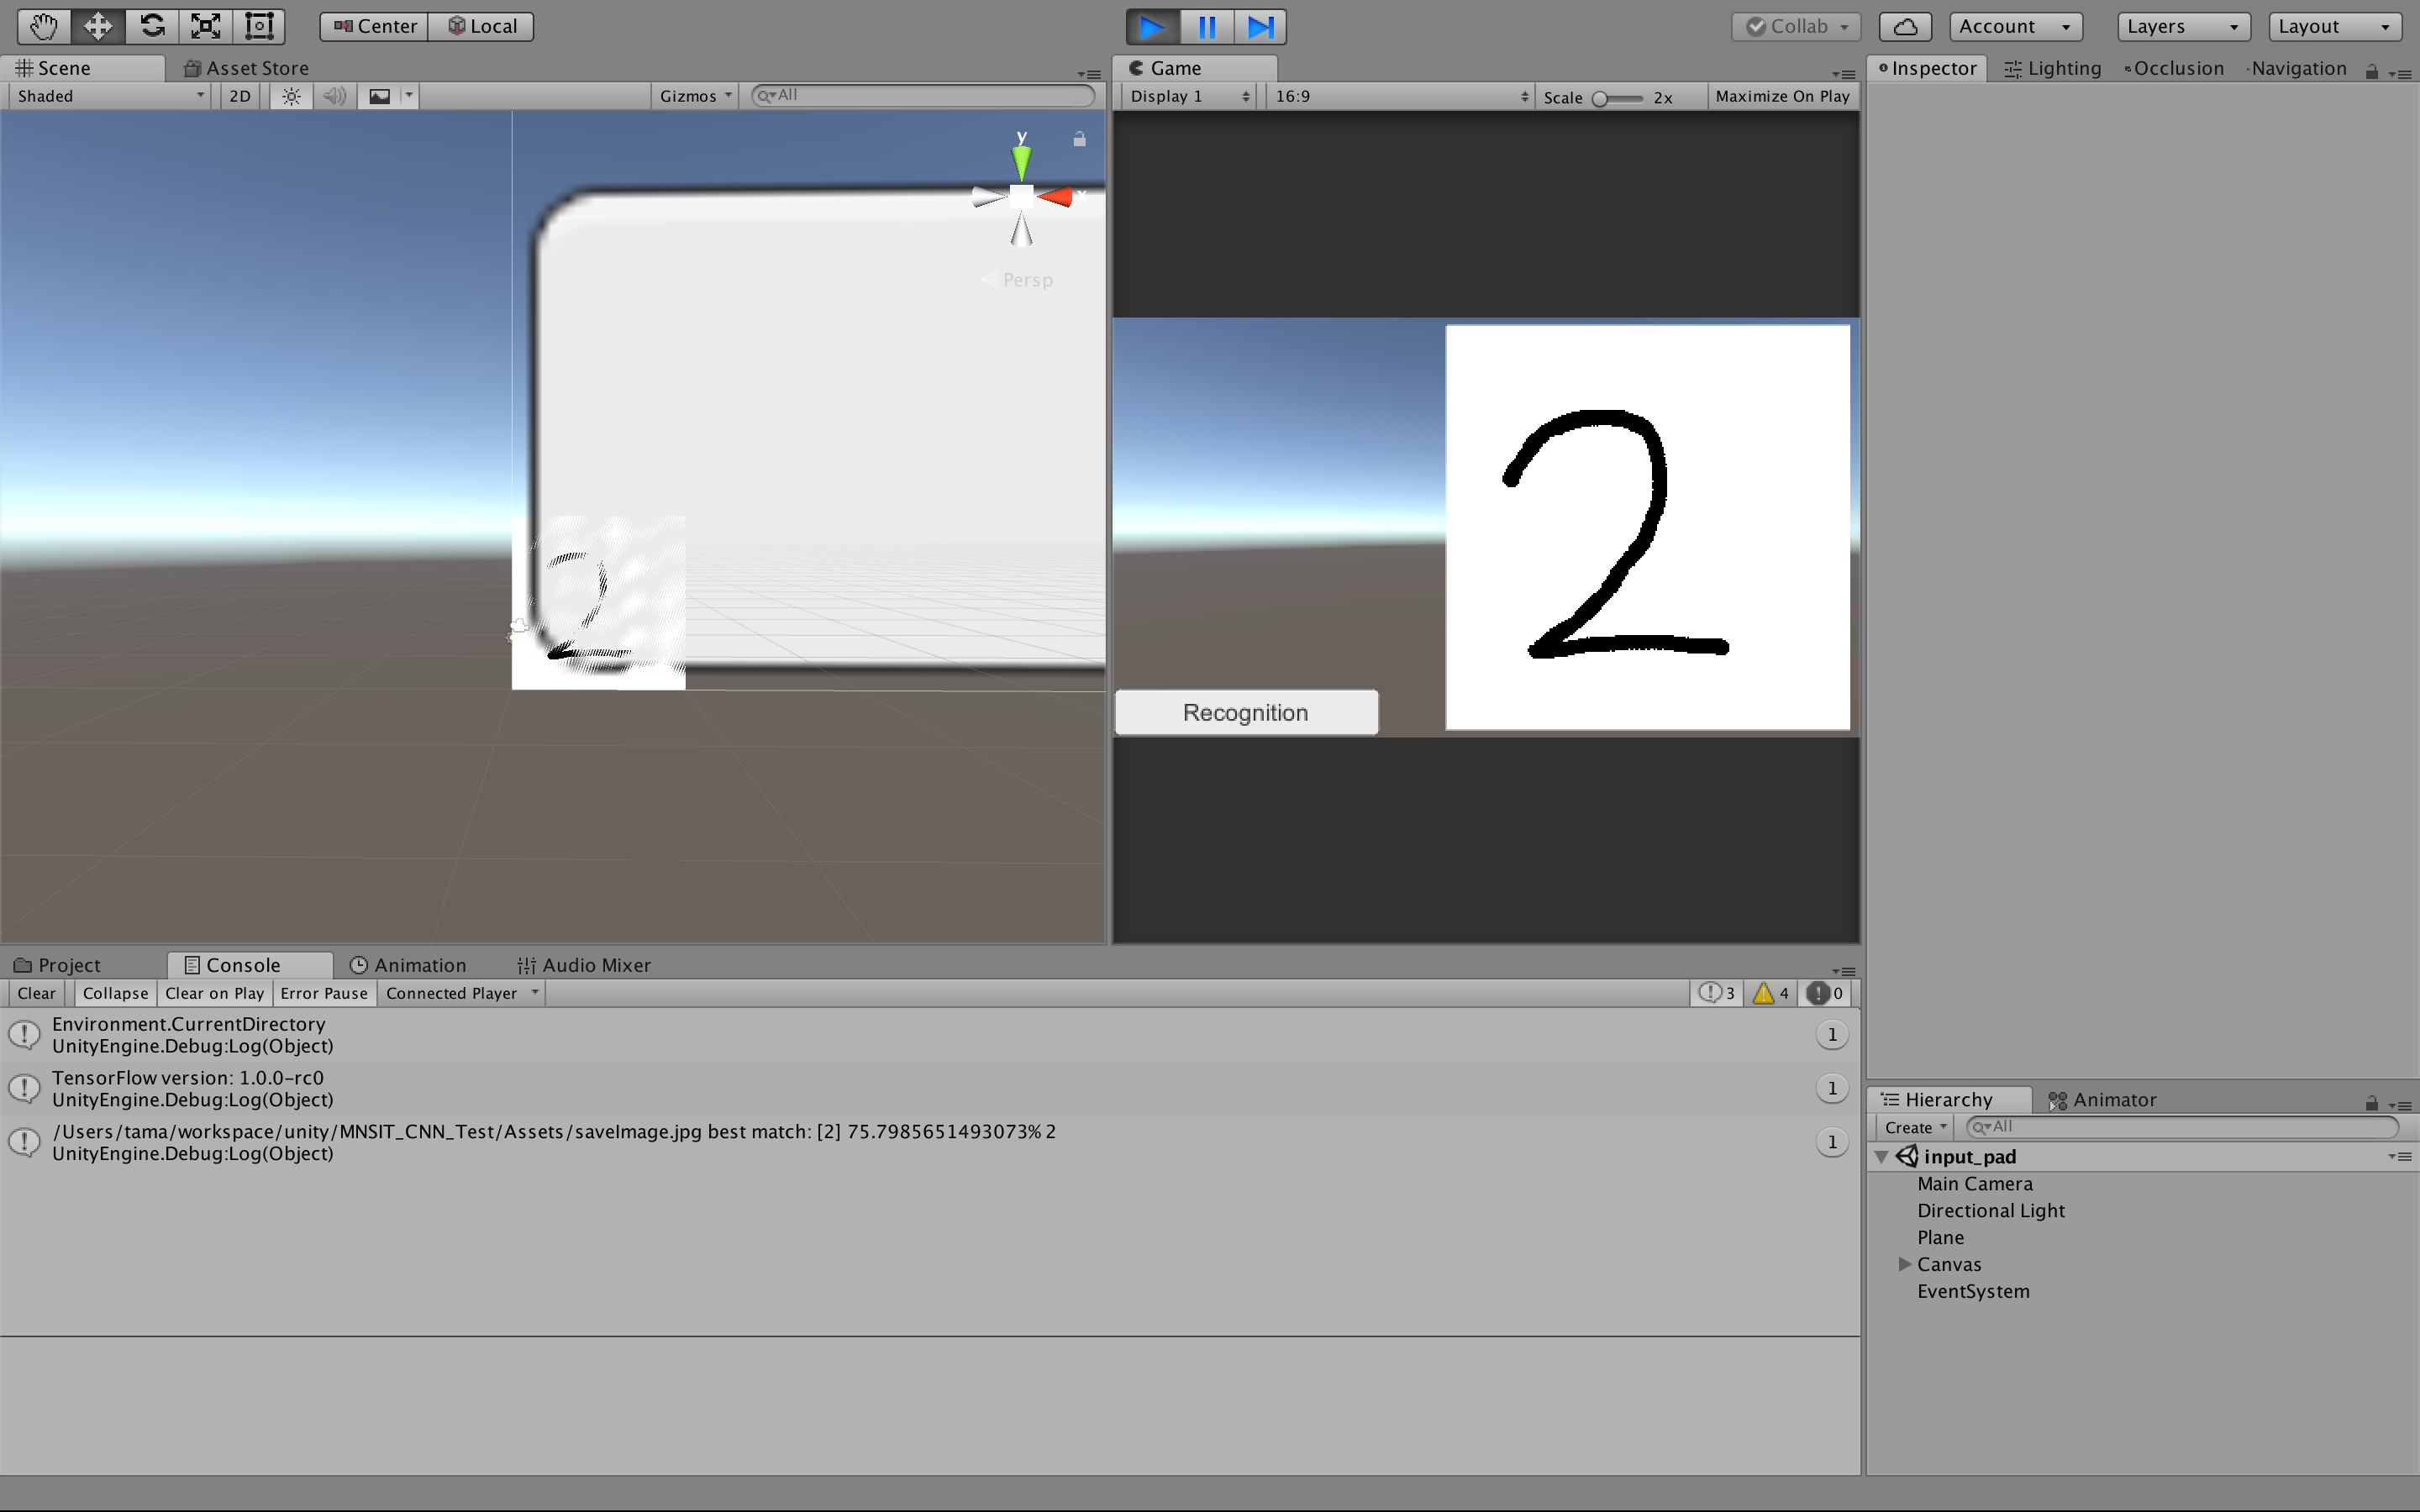
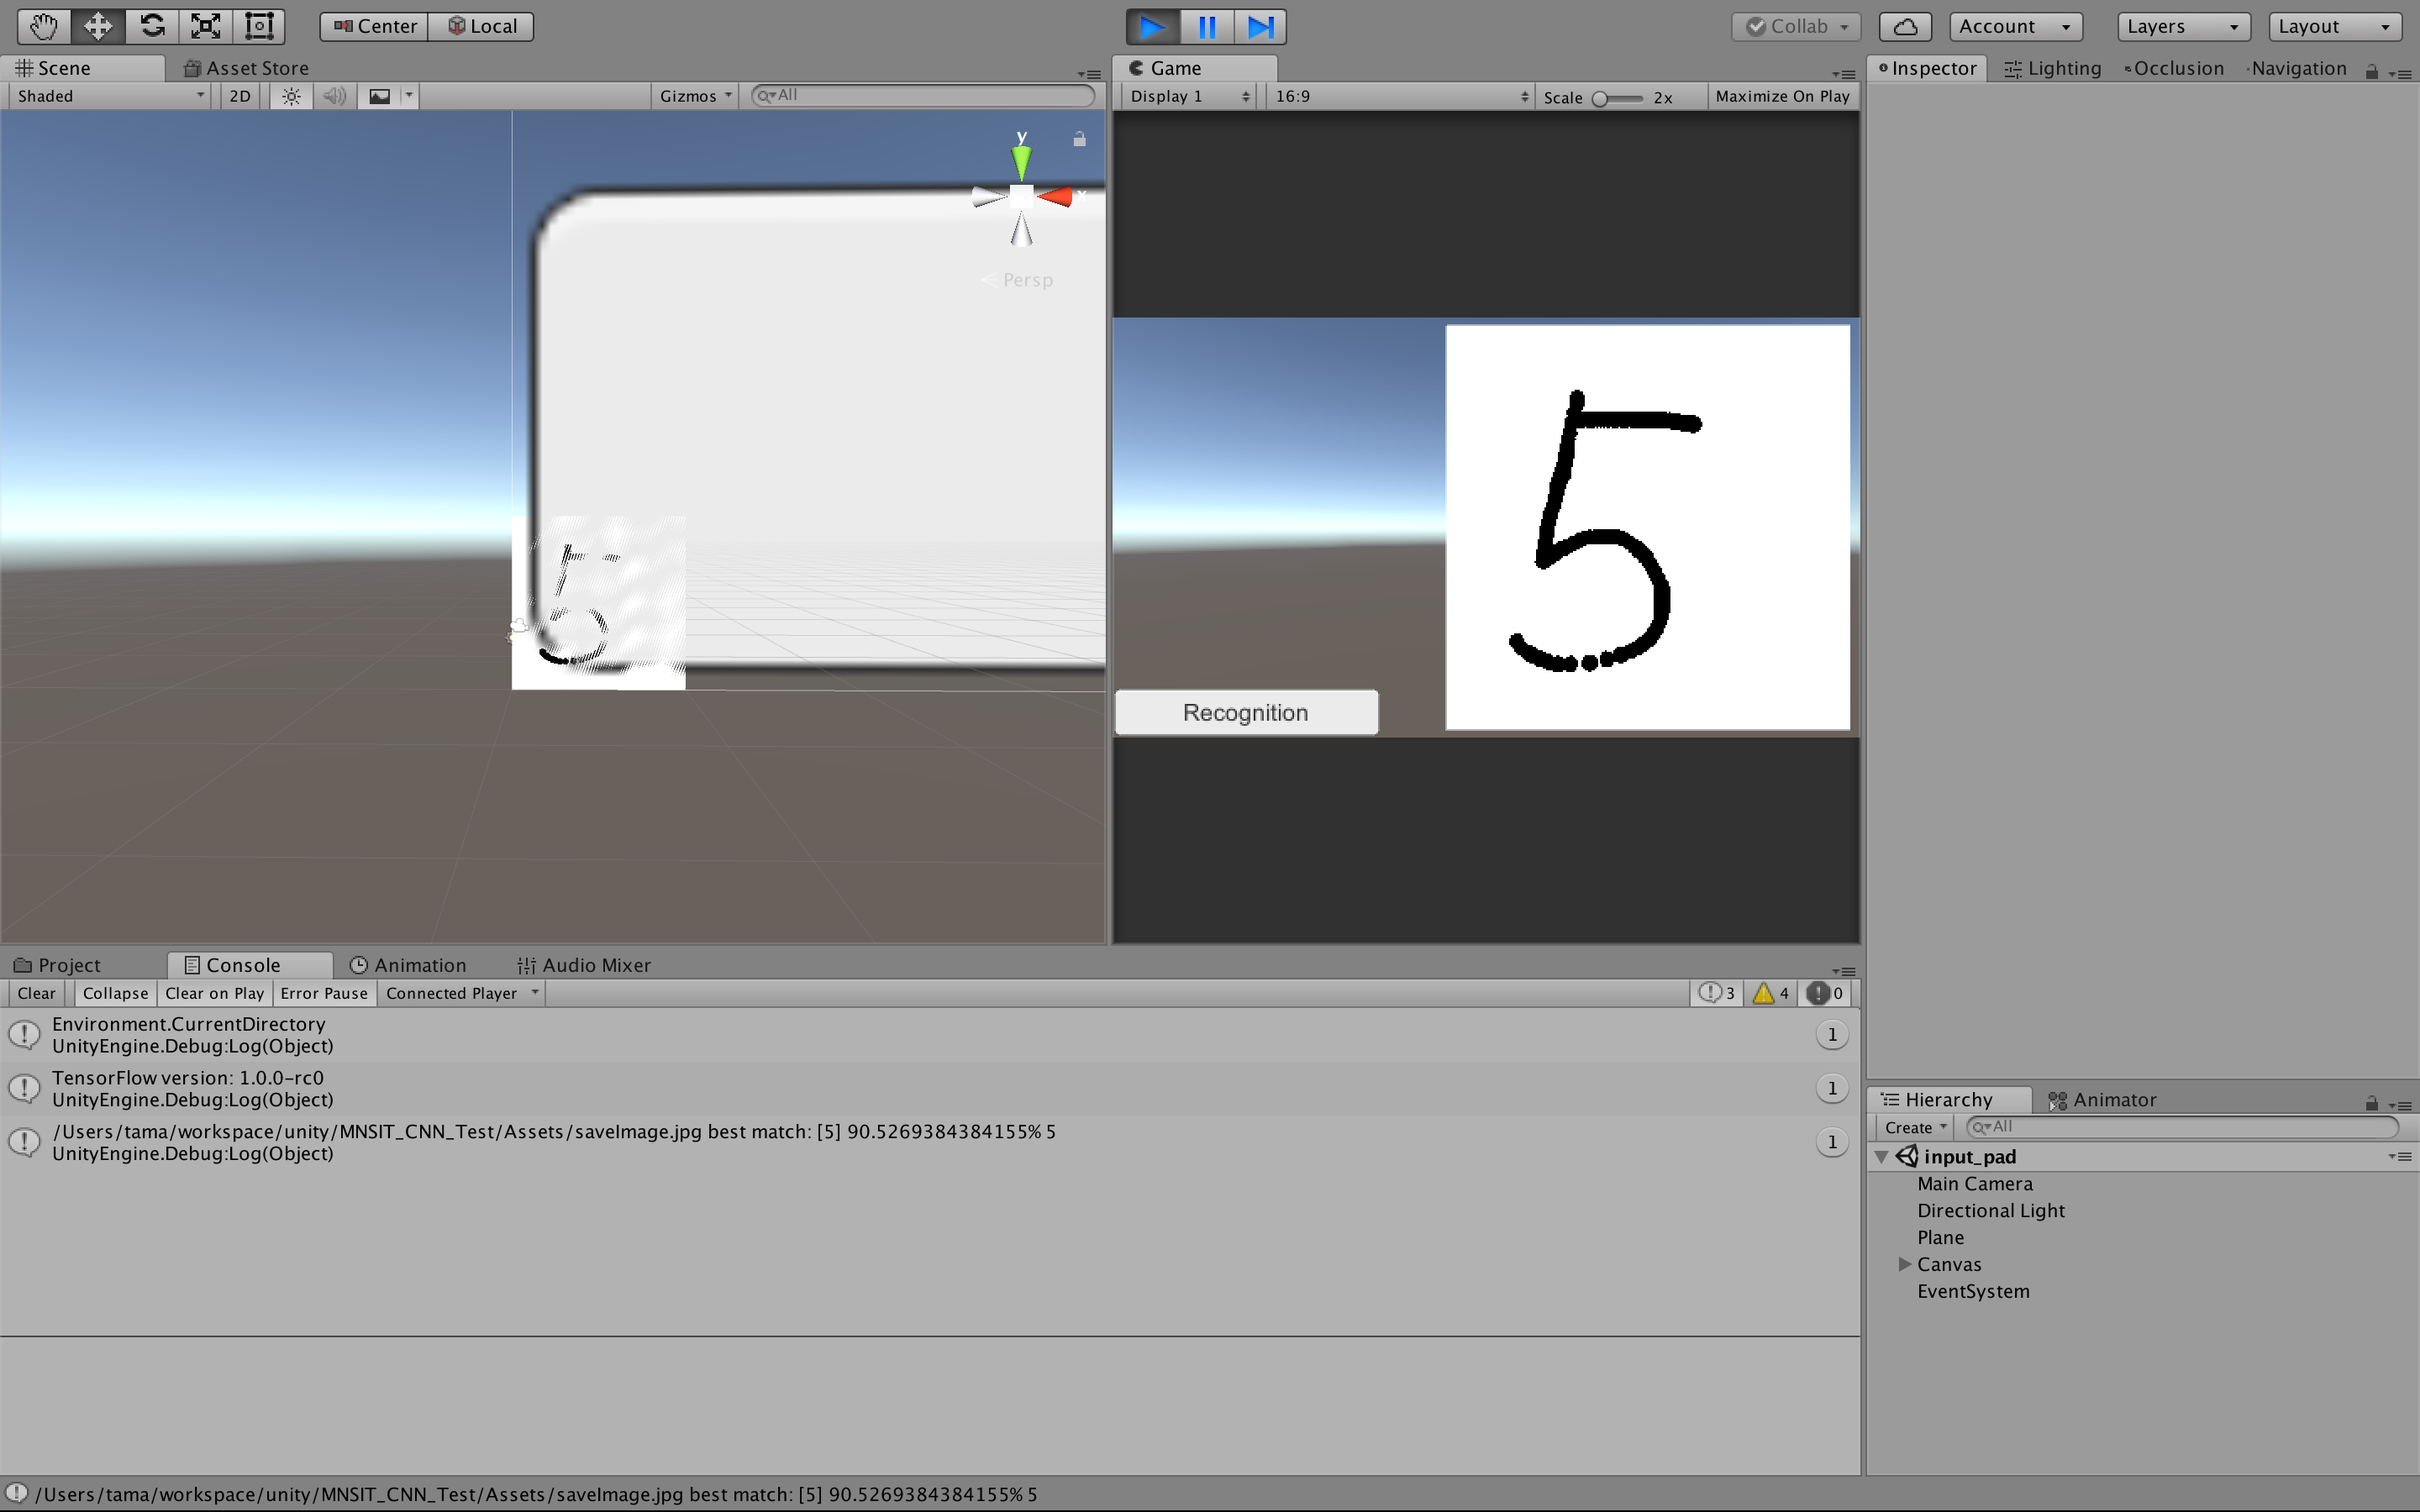
}After pushing the button tilted by 90 degrees of Δ, entering the number on the input pad, press the Rrecognition button and the result is displayed.
reference : Unityでテクスチャにお絵描きしよう
