简体中文 | English
CodeNest is a local project management tool that helps organize projects scattered across different locations on your disk. It allows you to manage projects by categories such as "My Projects," "Forks," "Clones," or "Temporary Projects," and it can analyze the programming languages of projects (similar to GitHub). This makes it easier to open projects with your IDE.
-
Go to the Releases page and download the installation package suitable for your system. After downloading, extract the files and follow the installation instructions to start using CodeNest.
-
You can also find installation packages built with the latest code in the CI page. Note that you need to be logged into your GitHub account to download these files.
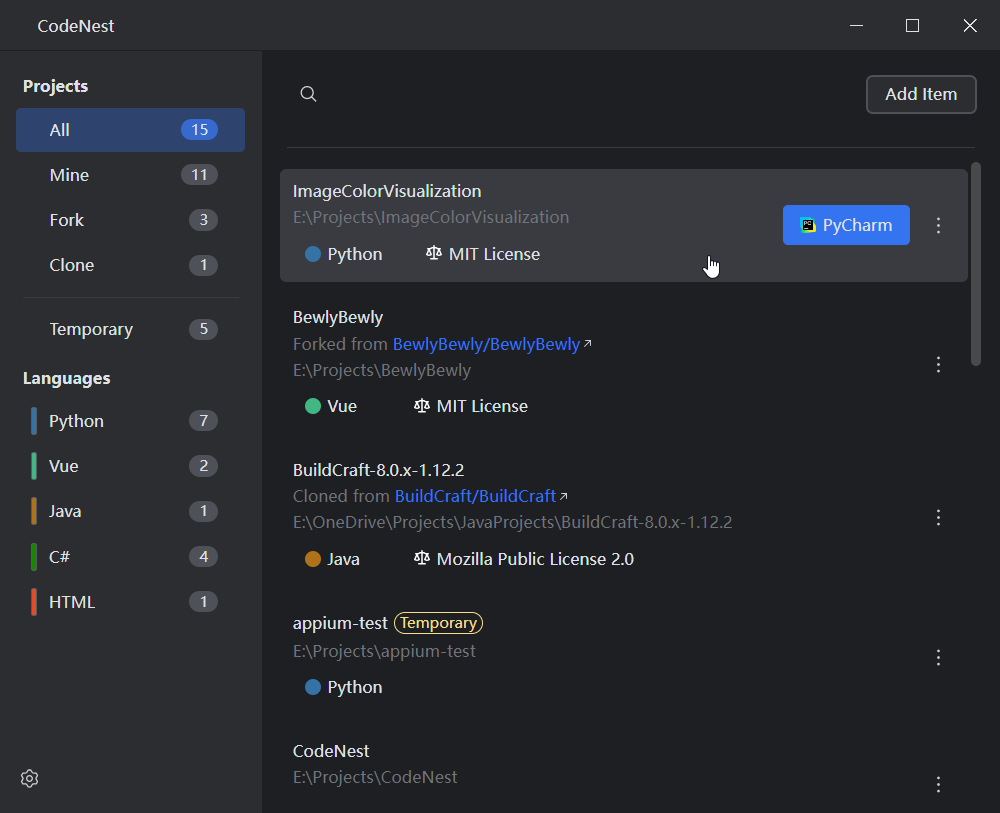
Click the "Add Project" button on the main interface of CodeNest, fill in the necessary information, and click "Add" to add the project to the list.
Use the search box in the top right corner to enter keywords or use the filter options to select a specific programming language to quickly find the desired project.
CodeNest will automatically detect and display the main programming language for each project, which will appear in the language list, making it easier to filter and manage projects by language.
Click the "Open" button next to a project in the project list, and CodeNest will launch the configured IDE and open the project directly.
Note
If the IDE path is not configured, please complete the configuration in the "Settings" page first.
For projects used temporarily, you can select "Edit" from the project menu and mark them as "Temporary Projects" in the pop-up window. These projects will be automatically placed into the "Temporary Projects" category for easy management.
Select the “Remove”/“Delete” option from the project menu to remove the project from the list.
Caution
For non-temporary projects, you can only remove them from the list and not delete their local files. For temporary projects, removing them will also delete their local files. Please ensure this action is correct before proceeding.
If you have any questions or suggestions, please visit the GitHub Issues page of this project to submit feedback.
This project is licensed under the MIT License.
See CONTRIBUTING.md for more information.
- UI Design: Based on JetBrains Int UI Kit
- Icon Resources:
- JetBrains Icons
- Some icons from Unicons
- Some icons from Tabler Icons
- App Icon - by StevenArai
Special thanks to the open-source community and all the developers who have contributed to this project!