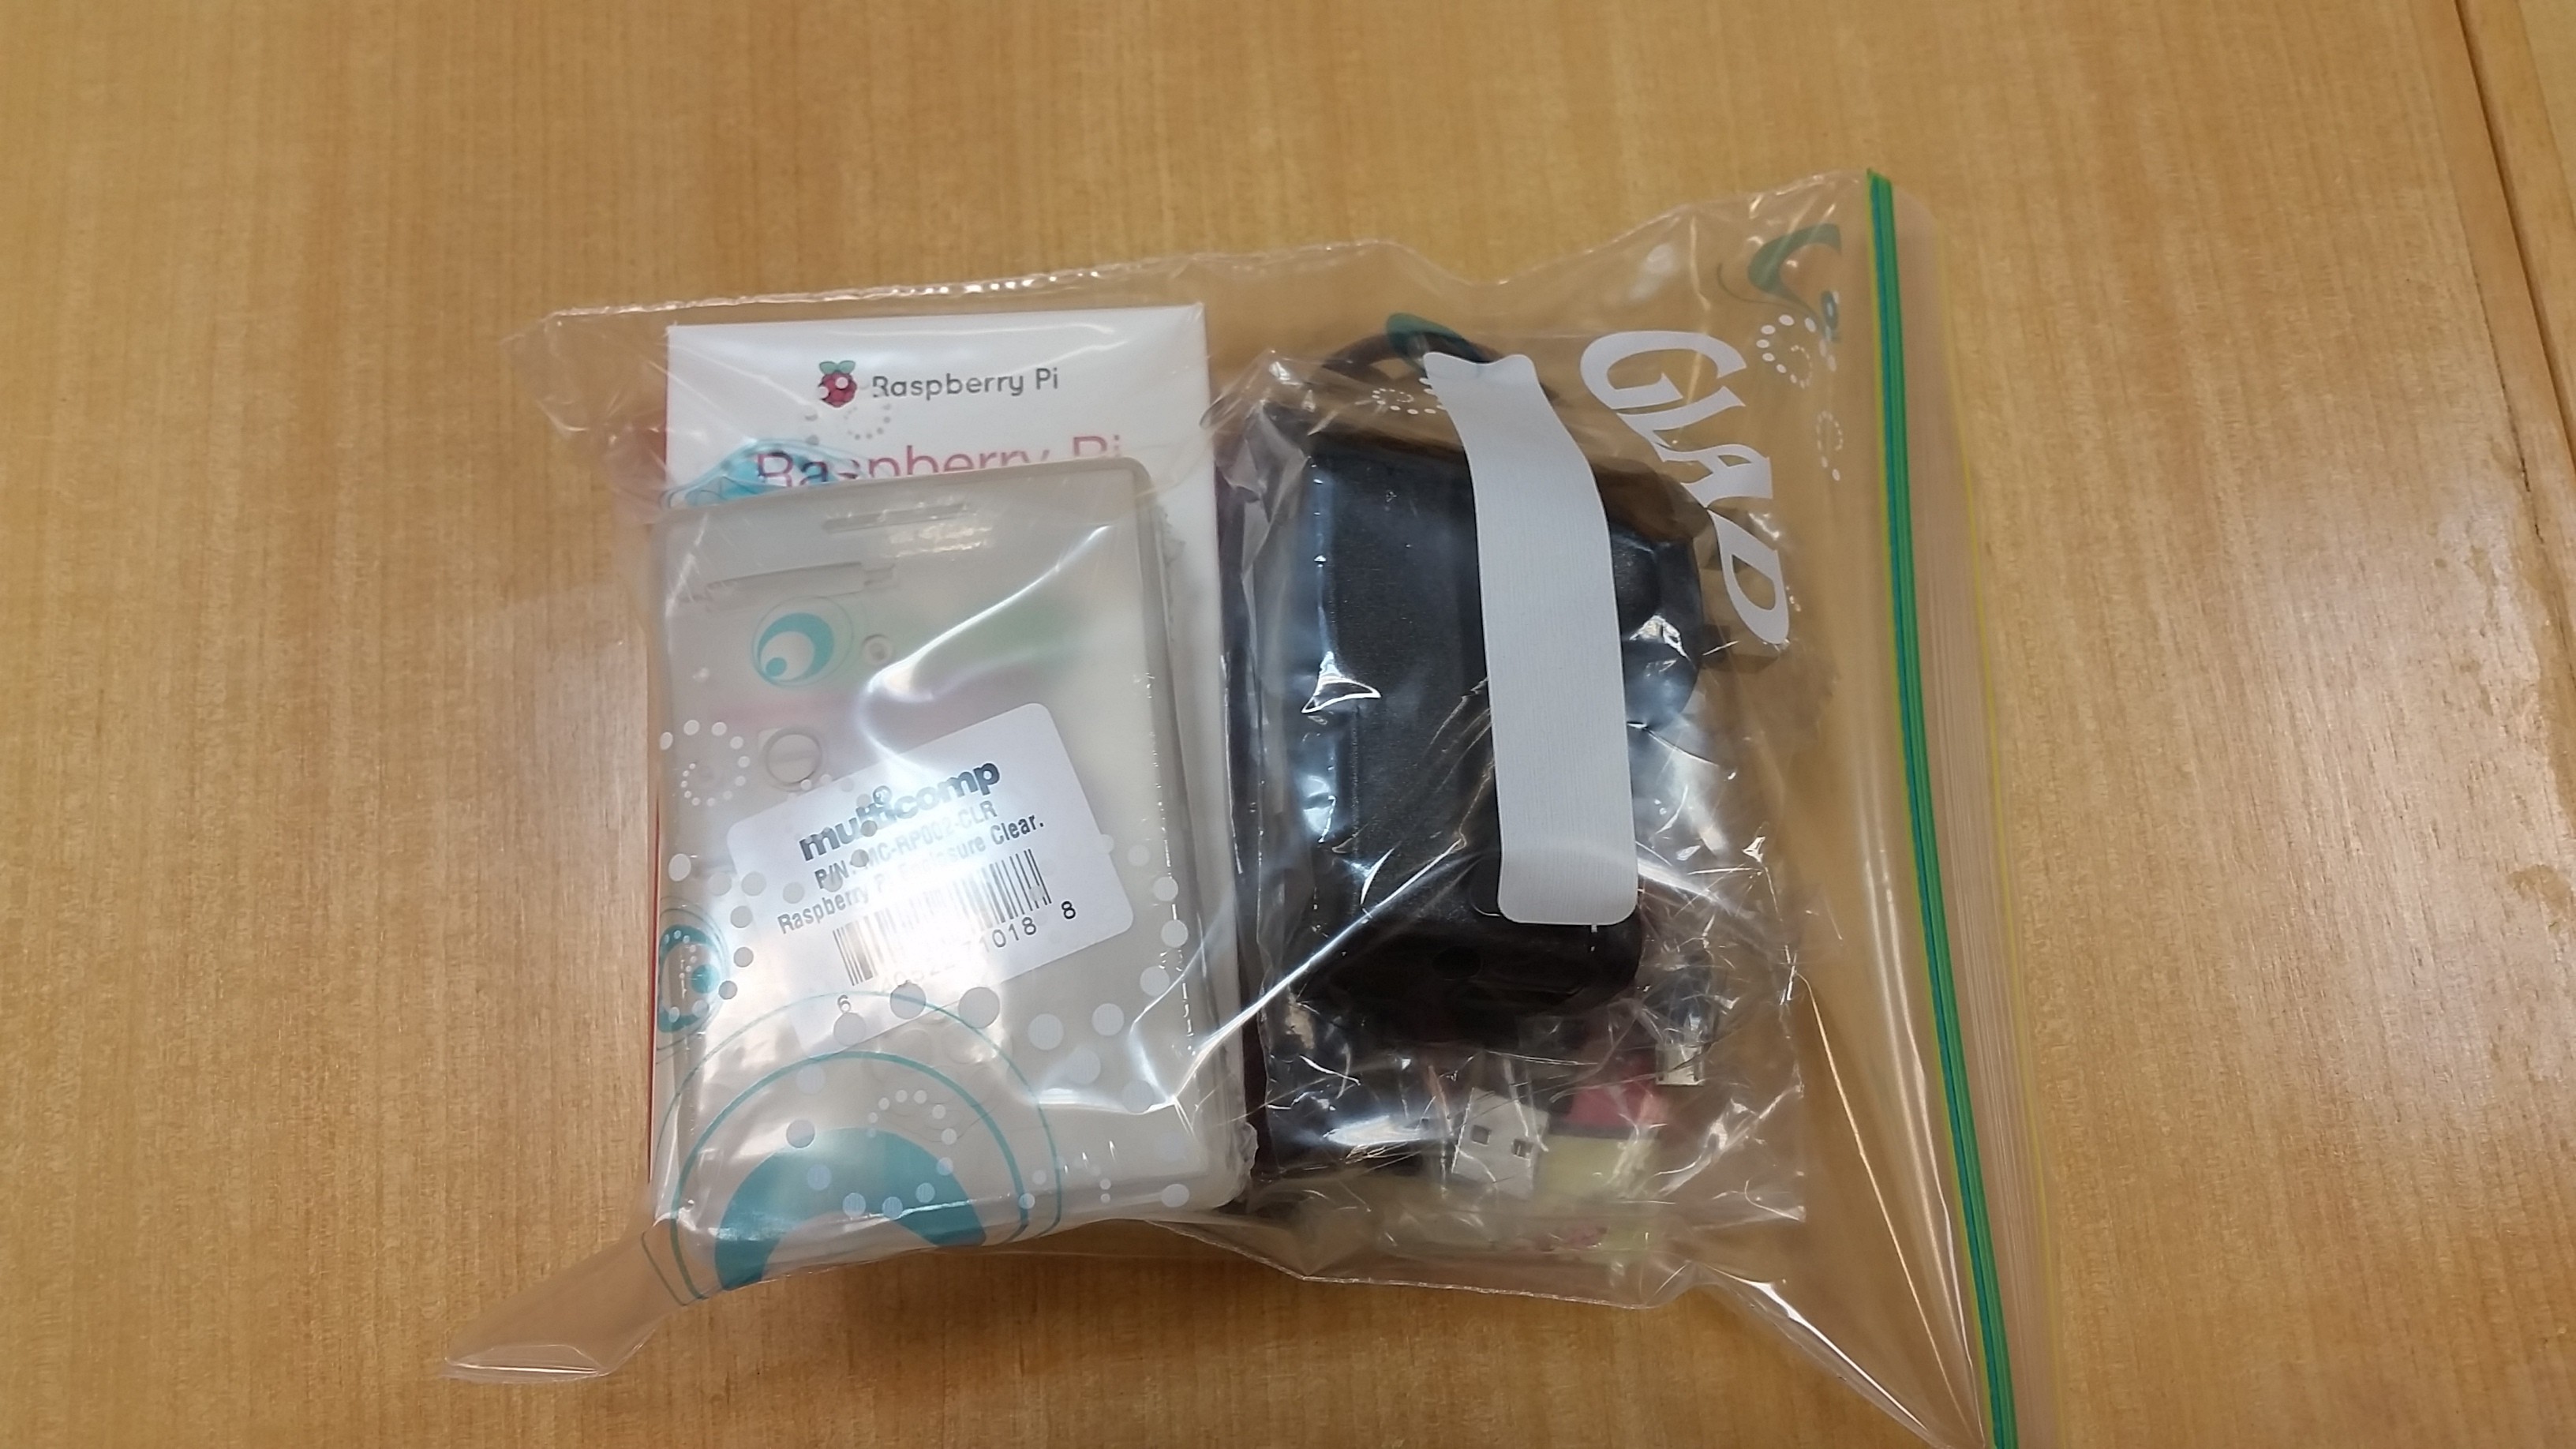
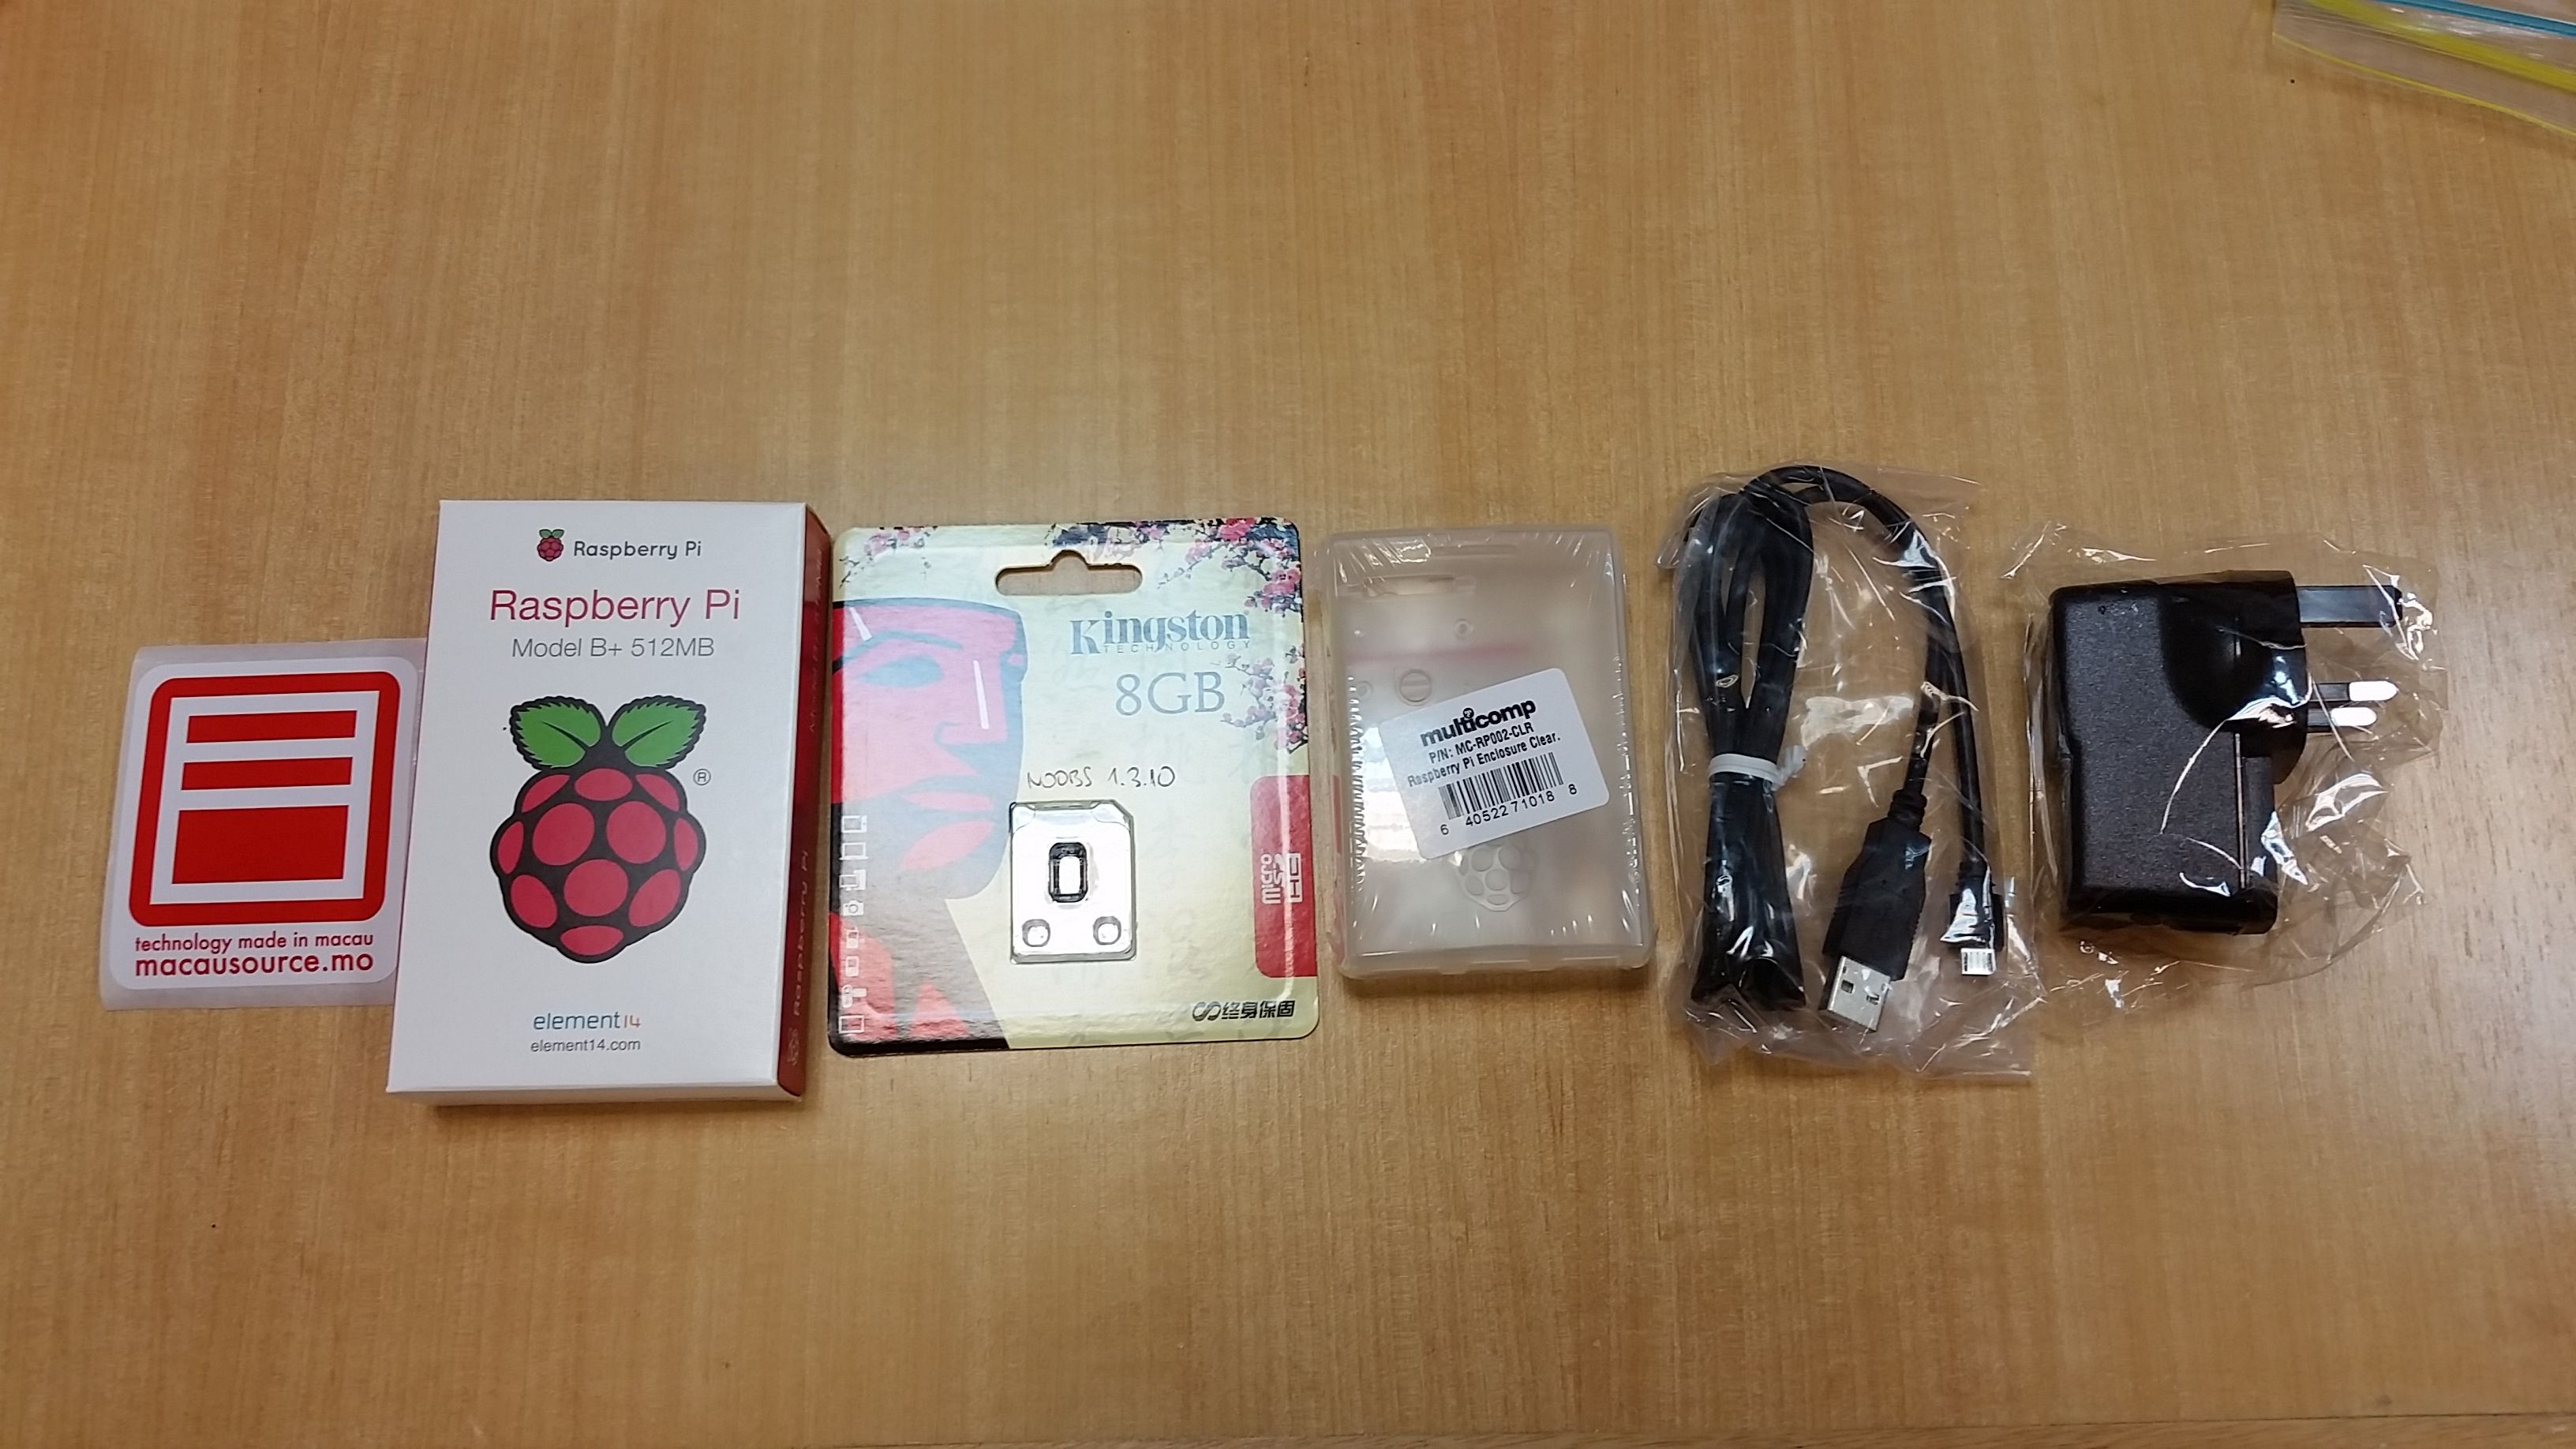
Your should have:
- A Raspberry Pi Model B+
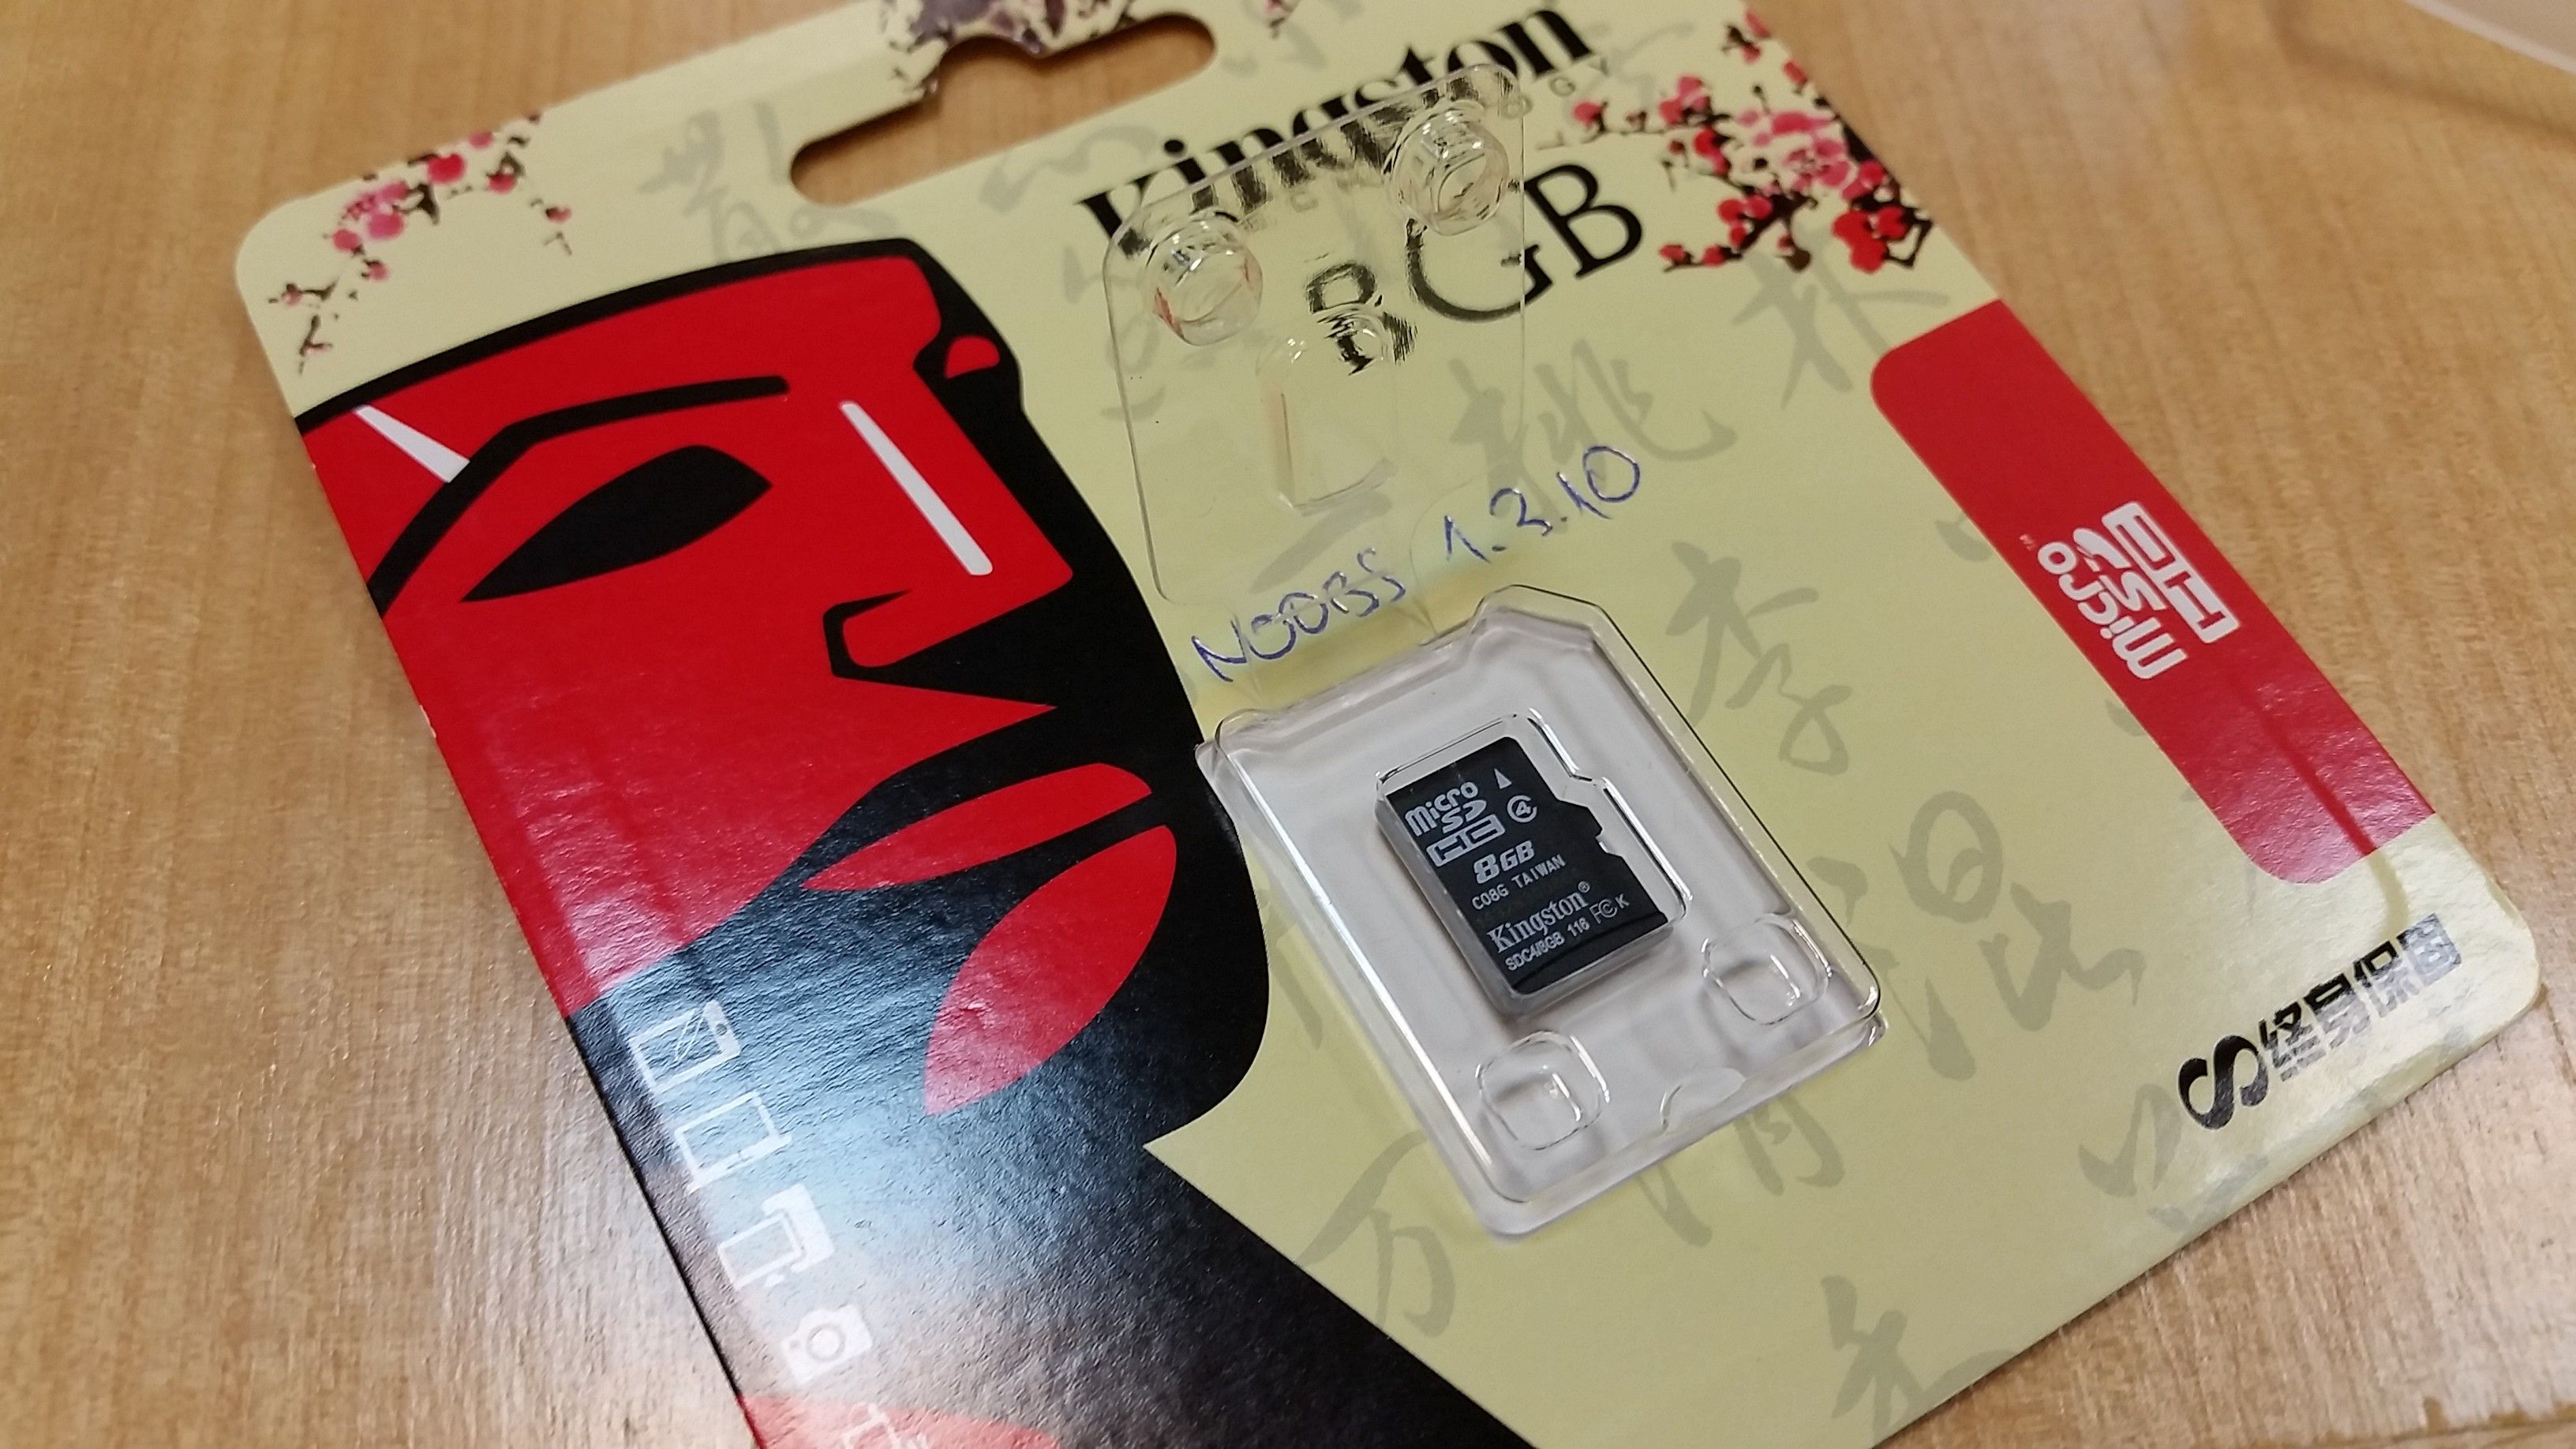
- A Micro SD card with NOOBs pre-installed
- A plastic case
- A Micro-USB charging cable
- A USB power adapter (UK style)
- A Macau Source sticker! :)
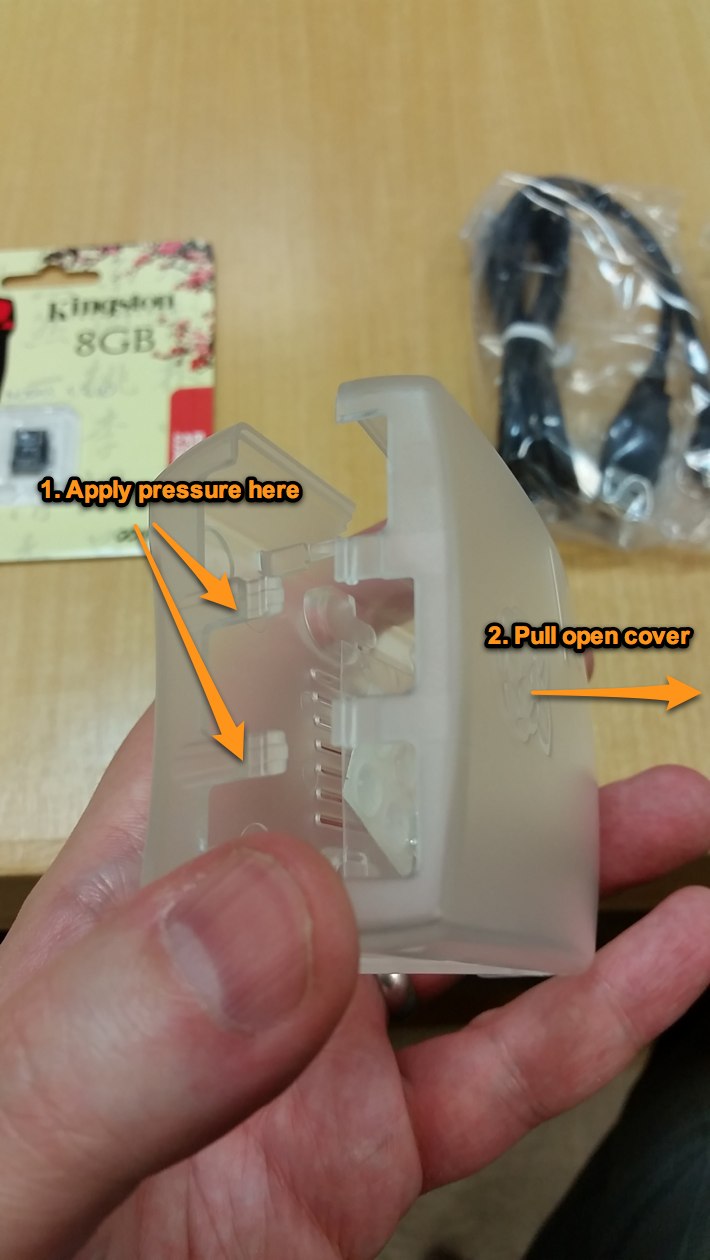
Remove the protecting plastic film.
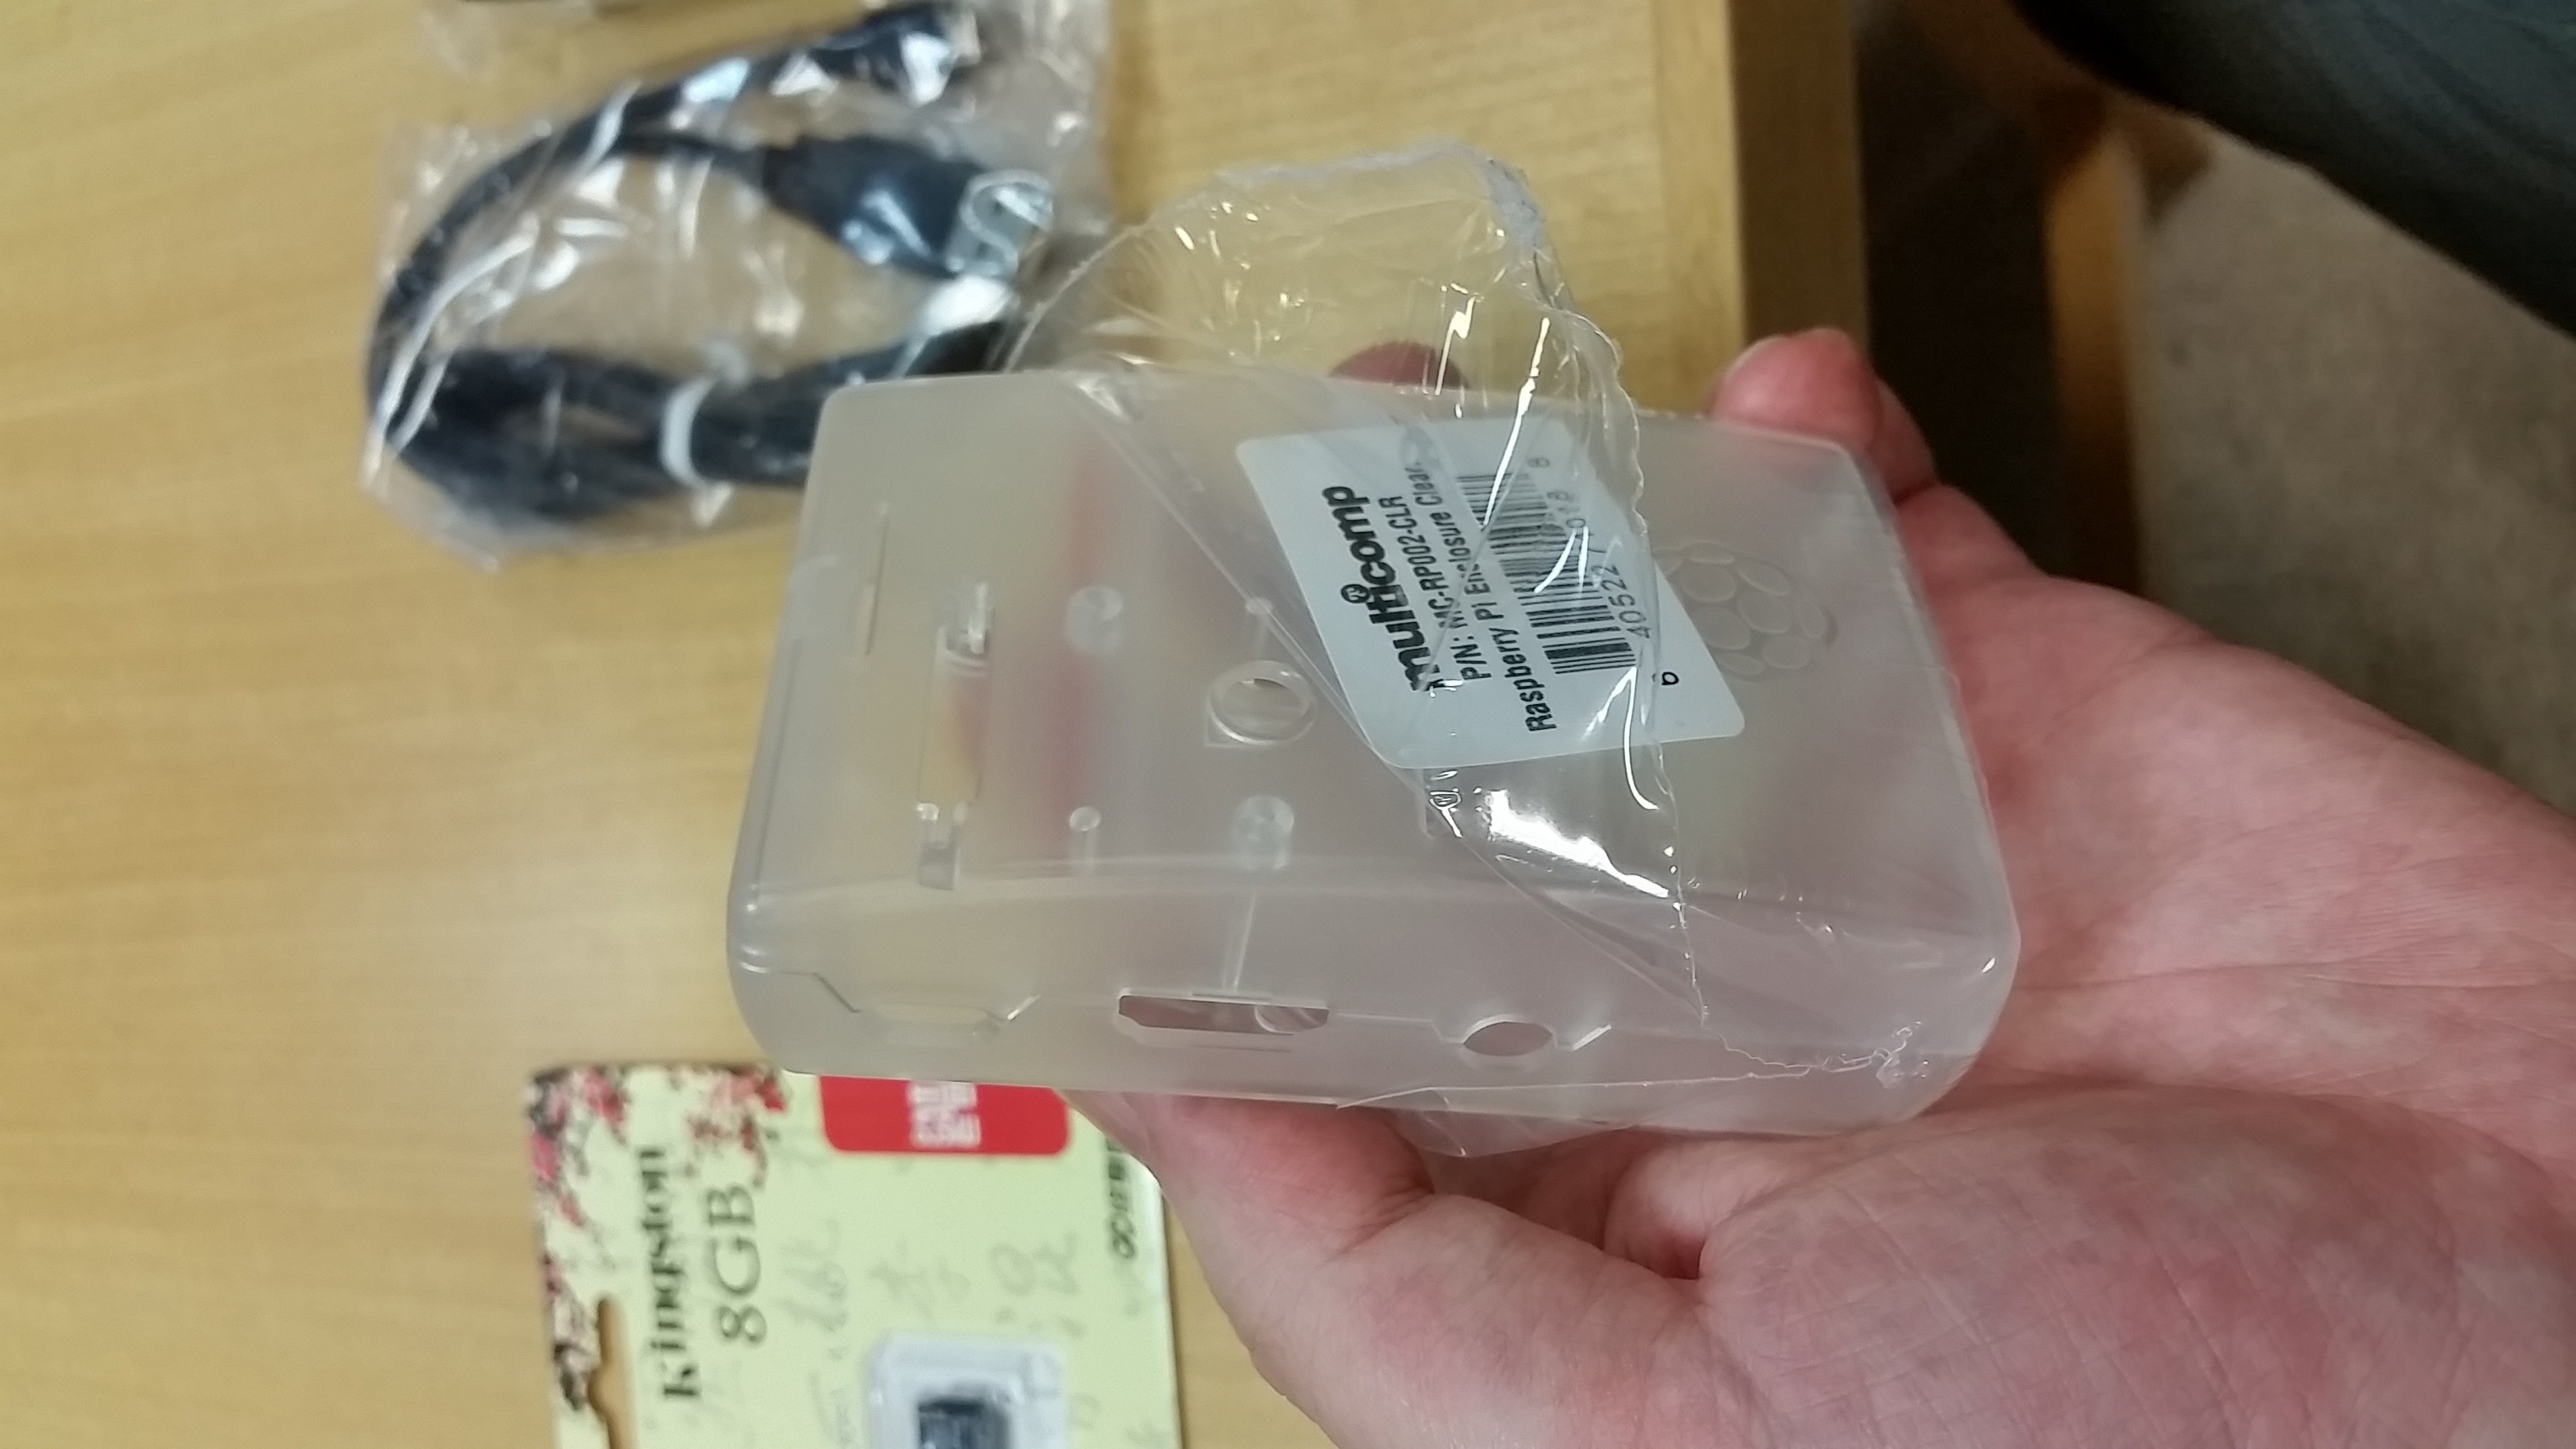
Open the case by applying pressure on the correct location.
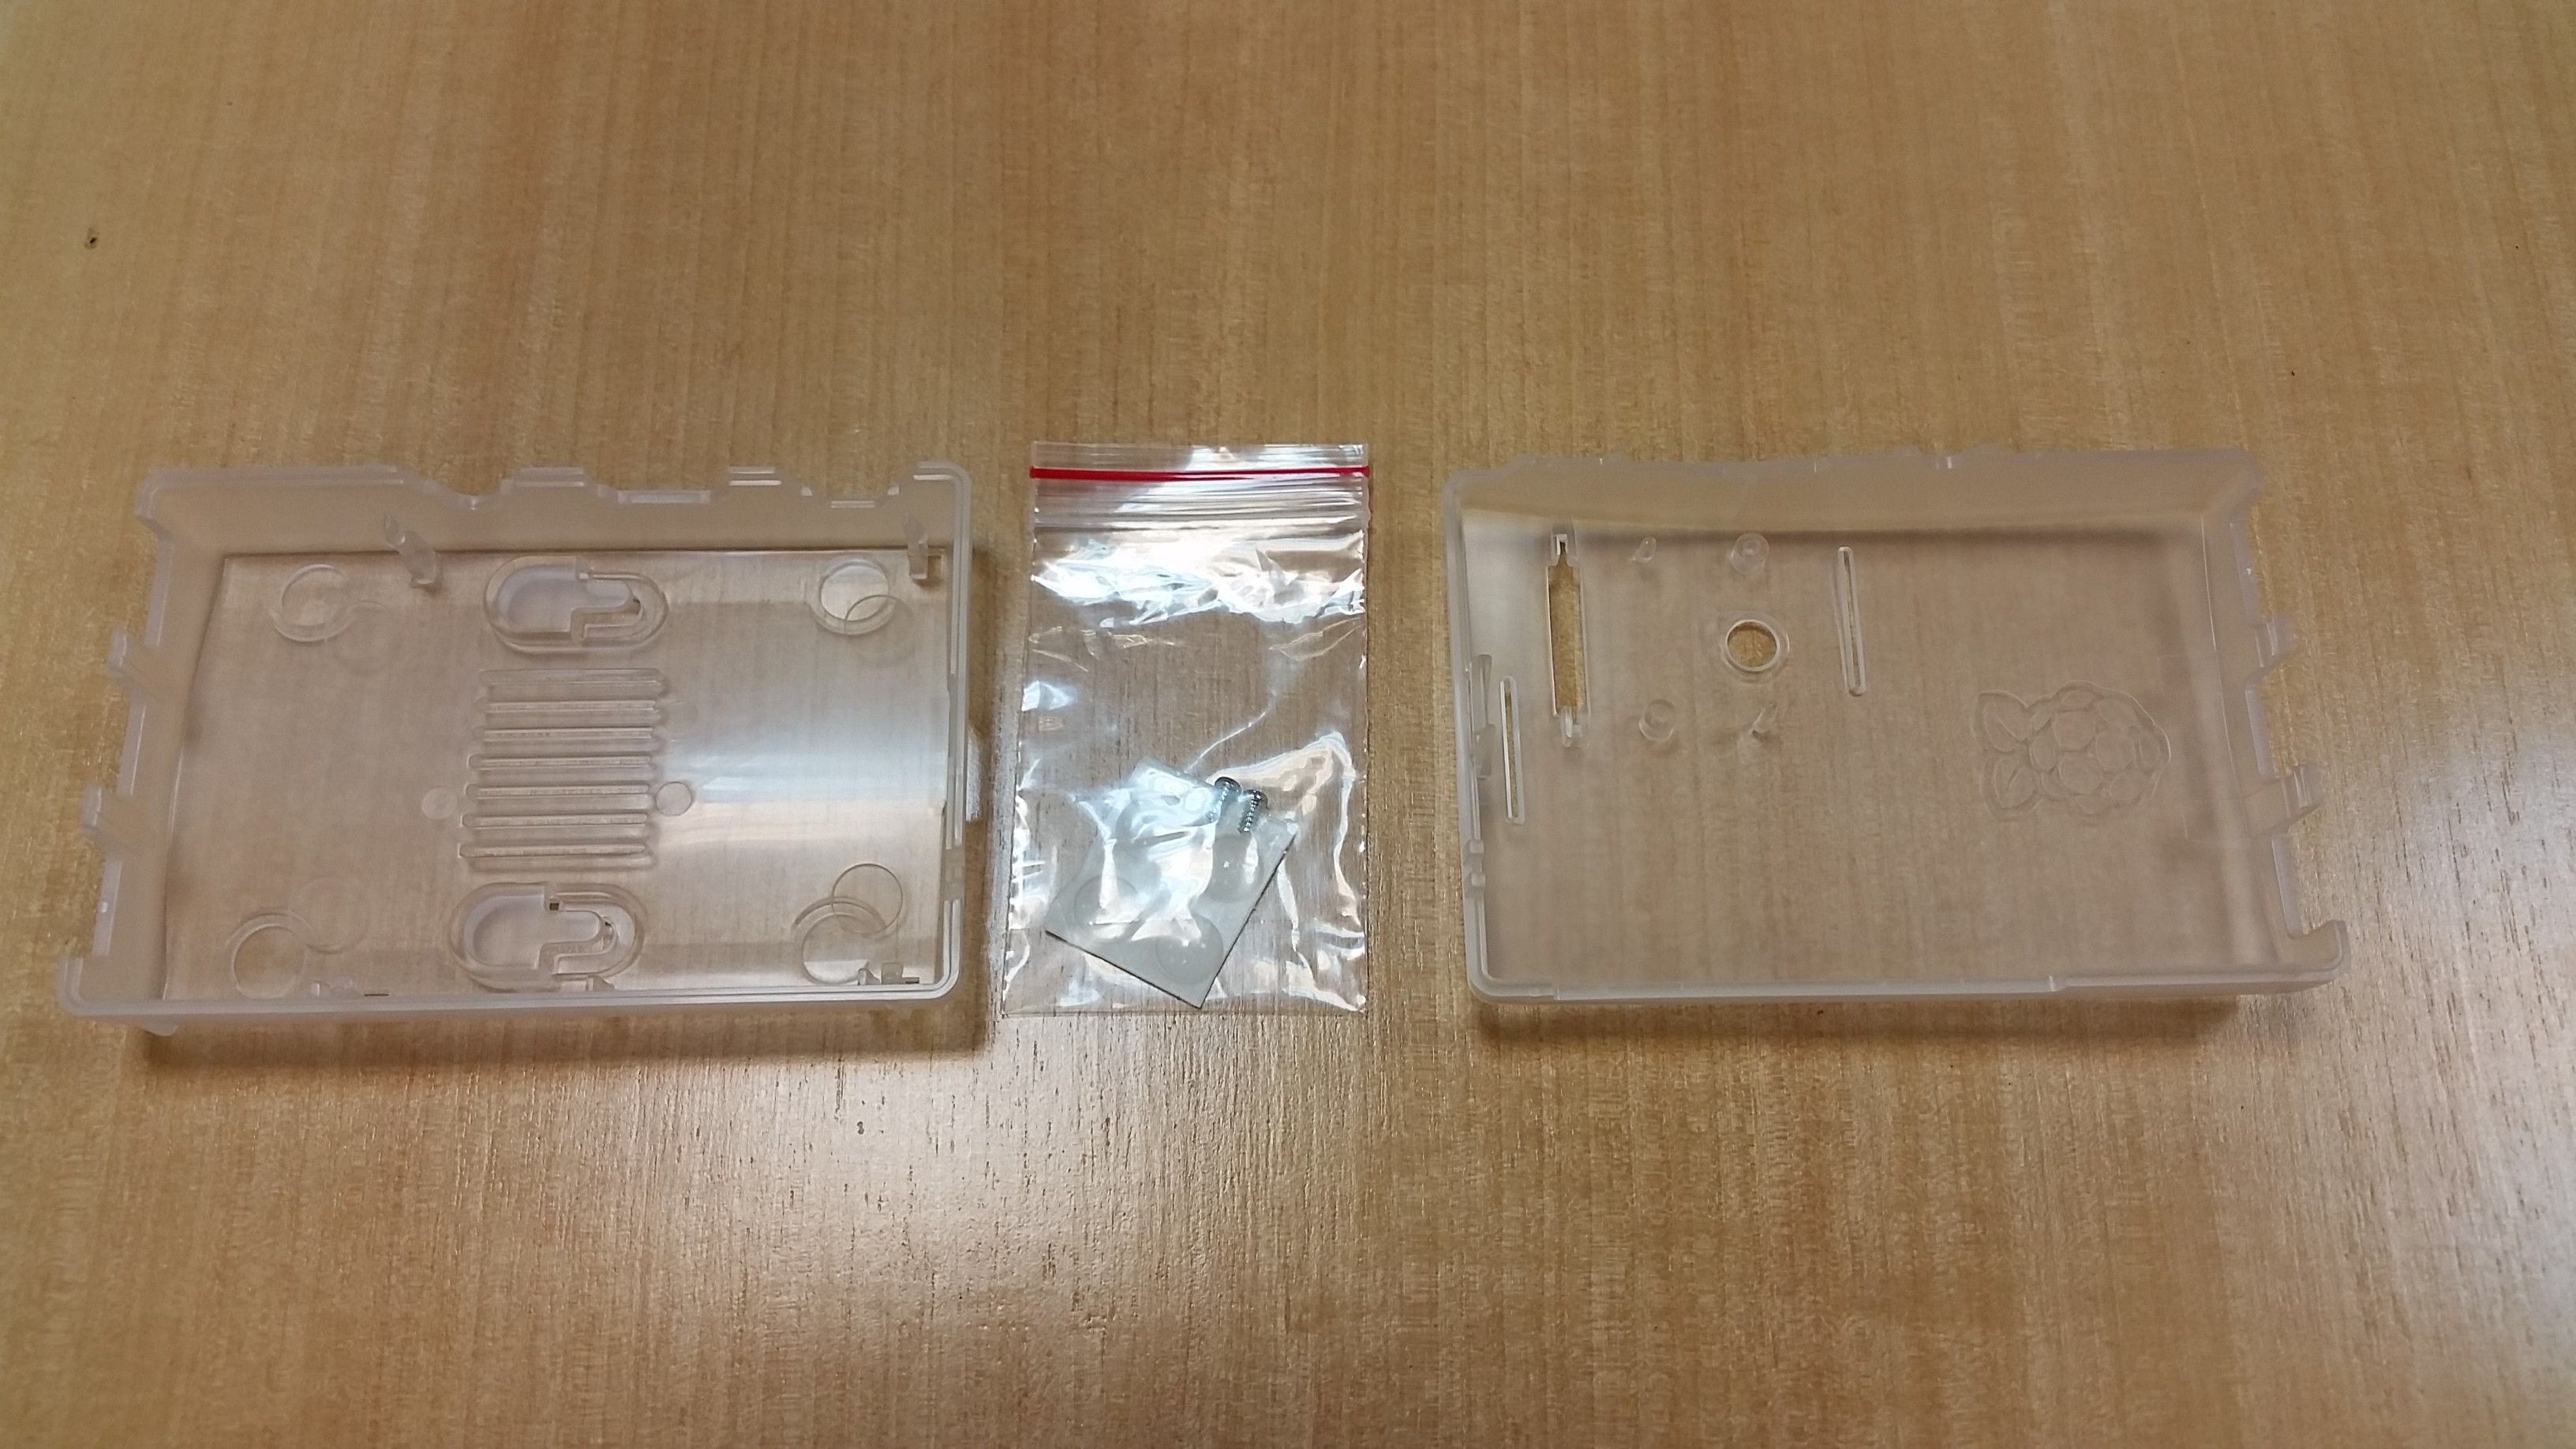
The case comes with 4 small rubber feet, and 2 screws for the camera module. Make to save the screws for later use, in case you do want to add a camera module to your Pi.
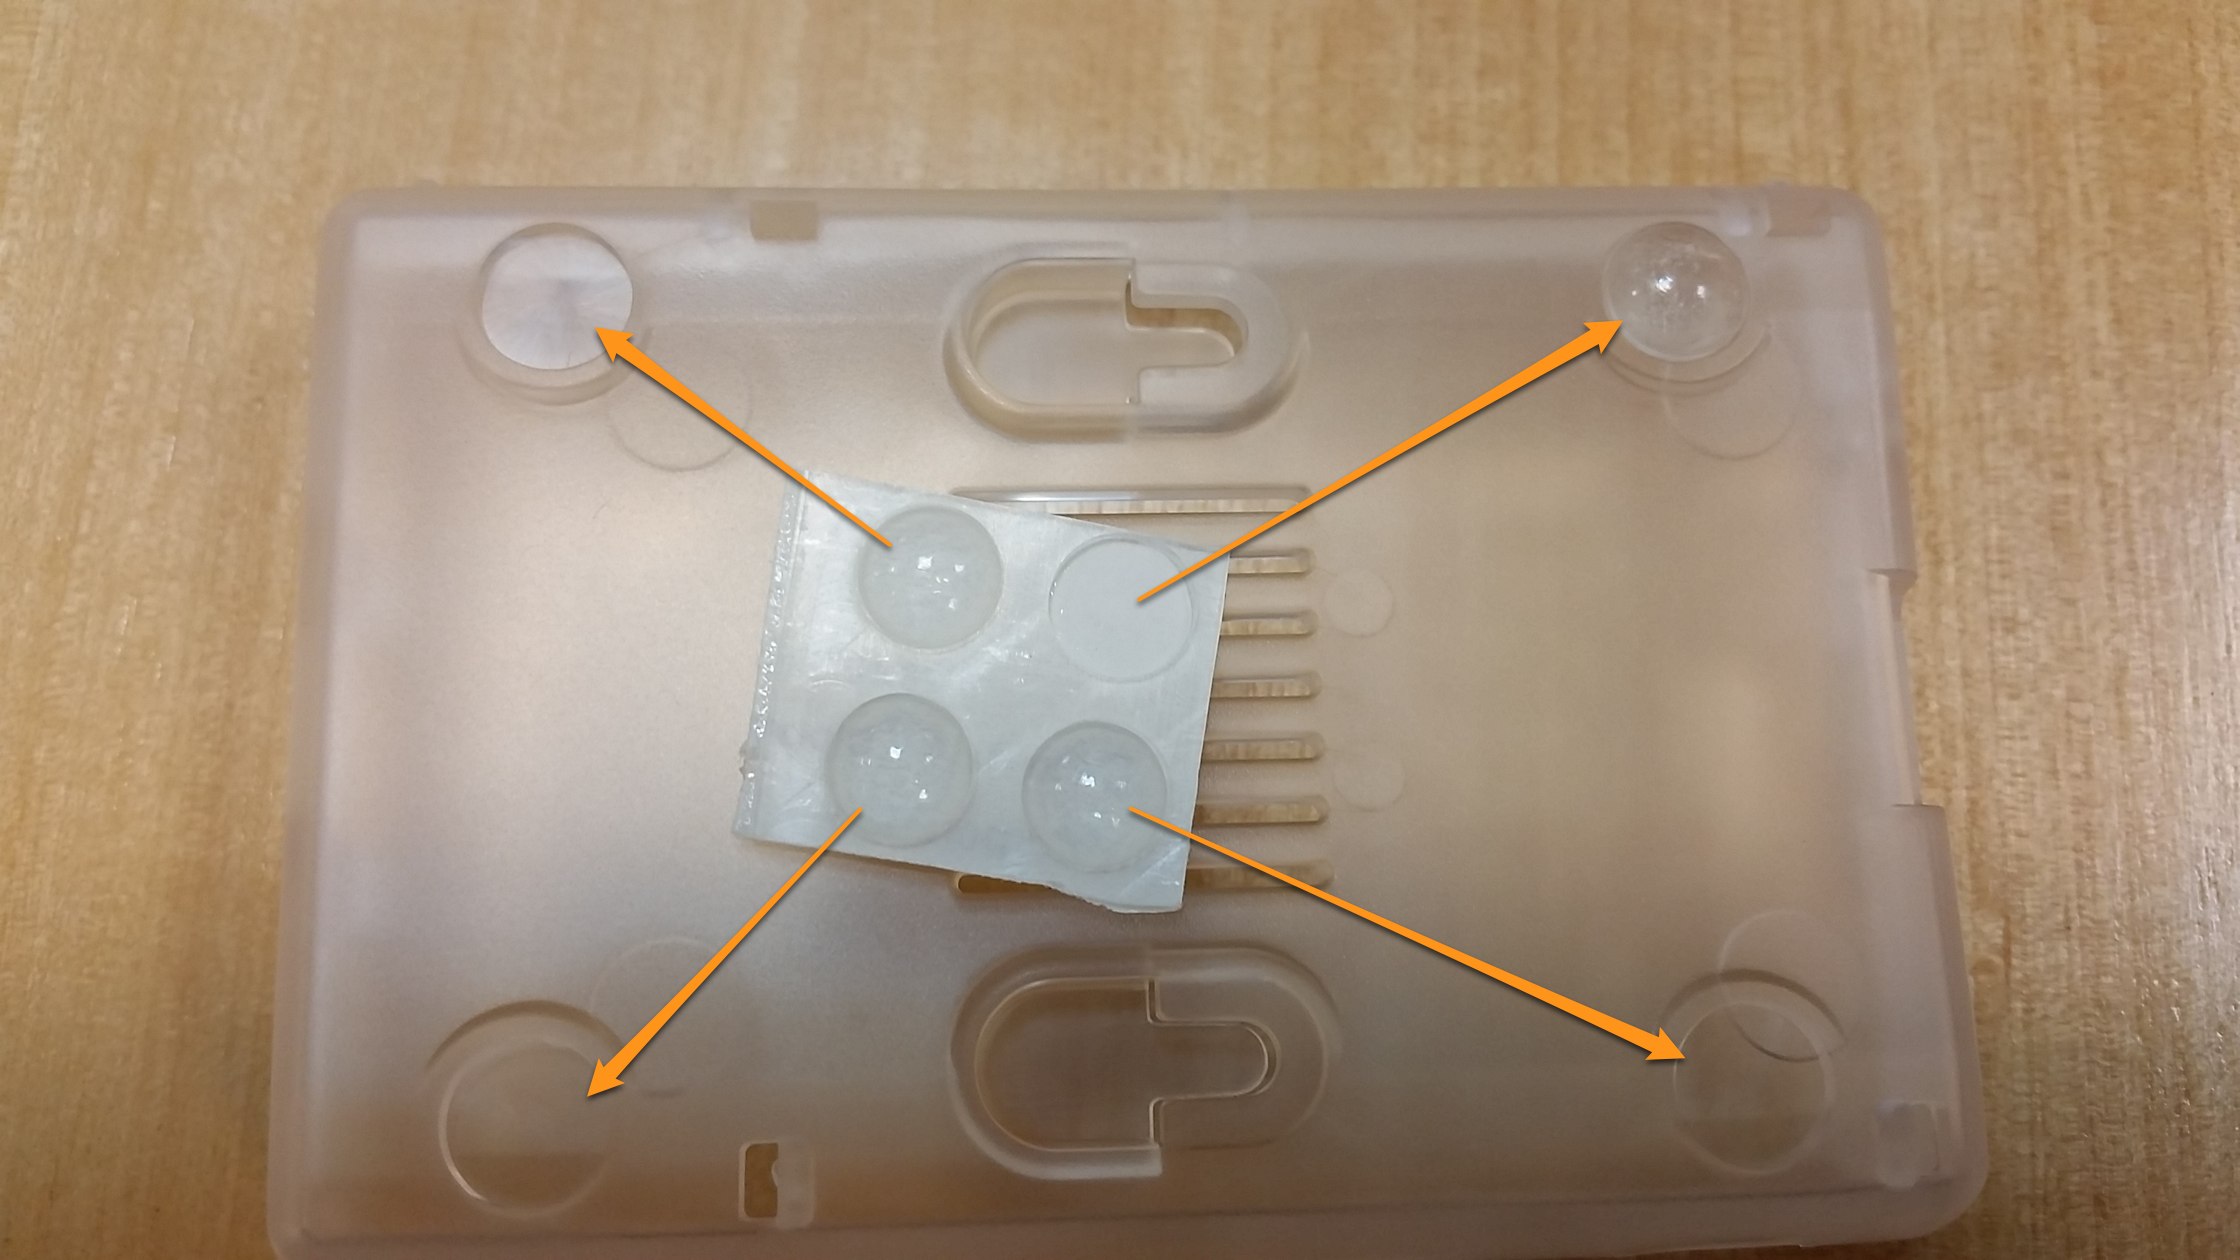
We recommend that you add the rubber feet to the bottom of the case. Remove them from the plastic holder, and stick them to the case.
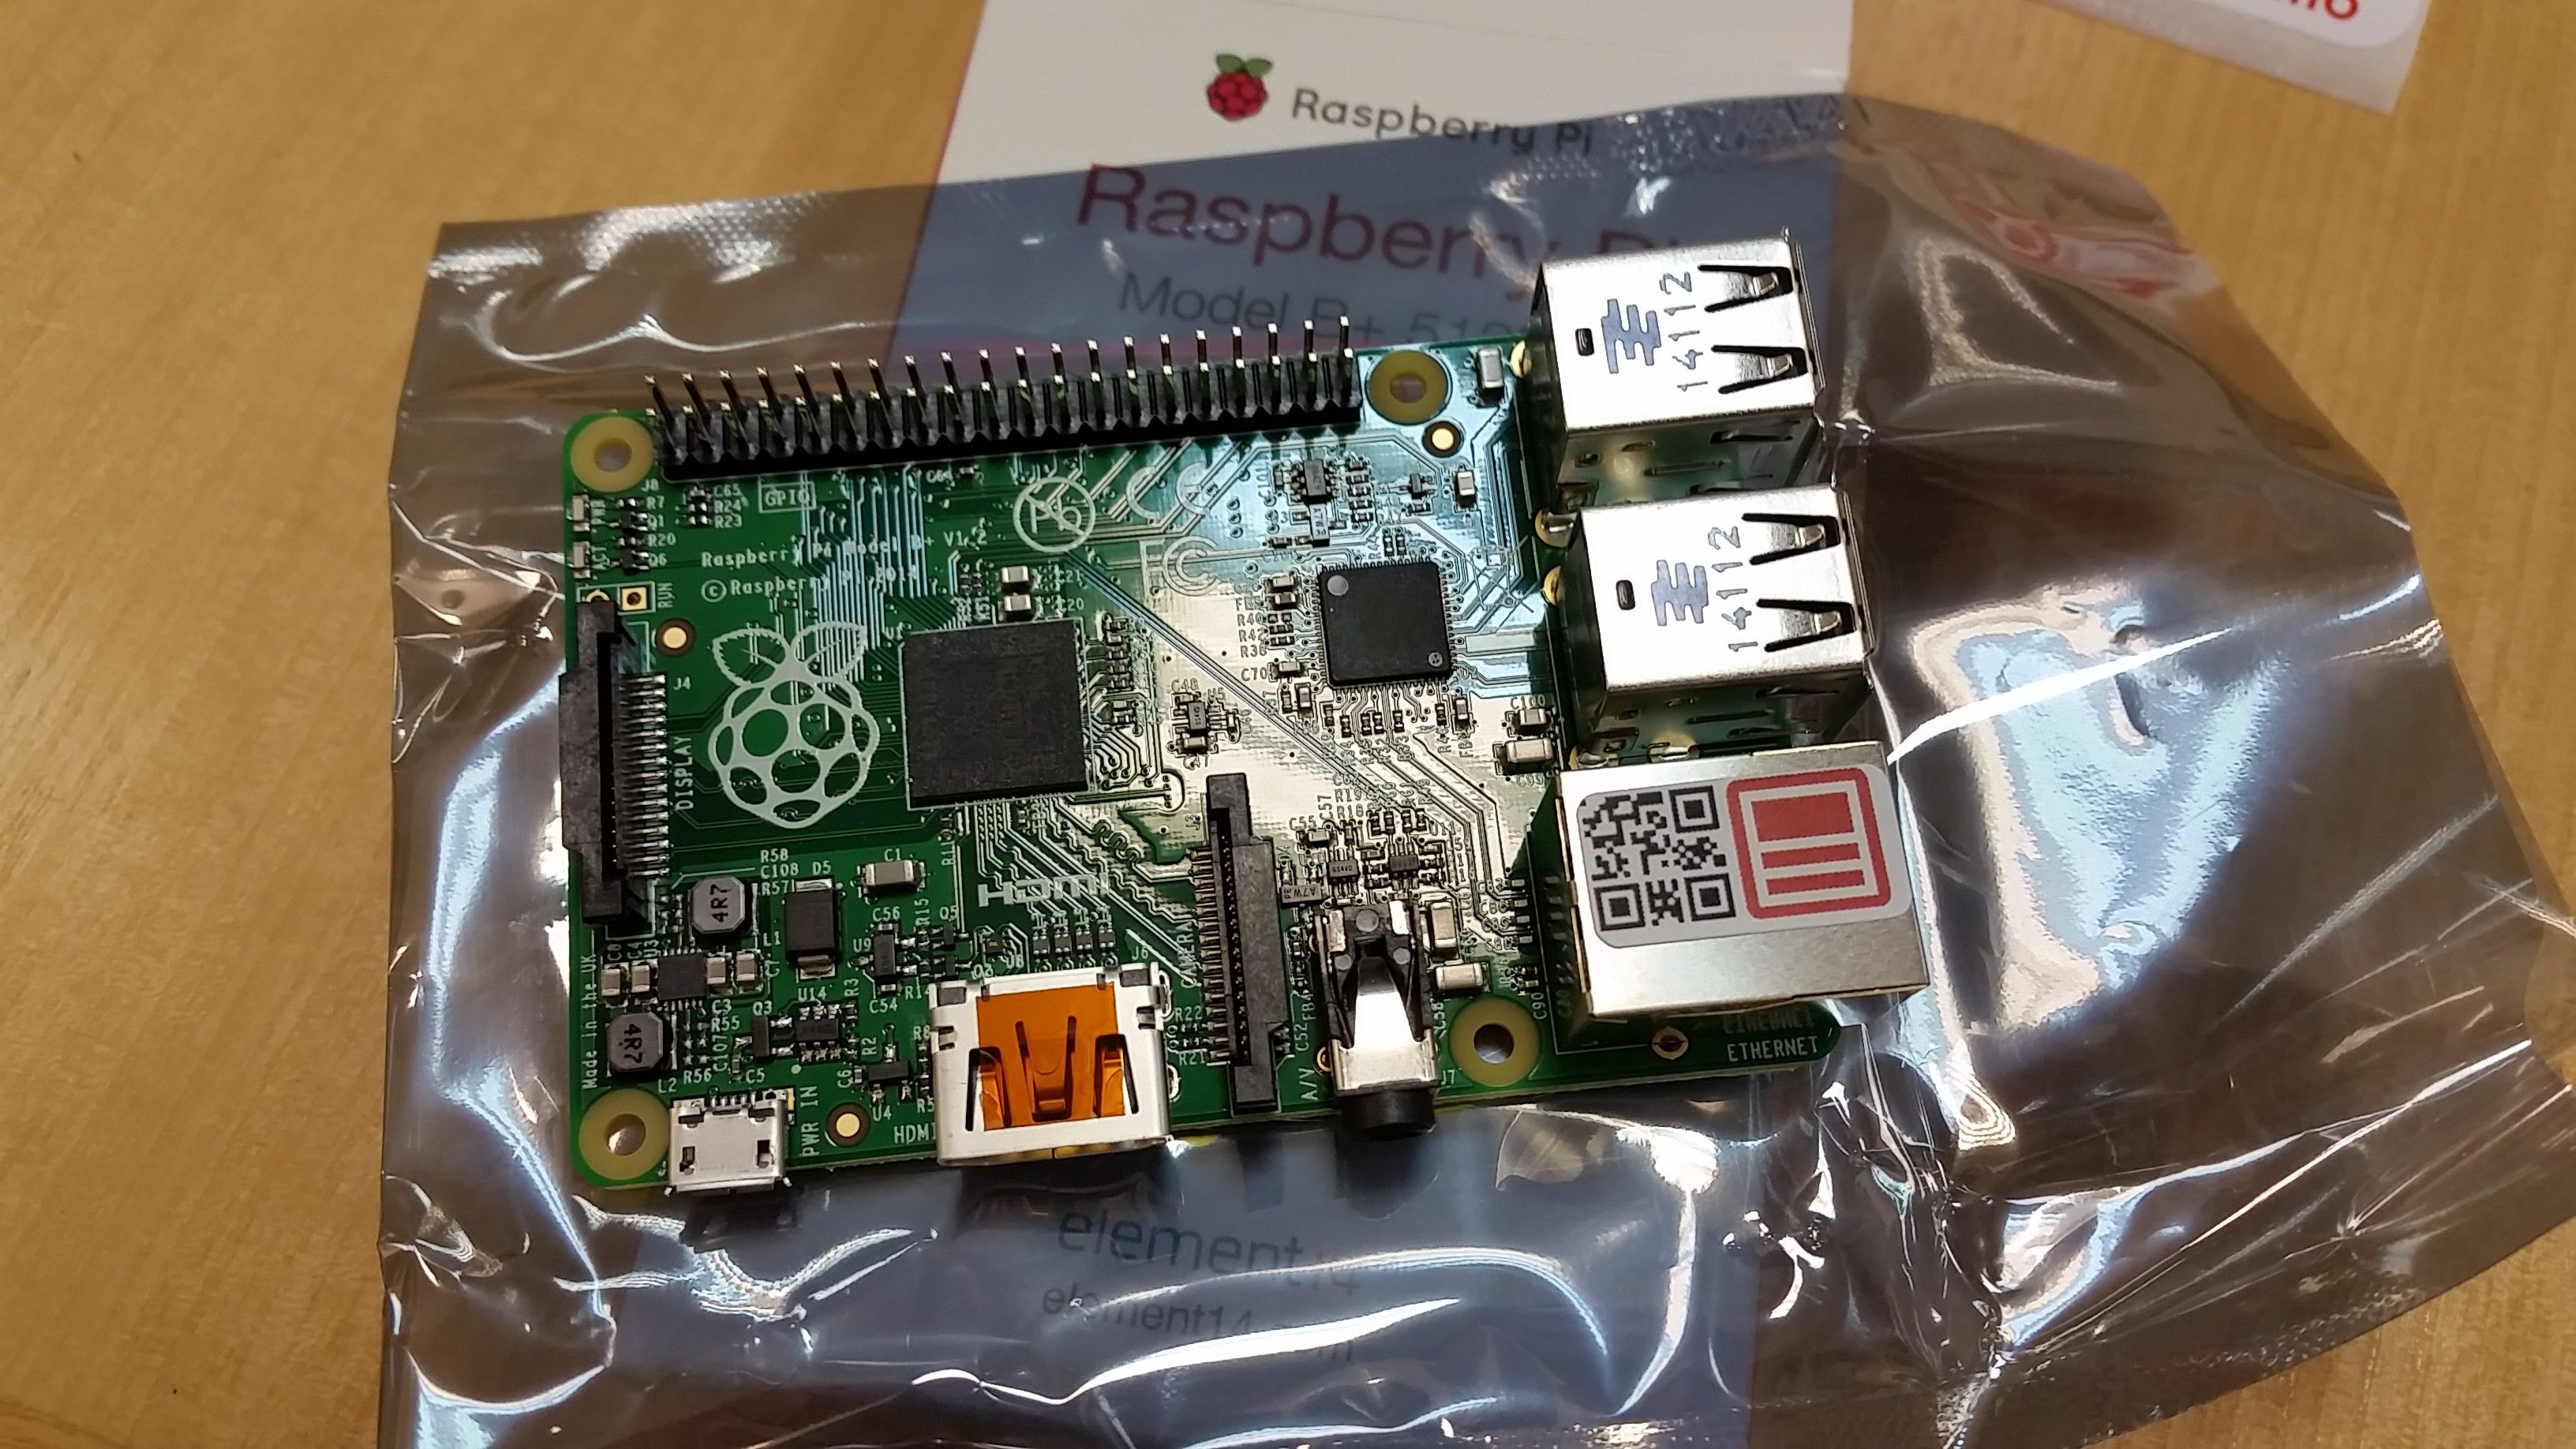
The Pi comes in a box, and with a anti-static protective bag. Remove it carefully.
Align the USB and Ethernet ports with the respective holes in the bottom of the case.
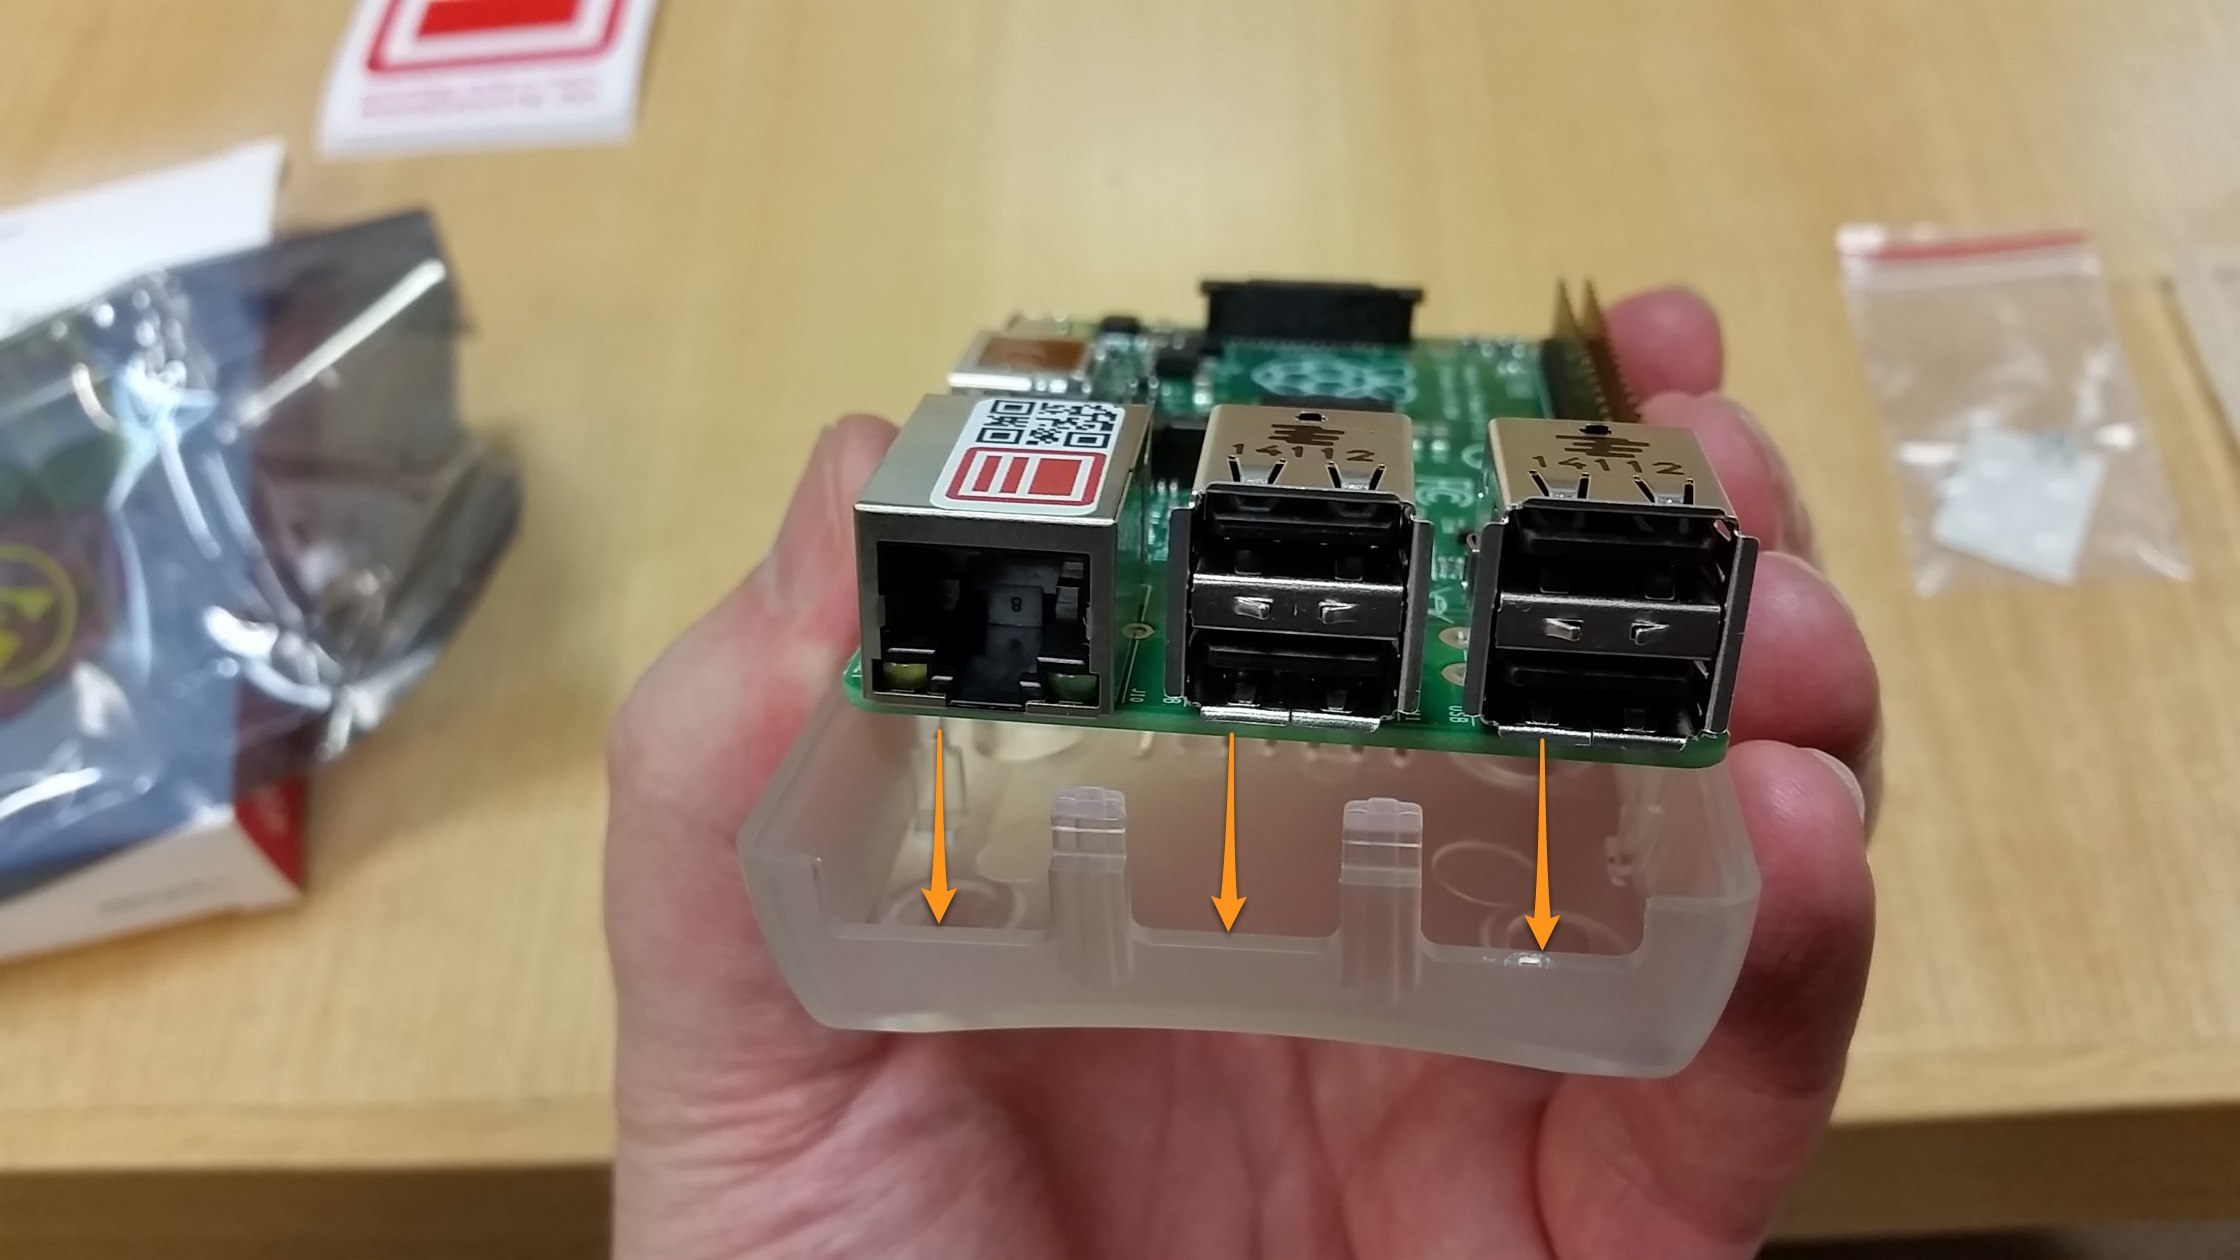
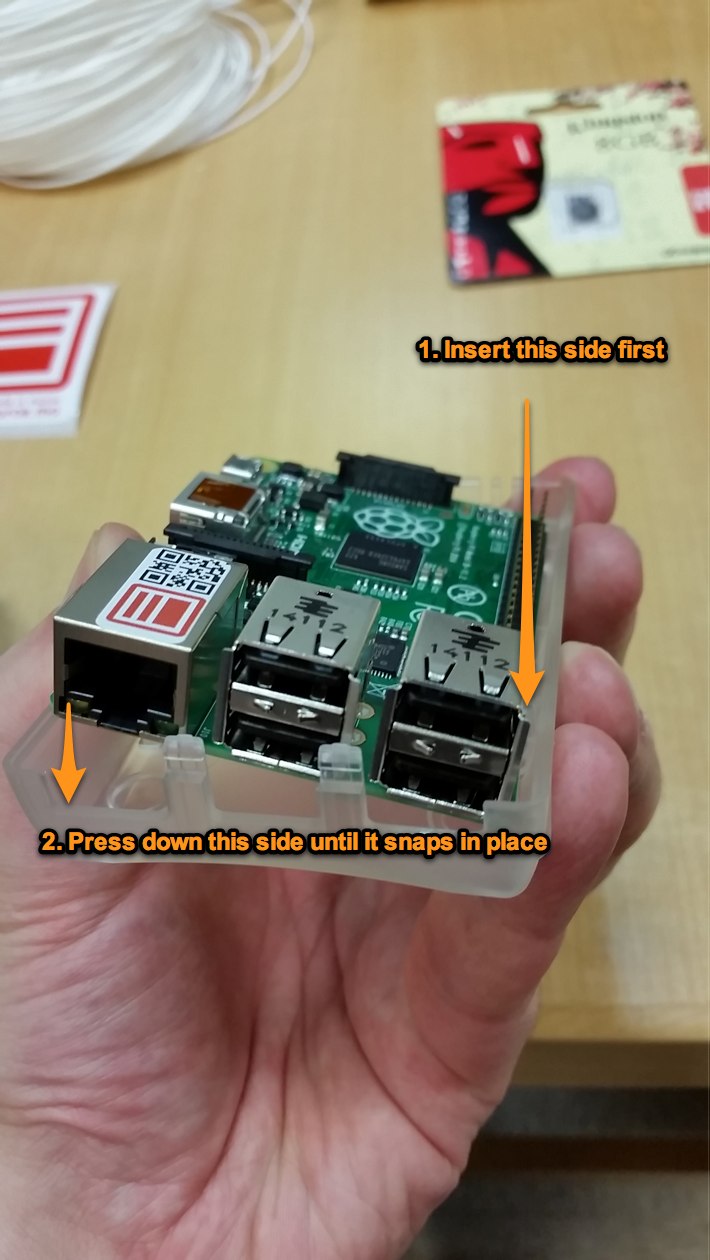
The Pi only slots into the case one way. Make sure to insert the right side first (when looking from the USB side) otherwise you may jam the Pi in the case.
Once the right side is correctly slotted into the case, press down the left side (when looking from the USB side) until it clicks and snaps in place.
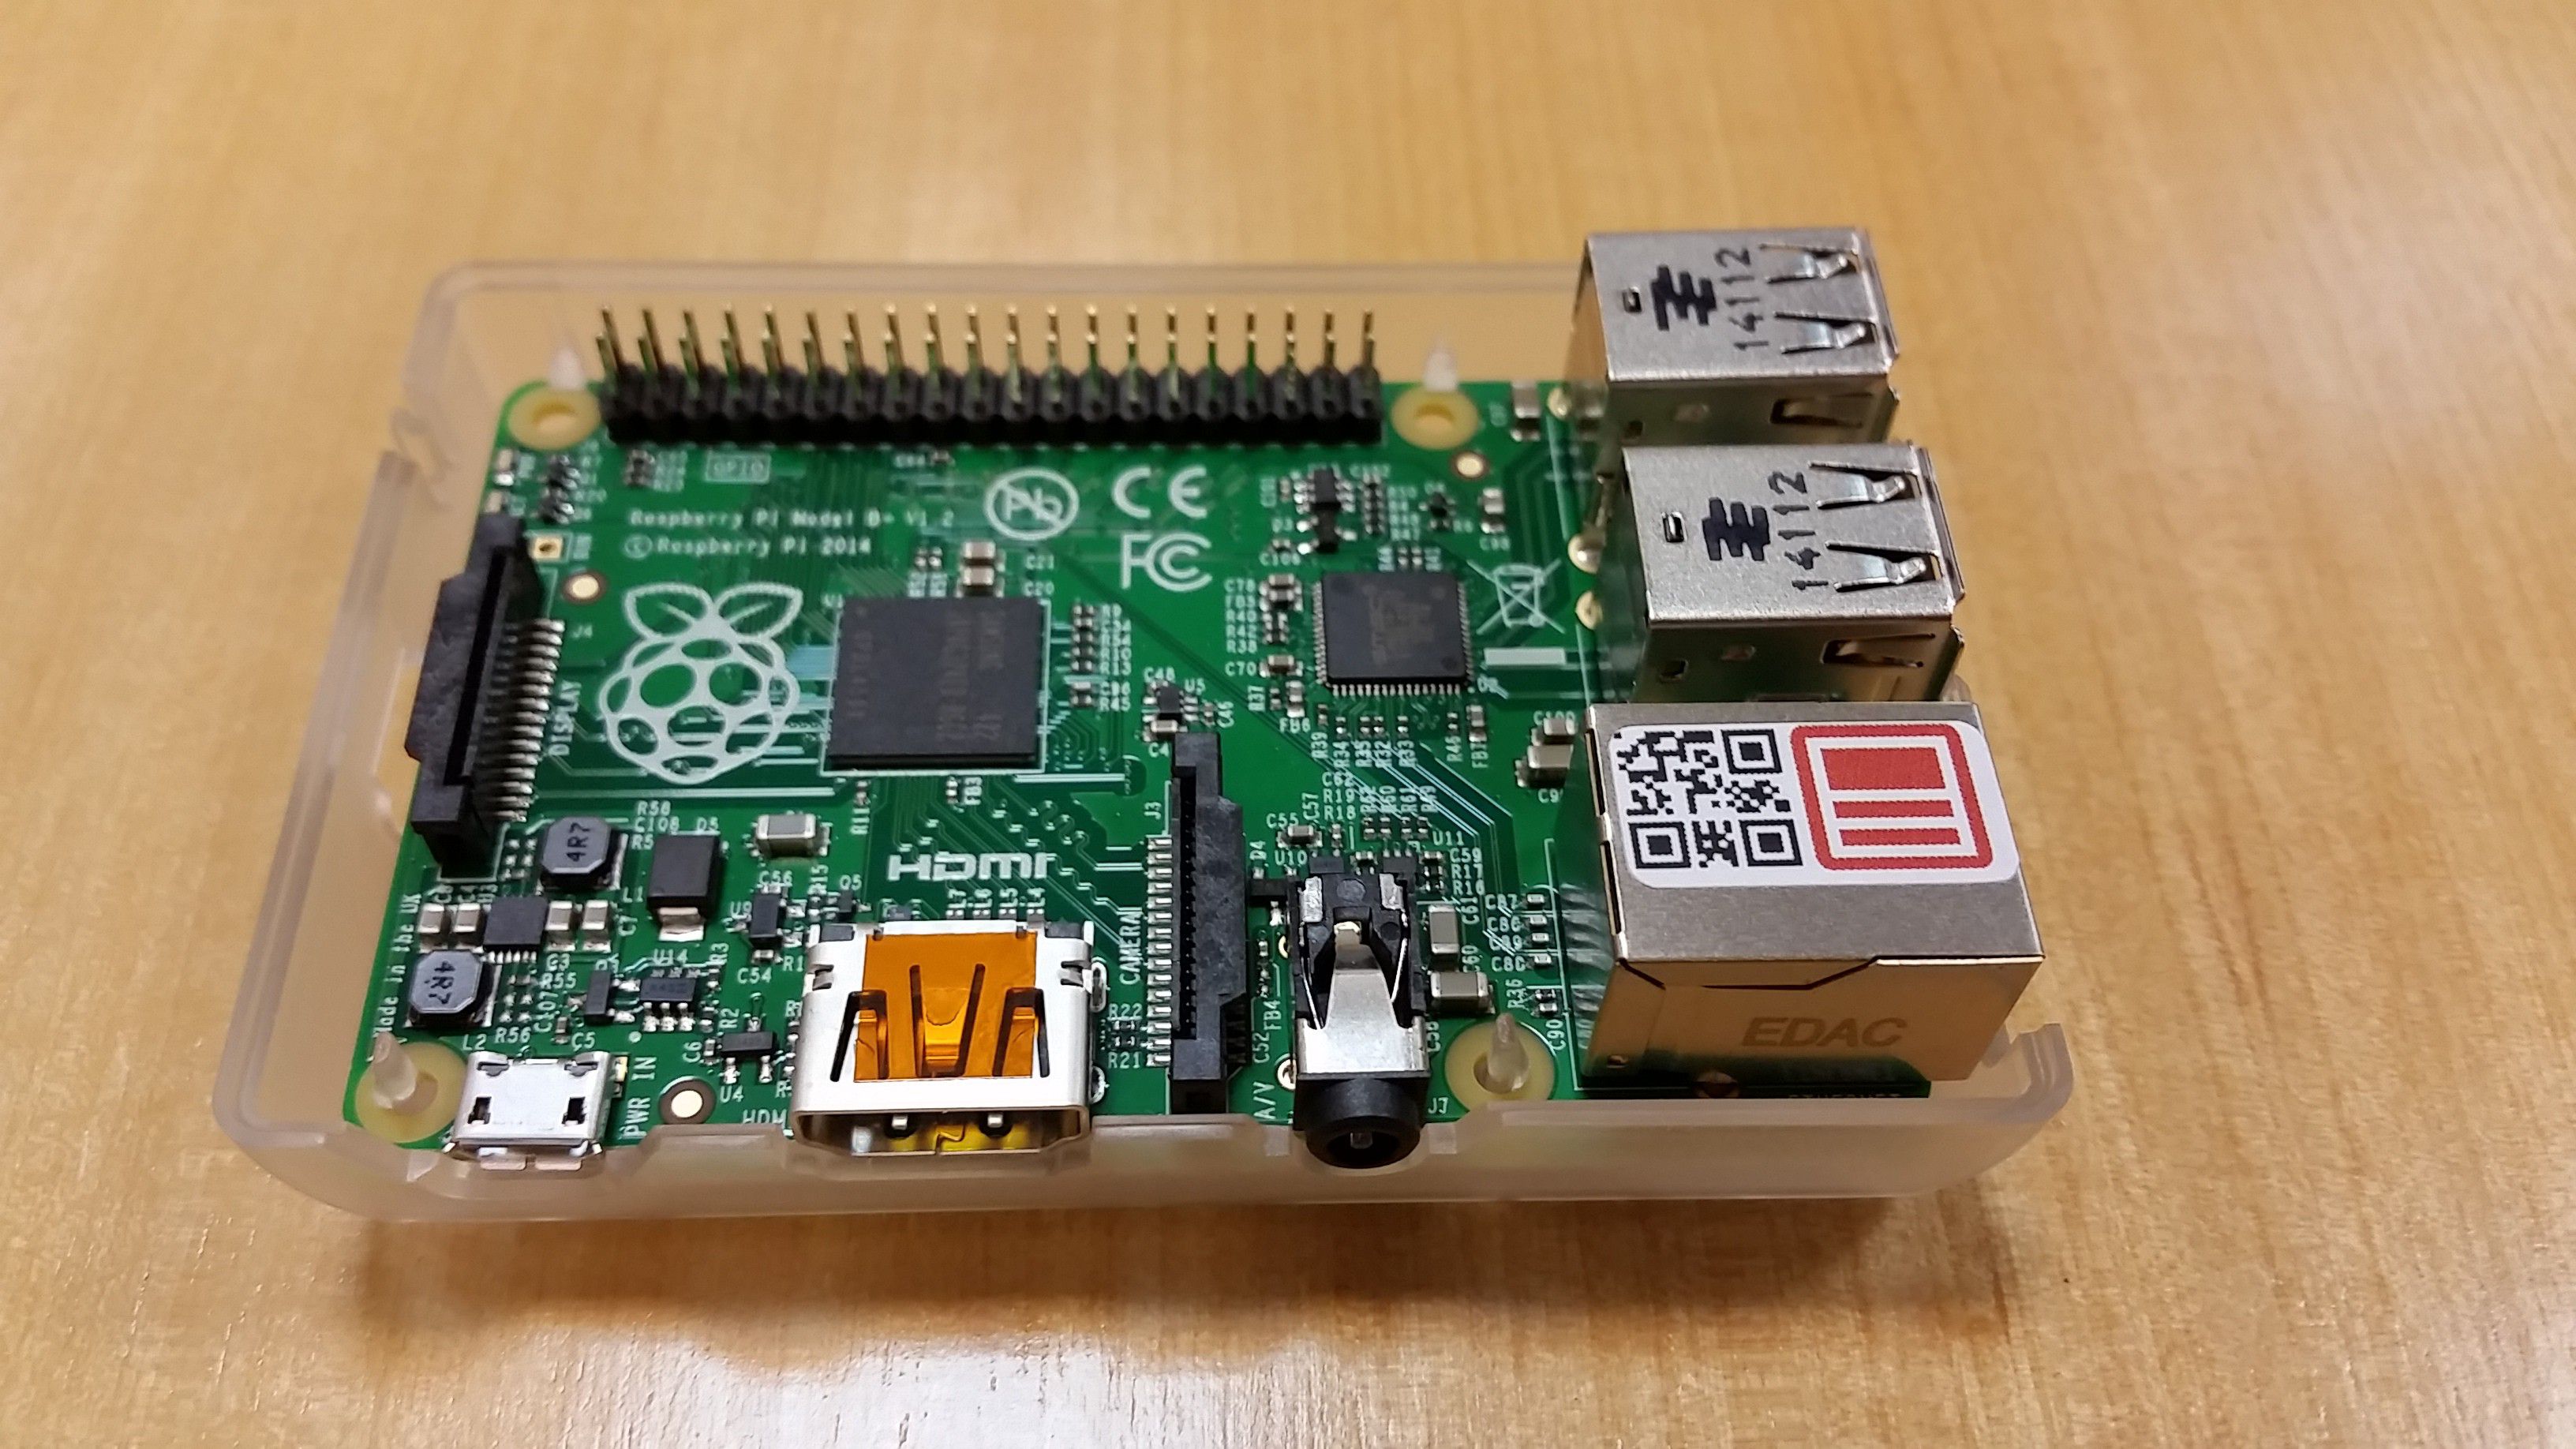
You Pi should now be well seated in the bottom of the case. Leave it like that. ** DO NOT CLOSE THE CASE LID. ** You will need to access the Pi GPIO pins soon.
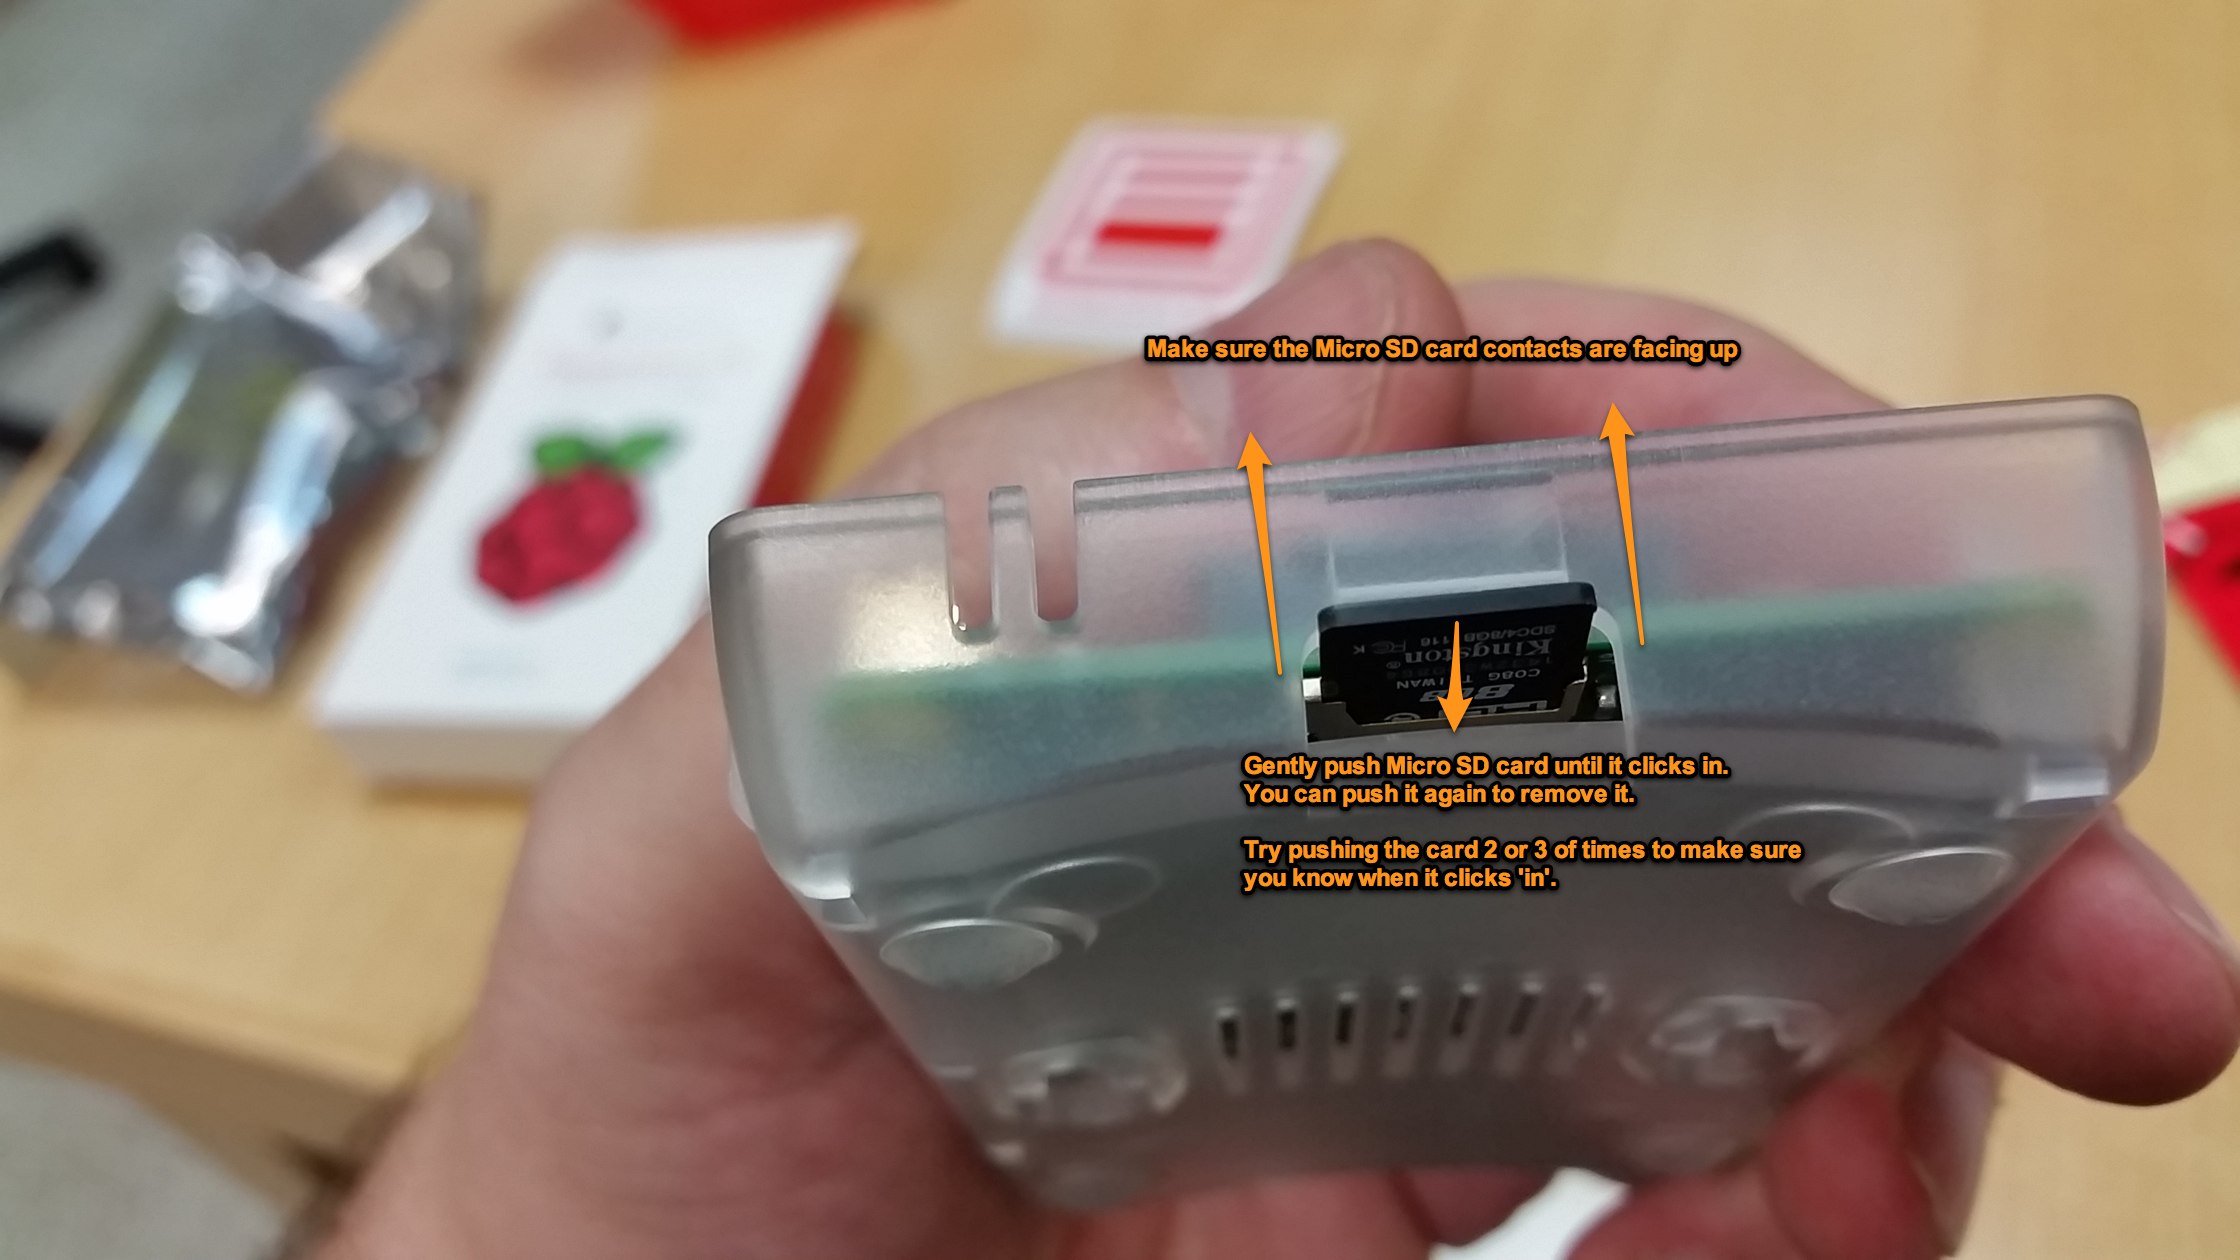
Remove the Micro SD card from the case
Insert the Micro SD card into the Pi very carefully. Make sure the card connectors are facing up, and that you insert it into the narrow SD card slot.
Push the card until it clicks in place. You may want to push it several times until you make sure it clicks 'in'.
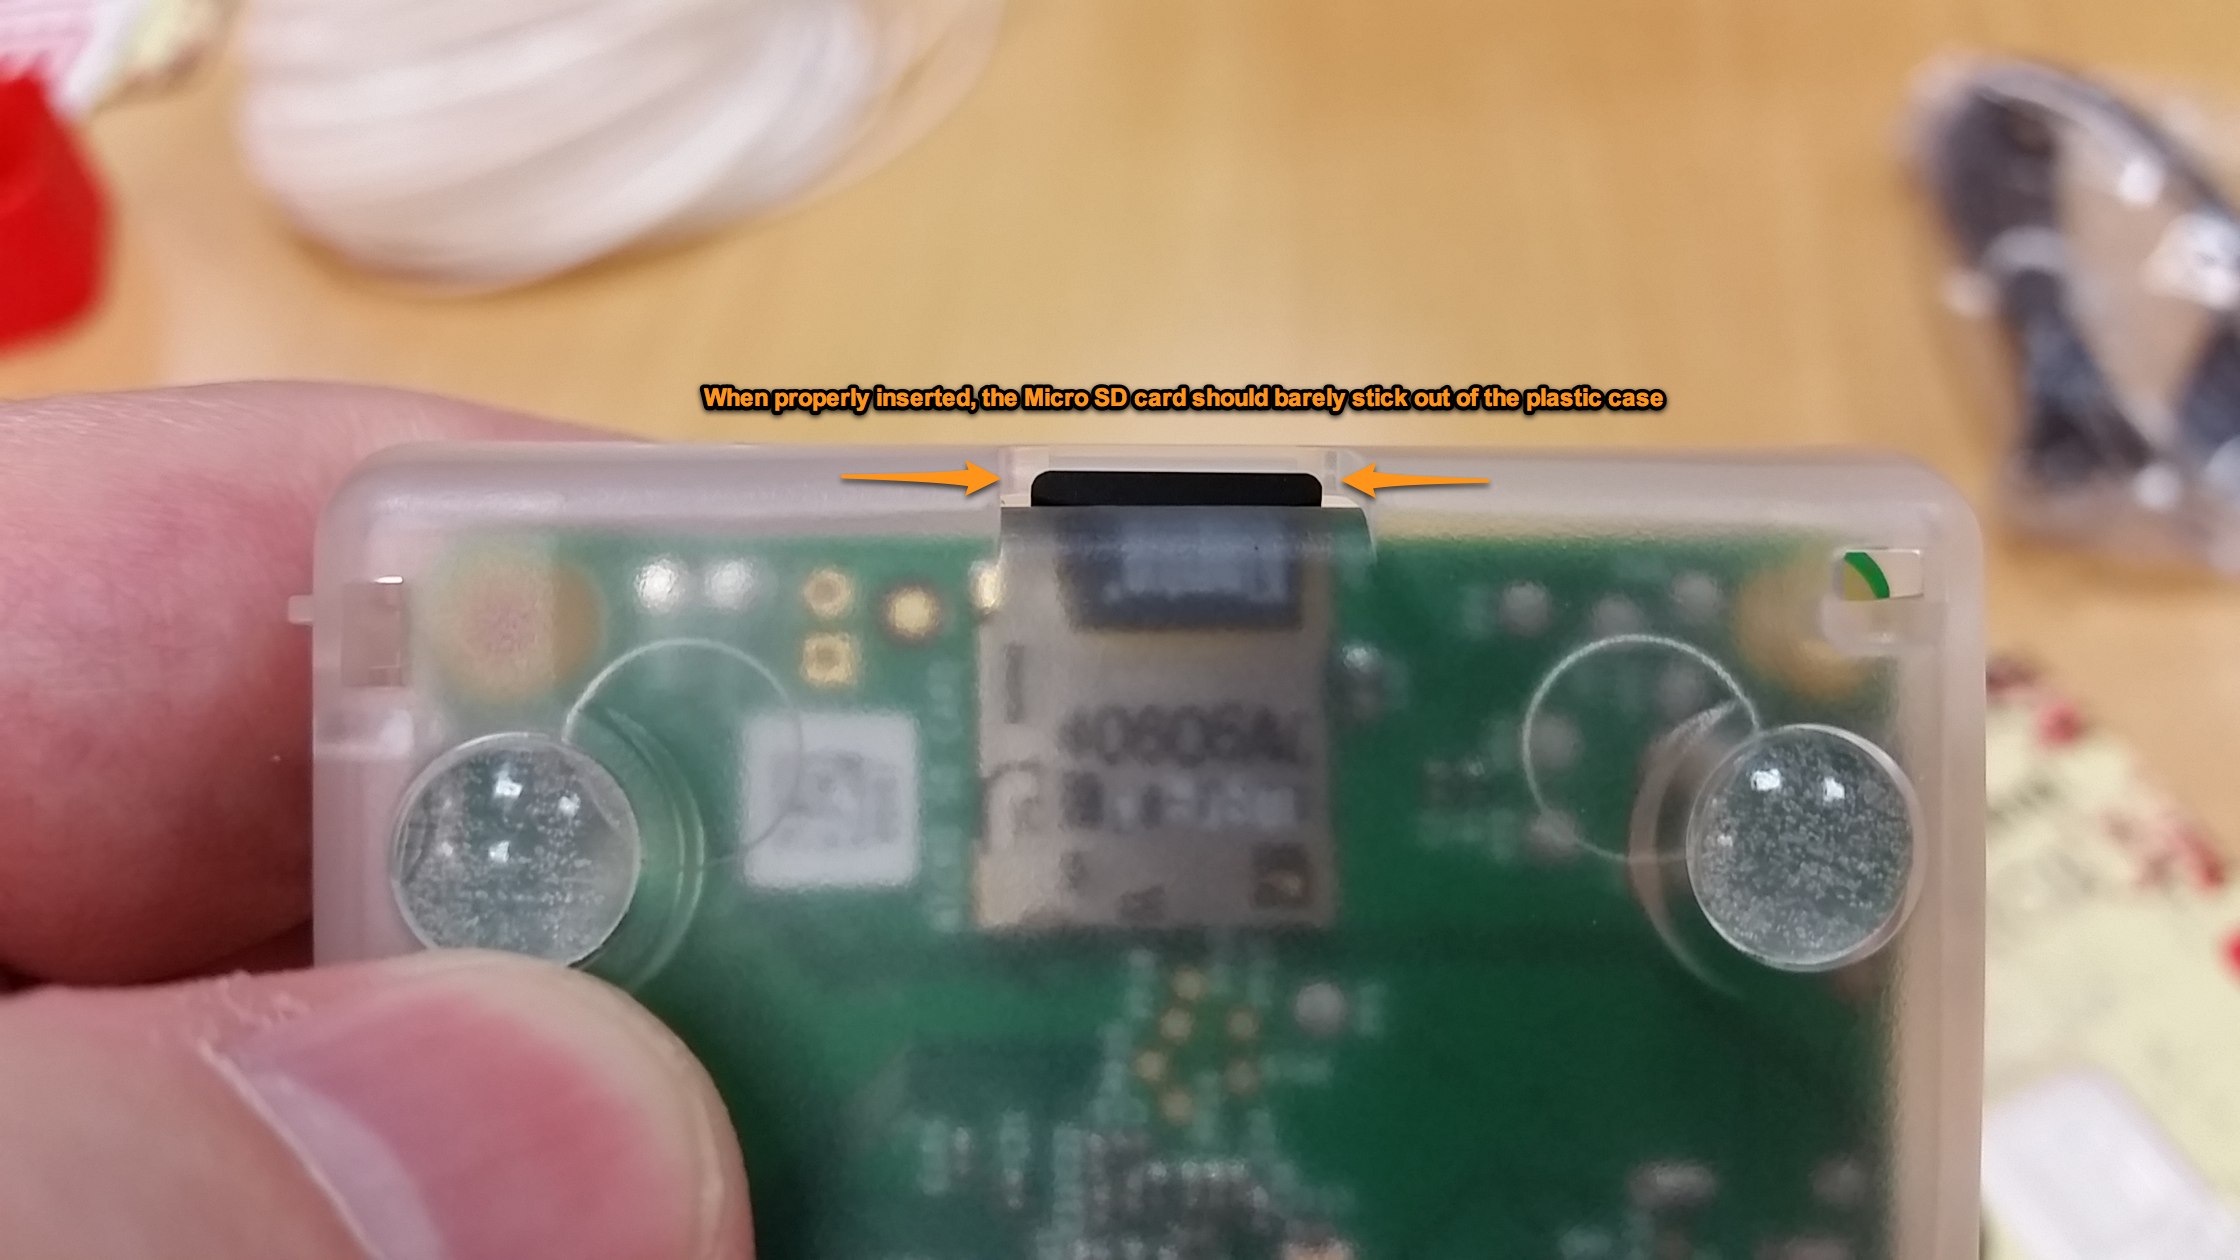
Double check that the card is properly inserted. It should barely stick out of the plastic case.
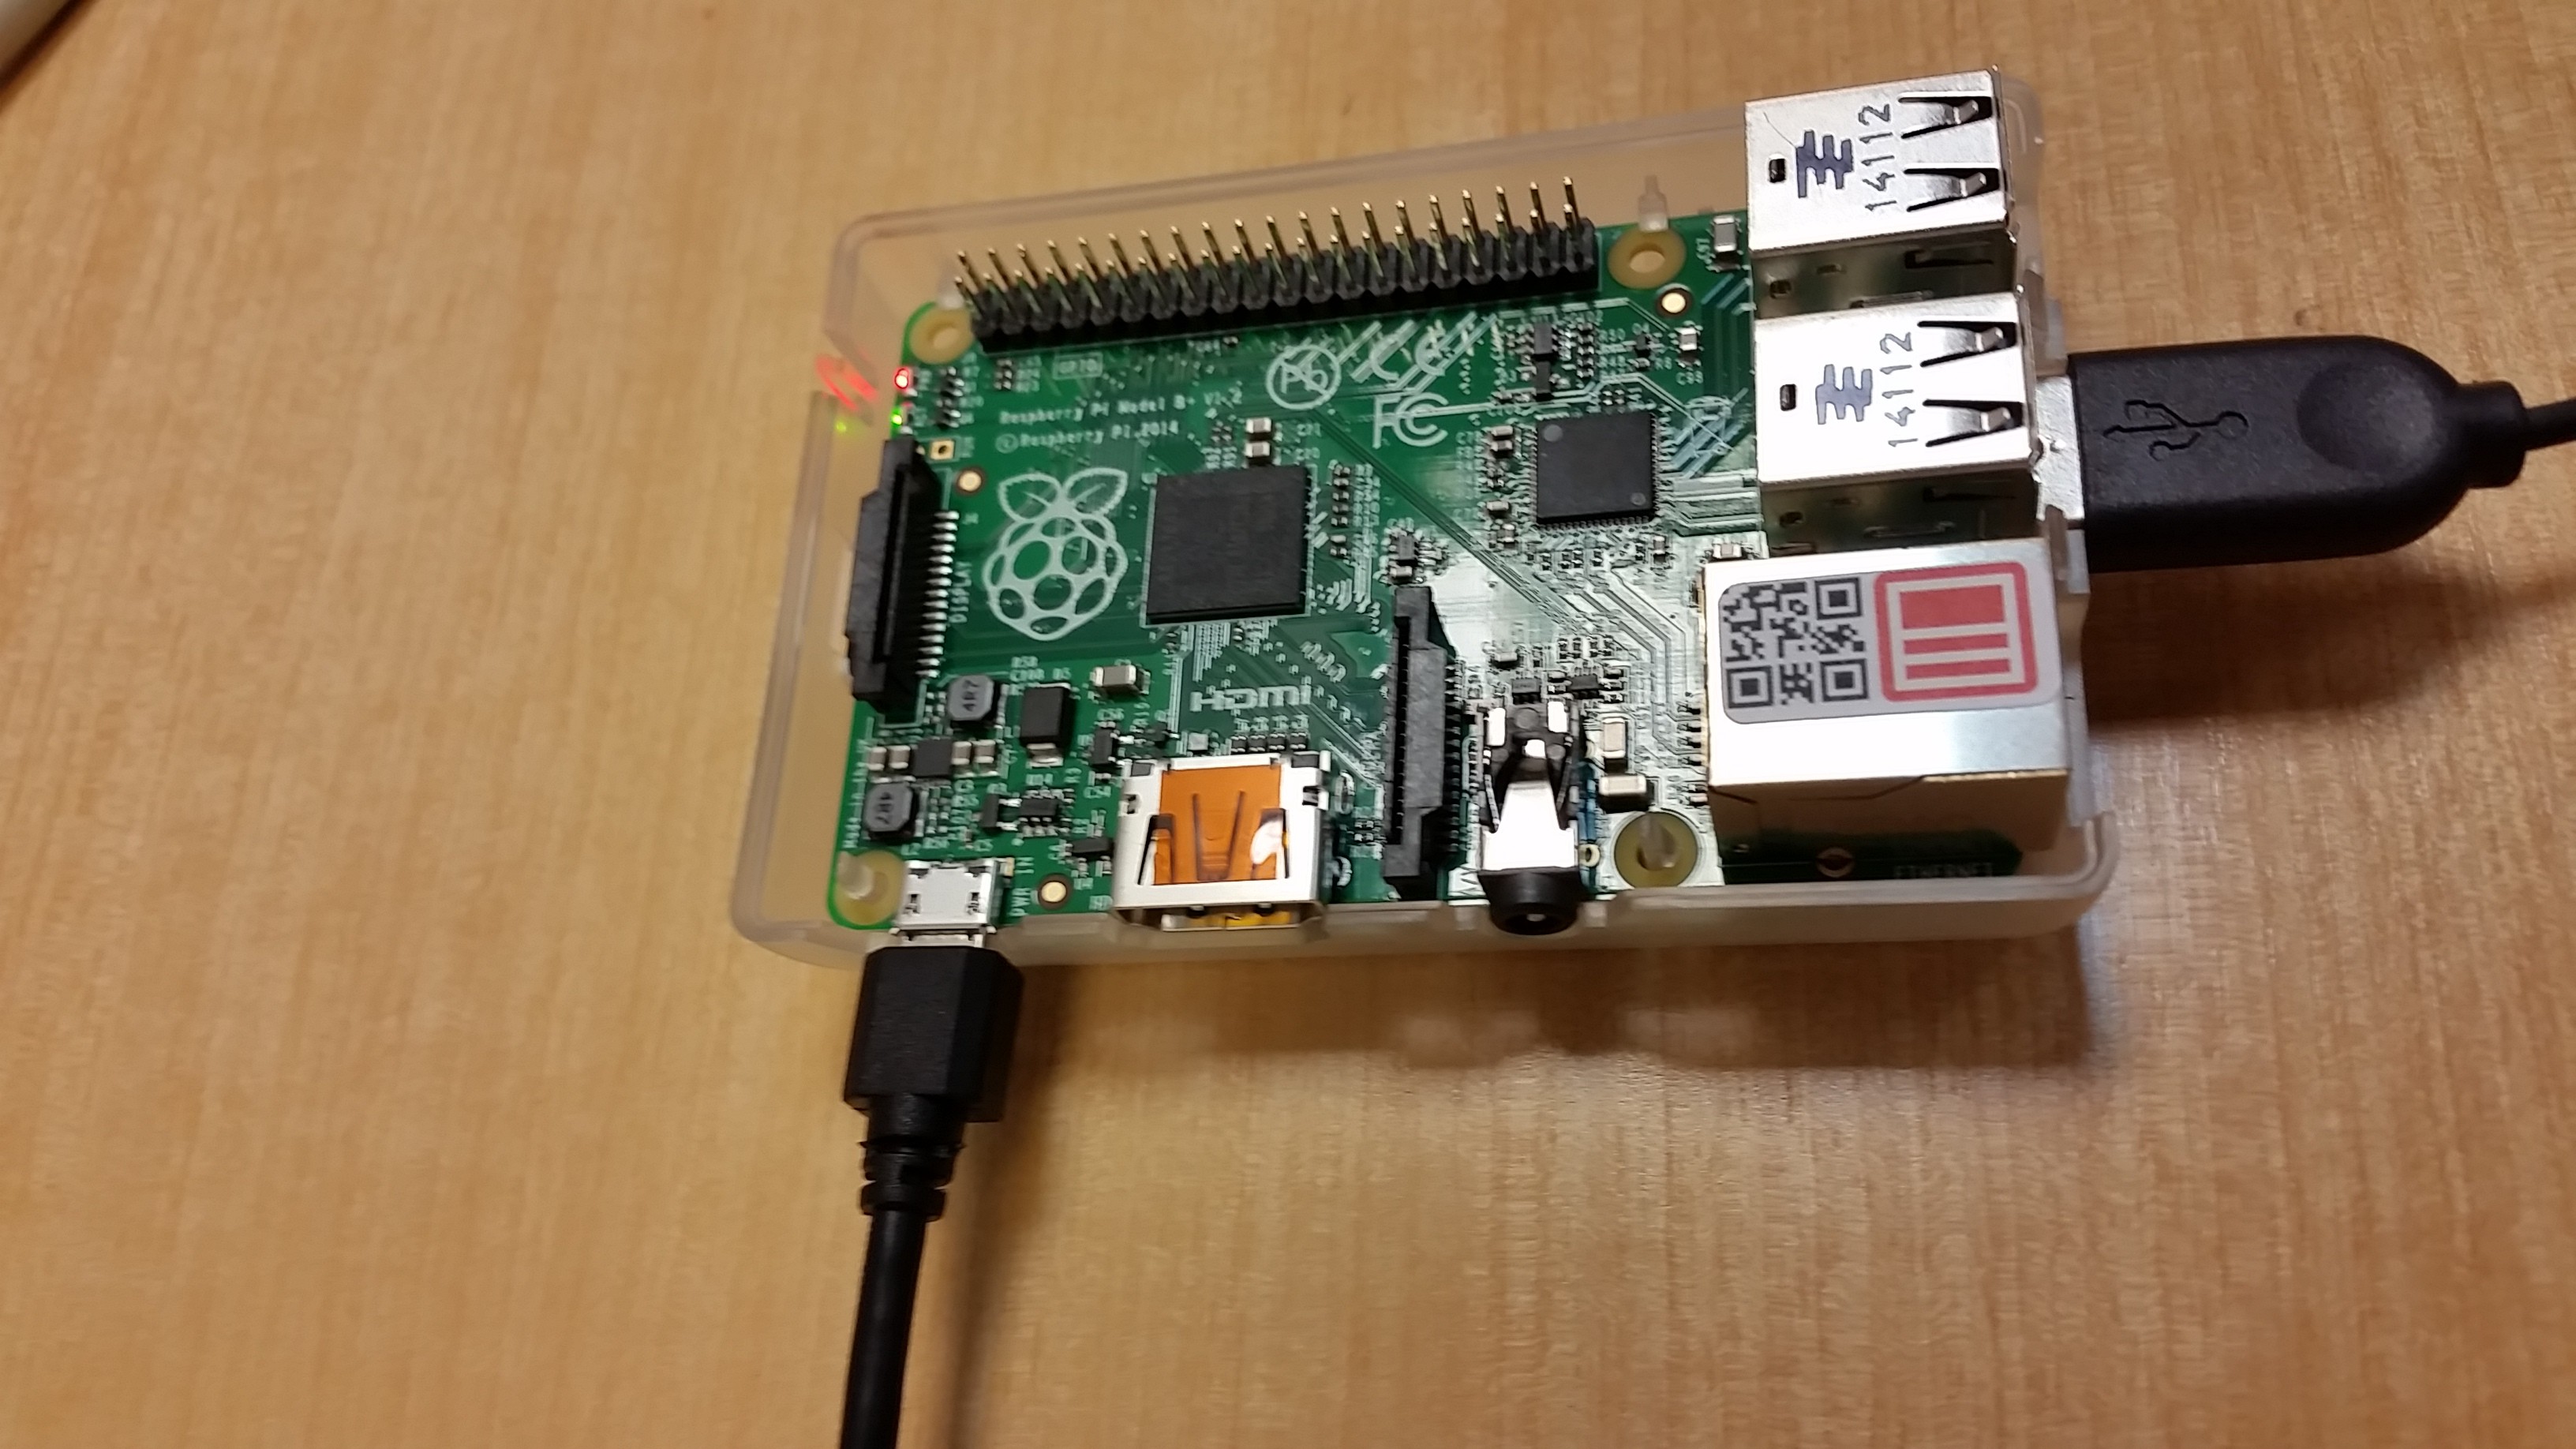
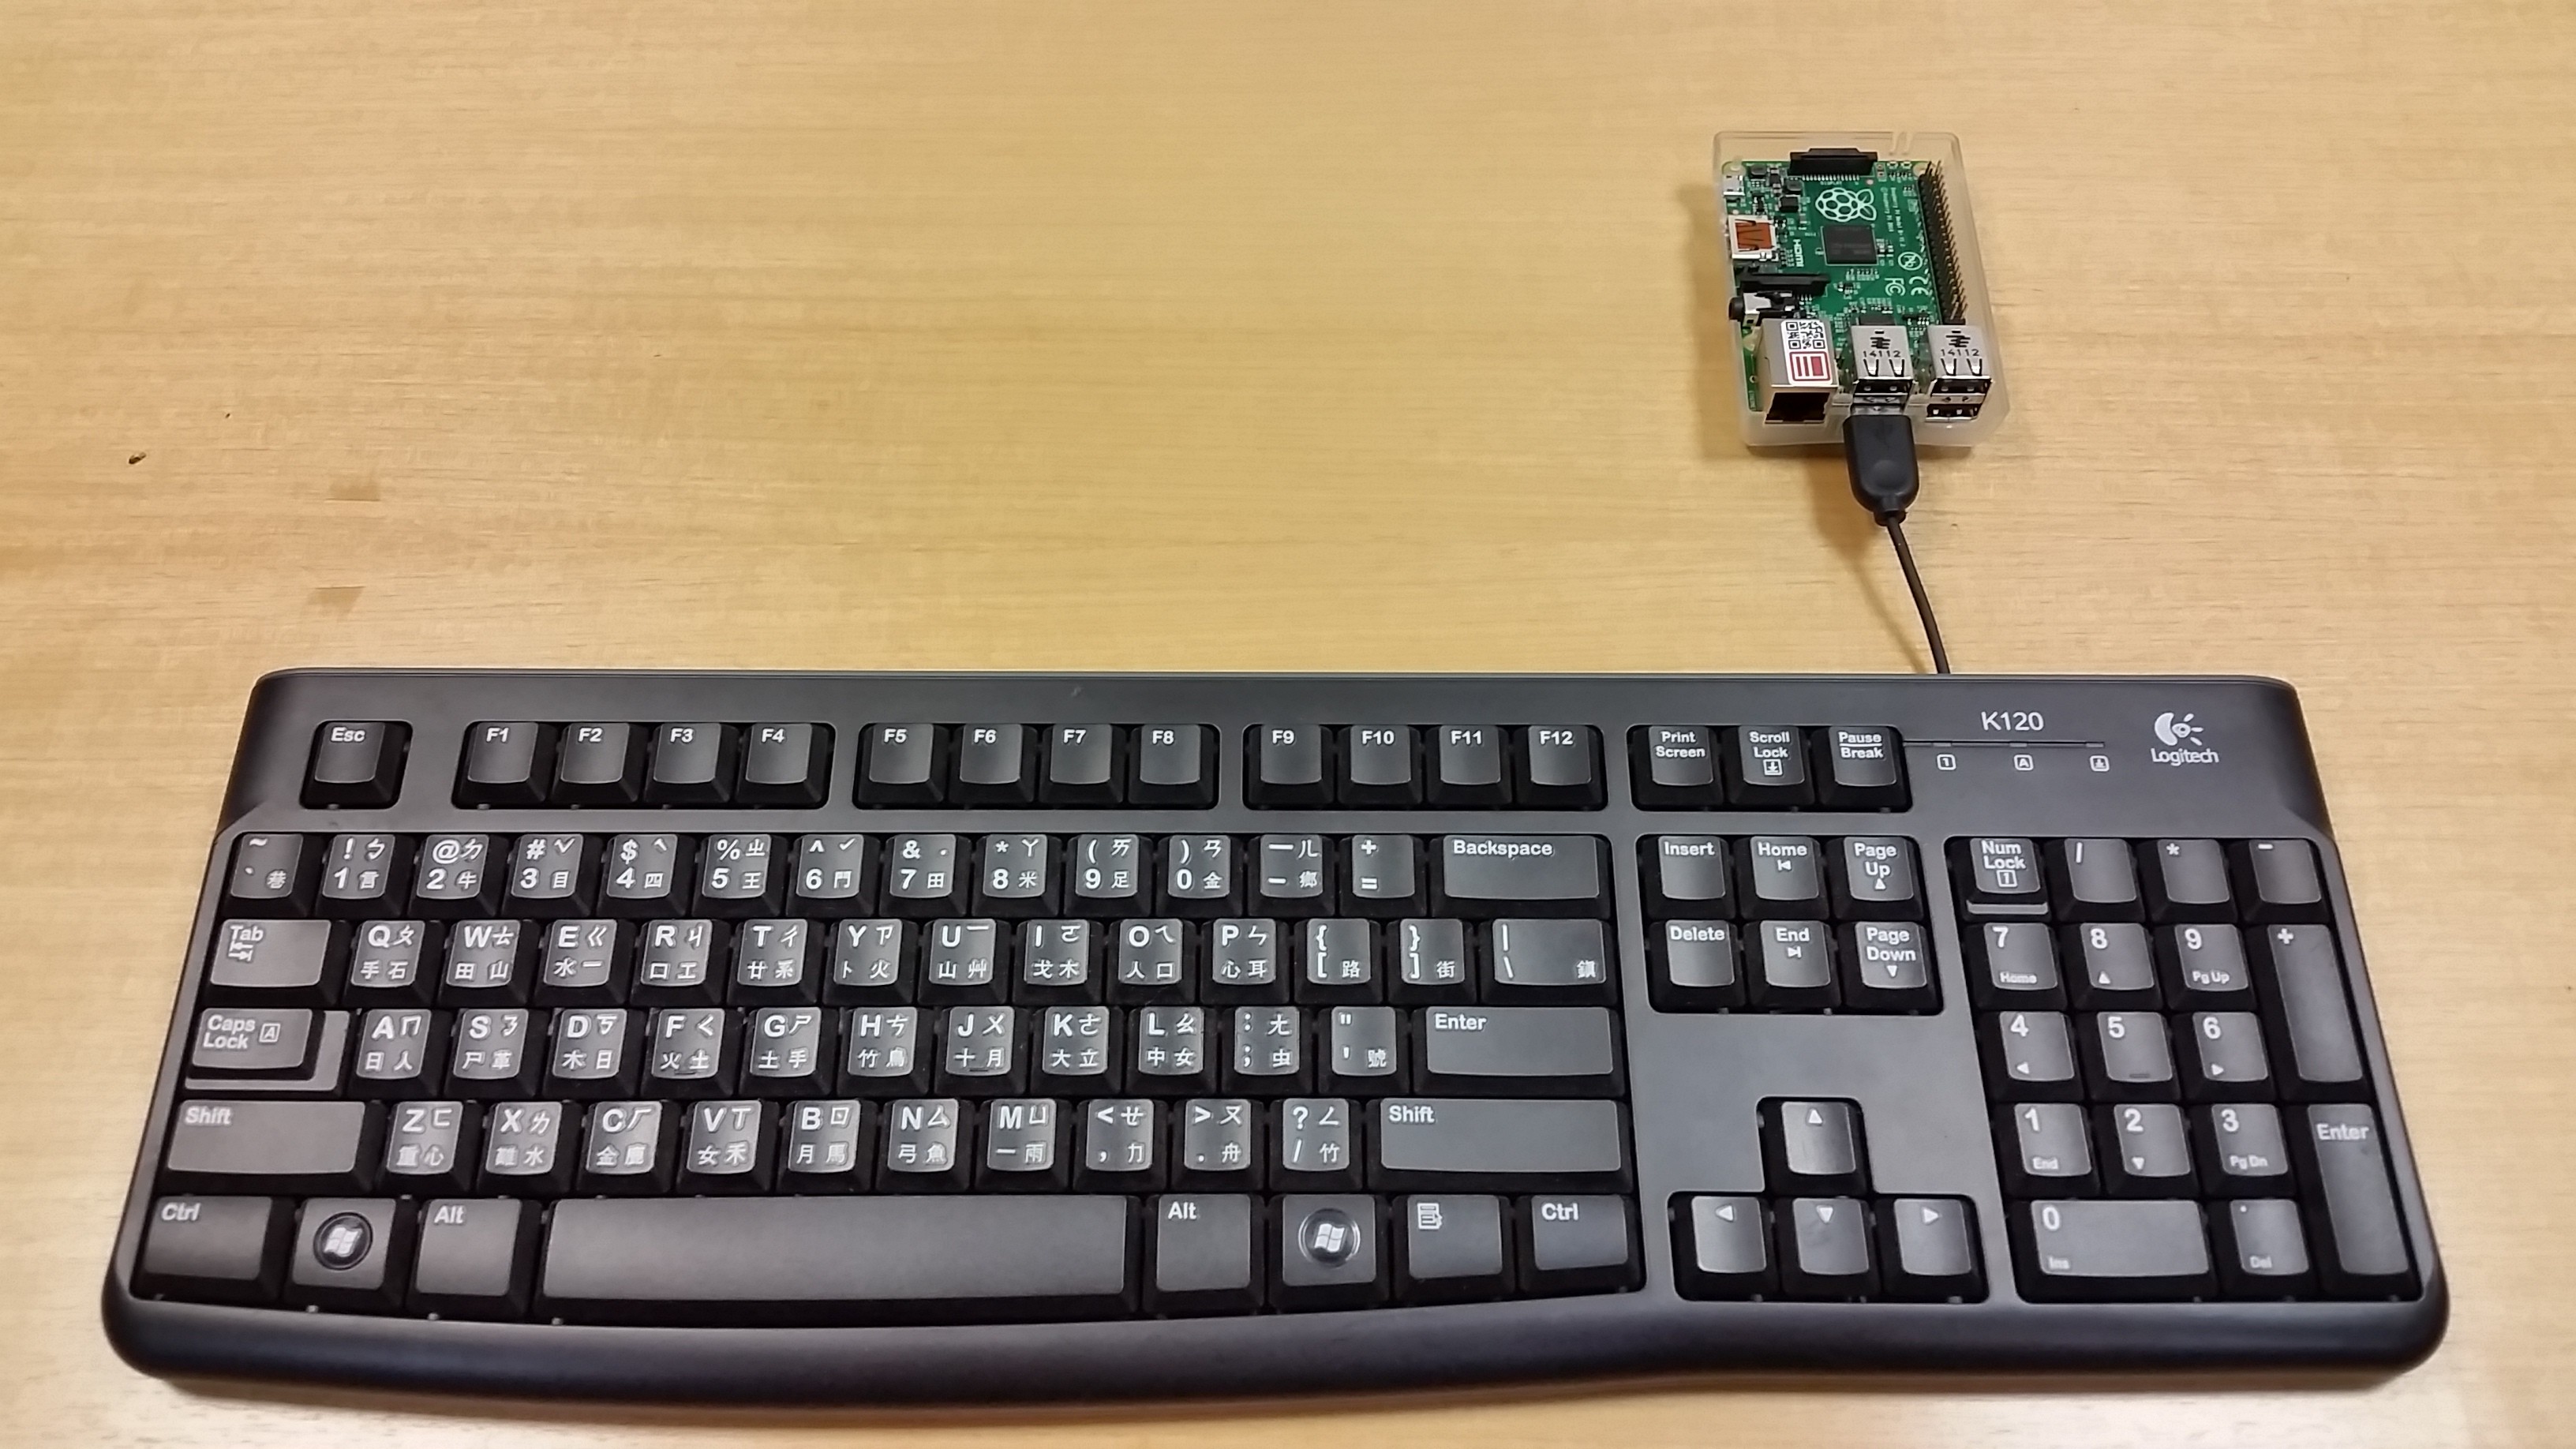
Plug in a keyboard into any of the USB ports in the Pi.
Plug the USB charging cable to the USB charger. Plug the charger to a power socket.
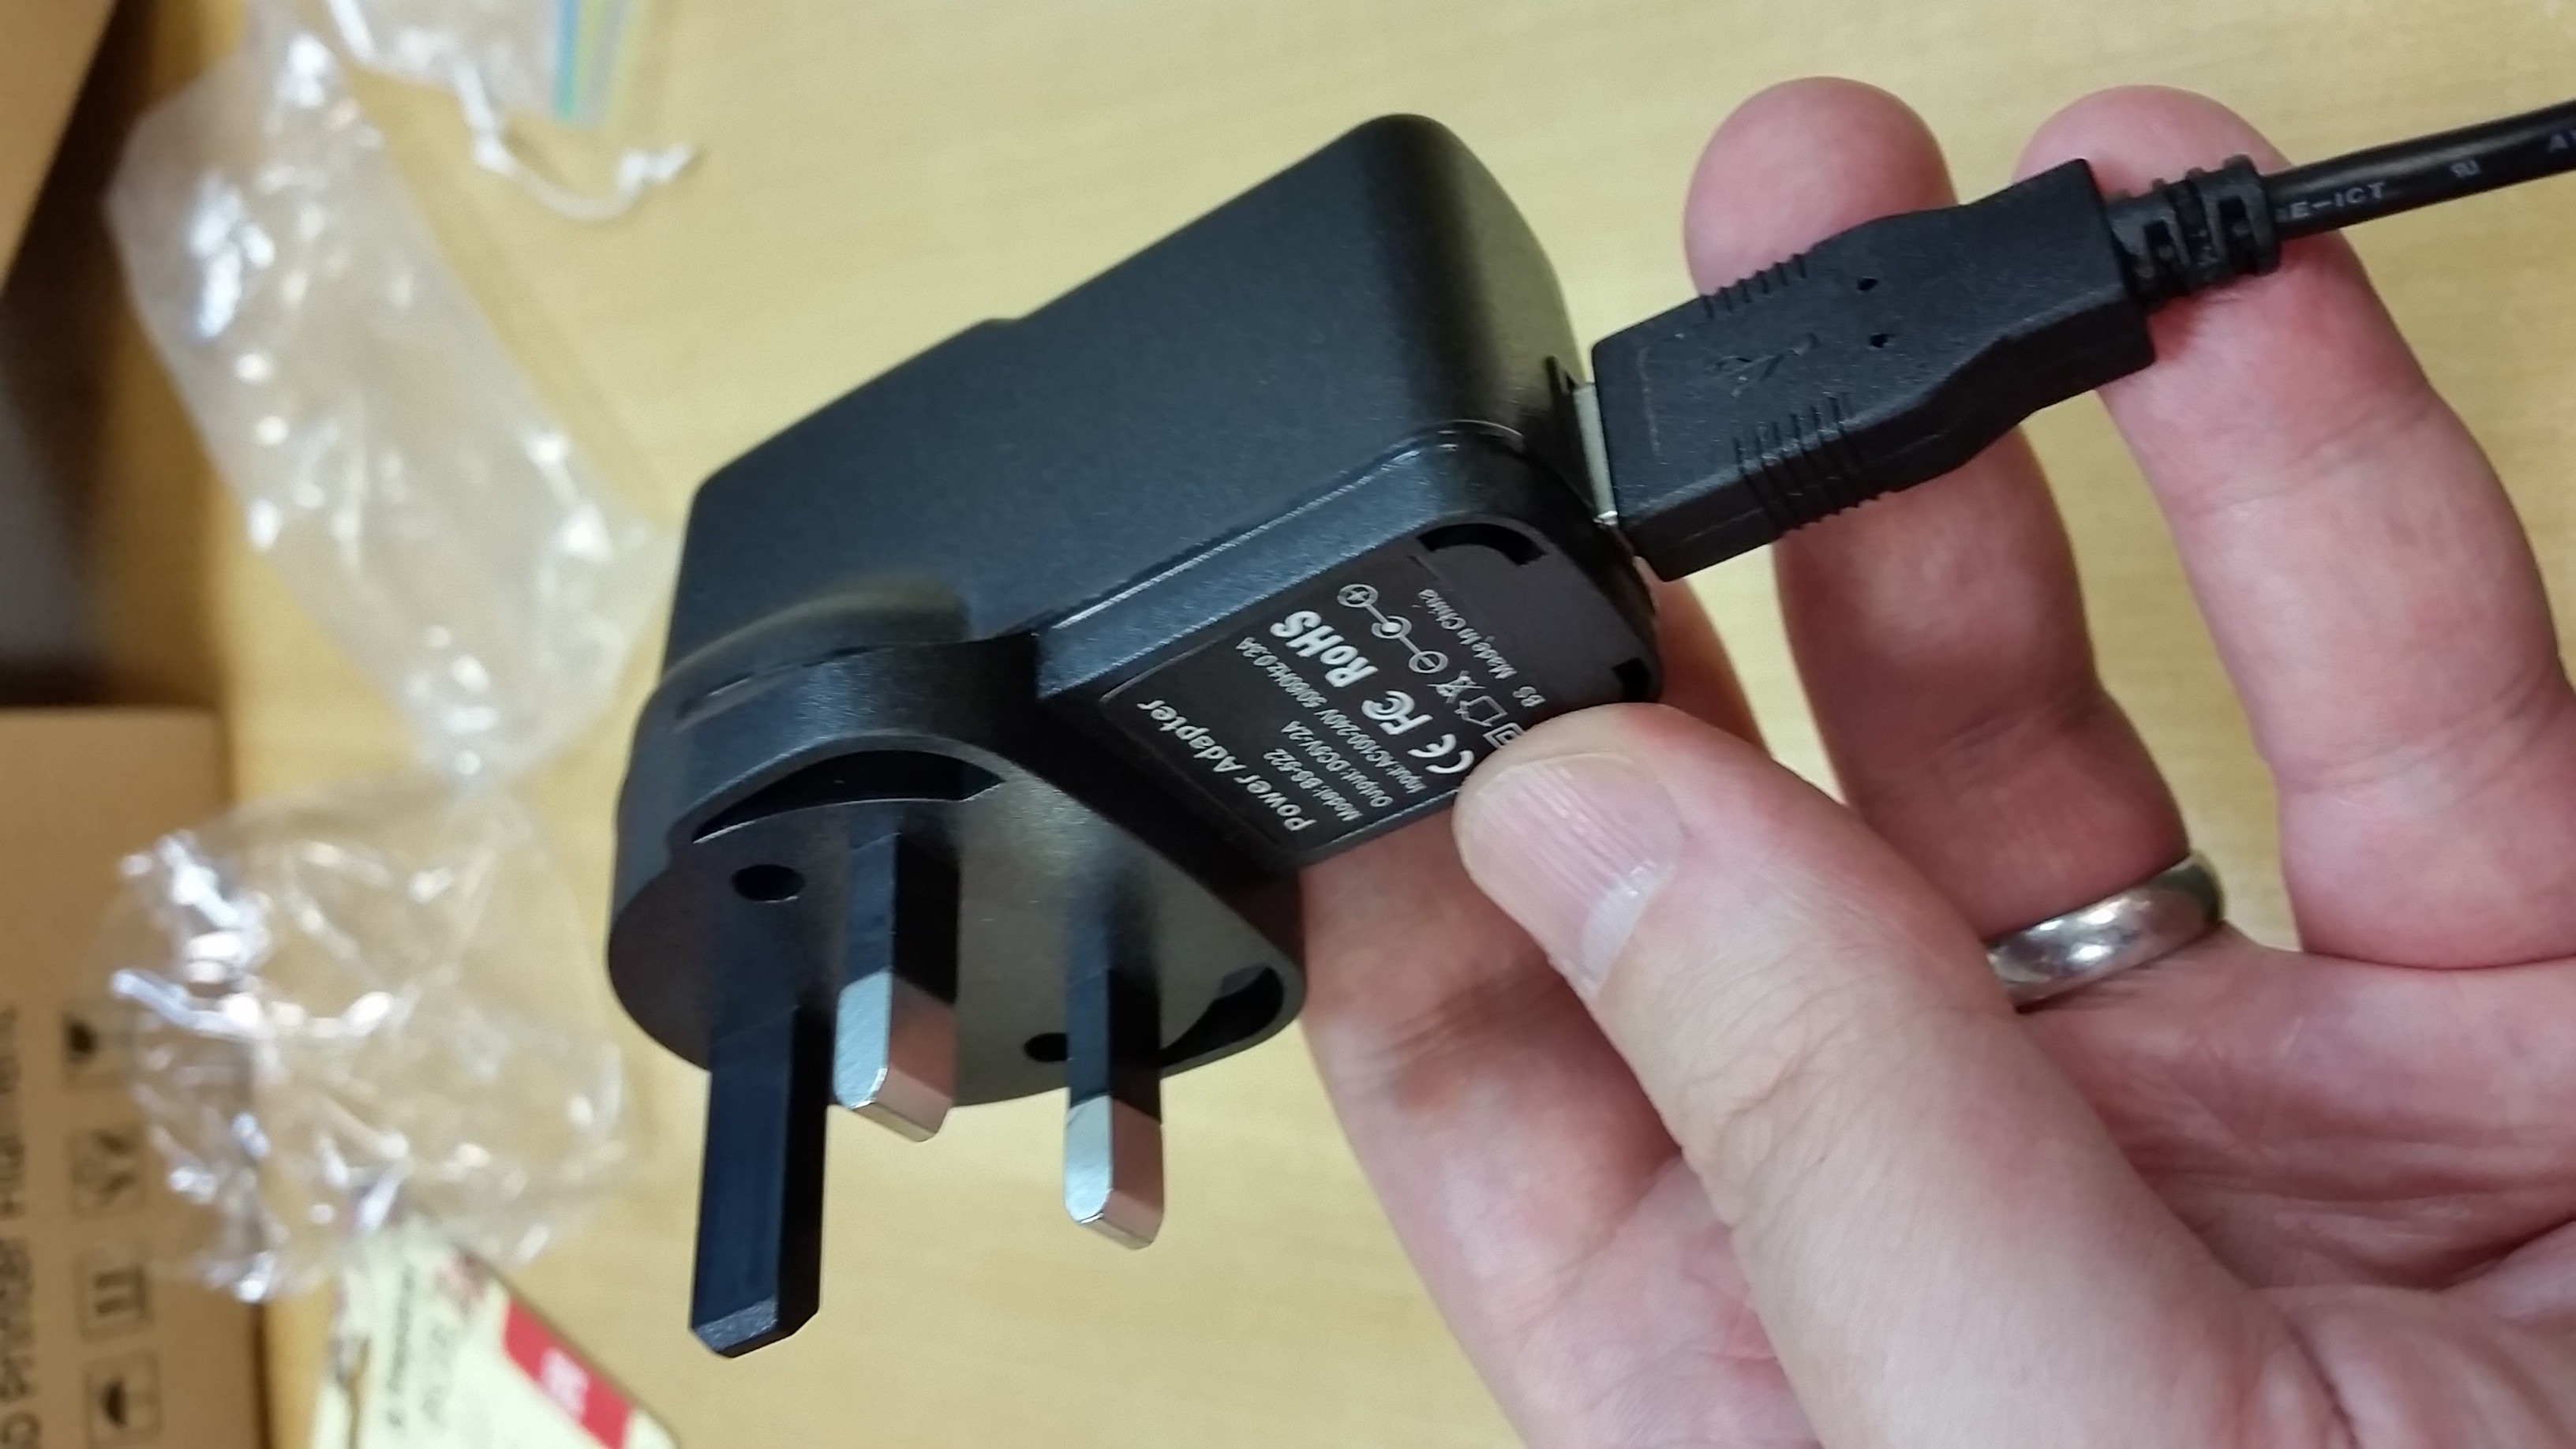
Finally plug the Micro USB charging cable to the power slot on the Pi.
Your Pi should now be powered on, and a red LED should turn on. Another LED, green, should blink intermittently as the Pi loads it's NOOBs installer.
You are now ready for the "blind" (semi-headless) NOOBS setup, using a keyboard but not a screen.