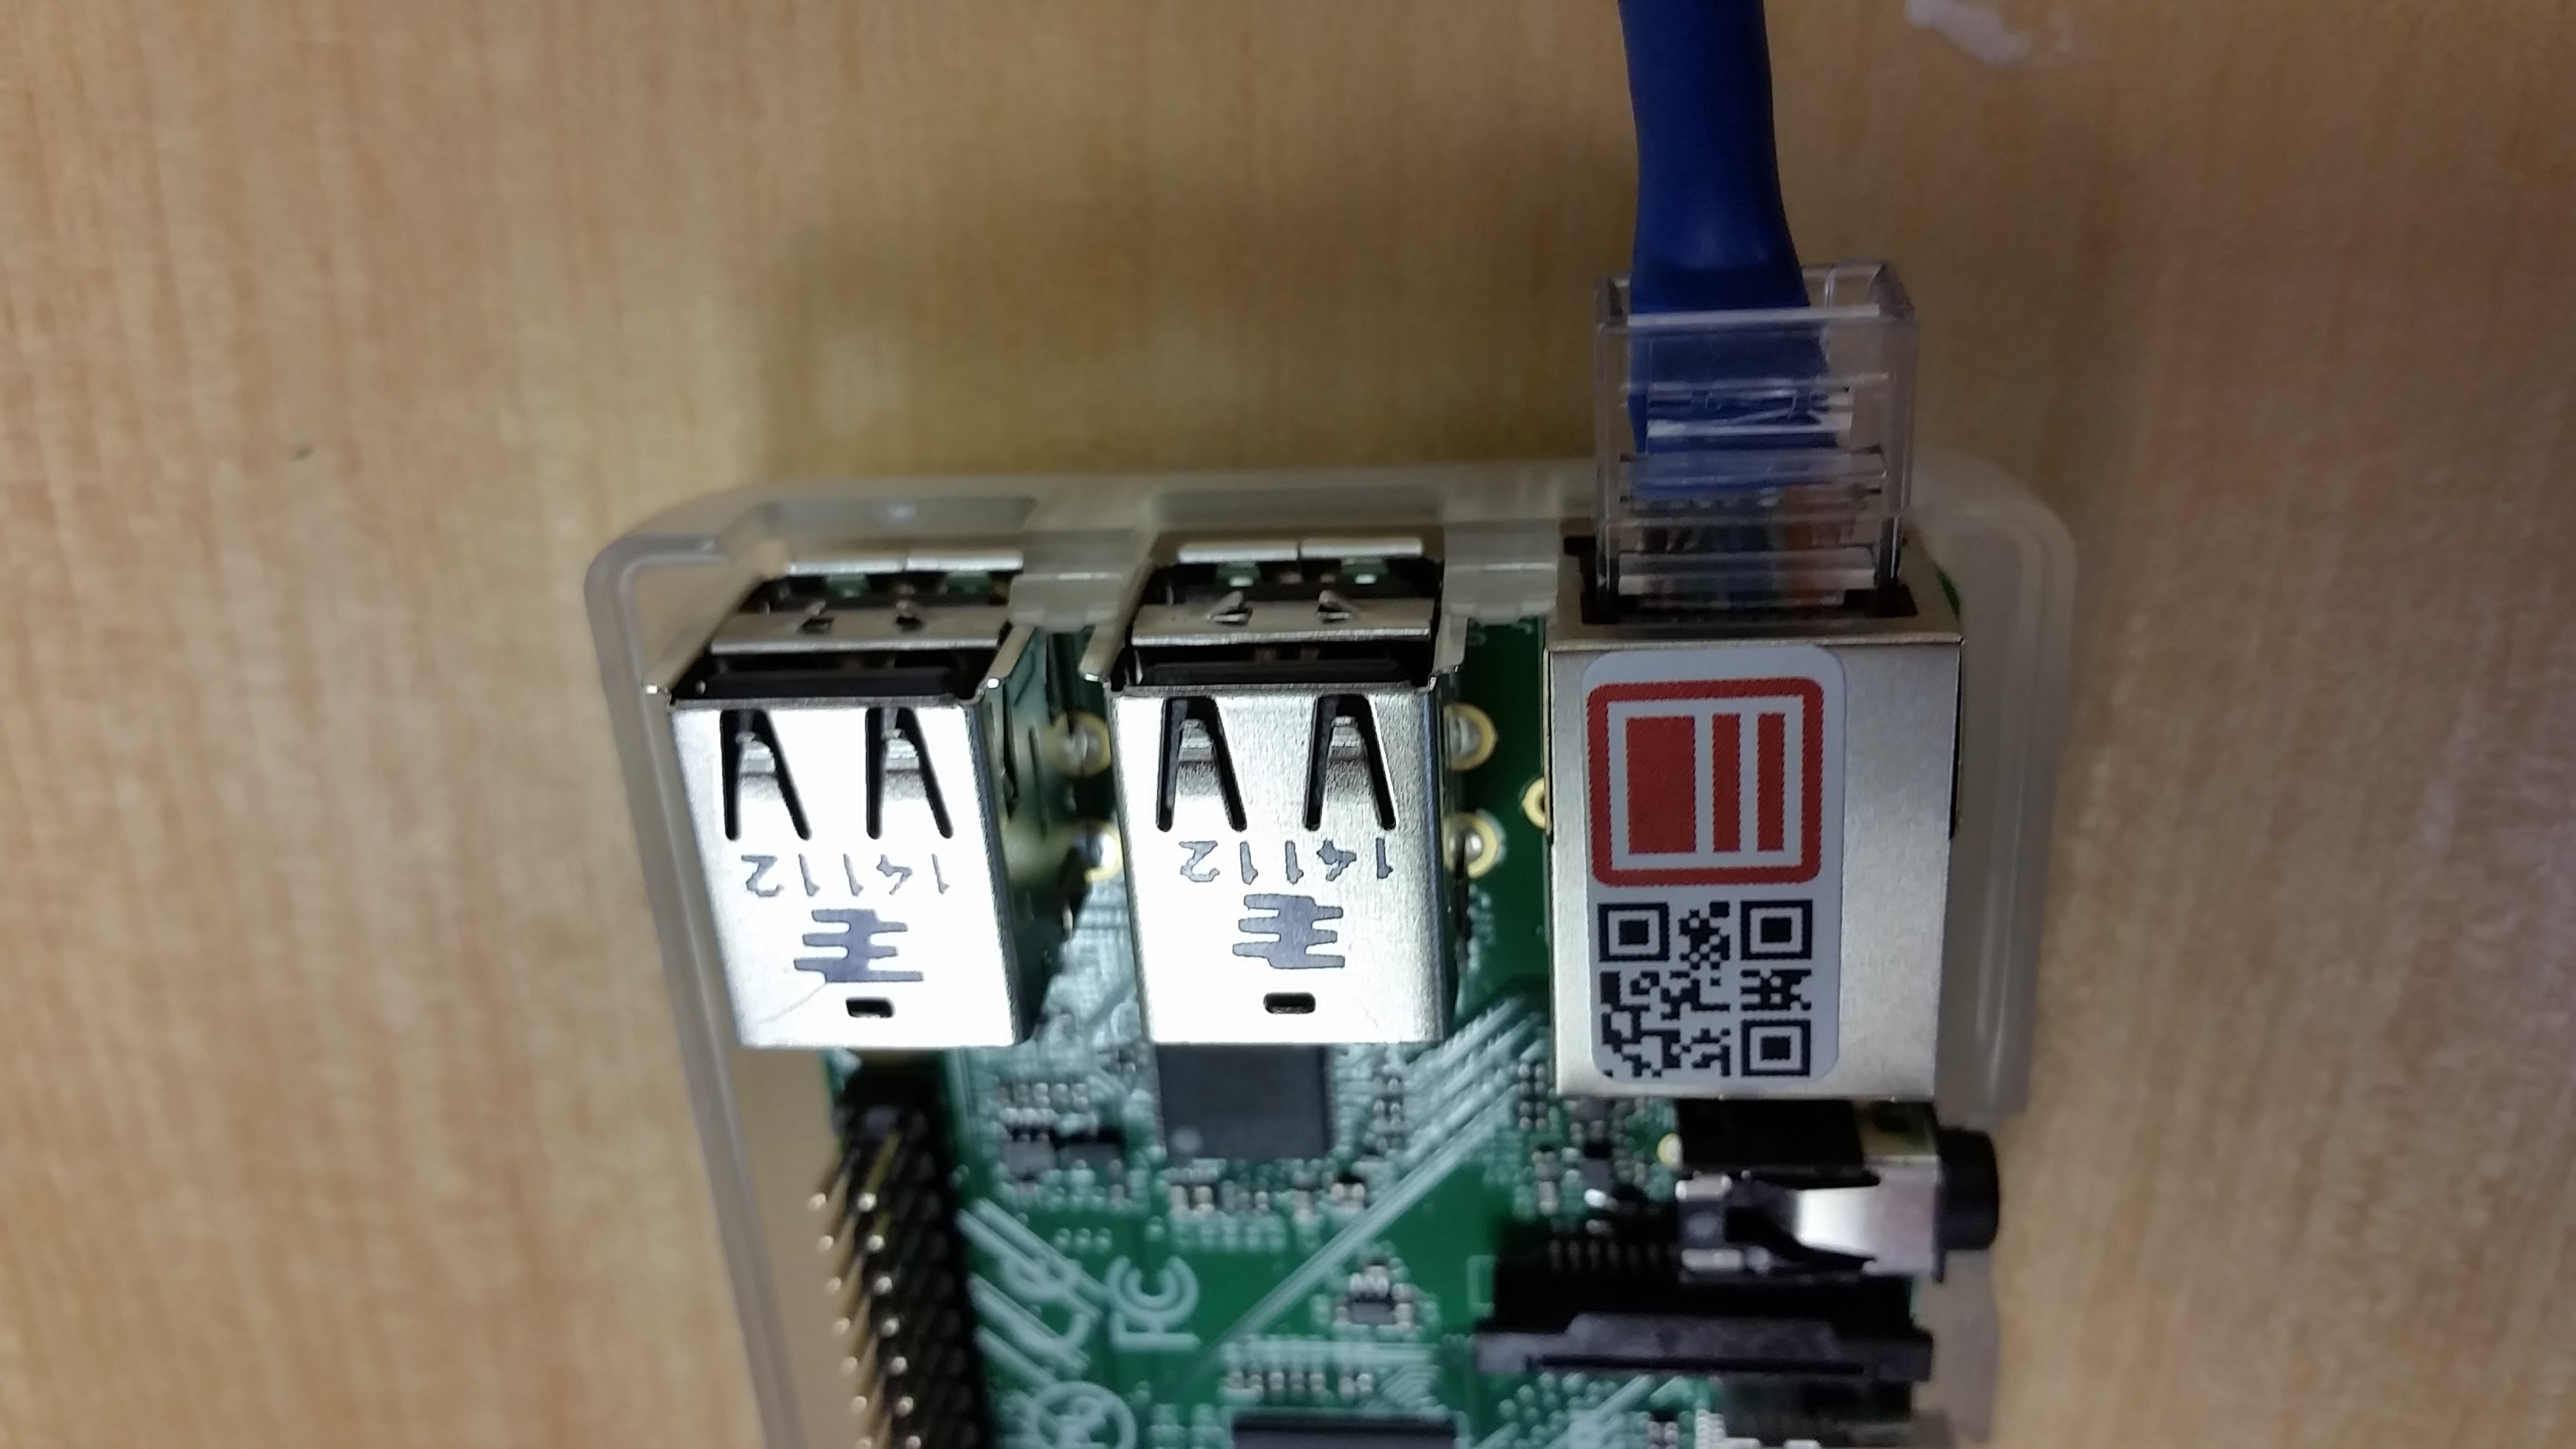
Make sure your Pi is powered off before continuing.
Also, unplug the keyboard if it is still plugged in.
This will depend on your computer (Windows/Mac/Linux). Your instructor will guide you through it.
Drivers download link:
http://prolificusa.com/portfolio/pl2303ta-usb-serial-bridge-controller/

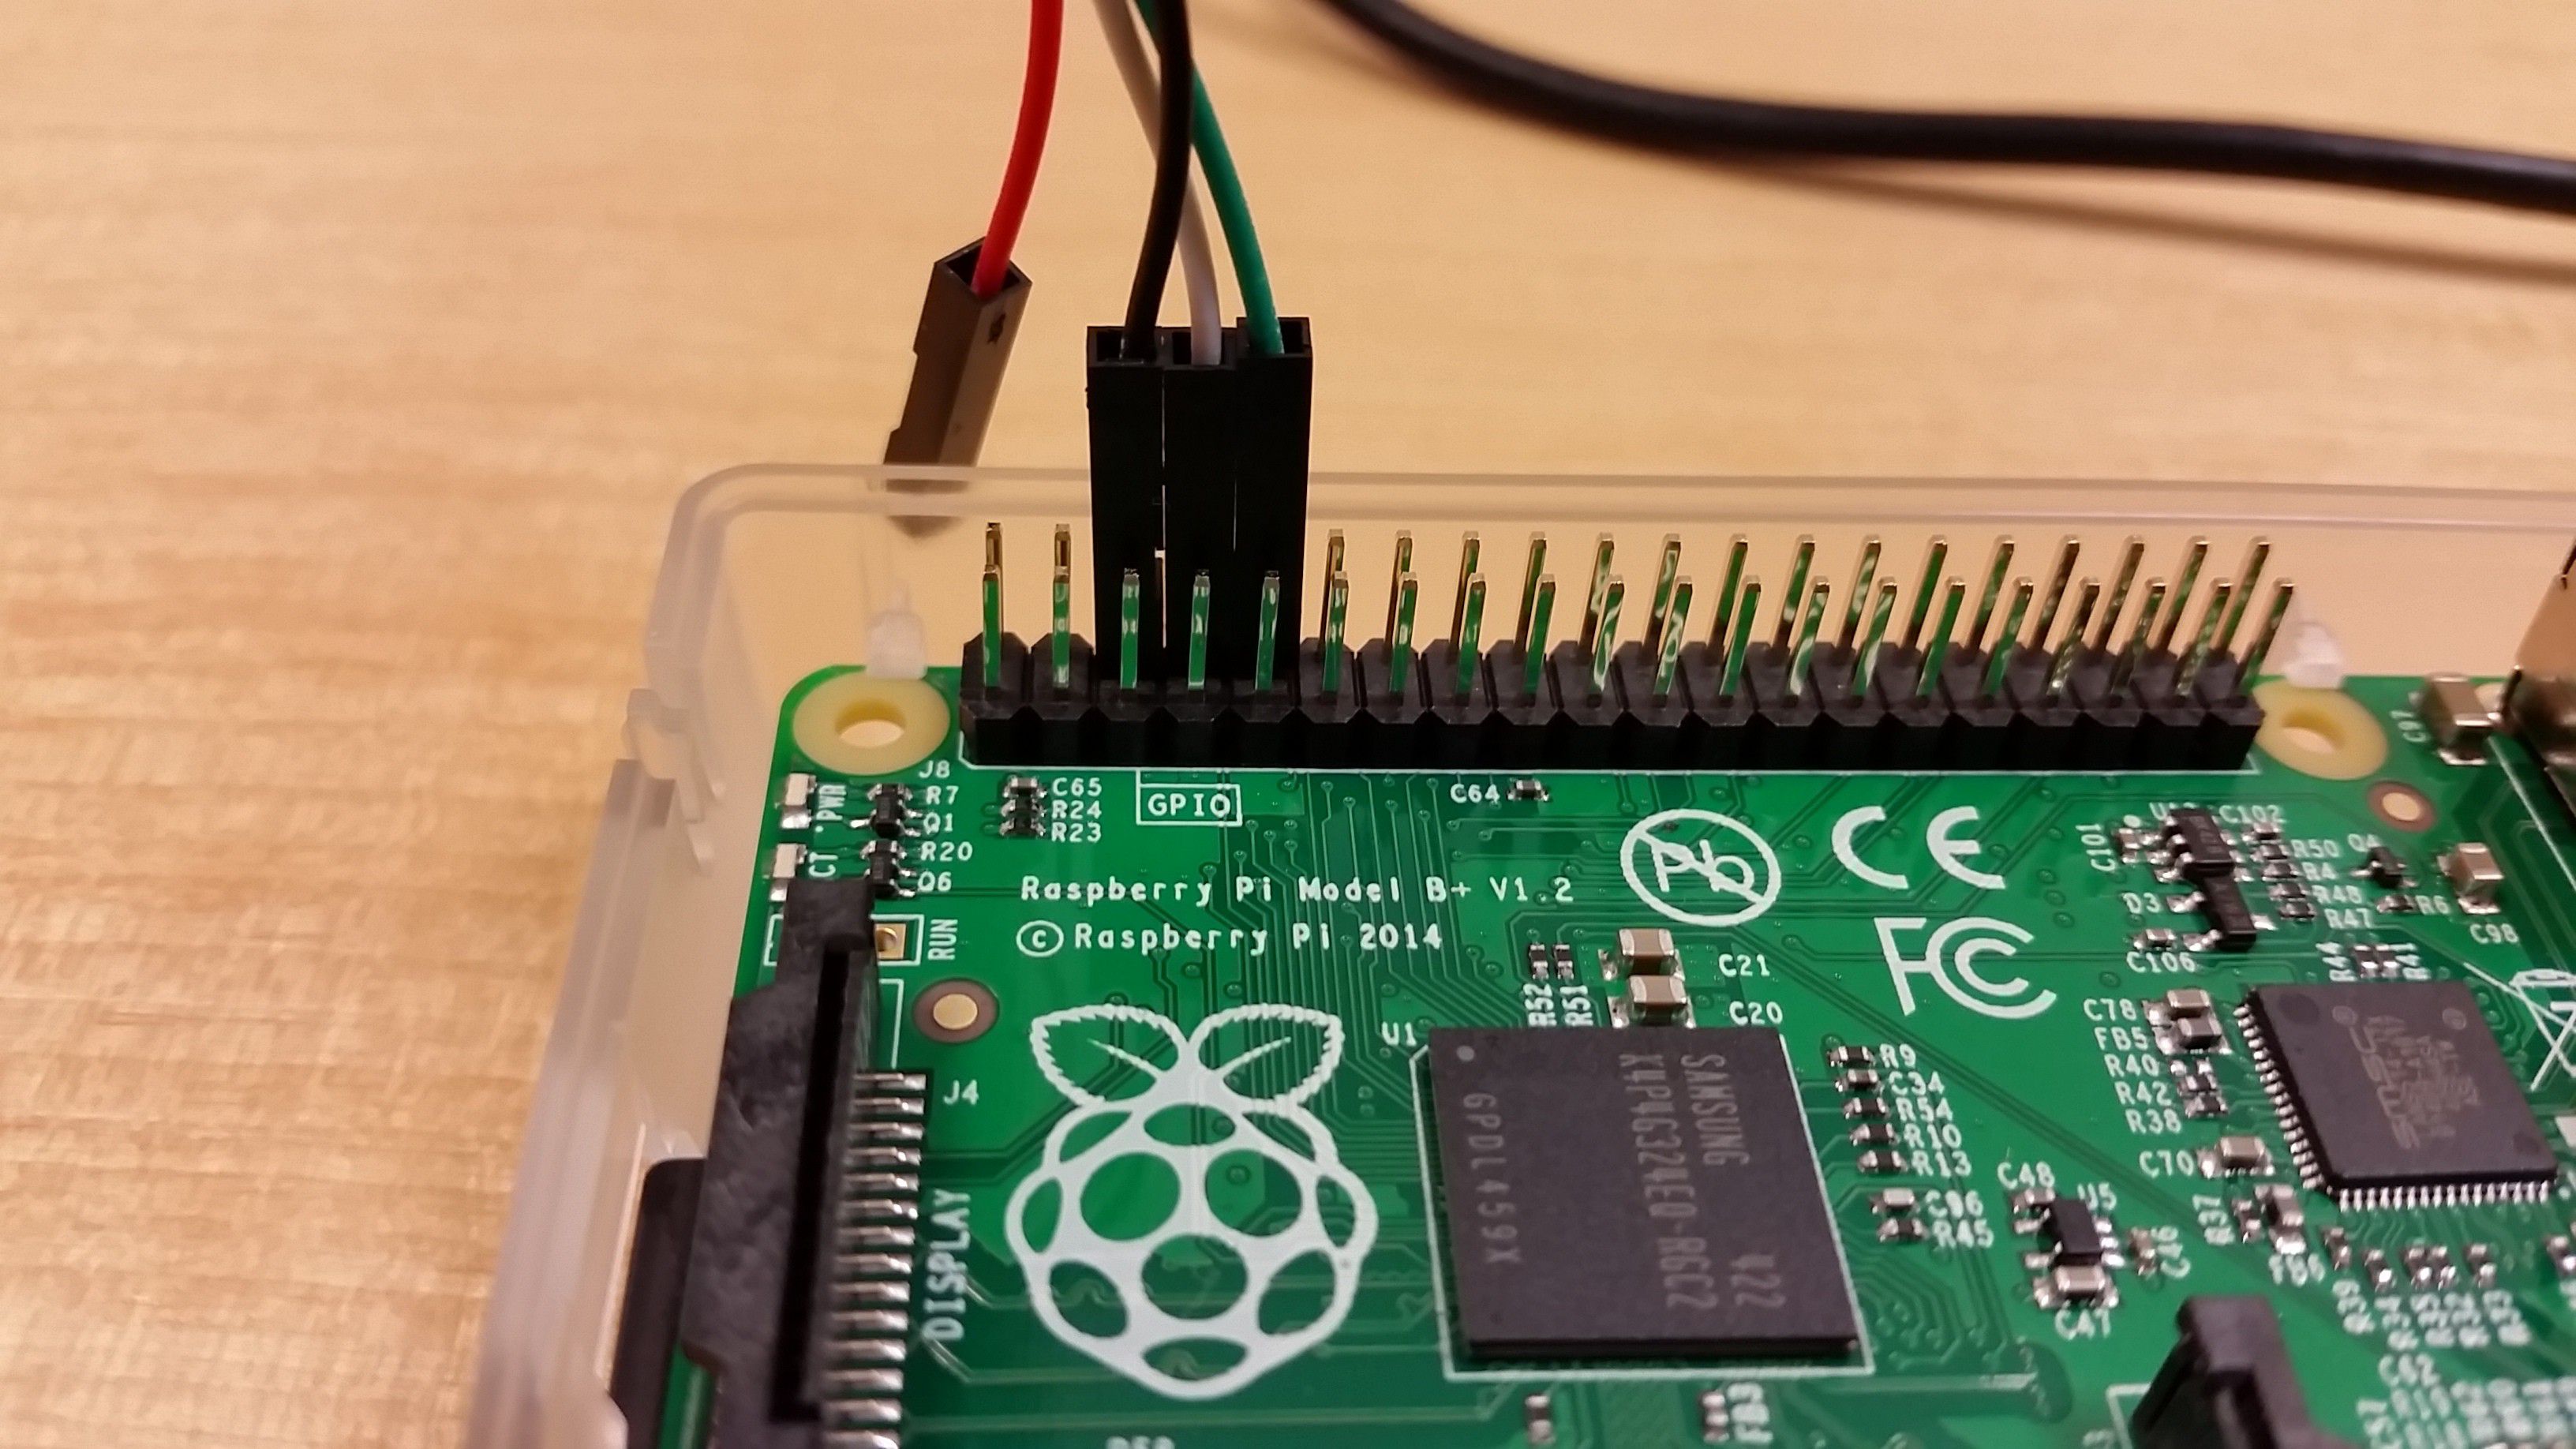
As shown in the image, from LEFT to RIGHT.
- GND - Black
- TXD - White
- RXD - Green
This will depend on your operating system. Our instructors will assist you.
screen /dev/tty.usbserial 115200
http://www.chiark.greenend.org.uk/~sgtatham/putty/download.html
Configuration:
- Connection type: Serial
- Speed: 115200
- Serial line:
This will depend on your computer. Our instructors will assist you.
A series of messages will scroll across the screen. Ignore error messages such as
"Failed to create debugfs directory"
Eventually the login prompt should appear:
raspberrypi login:
Login with:
login: pi
password: raspberry
You should now be logged in.
You may also see the message:
"NOTICE: the software on this Raspberry Pi has not been fully configured. Please run 'sudo raspi-config'"
Do not worry about this message, you will configure your Pi shortly.
Firstly find the IP address assigned to your Raspberry Pi. Type:
ifconfig
You will see an output such as:
pi@raspberrypi:~$ ifconfig
eth0      Link encap:Ethernet  HWaddr b8:27:eb:f5:85:b1
          inet addr:192.168.2.7  Bcast:192.168.2.255  Mask:255.255.255.0
          UP BROADCAST RUNNING MULTICAST  MTU:1500  Metric:1
          RX packets:36 errors:0 dropped:0 overruns:0 frame:0
          TX packets:28 errors:0 dropped:0 overruns:0 carrier:0
          collisions:0 txqueuelen:1000
          RX bytes:6044 (5.9 KiB)  TX bytes:3264 (3.1 KiB)

lo        Link encap:Local Loopback
          inet addr:127.0.0.1  Mask:255.0.0.0
          UP LOOPBACK RUNNING  MTU:65536  Metric:1
          RX packets:0 errors:0 dropped:0 overruns:0 frame:0
          TX packets:0 errors:0 dropped:0 overruns:0 carrier:0
          collisions:0 txqueuelen:0
          RX bytes:0 (0.0 B)  TX bytes:0 (0.0 B)
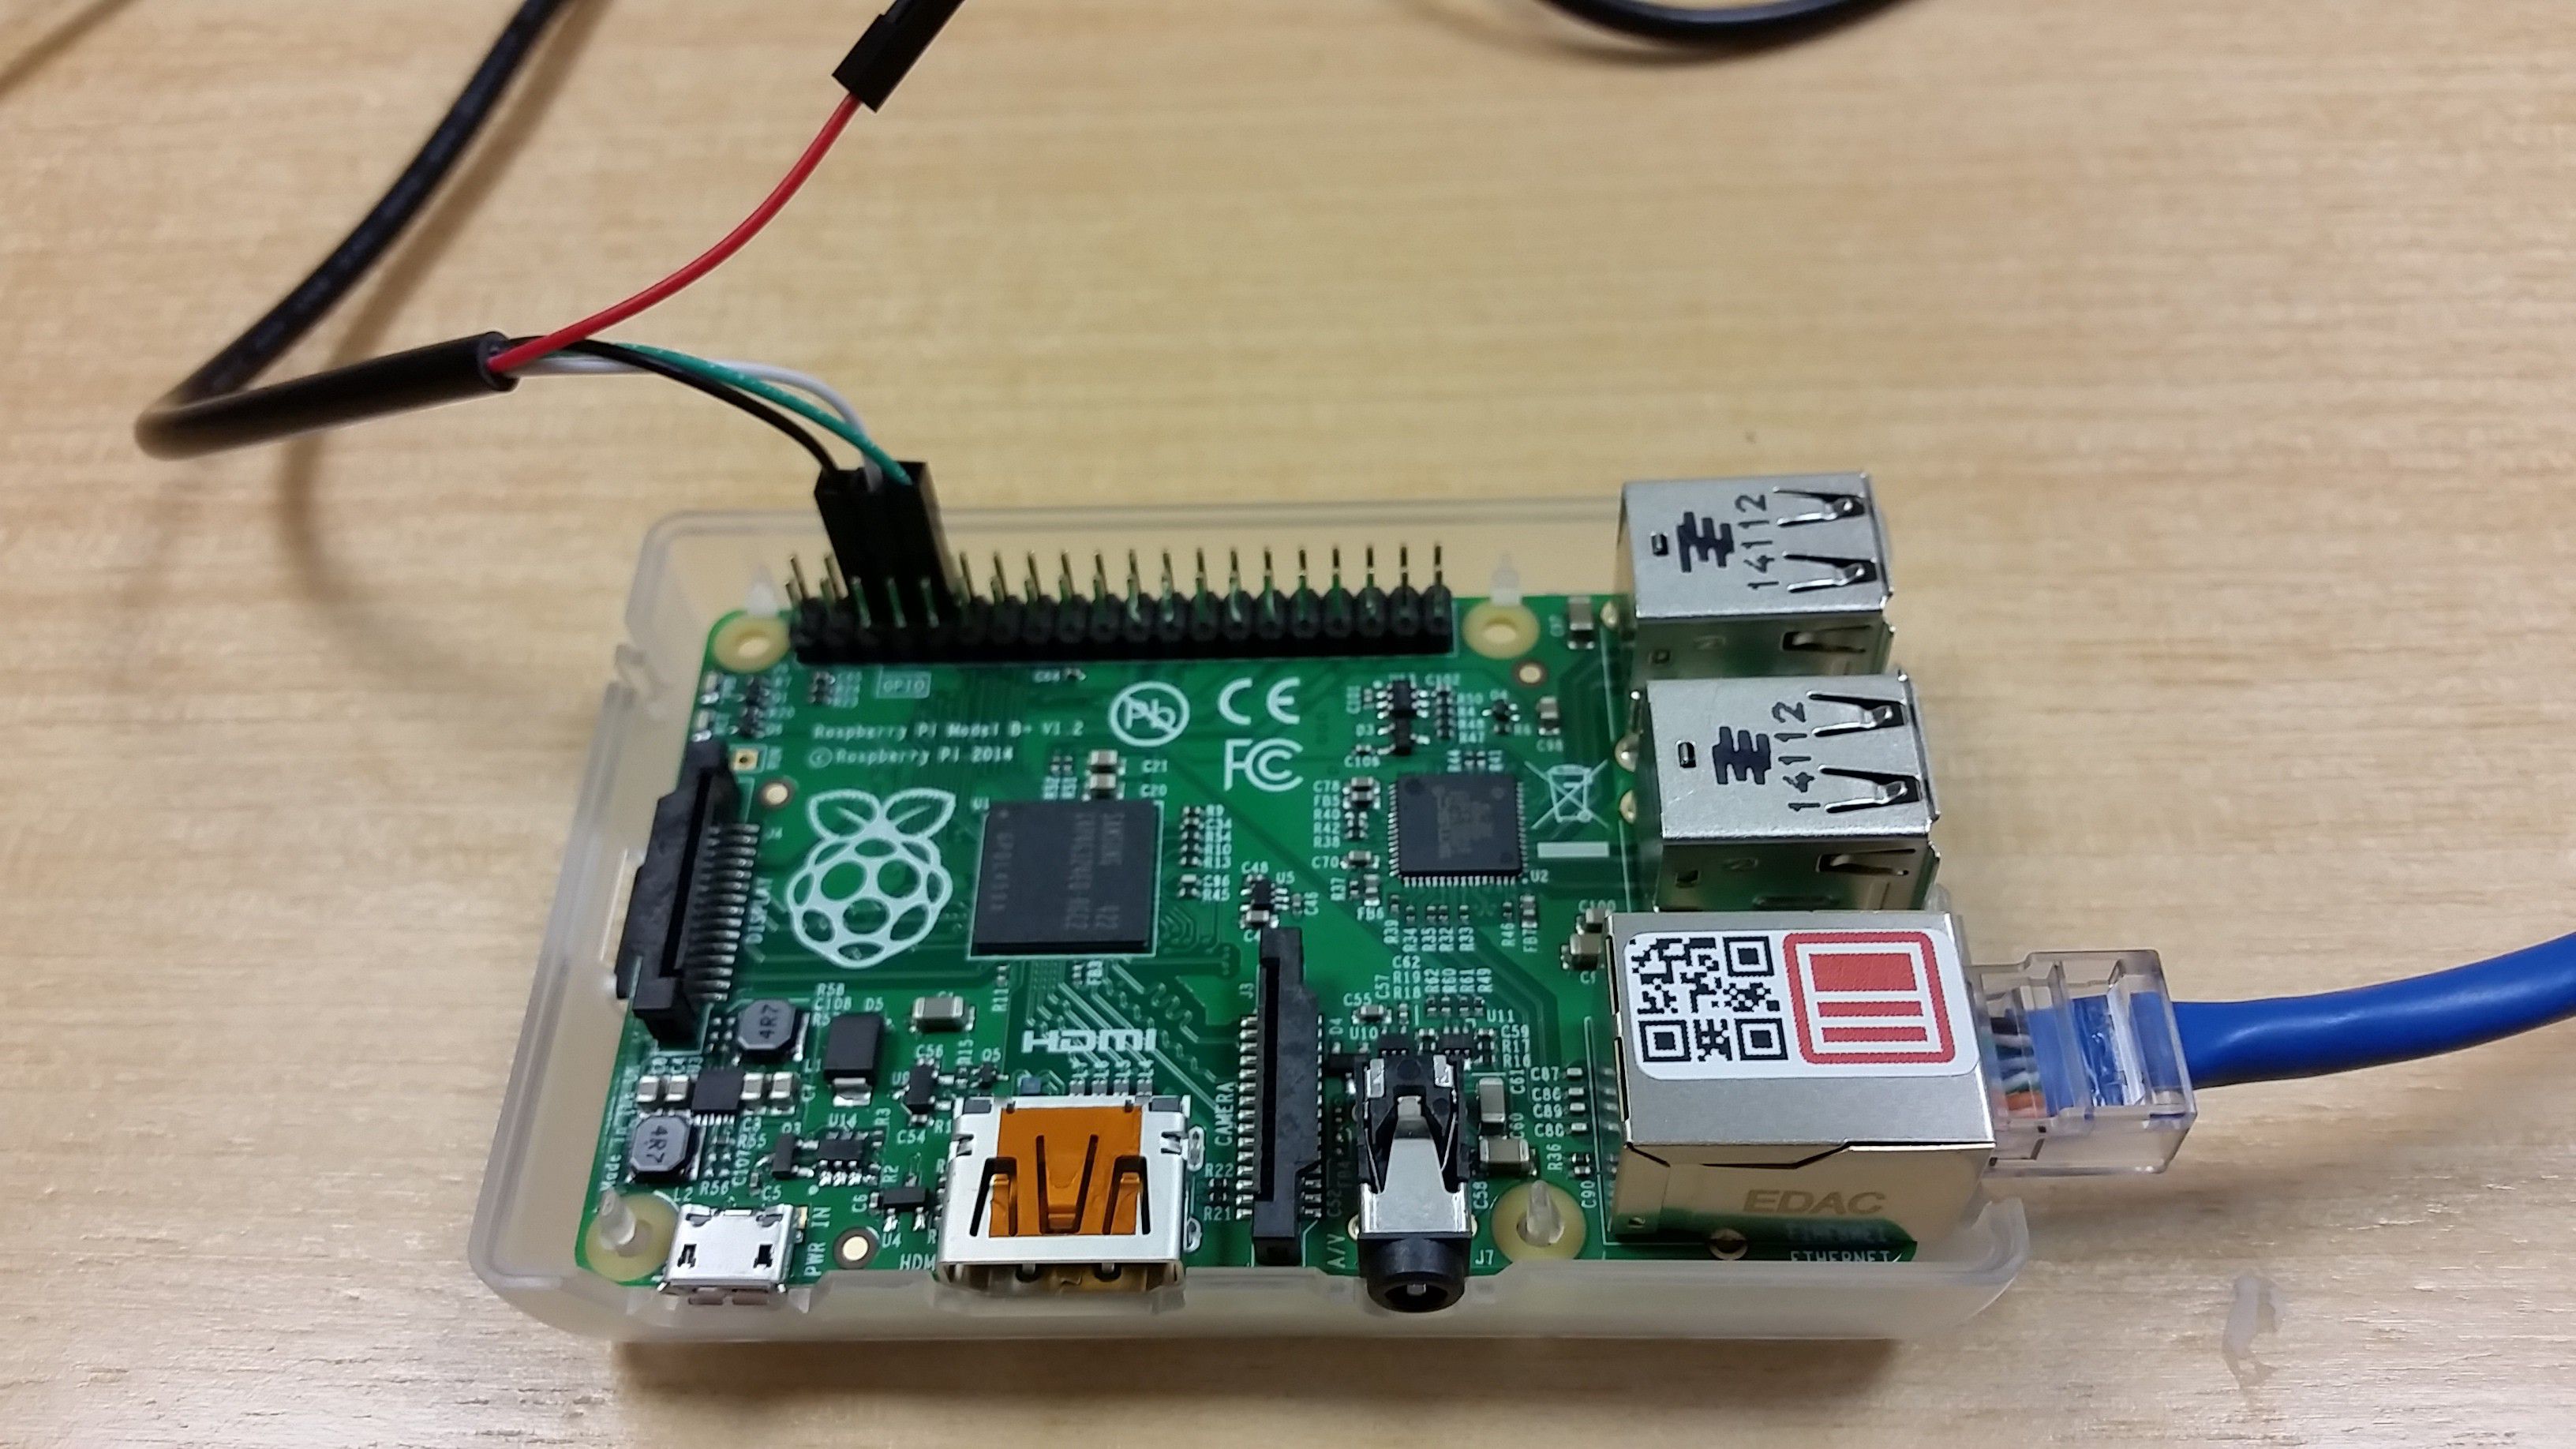
The "inet addr" under "eth0" is your current LAN IP address. You will now use it to SSH into your Pi over the network.
Type "Ctrl-D" in the console. This will log you out. You can now safely disconnect the serial USB from your computer.
(Mac users may find that upon disconnection from the serial port, the terminal looses the ability to print new lines. Just close that terminal and open a new one to continue).