Follow these instructions to get started with your counselor in your new cabin!
| Camp | Github |
|---|---|
| Cabin | Repository |
| Issues | Weeks |
| Counselor | Github Bot |
| Emoij | Description |
|---|---|
| 💡 | Helpful tips |
| Important info | |
| ❓ | Question you may have |
| ⭐ | Features |
Step by step instructions to setup your computer ▶️
- Download or update to the newest version of MacOS or Windows.
🚩 If you are using Windows, it highly recommended that you use WSL. Here's how.
- Install Git. If you are on Windows, you can install Git on Windows and it should come with WSL (Ubuntu). Here's how.
- If you are running WSL(Ubuntu), open a WSL terminal and install curl with the following command:
apt-get install curl
- Ensure that you have a Github account and make note of the email address that you used to sign up for the account.
- Download VS Code for your operating system.
🚩 If you are on Windows, here's how to use VS Code with WSL
- Enable Azure Account and Azure Functions extensions in VS Code. See below:

7. Install homebrew if you're on Mac. You can find the instructions here
Finally, you are ready for the setup script. Follow the steps listed below:
Run:
sudo chown -R $(whoami) /usr/local/var/homebrew
bash <(curl -s https://raw.githubusercontent.com/bitprj/Intro-To-Serverless/fbec8b26e9b51152d389442d2d34dabc42d5923a/setup.sh)
The script should guide you much of the way._ Make sure to read the instructions it gives carefully. The script will do the following automatically for you:
- Checks if you already have an SSH key
- If not, it creates one for you, using your github email address.
- Copies the SSH key to your clipboard so you can paste it into your Github SSH key settings
- Installs Homebrew
- Sets up the folder structure and .bash_profile commands necessary to ensure nvm works correctly
- Uses nvm to install a version of Node which is compatible with Azure
- Sets up git command tab completion and modifies your terminal prompt to show your current git branch if you're inside a git repository.
- Closes the Terminal program to ensure that all changes are applied.
When everything completes successfully, close and re-open Terminal. Depending on your operating system, you may see the following insecure directories error message:
zsh compinit: insecure directories, run compaudit for list.
Ignore insecure directories and continue [y] or abort compinit [n]? yzsh compinit: insecure directories, run compaudit for list.
Ignore insecure directories and continue [y] or abort compinit [n]? y%     ~ $
Type ‘y’ two times Run compaudit to see the affected directories you may then see:
There are insecure directories:
/usr/local/share/zsh/site-functions
/usr/local/share/zsh
If this happens on Mac, run these commands and you should see the error message(s) cleared
sudo chown -R yourusername /usr/local/share/zsh/site-functions
sudo chown -R yourusername /usr/local/share/zsh
compaudit
Step by step instructions to install the Vscode extensions ▶️
The features that Visual Studio Code includes out-of-the-box are just the start. VS Code extensions let you add languages, debuggers, and tools to your installation to support your development workflow.
Take a look at these instructions on how to install VS Code extensions. If you already forked the Intro-To-Serverless repo, and opened it in Vs Code, you may have gotten a pop-up which recommended some extensions. Some of the extensions we will need are:
Watch this video on how to use ESLint with VS Code.
Step by step instructions to install the bot ▶️
CounselorBot is a GitHub bot that will guide you through the Intro to Serverless Repository. Please follow these steps to get started!
First, create your own serverless repository by clicking Use this template

To name your repository, type a name in and click Create repository from template.

Your serverless repository has been created! Now let's install CounselorBot. You can download CounselorBot from GitHub Apps.
Head to the link above to install the bot, and then click on the Install button!

Choose your personal account to install CounselorBot!

Select the option that says Only select repositories and search for the repo you just created by using its name! After that, click the Install button!

Head back to your Serverless repository and head to the Issues tab.

Click on the New issue button.

Click on the Get started button on the 🚀 Start Course issue template.

Click Submit new issue and you'll be good to go!

Head back to your Issues tab and you should see your first assignment pop up!

No worries, we all make mistakes - now is the time to fix it! The CounselorBot will provide feedback on what went wrong with your code.
Step by step instructions on how to view feedback ▶️
First, click on Actions at the top of your repository.

Next, find the commit that failed. You can identify it by the name you called the commit. Click on it!

Now, go ahead and click on ":x: build"

The step that failed should expand and you'll see feedback at the bottom.

For this one, the feedback was:
Error: Got: "hello world", was expecting: "Hello World".
In this case, the student should probably take another look at the capitalization in their code.
💡 Using this feedback, fix your code. Every time you commit, the action will run again to check your code!
Helpful tips in fixing errors ▶️
Configuration Tips
- Check to make sure that your Azure account (and any resources) was set up properly
- Make sure that your VS Code is linked to the right Azure account locally
- When in doubt (or when you make any settings changes on VS Code) close the app and open it again
- If any action on VS Code is taking longer than it should then close vscode/azure portal and reopen it before trying again
- If you're Azure account isn't working get a new one WITH the verification code assigned to you (xxxx-xxxx-xxxx-xxxx...)
General Tips
- Adding extra console.log, console.error etc lines to the code
- How to add a breakpoint and step through code in VS code
- How and When to add a log point and step through code in VS code
- Find the debug log inside the azure portal a deployed function
- Make sure to save/autosave your code
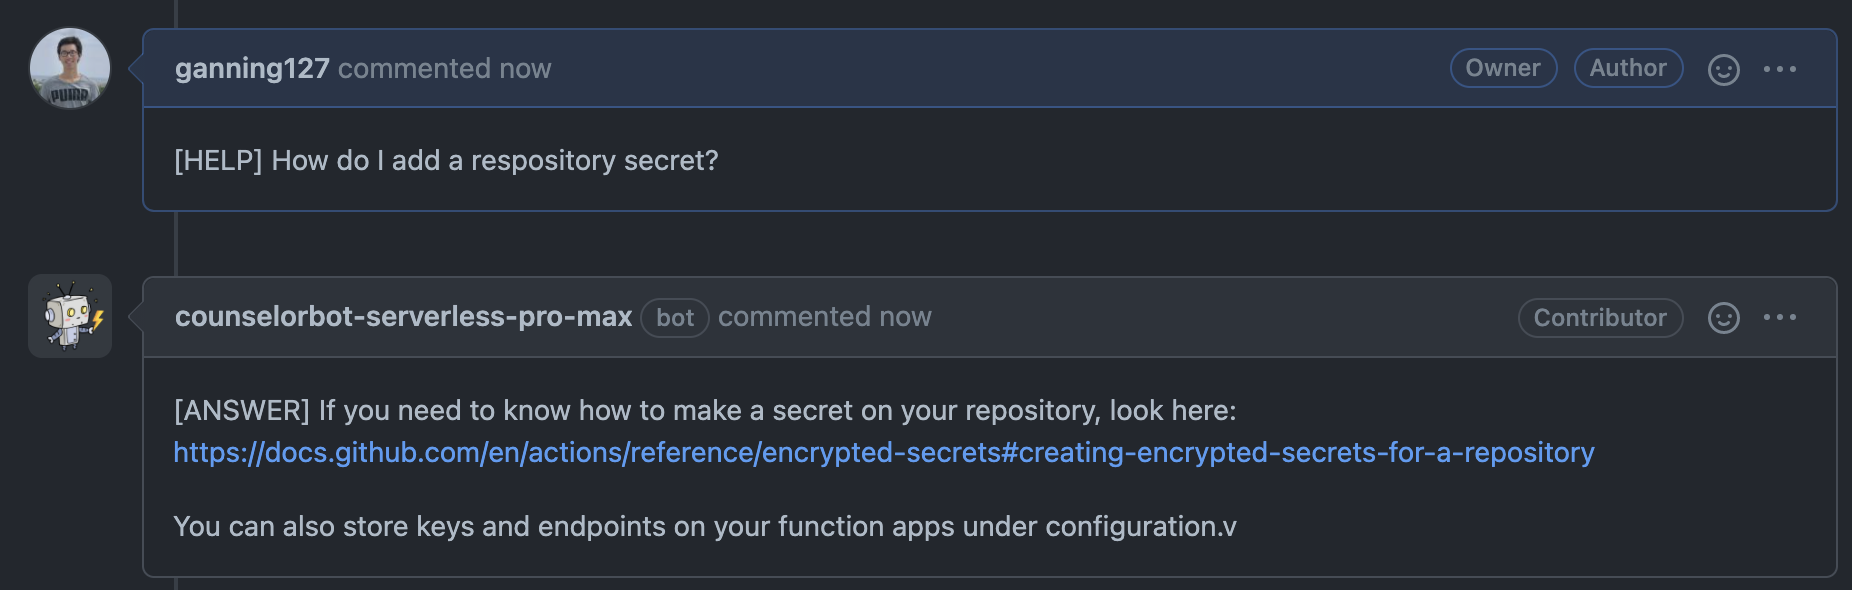
⭐ Ask the CounselorBot for help! Use this syntax when asking the bot:
[HELP] Example help question
Nope! Here's how to manually trigger a check for your code to move on ▶️
#### Setting up
1. Go to `Actions`
2. Click on the specific workflow run that you want to run again.
3. Click on build.
Refer to the previous section for screenshots
Click on Re-run jobs. If your code is successful, the check will work and you will be able to move on.

Running local checks ▶️
Yes! You absolutely can, and in fact, we highly recommend it. The "normal" and preferred way in software development is to set up your local development in a way that allows you to run tests locally before deploying.
Note: Take a look at the standard developer flow on GitHub below.
- Make your code changes
- Test the changes locally (1 and 2 are usually done in a circle or even the other way around if you are using Test-Driven Development!)
- Push the changed code to your fork or branch
- Do a pull request and let the checks and tests run in the repo.
Here is how to configure VScode to allow local checking:
- Go into the
.vscodefolder and click into thelaunch.jsonfile. - Edit the
launch.jsonfile to be:
{
    "version": "0.2.0",
    "configurations": [
        {
            "name": "Attach to Node Functions",
            "type": "node",
            "request": "attach",
            "port": 9229,
            "preLaunchTask": "func: host start"
        },
        {
            "name": "Run Tests",
            "type": "node",
            "request": "launch",
            "console": "integratedTerminal",
            "program": "${workspaceRoot}/.bit/tests/test.${input:week}.${input:step}.js",
            "envFile": "${workspaceRoot}/.env",
            "preLaunchTask": "func: host start"
        }
    ],
    "inputs": [
        {
          "id": "week",
          "description": "Please select the current week as a number",
          "type": "pickString",
          "options": ["1", "2", "3", "4"],
        },
        {
            "id": "step",
            "description": "Please enter the current step as a number",
            "type": "pickString",
            "options": ["1", "2", "3", "4","5", "6", "7", "8", "9", "10", "11"],
        }
    ]
}- Create a
.envfile to the root of your project. If done correctly, the.envfile will show up next to the.funcignorefile. - Add all the secrets you have in GitHub for that step and any Azure function settings you have in Azure to the
.envfile in the format:
KEY=value
KEY2=value2- You are all setup. To run this go to the "Run and Debug" tab on the left panel. At the top, where it says,
Attach to Node Functions, click the dropdown and selectRun Tests. Now, you can click the green arrow, and follow the prompted steps to test your function locally!