Kubernetes provides simpler orchestration with containers and has been widely adapted. It is simple to get a Redis Enterprise cluster on Kubernetes with the new Redis Enterprise Docker container.
We will go through 4 steps to set up our cluster with Redis Enterprise
- Step #1 - Create a Kubernetes cluster on Google Cloud
- Step #2 - Deploy the Redis Enterprise containers to Kubernetes cluster
- Step #3 - Setup Redis Enterprise cluster
- Step #4 - Create a Redis database and test your connectivity
Note: The deployment is deliberately simplified and is great for getting started with Kubernetes and Redis Enterprise fast. It certainly isn't intended for production use.
The steps below were performed using the latest Google Cloud sdk and kubectl tool on MacOS. There may be slight differences in detailed instructions with another operating system.
Lets first get your commandline environment set up.
- First authenticate to your Google Cloud environment.
gcloud auth login
- Get the default project_ID set. Here is how you can list and set the project context to be used by upcoming commands.
Note that you will get some random name like mine (
speedy-lattice-166011) if you have not explicitly specified an ID
gcloud projects list
gcloud config set project speedy-lattice-166011
- Finally, lets get the default zone/geography where you want your cluster set up. Again here is how you can list the zones and set the zone context to be used by upcoming commands.
gcloud compute zones list
gcloud config set compute/zone europe-west1-c
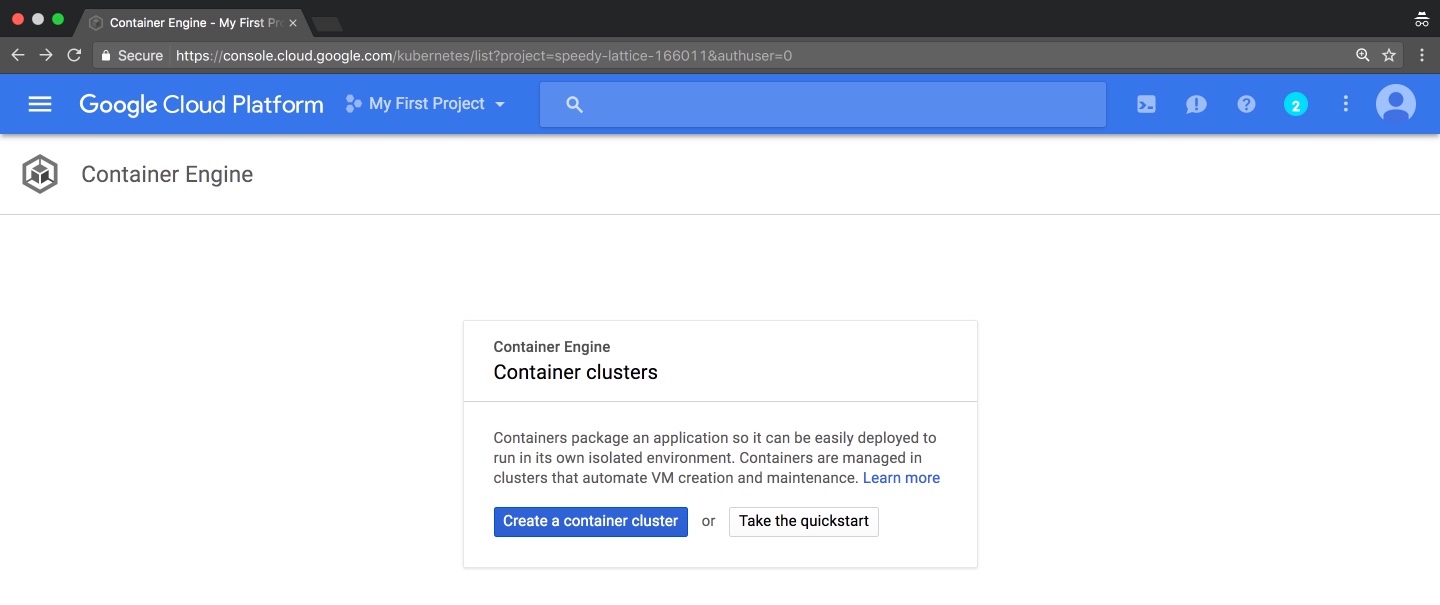
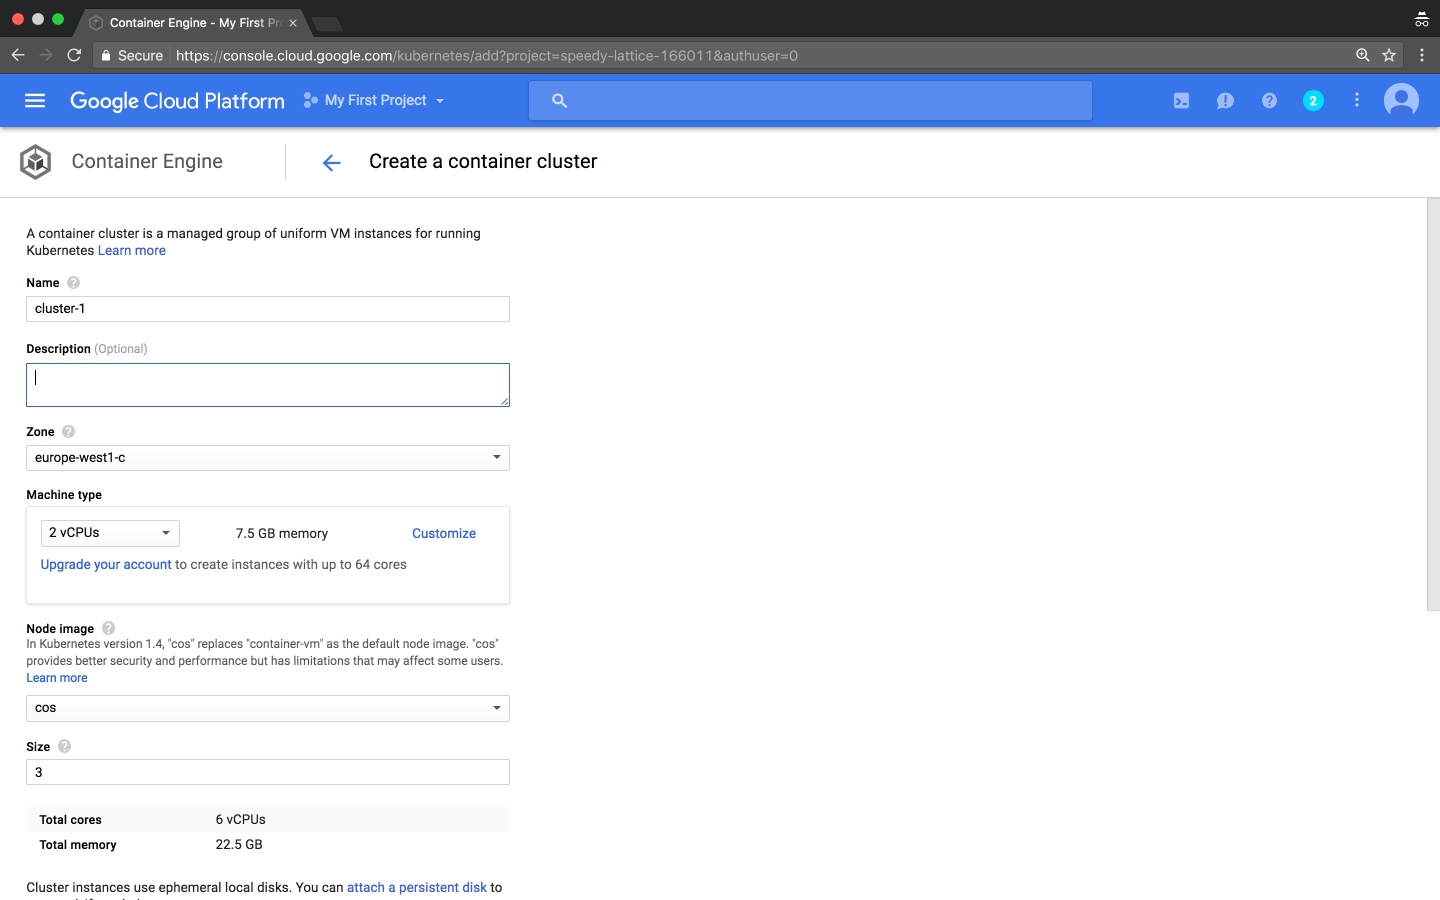
Lets get the Kubernetes cluster up and running: On your Google Cloud console, click on "Container Engine" option on the left nav and create a new cluster.

To define your Kubernetes cluster, give it a name and keep the size of the cluster to 3 nodes. we'll use all 3 nodes to deploy the Redis Enterprise cluster. I recommend you keep the size of nodes at least 2 cores and over 7GB RAM.

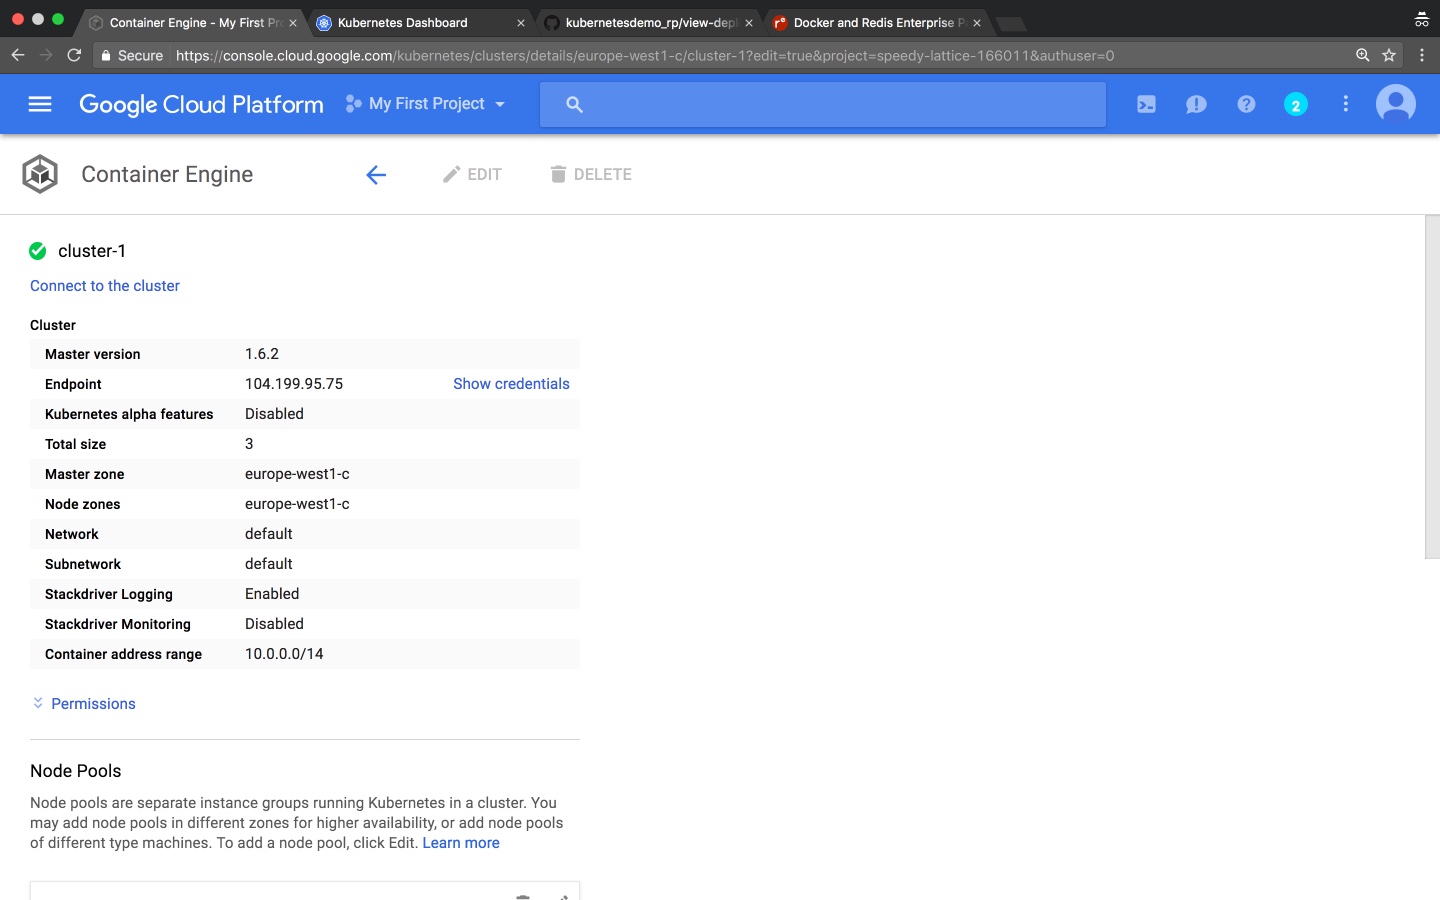
Note: it may take a few mins to create the cluster. Ensure the Kubernetes cluster creation is complete before proceeding to the next step.
For best placement, Redis Enterprise pods should be placed on separate physical nodes in the Kubernetes cluster. This ensures better availabilityunder nodes failures. Placing multiple Redis Enterprise nodes in the same physical host can cause multiple nodes to fail at once and may result in availability and data loss. To ensure we can guarantee better placement, we need to upgrade the Kubernetes cluster to 1.6.2 or better. You can do the upgrade in the details page of the Kubernetes cluster deployment we just created.
If you are a commandline kind of person, here is how you can simplfy the steps for creating the Kubernetes cluster and upgrading it into 2 simple lines;
gcloud container clusters create cluster-1 --num-nodes=3 -m n1-standard-2
gcloud container clusters upgrade cluster-1 --master --cluster-version=1.6.2
Finally to finish the Kubernetes deployment, you need to get the Kubernetes console up and running and start the Kubernetes proxy. on the terminal window, run the following commands;
Connect to the Kubernetes cluster
gcloud container clusters get-credentials cluster-1
The output will read;
# Fetching cluster endpoint and auth data. # kubeconfig entry generated for cluster-1.
And finally start the Kubernetes proxy
kubectl proxy
You now need to feed the container yaml file to provision Redis Enterprise cluster. Sample YAML file can be found here.
kubectl apply -f redis-enterprise.yaml
If the deployment is successful, the output should look like this; # deployment "redispack-deployment" created # service "redispack" created
You can now see the list of container nodes deployed on the Kubernetes cluster. Simply run the following to see the list of nodes
kubectl get po
The output will look something like this;
NAME                                   READY     STATUS    RESTARTS   AGE
redispack-deployment-709212938-765lg   1/1       Running   0          7s
redispack-deployment-709212938-k8njr   1/1       Running   0          7s
redispack-deployment-709212938-kcjd7   1/1       Running   0          7s
We are now ready to create the Redis Enterprise cluster. There is one small change that needs to be done to the container to get networking to work properly: we need to change the css binding to 0.0.0.0. To do this, you need to run the following in each container with each iteration using the pods name from the kubectl get po output above.
kubectl exec -it redispack-deployment-709212938-765lg -- bash
# sudo su -
# sed ‘s/bind 127.0.0.1/bind 0.0.0.0/g’ -i /opt/redislabs/config/ccs-redis.conf
# cnm_ctl restart
With this, let's provision the first node or the Redis Enterprise cluster.
kubectl exec -it redispack-deployment-709212938-765lg "/opt/redislabs/bin/rladmin" cluster create name cluster.local username cihan@redislabs.com password redislabs123 flash_enabled
We will need the ip address of the first node to be able to instruct the following nodes to join the cluster.
kubectl exec -it redispack-deployment-709212938-765lg ifconfig | grep "inet addr"
In my case the output was 10.0.2.10. Lets add node 2 and 3 to the cluster
kubectl exec -it redispack-deployment-709212938-k8njr "/opt/redislabs/bin/rladmin" cluster join username cihan@redislabs.com password redislabs123 nodes 10.0.2.10 flash_enabled
kubectl exec -it redispack-deployment-709212938-kcjd7 "/opt/redislabs/bin/rladmin" cluster join username cihan@redislabs.com password redislabs123 nodes 10.0.2.10 flash_enabled
We are now ready to create the database and connect to it. The following curl command can be used to create a database on port 12000. the database will be named sample-db.
kubectl exec -it redispack-deployment-709212938-765lg bash
# curl -k -u "cihan@redislabs.com:redislabs123" --request POST --url "https://localhost:9443/v1/bdbs" --header 'content-type: application/json' --data '{"name":"sample-db","type":"redis","memory_size":1073741824,"port":12000}'
To test the connection to the database, we will use the redis-cli tool. Here is a simple set followed by a get to validate the redis deployment.
kubectl exec -it redispack-deployment-709212938-765lg bash
# /opt/redislabs/bin/redis-cli -p 12000
# 127.0.0.1:12000> set a 1
# OK
# 127.0.0.1:12000> get a
# "1"
# 127.0.0.1:12000>
Note: To clean up the deployment you can simply delete the cluster using the following commandline
gcloud container clusters delete cluster-1
- Working with Redis Enterprise and Docker
- Getting Started with Redis Enterprise and Docker on Windows,
- Getting Started with Redis Enterprise and Docker on Mac OSx,
- Getting Started with Redis Enterprise and Docker on Linux
- Setting up a Redis Enterprise Cluster
- Documentation
- How To Guides
