devonfw ide setup
This Tutorial explains how to setup the development environment to work on and contribute to devonfw4j with your Windows computer.
We are using a pre-configured devon-ide for development. To get started follow these steps:
-
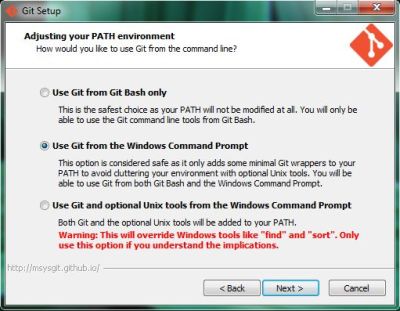
Get a Git client. For Windows use:
-
Important: install with option Use Git from the Windows Command Prompts but without Windows Explorer integration.
-
Download TortoiseGit from https://tortoisegit.org/
-
-
Download the IDE
-
If you are a member of Capgemini: download devonfw ide package or the higher integrated devonfw distribution (for devonfw please find the setup guide within the devon-dist).
-
If you are not member of Capgemini: We cannot distribute the package. Please consult devon-ide to setup and configure the IDE manually. If you need help, please get in touch.
-
-
Choose a project location for your project (e.g.
C:\projects\devonfw, referred to with$projectLocin this setup guides following steps). Avoid long paths and white spaces to prevent trouble. Extract the downloaded ZIP files viaExtract Here(e.g. using 7-Zip). Do not use the Windows native ZIP tool to extract as this is not working properly on long paths and filenames. -
Run the script
update-all-workspaces.batin$projectLoc.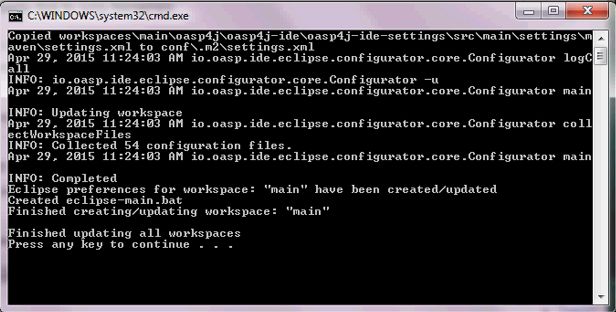
Hint: You can use update-all-workspaces.bat whenever you created a new folder in
workspacesto separate different workspaces. This update will create new Eclipse start batches allowing to run a number of Eclipse instances using different workspaces in parallel.You should end up having a structure like this in
$projectLoc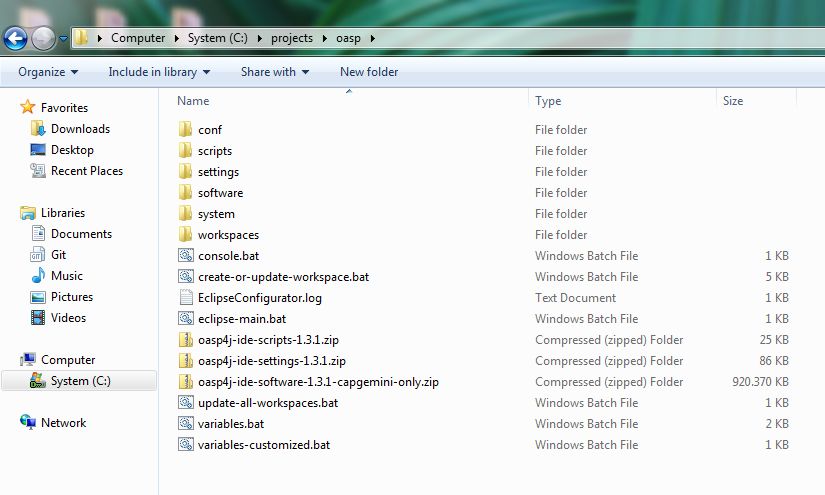
-
Open
console.batand check out the git repositories you need to work on intoworkspaces\main. with the following commands:cd workspaces/main git clone --recursive https://github.com/devonfw/my-thai-star.gitDo another check whether there are files in folder
workspaces\main\my-thai-star\! -
Run the script
eclipse-main.batto start the Eclipse IDE. -
In Eclipse select
File > Import > Maven > Existing Maven Projectsand then choose the cloned projects from your workspace by clicking theBrowsebutton and select the folder structure (workspaces\main\my-thai-star\java\MTSJ). -
Execute the application by starting the ´SpringBootApp´. Select the class and click the right mouse button. In the context menu select the entry
Run as ⇒ Java Application(orDebug as …). The application starts up and creates log entries in the Eclipse Console Tab.
Once started, the backend part of the application runs on http://localhost:8081/mythaistar. This is protected by Spring Security, so an additional frontend needs to be started, that will be able to get the needed access tokens.
-
Now switch within command line to
workspaces\main\my-thai-star\angularand runyarn installfollowed byyarn start. Finally login withwaiter/waiterathttp://localhost:4200/restaurant/.
This documentation is licensed under the Creative Commons License (Attribution-NoDerivatives 4.0 International).
