In the previous sections, you've learned about the building blocks of Docker and have also run a container using the docker run command. In this section, you'll be learning about container manipulation in a lot more detail. Given container manipulation is one of the most common task you'll be performing every single day, having a proper understanding of the various commands is absolutely crucial.
Keep in mind though, this is not an exhaustive list of all the commands you can execute on Docker. I'll be talking only about the most common ones. Anytime you want to learn more about the available commands, just visit the official reference for the Docker CLI.
In the previous section, you've used docker run to create and start a container using the hello-world image. The generic syntax for this command is:
docker run <image name>
Although this is a perfectly valid command, there is a better way of dispatching commands to the docker client. Prior to version 1.13, Docker had only the command previously mentioned command syntax. Later on the CLI was restructured to have the following syntax:
docker <object> <command> <options>
In this syntax:
objectindicates the type of Docker object you'll be manipulating. This can be acontainer,image,networkorvolumeobject.commandindicates the actual task to be carried out by the daemon i.e.runcommand.optionscan be any valid parameter that can override the default behavior of the command i.e. the--publishcommand for publishing ports from inside a container.
Now, following this syntax, the run command can be written as follows:
docker container run <image name>
The image name can be of any image from an online registry or your local system. As an example, you can try to run a container using the fhsinchy/hello-dock image. This image contains a simple Vue.js application that runs on port 80 inside the container. To run a container using this image, execute following command on your terminal:
docker container run --publish 8080:80 fhsinchy/hello-dock

# /docker-entrypoint.sh: /docker-entrypoint.d/ is not empty, will attempt to perform configuration
# /docker-entrypoint.sh: Looking for shell scripts in /docker-entrypoint.d/
# /docker-entrypoint.sh: Launching /docker-entrypoint.d/10-listen-on-ipv6-by-default.sh
# 10-listen-on-ipv6-by-default.sh: Getting the checksum of /etc/nginx/conf.d/default.conf
# 10-listen-on-ipv6-by-default.sh: Enabled listen on IPv6 in /etc/nginx/conf.d/default.conf
# /docker-entrypoint.sh: Launching /docker-entrypoint.d/20-envsubst-on-templates.sh
# /docker-entrypoint.sh: Configuration complete; ready for start up
The command is pretty self-explanatory. The only portion that may require some explanation is the --publish 8080:80 portion.
As I've stated in an earlier section, containers are isolated environments. Your host system doesn't know anything about what's going on inside a container. Hence, applications running inside a container remains inaccessible from the outside.
To allow access from outside of a container, you must publish the appropriate port inside the container to a port on your local network. The common syntax for the --publish option is as follows:
--publish <host port>:<container port>
When you write --publish 8080:80 it means any request sent to port 8080 of your host system will be forwarded to port 80 inside the container.
Now in order to access the application, open up your browser and visit http://127.0.0.1:8080 address.
The container can be stopped by simply hitting ctrl + c key combination while the terminal window is in focus or closing off the terminal window completely.
Another very popular option of the run command is the --detach command. As you've seen in the example above, in order for the container to keep running, you had to keep the terminal window open. Closing the terminal window also stopped the running container.
This is because by default containers run in the foreground and attach themselves to the terminal like any other normal program invoked from the terminal. In order to override this behavior and keep a container running in background, you can include the --detach option to the run command as follows:
docker container run --detach --publish 8080:80 fhsinchy/hello-dock

# 9f21cb77705810797c4b847dbd330d9c732ffddba14fb435470567a7a3f46cdc
Unlike the previous example, you won't get a wall of text thrown at you this time. Instead what you'll get is the ID of the newly created container.
The order of the options you provide doesn't really matter. If you put the --publish option before the --detach option, it'll work just the same. One thing that you have to keep in mind in case of the run command is that the image name must come at last. If you put anything after the image name then that'll be passed as an argument to the container itself and may result in unexpected situations.
In the previous section you've learned about running containers both in foreground and background. In this section I'll show you how you can list out the containers currently running or has previously run in your system.
The ls command can be used to list out containers that are currently running. To do so execute following command:
docker container ls

# CONTAINER ID        IMAGE                 COMMAND                  CREATED             STATUS              PORTS                  NAMES
# 9f21cb777058        fhsinchy/hello-dock   "/docker-entrypoint.…"   5 seconds ago       Up 5 seconds        0.0.0.0:8080->80/tcp   gifted_sammet
As you can see in the output, a container named gifted_sammet is running. In was created 5 seconds ago and the status is the status is Up 5 seconds, which indicates that the container is running fine since it's creation.
The id if the container is b6ada76e29c1 which is the first 12 characters of the full container id. The full container id is 9f21cb77705810797c4b847dbd330d9c732ffddba14fb435470567a7a3f46cdc which is 64 characters long. This full container id was printed as the output of the docker container run command in the previous section.
You can also see that port 8080 from your local network is pointing towards port 80 inside the container. The name gifted_sammet is generated by Docker and can be something completely different in your computer.
The ls command only lists the containers that are currently running on your system. In order to list out the containers that has run in the past you can use the --all option.
docker container ls --all

# CONTAINER ID        IMAGE                 COMMAND                  CREATED             STATUS                     PORTS                  NAMES
# 9f21cb777058        fhsinchy/hello-dock   "/docker-entrypoint.…"   2 minutes ago       Up 2 minutes               0.0.0.0:8080->80/tcp   gifted_sammet
# 6cf52771dde1        fhsinchy/hello-dock   "/docker-entrypoint.…"   3 minutes ago       Exited (0) 3 minutes ago                          reverent_torvalds
# 128ec8ceab71        hello-world           "/hello"                 4 minutes ago       Exited (0) 4 minutes ago                          exciting_chebyshev
As you can see the second container in the list reverent_torvalds was created earlier and has exited with the status code 0, which indicates that no error was produced during the runtime of the container.
As you have already seen, every container has two identifier. They are as follows:
CONTAINER ID- a random 64 characters long string.NAME- combination of two random words, joined with an underscore.
As you may have guessed already, referring to a container based on these two random identifier is kind of inconvenient. It would be great if the containers could be referred to using a name defined by you.
Naming a container can be achieved using the --name option. To run another container using the fhsinchy/hello-dock image with the name hello-dock-container you can execute the following command:
docker container run --detach --publish 8888:80 --name hello-dock-container fhsinchy/hello-dock

# b1db06e400c4c5e81a93a64d30acc1bf821bed63af36cab5cdb95d25e114f5fb
The 8080 port on local network is occupied by the gifted_sammet container, that's why you'll have to use a different port number i.e. 8888. Now to verify run the ls command:
docker container run ls

# CONTAINER ID        IMAGE                 COMMAND                  CREATED             STATUS              PORTS                  NAMES
# b1db06e400c4        fhsinchy/hello-dock   "/docker-entrypoint.…"   28 seconds ago      Up 26 seconds       0.0.0.0:8888->80/tcp   hello-dock-container
# 9f21cb777058        fhsinchy/hello-dock   "/docker-entrypoint.…"   4 minutes ago       Up 4 minutes        0.0.0.0:8080->80/tcp   gifted_sammet
As you can see, a new container with the name of hello-dock-container has been started.
You can even rename old containers using the rename command. Syntax for the command is as follows:
docker container rename <container identifier> <new name>
To rename the gifted_sammet container to hello-dock-container-2 execute following command:
docker container rename gifted_sammet hello-dock-container-2
The command doesn't yield any output but you can verify that the changes have taken place using the ls command. The rename command works both for running and stopped containers.
I would suggest the third container created using the hello-dock image to something like hello-dock-container-3 so that you'll be more inline with the subsequent sections.
Containers running in the foreground can be stopped by simply closing the terminal window or hitting ctrl + c key combination. Containers running in the background, however, can not be stopped in the same way.
There are two commands under the container command that deals with this task. The first one is the stop command. Generic syntax for the command is as follows:
docker container stop <container identifier>
Where container identifier can either be the id or the name of the container. I hope that you remember the container you started in the previous section. It's still running in the background. Get the identifier for that container using docker container ls , I'll be using hello-dock-container container for this demo. Now execute following command to stop the container:
docker container stop hello-dock-container

# hello-dock-container
If you use the name as identifier, you'll get the name thrown back to you as output. The stop command shuts down a container gracefully by sending a SIGTERM signal. If the container doesn't stop within a grace period, a SIGKILL signal is sent which shuts down the container immediately.
In case if you want to send a SIGKILL signal instead of a SIGTERM signal, you may use the kill command instead. The kill command follows the same syntax as the stop command.
docker container kill hello-dock-container-2

# hello-dock-container-2
I've used the container name instead of id here to change thing up a bit. You may use whatever you like. You can verify that the container is up once again using the ls command.
When I say restart I mean two scenarios specifically. They are as follows:
- Restarting a container that has been previously stopped or killed.
- Rebooting a running container.
As you've already learned from a previous section, stopped containers remain in your system. If you want you can actually restart them. The start command can be used any existing container. The syntax of the command is as follows:
docker container start <container identifier>
Just like the previous commands, container identifier can be either the name or the id of the container. You can get the list of all stopped container by using the ls command with the --all option:
docker container ls --all

# CONTAINER ID        IMAGE                 COMMAND                  CREATED             STATUS                        PORTS               NAMES
# b1db06e400c4        fhsinchy/hello-dock   "/docker-entrypoint.…"   3 minutes ago       Exited (0) 47 seconds ago                         hello-dock-container
# 9f21cb777058        fhsinchy/hello-dock   "/docker-entrypoint.…"   7 minutes ago       Exited (137) 17 seconds ago                       hello-dock-container-2
# 6cf52771dde1        fhsinchy/hello-dock   "/docker-entrypoint.…"   7 minutes ago       Exited (0) 7 minutes ago                          reverent_torvalds
# 128ec8ceab71        hello-world           "/hello"                 9 minutes ago       Exited (0) 9 minutes ago                          exciting_chebyshev
Now to restart the hello-dock-container container, you may execute the following command:
docker container start hello-dock-container

# hello-dock-container
Now you can ensure that the container is running by looking at the list of running containers using the ls command. The start command starts any container in detached mode by default and retains any port configurations made previously. So if you visit http://127.0.0.1:8080 now, you should be able to access the hello-dock application just like before.
Now, in scenarios where you would like to reboot a running container you may use the restart command. The restart command follows the exact syntax as the start command.
docker container restart hello-dock-container-2

# hello-dock-container-2
Main difference between the two commands is that the restart command attempts to stop the target container and then start it back whereas the start command just starts a container.
In case of a stopped container, both commands are exactly same but in case of a running container, you must use restart command.
As you've already seen, containers that have been stopped or killed remain in the system. These dangling containers can take up space or can even conflict with newer container.
In order to remove a stopped container you can use the rm command. The generic syntax is as follows:
docker container rm <container identifier>
To find out which containers are not running, use the ls --all command.
docker container ls --all

# CONTAINER ID        IMAGE                 COMMAND                  CREATED             STATUS                      PORTS                  NAMES
# b1db06e400c4        fhsinchy/hello-dock   "/docker-entrypoint.…"   6 minutes ago       Up About a minute           0.0.0.0:8888->80/tcp   hello-dock-container
# 9f21cb777058        fhsinchy/hello-dock   "/docker-entrypoint.…"   10 minutes ago      Up About a minute           0.0.0.0:8080->80/tcp   hello-dock-container-2
# 6cf52771dde1        fhsinchy/hello-dock   "/docker-entrypoint.…"   10 minutes ago      Exited (0) 10 minutes ago                          reverent_torvalds
# 128ec8ceab71        hello-world           "/hello"                 12 minutes ago      Exited (0) 12 minutes ago                          exciting_chebyshev
As can be seen in the output, container with id 6cf52771dde1 and 128ec8ceab71 is not running. To remove the 6cf52771dde1 you can execute following command:
docker container rm 6cf52771dde1

# 6cf52771dde1
You can check if the container was deleted or not by using the ls command. You can also remove multiple containers at once by passing their identifiers one after another separated by spaces.
Or, instead of removing individual containers, if you want to remove all dangling containers at one go, you can use the prune command.
docker container prune
Docker will ask for confirmation. You can use the --force option to skip this confirmation step. Once done, the prune command will show the amount of reclaimed space.
You can check the the container list using ls --all command to make sure that the dangling containers have been removed:
docker container ls --all

# CONTAINER ID        IMAGE                 COMMAND                  CREATED             STATUS              PORTS                  NAMES
# b1db06e400c4        fhsinchy/hello-dock   "/docker-entrypoint.…"   8 minutes ago       Up 3 minutes        0.0.0.0:8888->80/tcp   hello-dock-container
# 9f21cb777058        fhsinchy/hello-dock   "/docker-entrypoint.…"   12 minutes ago      Up 3 minutes        0.0.0.0:8080->80/tcp   hello-dock-container-2
If you've been following the book exactly as written so far, you should only see the hello-dock-container and hello-dock-container-2 in the list. I would suggest stopping and removing both containers before going to the next section.
So far you've only run containers created from either the hello-world image or the fhsinchy/hello-dock image. These images are made for executing a simple program that are not interactive.
Well, all images are not that simple. Images can encapsulate an entire Linux distribution inside them. Popular distributions such as Ubuntu, Fedora, Debian all have official Docker images available in the hub. Programming languages such as python, php, go or run-times like node, deno all have their official images.
These images do not just run some pre-configured program. These are instead configured to run a shell by default. In case of the operating system images it can be something like sh or bash and in case of the programming languages or run-times, it is usually their default language shell.
As you may have already learned from your previous experiences with computers, shells are interactive programs. Images configured to run such a program is an interactive image. These images require a special -it option to be passed in the container run command.
As an example, if you run a container using the ubuntu image by executing docker container run ubuntu you'll see nothing happens. But if you execute the same command with -it option, you should land directly on bash inside the Ubuntu container.
docker container run -it ubuntu

# root@dbb1f56b9563:/# cat /etc/os-release
# NAME="Ubuntu"
# VERSION="20.04.1 LTS (Focal Fossa)"
# ID=ubuntu
# ID_LIKE=debian
# PRETTY_NAME="Ubuntu 20.04.1 LTS"
# VERSION_ID="20.04"
# HOME_URL="https://www.ubuntu.com/"
# SUPPORT_URL="https://help.ubuntu.com/"
# BUG_REPORT_URL="https://bugs.launchpad.net/ubuntu/"
# PRIVACY_POLICY_URL="https://www.ubuntu.com/legal/terms-and-policies/privacy-policy"
# VERSION_CODENAME=focal
# UBUNTU_CODENAME=focal
As you can see from the output of the cat /etc/os-release command, I am indeed interacting with the bash running inside the Ubuntu container.
The reason behind the necessity of this -it option is that the Ubuntu image is configured to start bash upon startup which is an interactive program.
To interact with a program that is inside a container, you have to let the container know explicitly that you want an interactive session.
The -it option sets the stage for you to interact with any interactive program inside a container. This option is actually two separate options mashed together.
- The
-ioption connects you to the input stream of the container, so that you can send inputs to bash. - The
-toption makes sure that you get some good formatting and a native terminal like experience by allocating a pseudo-tty.
You need to use the -it option whenever you want to run a container in interactive mode. Another example can be running the node image as follows:
docker container run -it node

# Welcome to Node.js v15.0.0.
# Type ".help" for more information.
# > ['farhan', 'hasin', 'chowdhury'].map(name => name.toUpperCase())
# [ 'FARHAN', 'HASIN', 'CHOWDHURY' ]
As you can see, any valid JavaScript code can be executed in the node shell. Instead of writing -it you can instead be more verbose by writing --interactive --tty separately.
Now that you have a Redis server running in the background, assume that you want to perform some operations using the redis-cli tool. You can not just go ahead and execute docker run redis redis-cli. The container is already running.
For situations like this, there is a command for executing other commands inside a running container called exec, and the generic syntax for this command is as follows:
docker exec <container id> <command>
If the id for the Redis container is 5531133af6a1 then the command should be as follows:
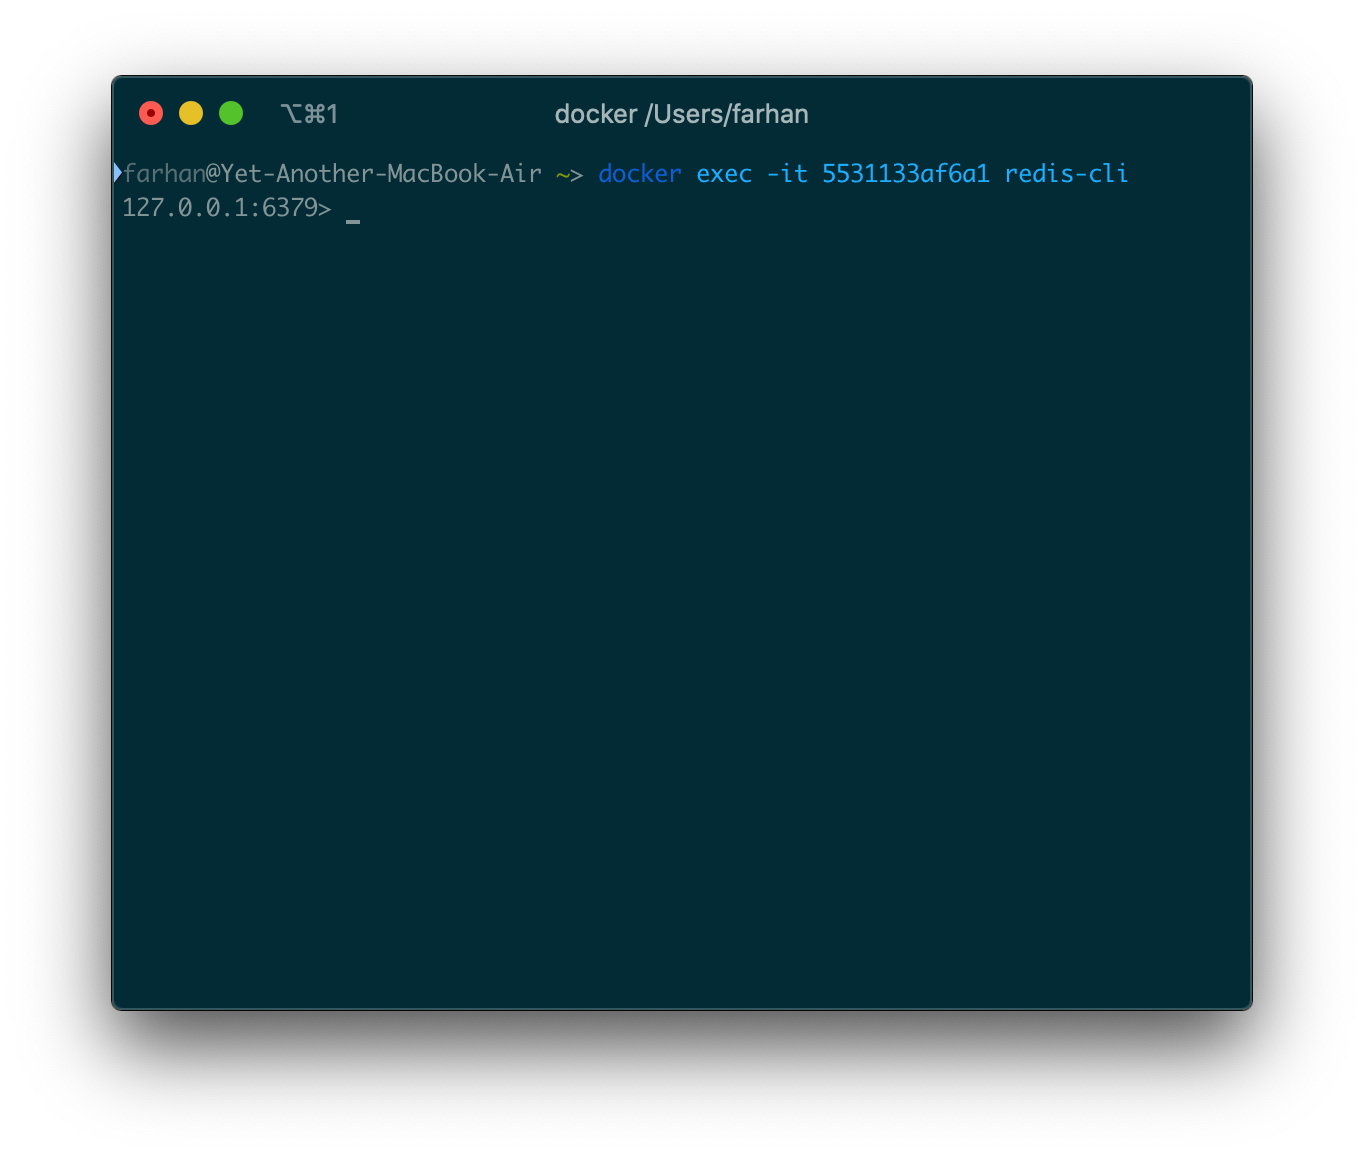
docker exec -it 5531133af6a1 redis-cli
And you should land right into the redis-cli program:
Notice we're using the -it option as this is going to be an interactive session. Now you can run any valid Redis command in this window and the data will be persisted in the server.
You can exit simply by pressing ctrl + c key combination or closing the terminal window. Keep in mind however, the server will keep running in the background even if you exit out of the CLI program.
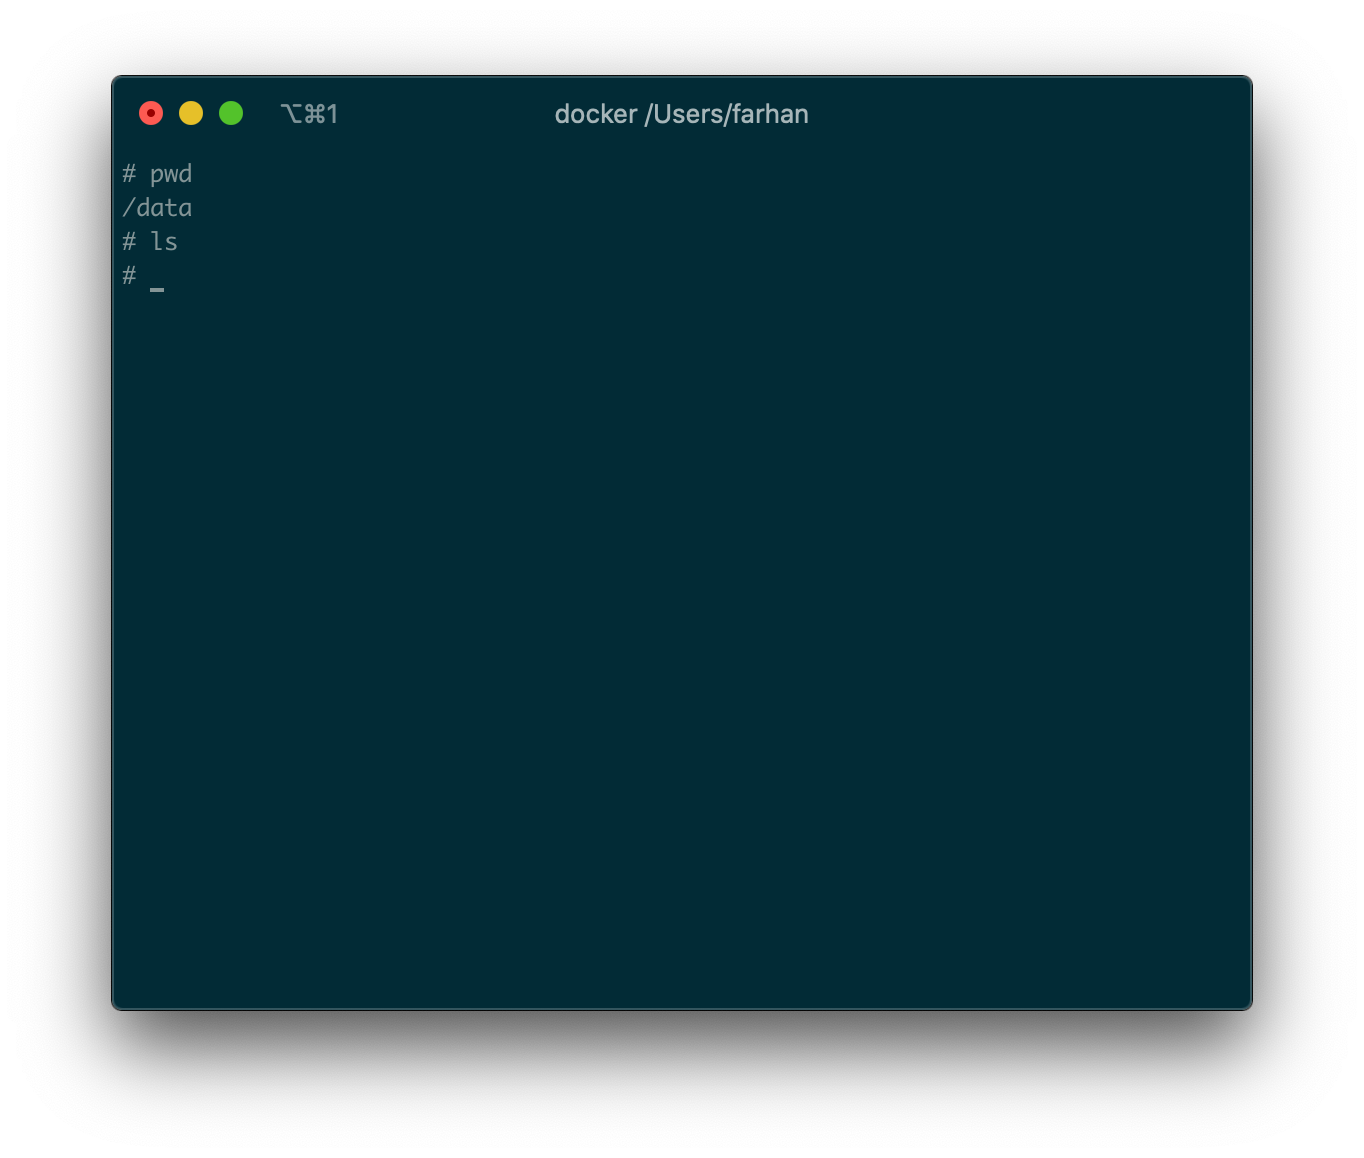
Assume that you want to use the shell inside a running container for some reason. You can do that by just using the exec command with sh being the executable like the following command:
docker exec -it <container id> sh
If the id of the redis container is 5531133af6a1 the, execute the following command to start a shell inside the container:
docker run exec -it 5531133af6a1 sh
You should land directly on a shell inside the container.
You can execute any valid shell command here.
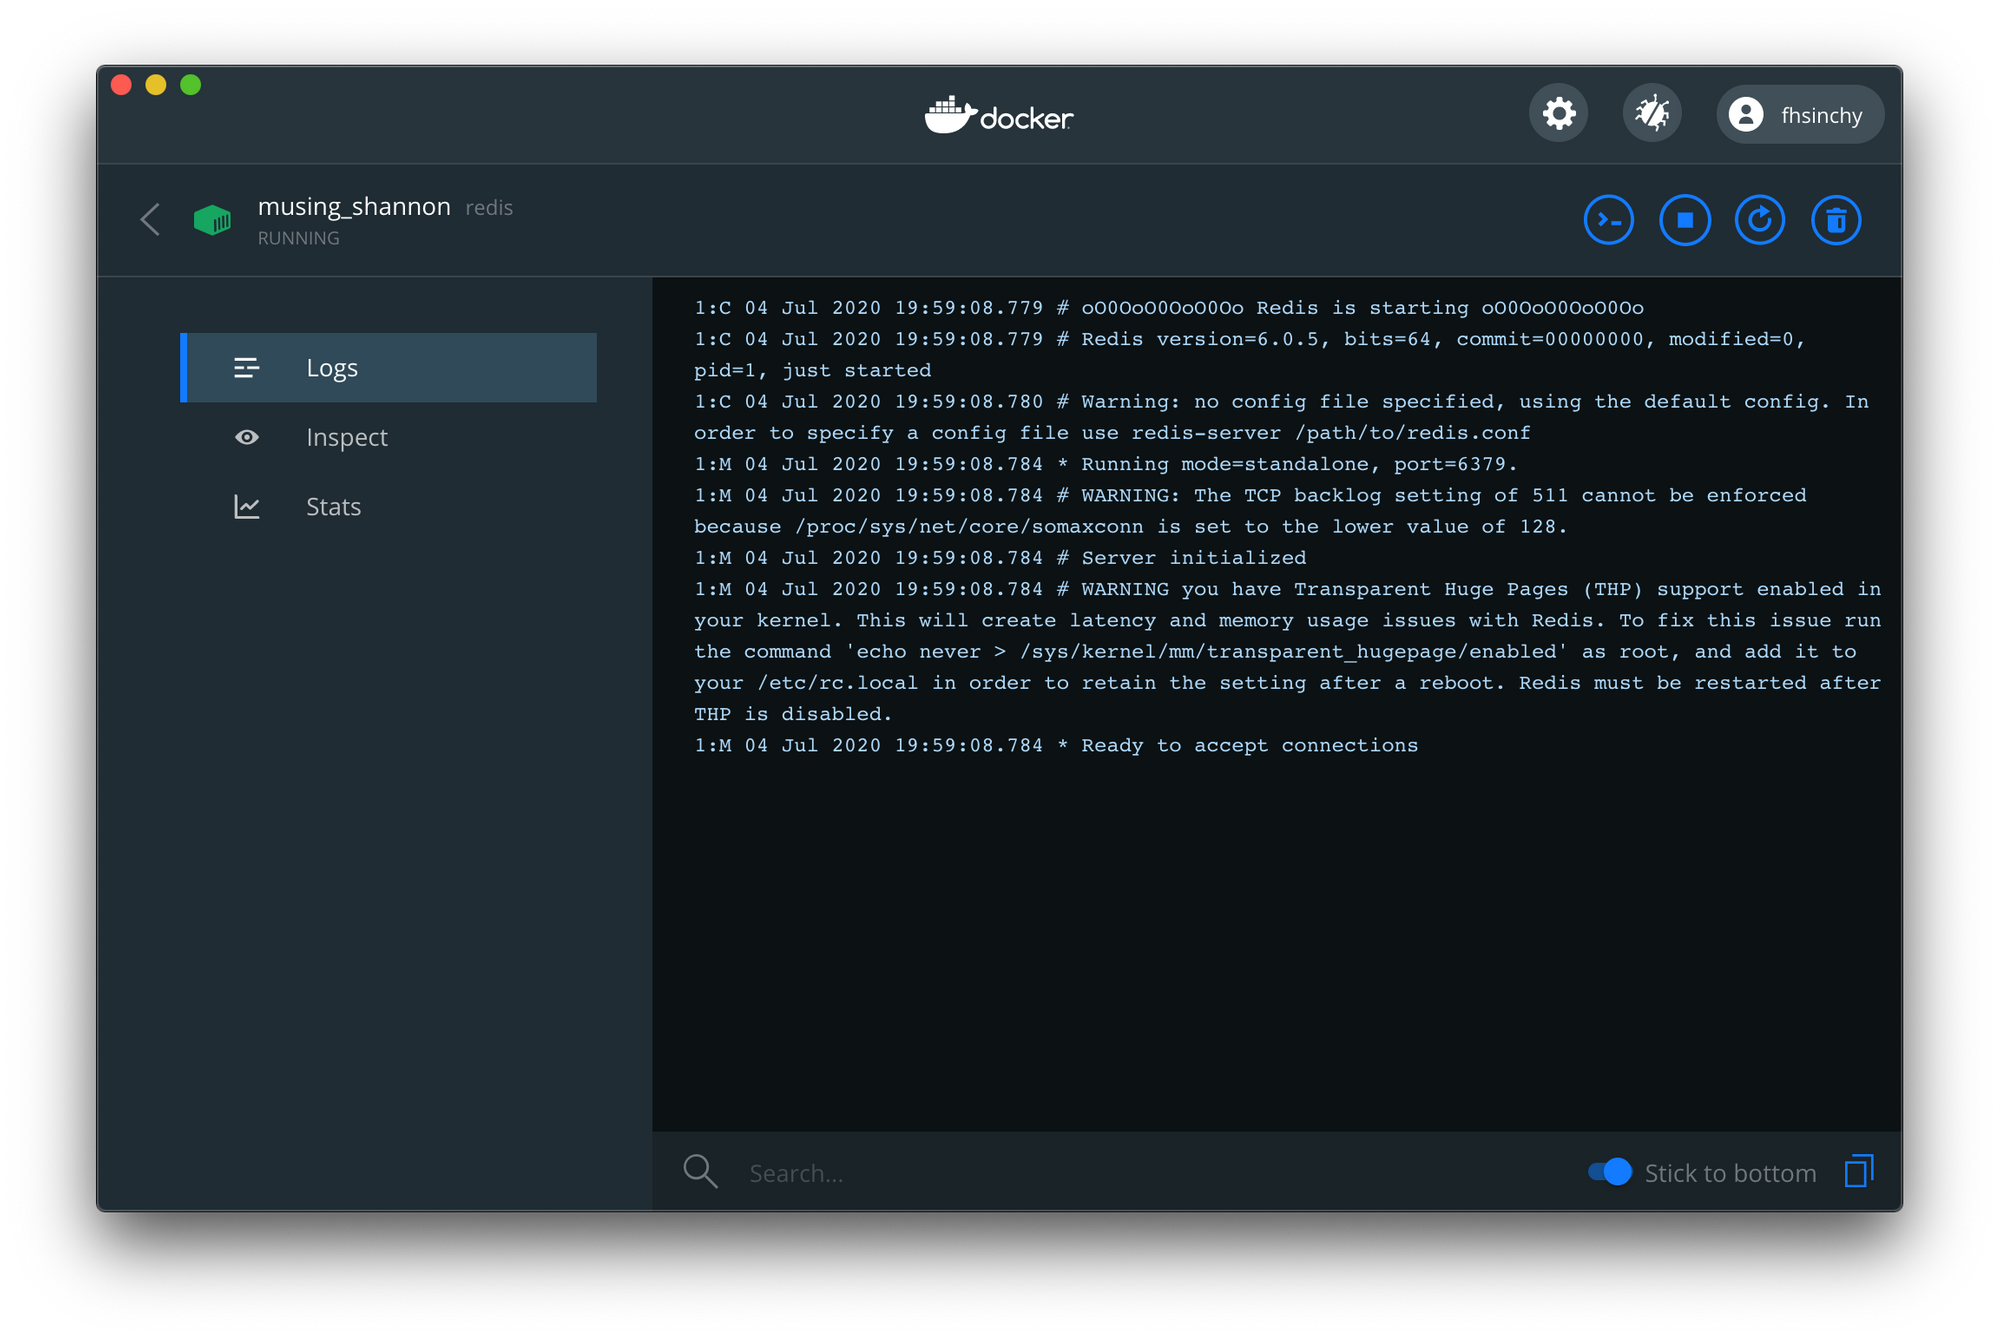
If we want to view logs from a container, the dashboard can be really helpful.
We can also use the logs command to retrieve logs from a running container. The generic syntax for the command is as follows:
docker logs <container id>
If the id for Redis container is 5531133af6a1 then execute following command to access the logs from the container:
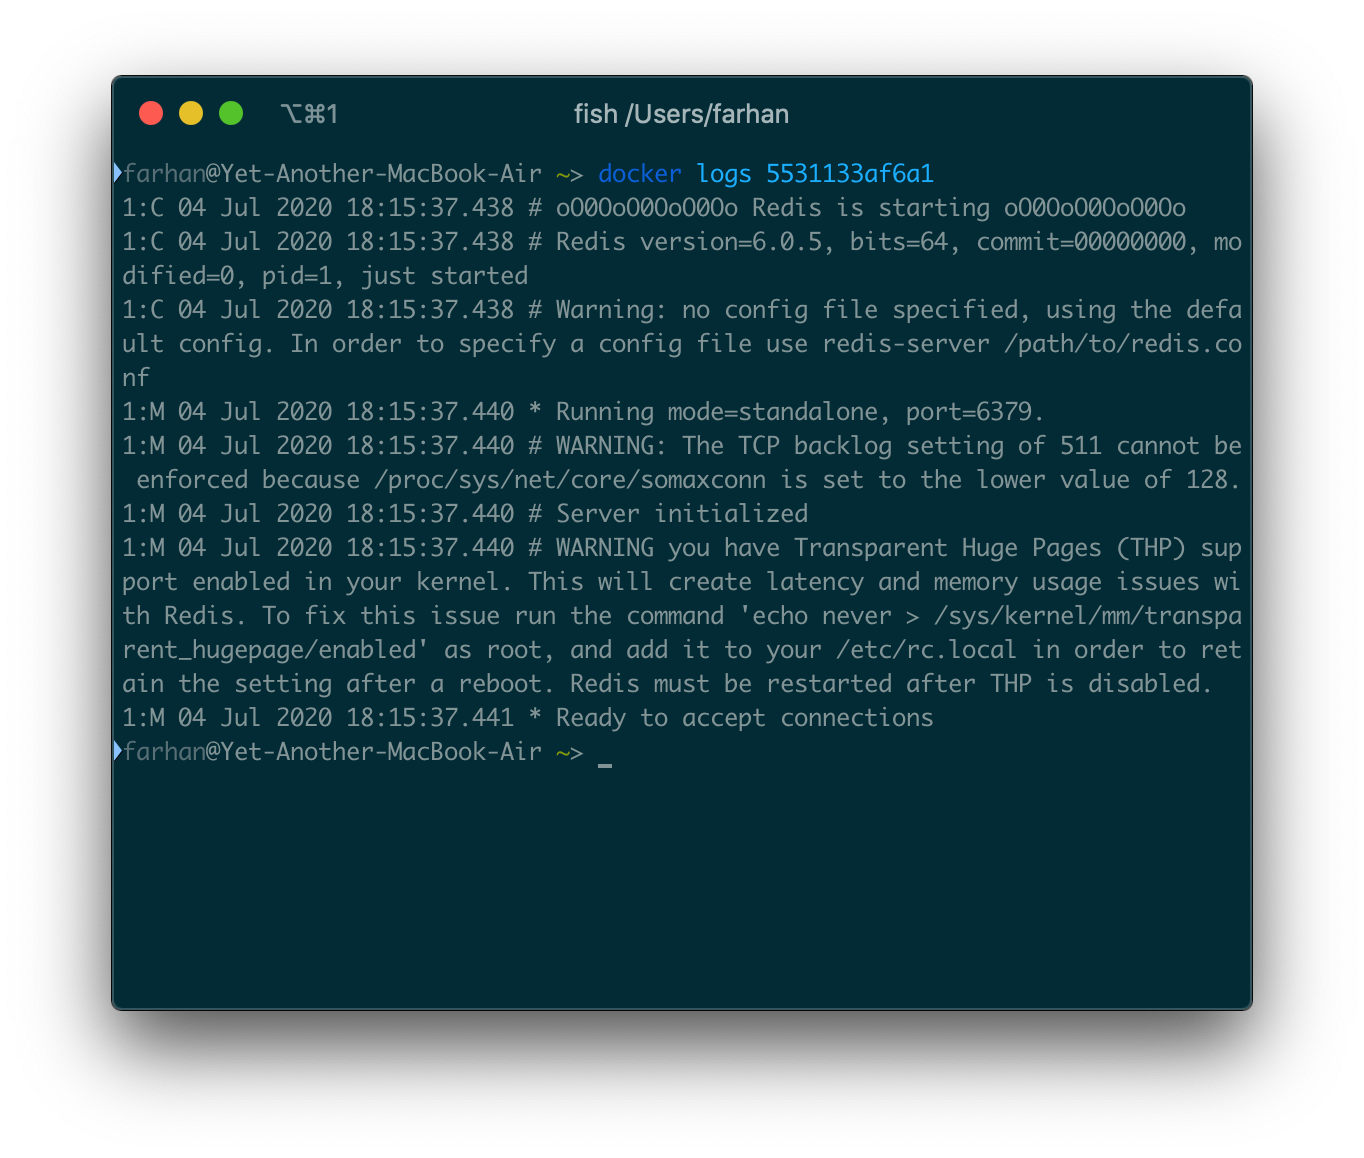
docker logs 5531133af6a1
You should see a wall of text appear on your terminal window.
This is just a portion from the log output. You can kind of hook into the output stream of the container and get the logs in real-time by using the -f or --follow option.
Any later log will show up instantly in the terminal as long as you don't exit by pressing ctrl + c key combination or closing the window. The container will keep running even if you exit out of the log window.


