![]()
A ready to use boilerplate solution for user registration, authentication, profile editing and reserved area using Netuno, JWT, ReactJS, Redux and Ant Design.
Clone this project to (Netuno Root directory)/apps/reauthkit/.
The following process is oriented to Linux development environments with a few notes also destined to Microsoft Windows development environments.
-
Copy the app sample configuration file by running (in the app root directory):
-
cp config/sample.json config/_development.json(for a development environment) -
cp config/sample.json config/_production.json(for a production environment)
and adjust the
_development.jsonand/or_production_.jsonfile accordingly to your environment. -
You can change the application name by changing the folder name and the
nameconfiguration parameter.
- According to your development environment, change the
.jsonfile in thesettings.api.endpointkey to the correct address of Neptune services, example:
  ...
    "api": {
      "endpoint": "http://localhost:9000/services/"
    },
  ...
Attention: The API Endpoint configuration is exported so that the website can access the service addresses, by defining the URL prefix in the service client.
-
You'll need to configure an SMTP connection for the password recovery feature to function properly, learn how to do it here.
-
You'll need to configure a PostgreSQL database type connection for this app to work properly, learn how to do it here.
-
Locate
auth>jwt>secretand must set a secret code with 32 characters, as random as possible, since this is what ensures the security of users' credentials. Recommended Secure Code Generation tool. -
To configure OpenAPI definition look at
openapisettings, learn how to do it here.
In the Netuno root directory run
./netuno server app=reauthkit
and it should start both the back-end and the front-end server.
The first run may take a while due to the installation of frontend dependencies.
By default, the Netuno back office will be available in:
The OpenAPI will be in:
And the front-end (restricted website) will start in:
In production, change the Netuno environment to production, this is done in the main Netuno configuration file, config.js which is located at the root, like this:
config.env = 'production'
In the application configuration, in the config/_production.json file, disable the commands, set the value of all enabled commands to false, because in production we do not want NPM commands being executed together with Netuno.
Inside the website folder run:
npm install
To create the optimized production version of the website, simply run bash build.sh in the directory (application root directory)/website/. The build.bat file is also found in (application root directory)/website/ intended for development environments on Microsoft Windows.
To customize the website in general, change the Ant.Design theme settings.
In the website/src/App.jsx file, look for the ConfigProvider component and adapt the theme attribute values.
See the official Ant.Design documentation on theme customization.
The LESS variable settings can be found here: website/src/styles/variables.less.
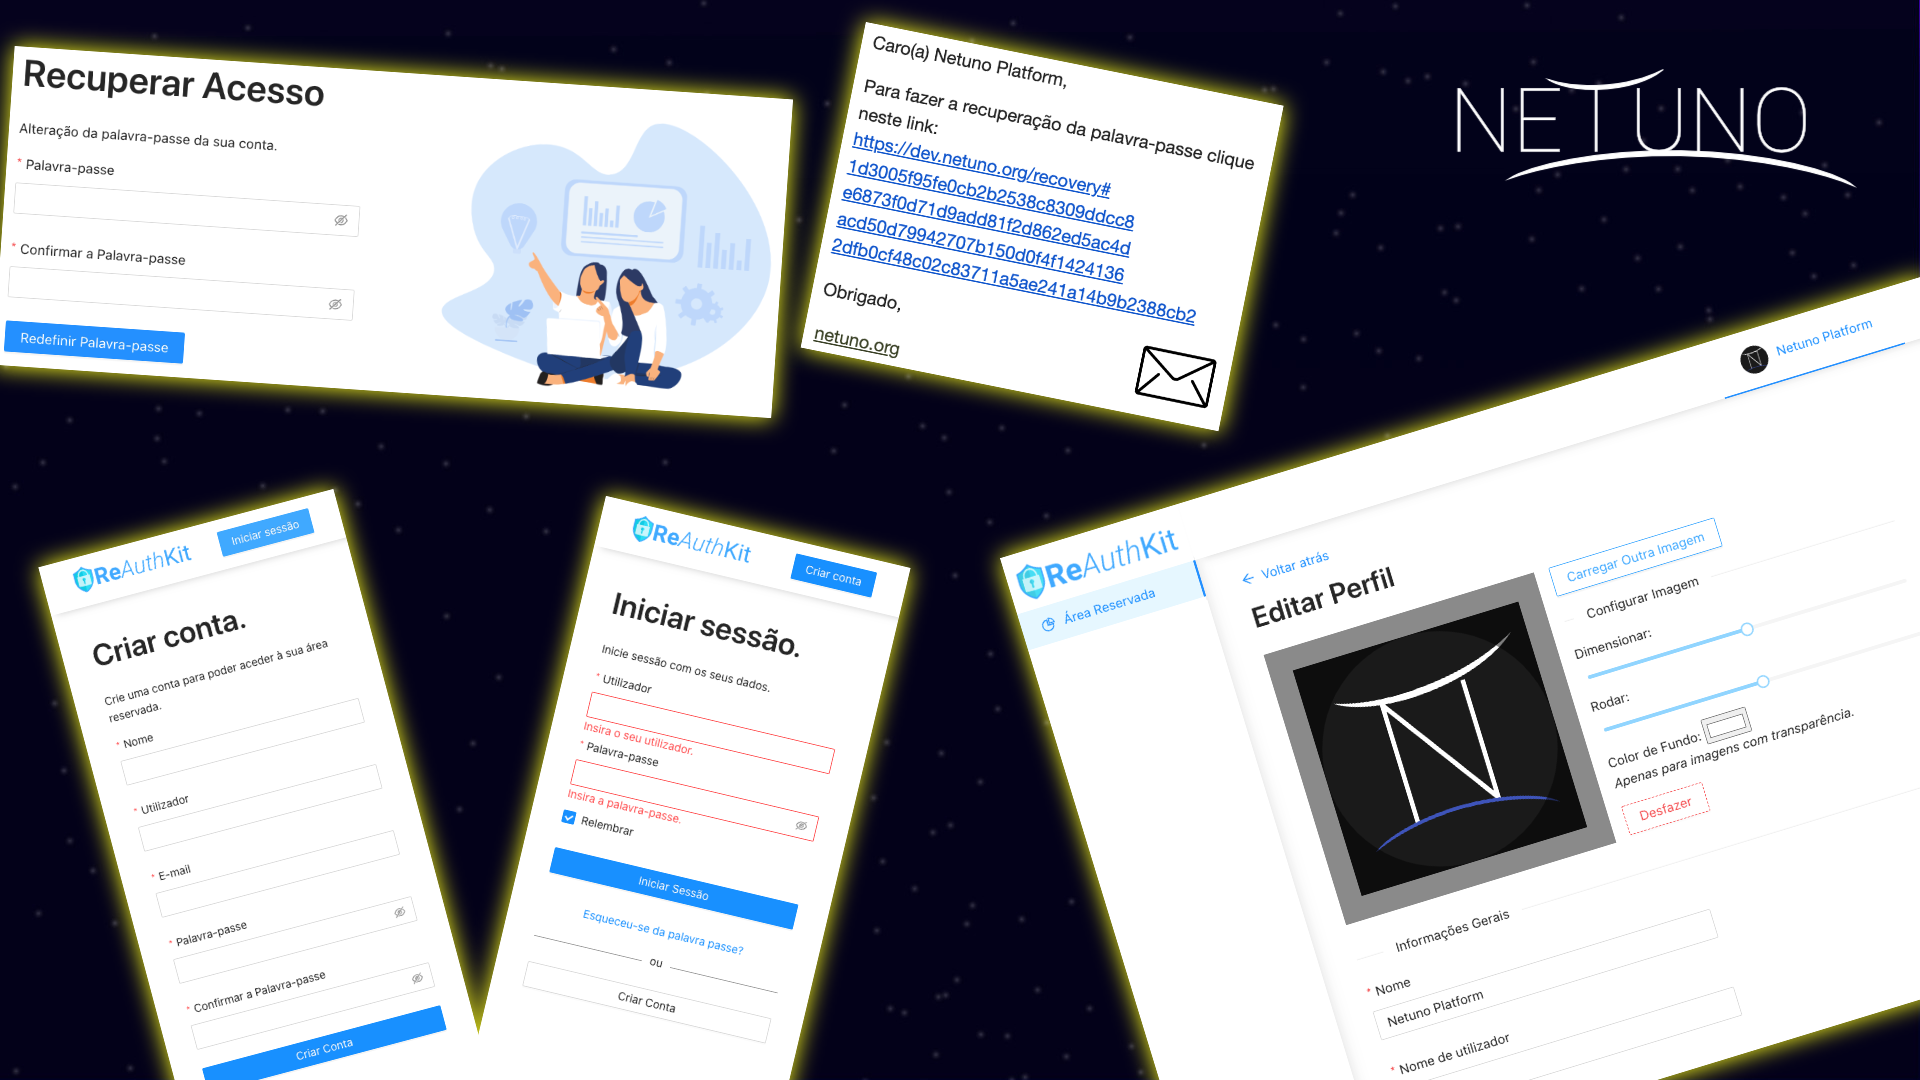
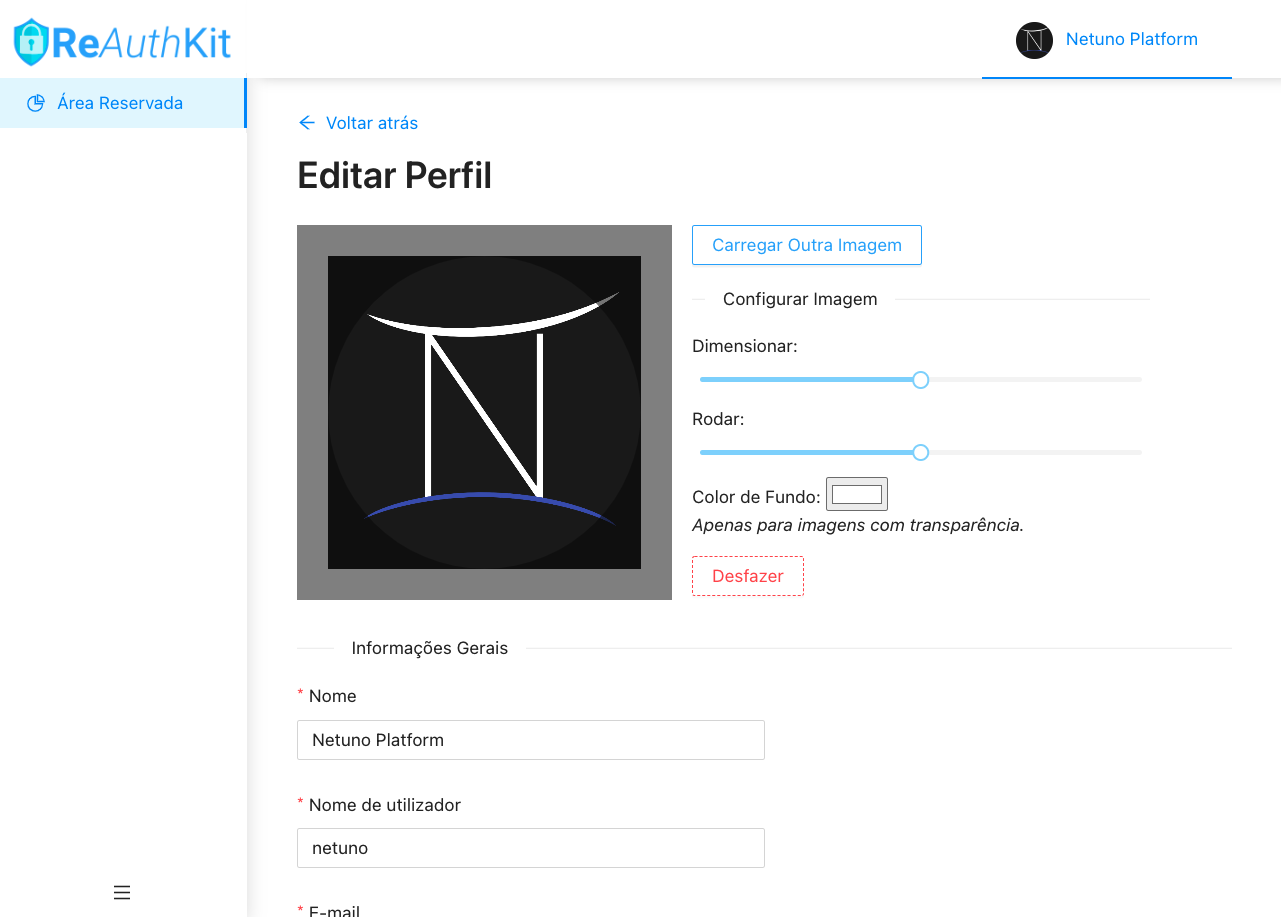
Some screenshots below.
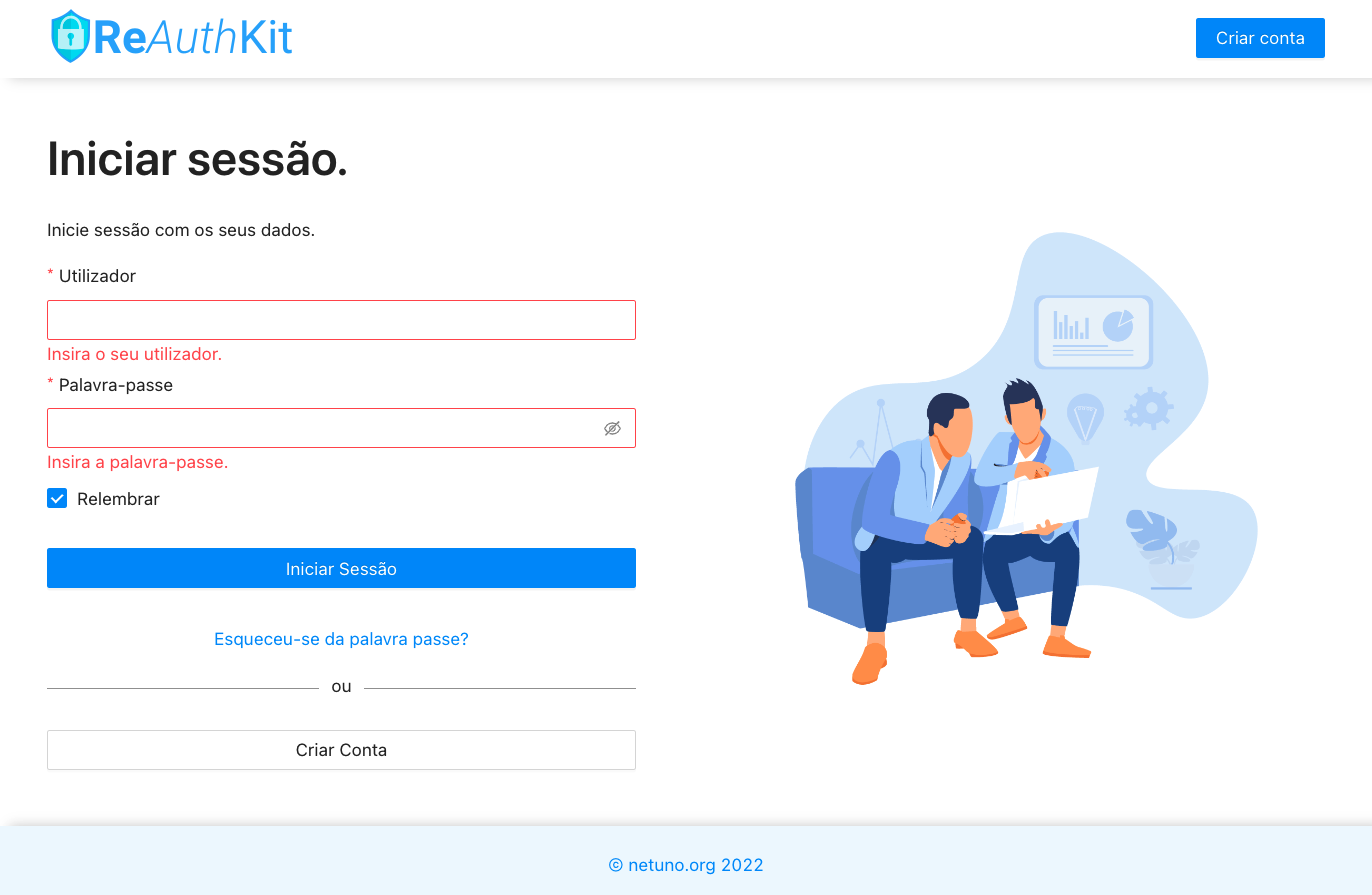
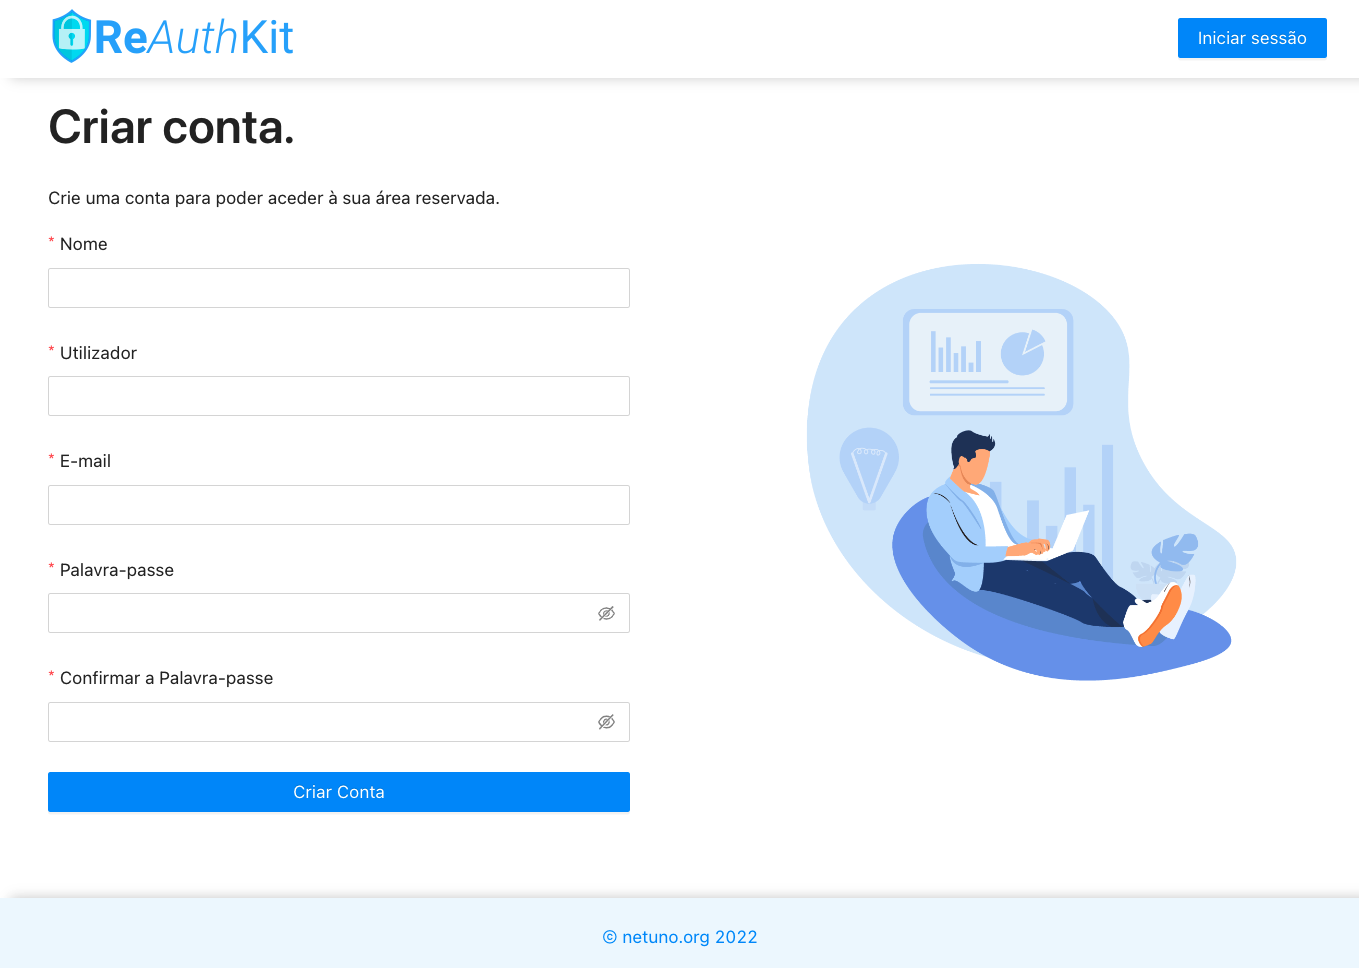
| Login | Registration |
|---|---|
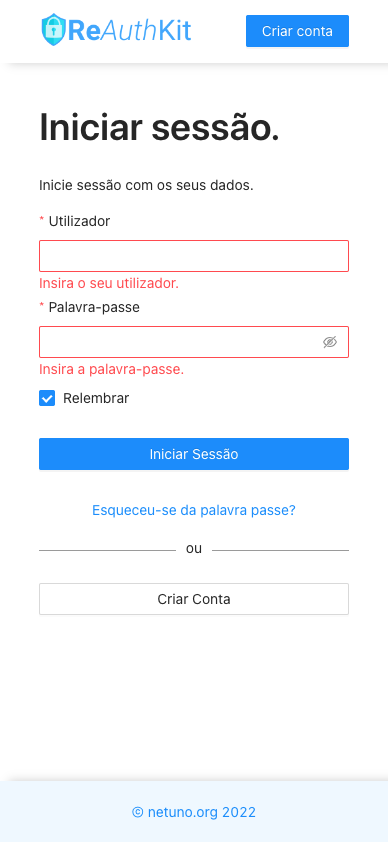 |
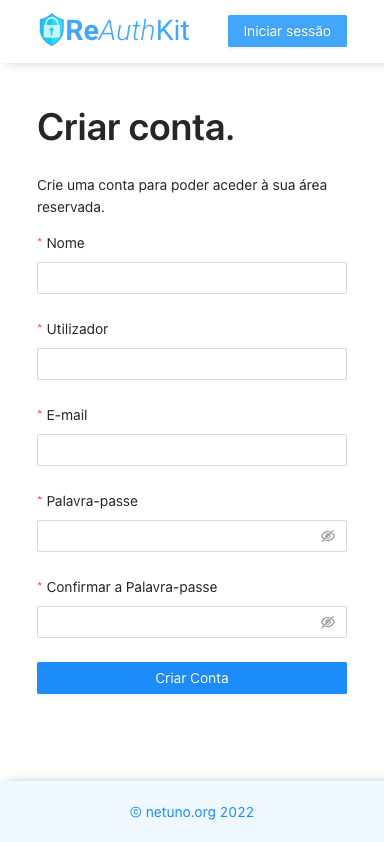 |
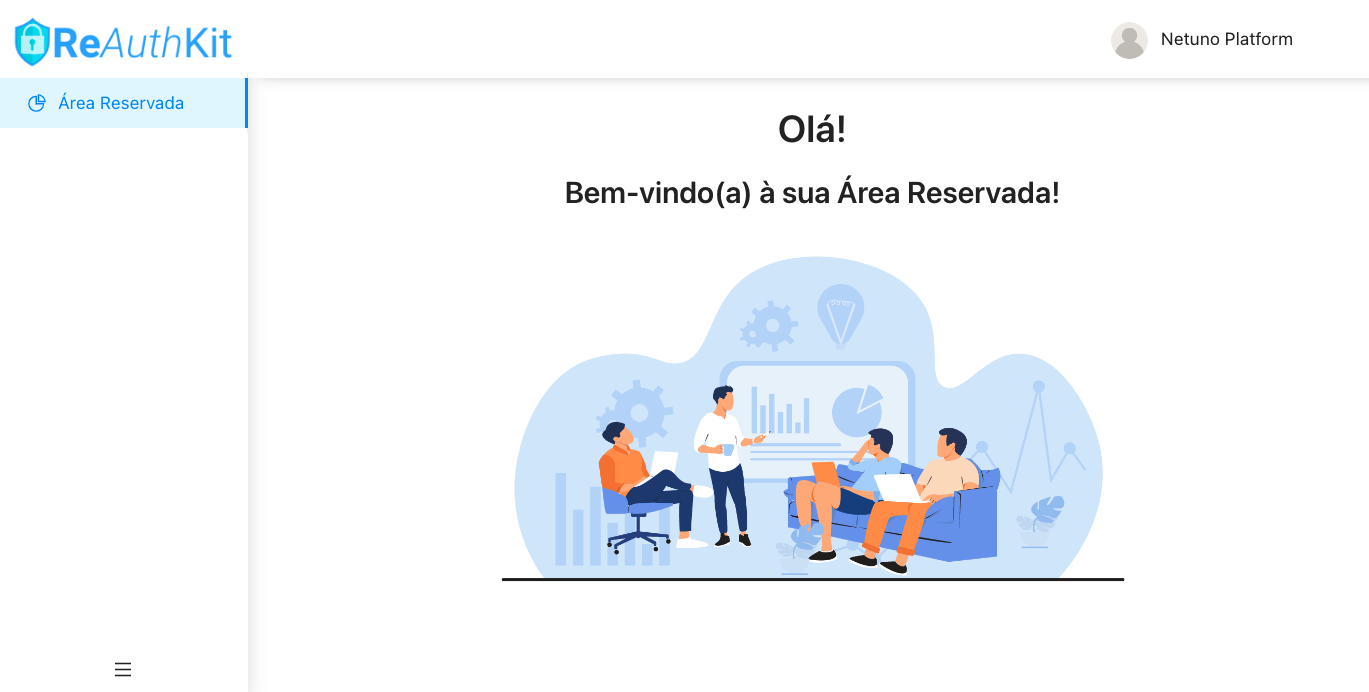
| Reserved Area | Profile + Avatar 1 |
|---|---|
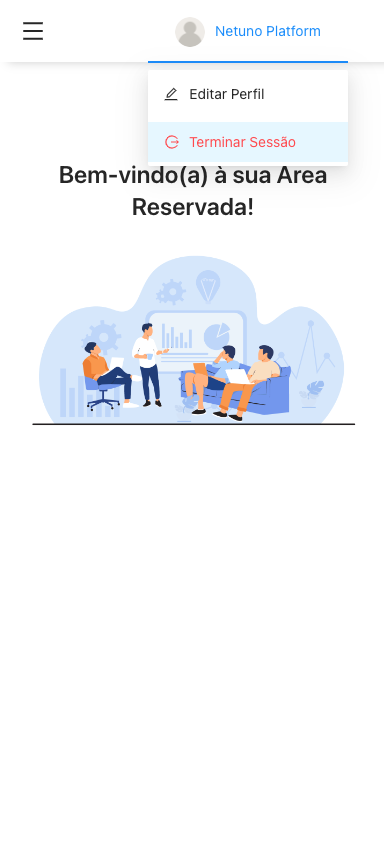 |
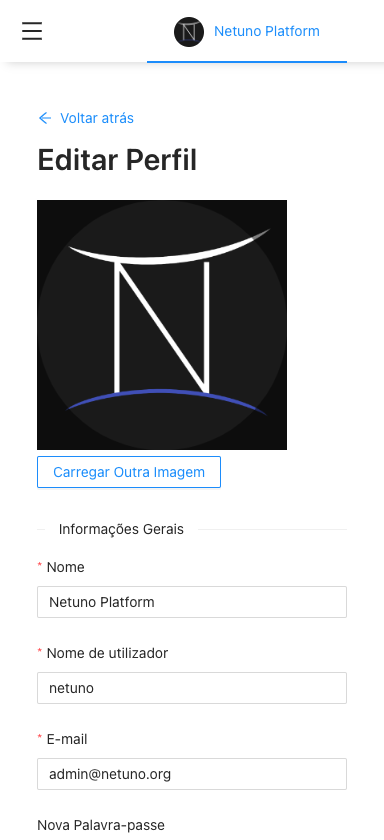 |
| Profile + Avatar 2 | Profile Edit |
|---|---|
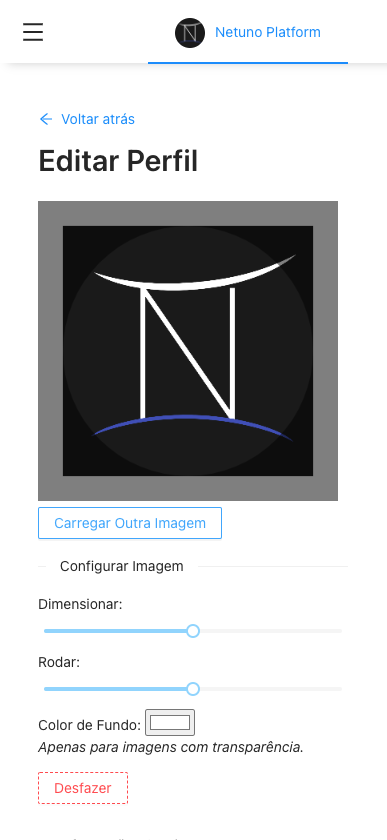 |
 |