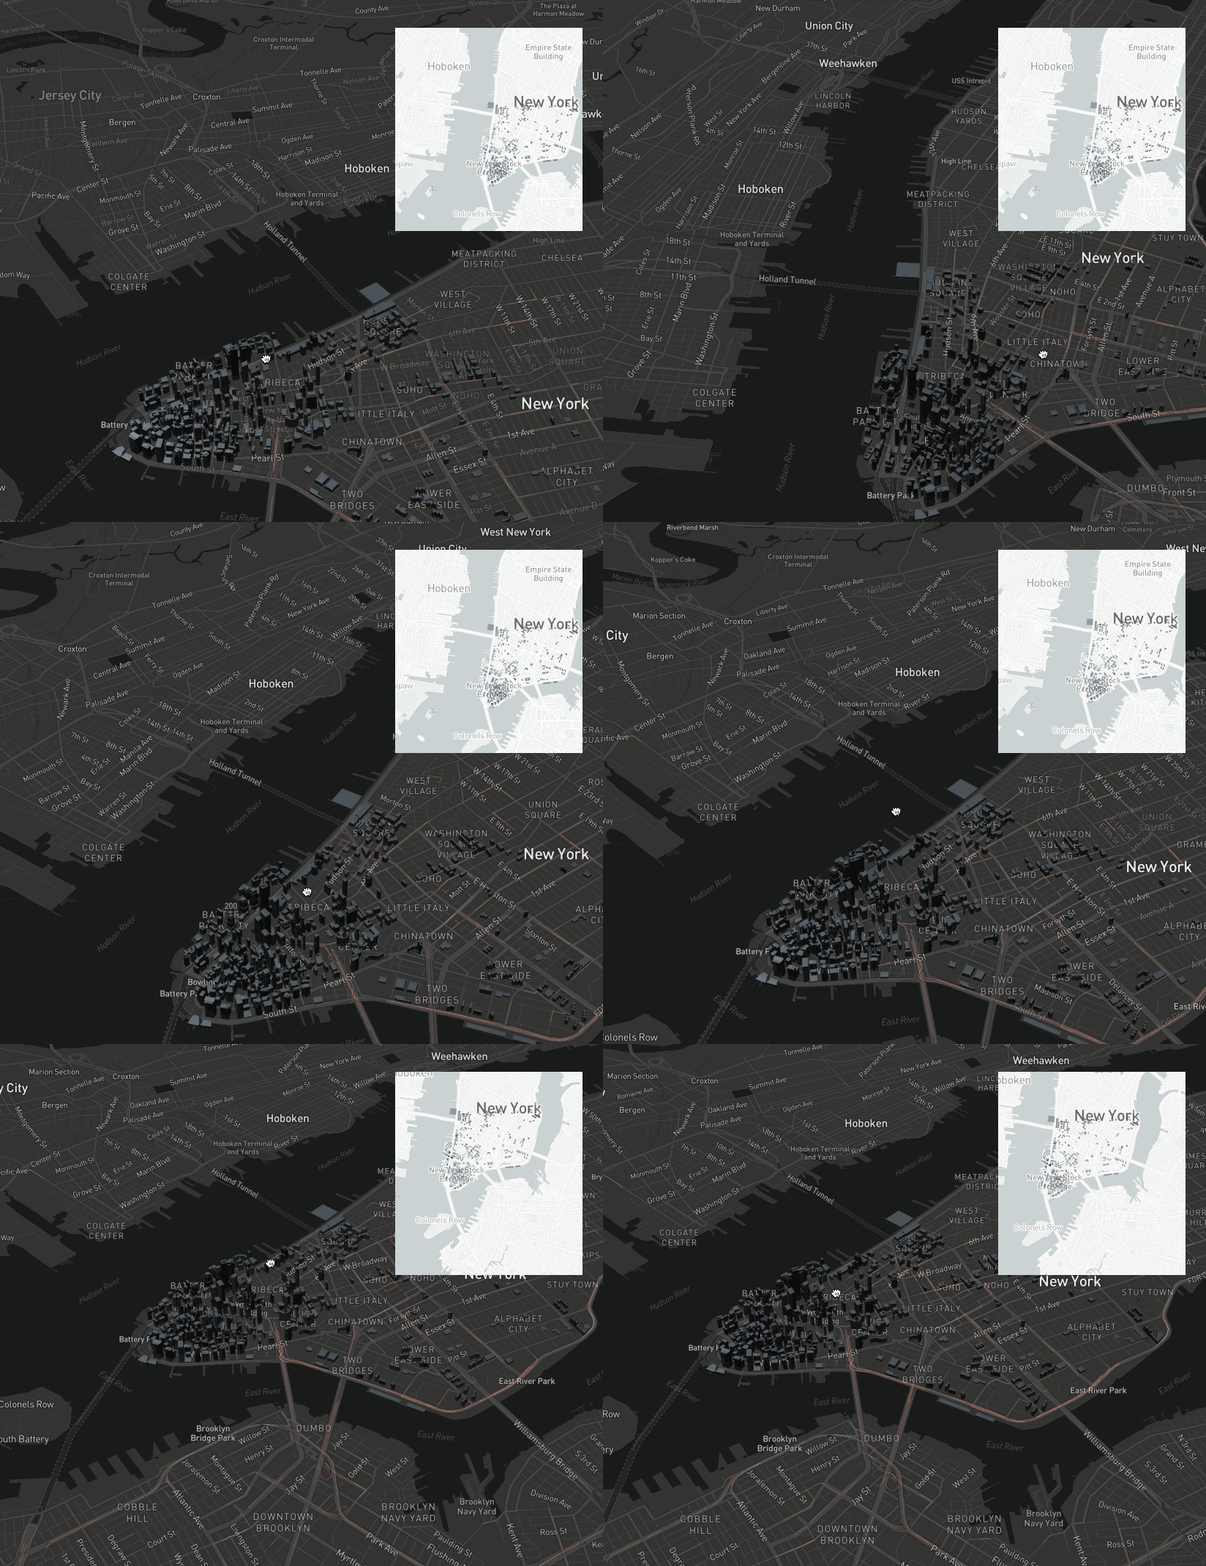
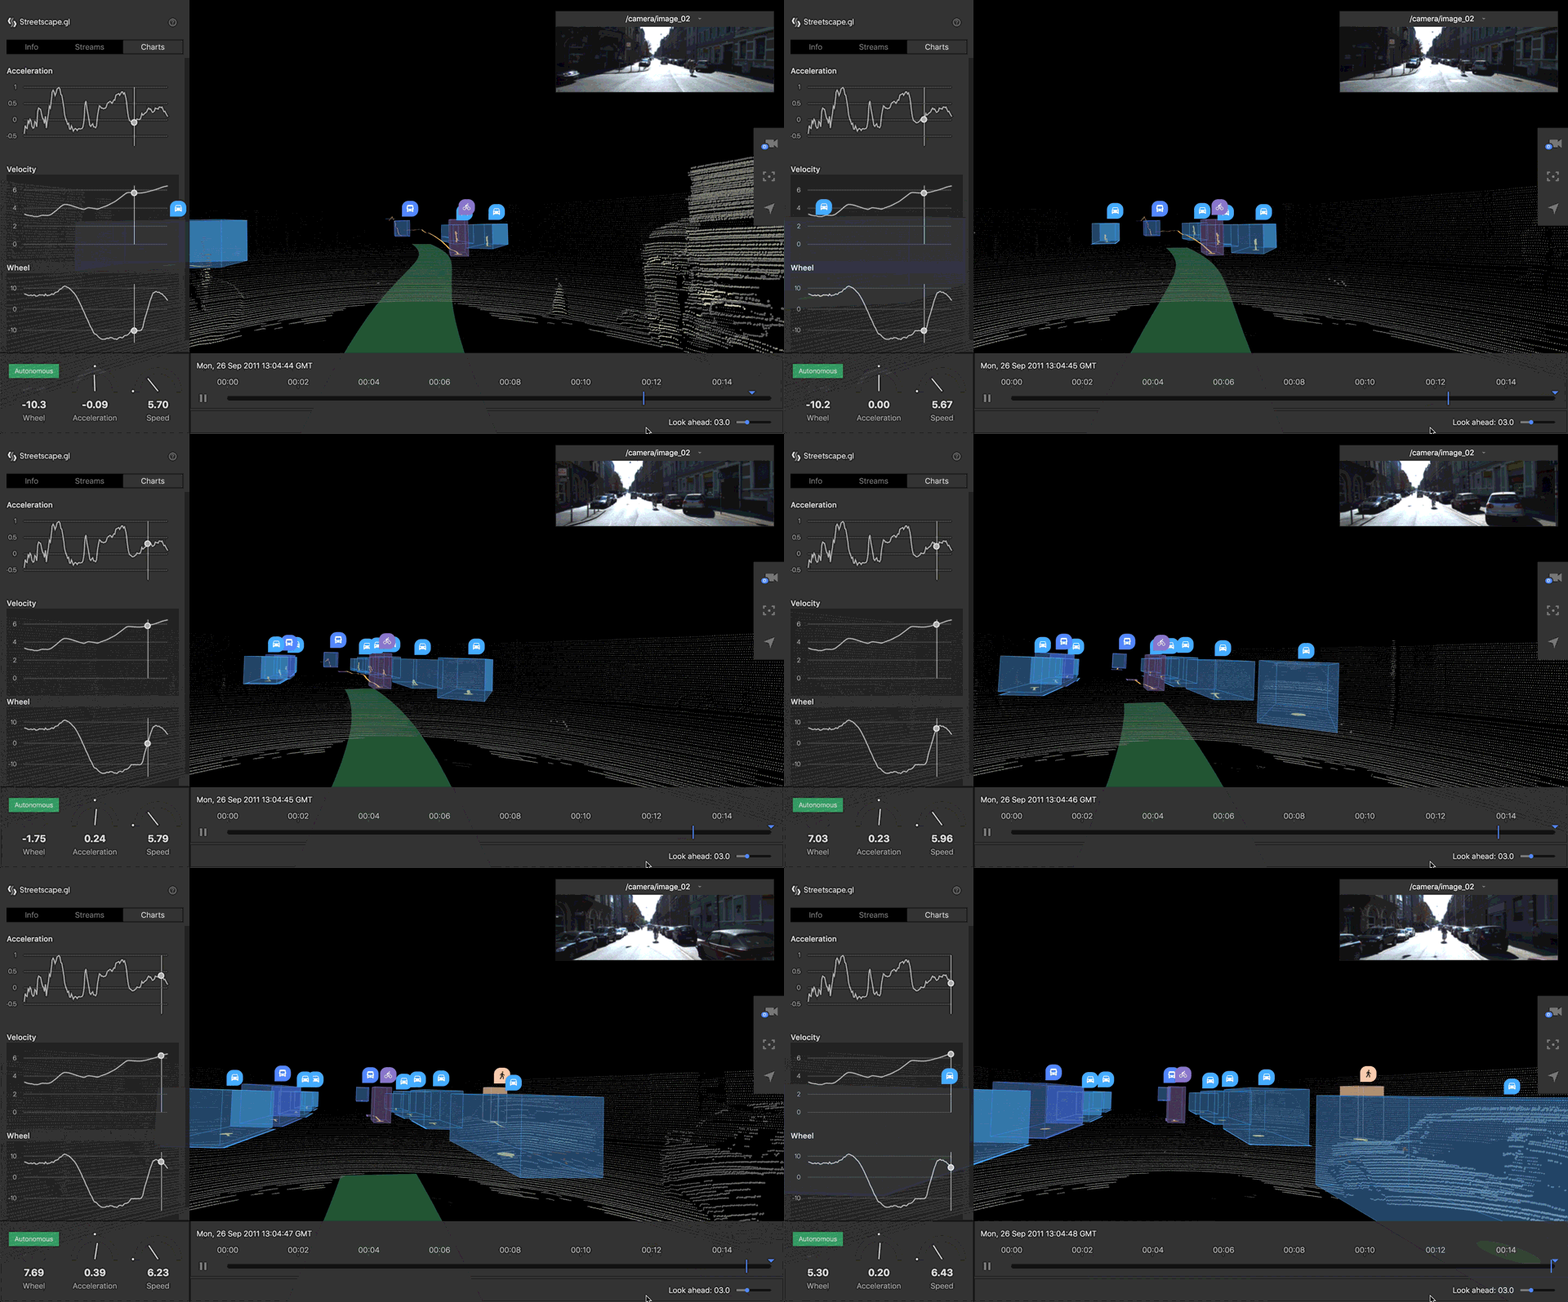
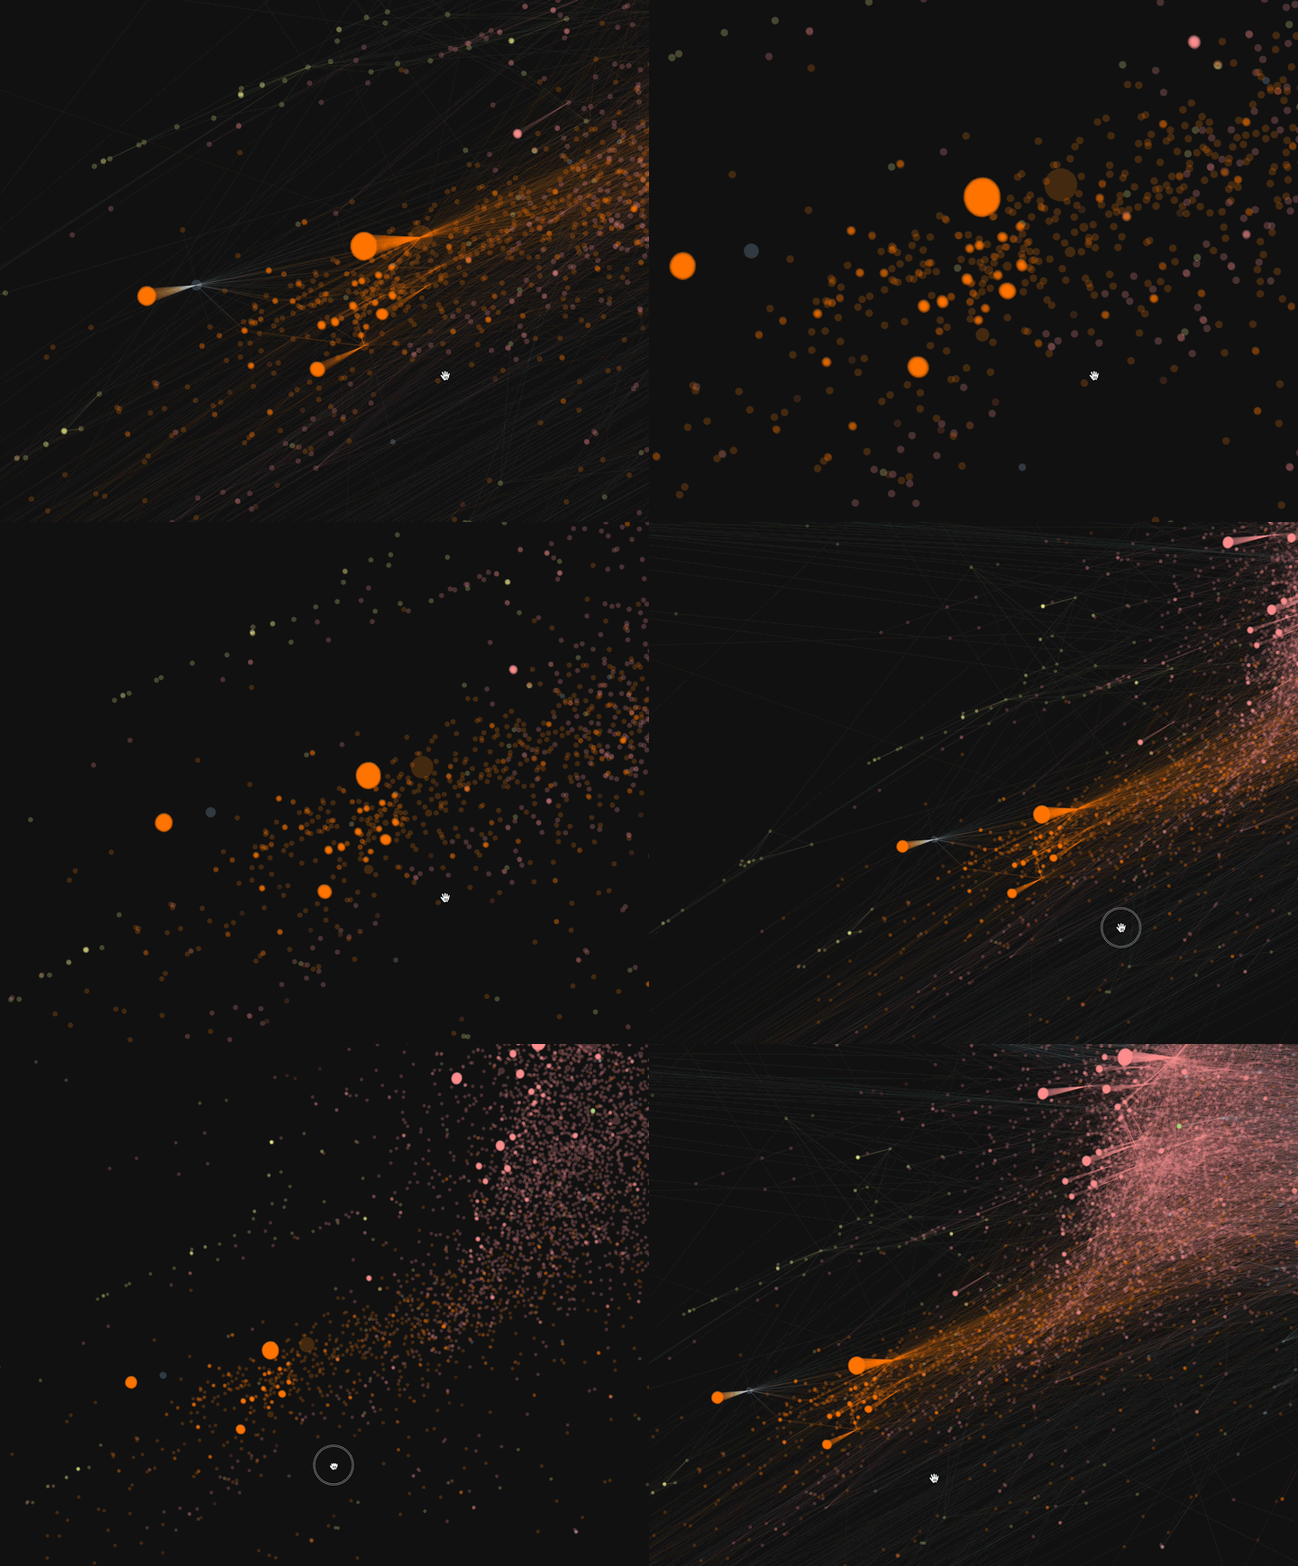
The same data can be drawn differently to screen based on what projection method is used. deck.gl's view system defines how one or more cameras should be set up to look at your data objects. The default view used in deck.gl is the MapView, which implements the Web Meractor projection.
The view system is designed to be flexible and composable and can handle many different configurations such as side-by-side views, overlapping views etc. If you plan to work with non-geospatial data, or show more than a single standard viewport, it may be worth spending some time to get familiar with the View API.
View classes enable applications to specify one or more rectangular viewports and control what should be rendered inside each view.
A View instance defines the following information:
- A unique
id. - The position and extent of the view on the canvas:
x,y,width, andheight. - Certain camera parameters specifying how your data should be projected into this view, e.g. field of view, near/far planes, perspective vs. orthographic, etc.
- The controller to be used for this view. A controller listens to pointer events and touch gestures, and translates user input into changes in the view state. If enabled, the camera becomes interactive.
To summarize, a View instance wraps the "hard configuration" of a camera. Once defined, it does not need to change frequently.
deck.gl allows multiple views to be specified, allowing the application to divide the screen into multiple similar or different views. These views can be synchronized or separately controlled by the user or the application.
A View instance must be used in combination with a viewState object. As the name suggests, the object describes the state of a View instance. The view state object defines the temporary properties of a view at runtime, like the camera position, orientation, zoom, etc. If the view is interactive, every time the user pans/rotates/zooms, the view state will be updated to reflect the change.
To summarize, a viewState object describes the "real-time properties" of a camera. It may be updated continuously during interaction and/or transition.
A Viewport instance is the camera itself. It is "resolved" from a View instance and its viewState. It handles the mathematical operations such as coordinate projection/unprojection, the calculation of projection matrices, and other GLSL uniforms needed by the shaders.
Whenever viewState updates, the view creates a new viewport under the hood. Typically, the deck.gl user does not need to work with viewports directly. In certain use cases, the JavaScript functions offered by a Viewport instance can be handy for projecting and unprojecting coordinates.
import {Deck, MapView} from '@deck.gl/core';

const deck = new Deck({
  ...
  views: [new MapView()],
  onClick: ({layer, object}) => {
    if (layer) {
      // The viewport is a WebMercatorViewport instance
      const {viewport} = layer.context;
      const {longitude, latitude, zoom} = viewport.fitBounds([
        [object.minLng, object.minLat],
        [object.maxLng, object.maxLat]
      ]);
      // Zoom to the object
      deck.setProps({
        viewState: {longitude, latitude, zoom}
      });
    }
  }
});deck.gl offers a set of View classes that package the camera and controller logic that you need to visualize and interact with your data. You may choose one or multiple View classes based on the type of data (e.g. geospatial, 2D chart) and the desired perspective (top down, first-person, etc).
Note that the set of view state parameters that will be used varies between Views. Consult each view class' documentation for a full list of parameters supported.
| View Class | Use Case | Status | Description |
|---|---|---|---|
View |
The base view has to be supplied with raw view and projection matrices. It is typically only instantiated directly if the application needs to work with views that have been supplied from external sources, such as the WebVR API. | ||
MapView (default) |
geospatial | full support | This class renders data using the Web Meractor projection and is designed to match an external base map library such as mapbox-gl or Google Maps. |
FirstPersonView |
geospatial | full support | The camera is positioned in a provided geolocation and looks in a provided direction, similar to that of a first-person game. |
OrthographicView |
info-vis (2D) | full support | The camera looks at a target point from top-down. Does not rotate. |
OrbitView |
info-vis (3D) | full support | The camera looks at a target point from a provided direction. Rotates around the target. |
If the views prop of Deck is not specified, deck.gl will automatically create a MapView that fills the whole canvas, so basic geospatial applications often do not have to specify any Views.
If using non-geospatial data, you will need to manually create a view that is appropriate for info-vis, e.g.:
import {Deck, OrthographicView} from '@deck.gl/core';

const deck = new Deck({
  ...
  views: new OrthographicView()
});If initialViewState is provided, deck.gl automatically tracks the view states of interactive views (used as a "stateful" component):
import {Deck, MapView} from '@deck.gl/core';

const deck = new Deck({
  ...
  views: new MapView(),
  controller: true, // applies to the first view
  initialViewState: {
    longitude: -122.4,
    latitude: 37.8,
    zoom: 10,
    pitch: 0,
    bearing: 0
  }
});
If you need to manage and manipulate the view state outside of deck.gl, you may do so by providing an external viewState prop (used as a "stateless" component). In this case, you also need to listen to the onViewStateChange callback and update the viewState object yourself:
import React from 'react';
import DeckGL from '@deck.gl/react';
import {OrthographicView} from '@deck.gl/core';

const INITIAL_VIEW_STATE = {
  target: [0, 0, 0],
  rotationX: 0,
  rotationOrbit: 0,
  zoom: 1
};

class App extends React.Component {
  state = {
    // Default view state
    viewState: INITIAL_VIEW_STATE
  };

  _onViewStateChange = ({viewState}) => {
    // Manipulate view state
    viewState.target[0] = Math.min(viewState.target[0], 10);
    // Save the view state and trigger rerender
    this.setState({viewState});
  };

  _reset = () => {
    this.setState({
      viewState: INITIAL_VIEW_STATE
    });
  }

  render() {
    return <DeckGL
      ...
      views={new OrthographicView()}
      controller={true}
      viewState={this.state.viewState}
      onViewStateChange={this._onViewStateChange}
    />;
  }
}deck.gl also supports multiple views by taking a views prop that is a list of View instances.
Views allow the application to specify the position and extent of the viewport (i.e. the target rendering area on the screen) with x (left), y (top), width and height. These can be specified in either numbers or CSS-like percentage strings (e.g. width: '50%'), which is evaluated at runtime when the canvas resizes.
Common examples in 3D applications that render a 3D scene multiple times with different "cameras":
- To show views from multiple viewpoints (cameras), e.g. in a split screen setup.
- To show a detail view (e.g, first person), and an overlaid, smaller "map" view (e.g. third person or top down, zoomed out to show where the primary viewpoint is).
- To support stereoscopic rendering (e.g. VR), where left and right views are needed, providing the necessary parallax between left and right eye.
- For rendering into offscreen framebuffers, which can then be used for e.g. advanced visual effects, screen shot solutions, overlays onto DOM elements outside of the primary deck.gl canvas (e.g. a video).
Example of using with the WebVR API:
import {Deck, View} from '@deck.gl/core';

const deck = new Deck({
  ...
  views: [
    new View({
      id: 'left-eye',
      width: '50%',
      viewMatrix: leftViewMatrix,
      projectionMatrix: leftProjectionMatrix
    }),
    new View({
      id: 'right-eye',
      x: '50%',
      width: '50%',
      viewMatrix: rightViewMatrix,
      projectionMatrix: rightProjectionMatrix
    })
  ]
});
Views can also overlap, (e.g. having a small "mini" map in the bottom middle of the screen overlaid over the main view)
import {Deck, FirstPersonView, MapView} from '@deck.gl/core';

const deck = new Deck({
  ...
  views: [
    new FirstPersonView({
      id: 'first-person',
      controller: true
    }),
    new MapView({
      id: 'mini-map',
      x: '80%',
      y: '80%',
      height: '15%',
      width: '15%',
      clear: true,
      controller: true
    })
  ]
});When using multiple views, each View can either have its own independent view state, or share the same view state as other views. To define the view state of a specific view, add a key to the viewState object that matches its view id:
import React from 'react';
import DeckGL from '@deck.gl/react';
import {FirstPersonView, MapView} from '@deck.gl/core';

const INITIAL_VIEW_STATE = {
  longitude: -122.4,
  latitude: 37.8,
  pitch: 0,
  bearing: 0,
  zoom: 10
};

class App extends React.Component {
  state = {
    // Default view state
    viewStates: INITIAL_VIEW_STATE,
  };

  _onViewStateChange = ({viewId, viewState}) => {
    const viewStates = {...this.state.viewStates};

    // Update a single view
    viewStates[viewId] = viewState;
    // Or update both
    viewStates['first-person'] = viewState;
    viewStates.minimap = {...viewState, pitch: 0};

    // Save the view state and trigger rerender
    this.setState({viewStates});
  };

  render() {
    return <DeckGL
      ...
      views={views: [
        new FirstPersonView({id: 'first-person', controller: true}),
        new MapView({id: 'mini-map', ..., controller: true}})
      ]}
      viewState={this.state.viewStates}
      onViewStateChange={this._onViewStateChange}
    />;
  }
}By default, all visible layers are rendered into all the views. This may not be the case if certain layers are designed to go into one particular view.
The Deck class' layerFilter prop has access to information of the view via the viewport argument. It can be used to determine which layers to draw in which view:
import {Deck, FirstPersonView, MapView} from '@deck.gl/core';
import {MeshLayer, GeoJsonLayer} from '@deck.gl/layers';

function layerFilter({layer, viewport}) {
  if (viewport.id === 'first-person' && layer.id === 'car') {
    // Do not draw the car layer in the first person view
    return false;
  }
  return true;
}

const deck = new Deck({
  ...
  layerFilter,
  layers: [
    new MeshLayer({id: 'car', ...}),
    new GeoJsonLayer({id: 'streets', ...})
  ],
  views: [
    new FirstPersonView({id: 'first-person', ...}),
    new MapView({id: 'mini-map', ...})
  ]
});deck.gl's built-in picking support extends naturally to multiple viewports. The picking process renders all viewports.
Note that the pickInfo object does not contain a viewport reference, so you will not be able to tell which viewport was used to pick an object.
Similar to the above example, you may control which layer is pickable in which view by supplying a layerFilter:
function layerFilter({layer, viewport, isPicking}) {
  if (isPicking && viewport.id === 'first-person' && layer.id === 'car') {
    // Do not pick the car layer in the first person view
    return false;
  }
  return true;
}This feature is currently only implemented in the React version of deck.gl.
One of the core features of deck.gl is enabling perfectly synchronized visualization overlays on top other React components and DOM elements.
When using a single View, the child components of DeckGL are positioned to fill the entire canvas. In this example the StaticMap component gets automatically positioned under the default MapView:
import {StaticMap} from 'react-map-gl';
import DeckGL from '@deck.gl/react';

function App() {
  return (
    <DeckGL initialViewState={...} layers={...} controller={true}>
      <StaticMap />
    </DeckGL>
  );
}
When using multiple views, you can wrap component(s) in a View tag to align its position and size with a specific view. In the following example, the mapbox component is positioned and stretched to fit the "minimap" view:
import {StaticMap} from 'react-map-gl';
import {View, FirstPersonView, MapView} from '@deck.gl/core';
import DeckGL from '@deck.gl/react';

const views = [
  new FirstPersonView({id: 'first-person', ...}),
  new MapView({id: 'minimap', ...})
];

function App() {
  return (
    <DeckGL views={views} initialViewState={...} layers={...} >
      <View id="minimap">
        <StaticMap />
      </View>
    </DeckGL>
  );
}views and viewState props are deep compared to determine if anything changed, so there is little performance cost if new view instances are constructed each render.
When views/viewState do change, new viewports are constructed. At this point, layers can get a chance to update their state, with the changeFlags argument containing viewportChanged: true. During interaction and transition, this may happen many times a second, raising performance concern if many layers need to recompute their states. By default, most layers ignore viewport changes, so the updateState lifecycle method do not get called if nothing else change.
However, some layers do need to update state when viewport changes (e.g. the TileLayer). To make sure updateState is called, the layer needs to override shouldUpdateState.
Read more in Layer Lifecycles.


