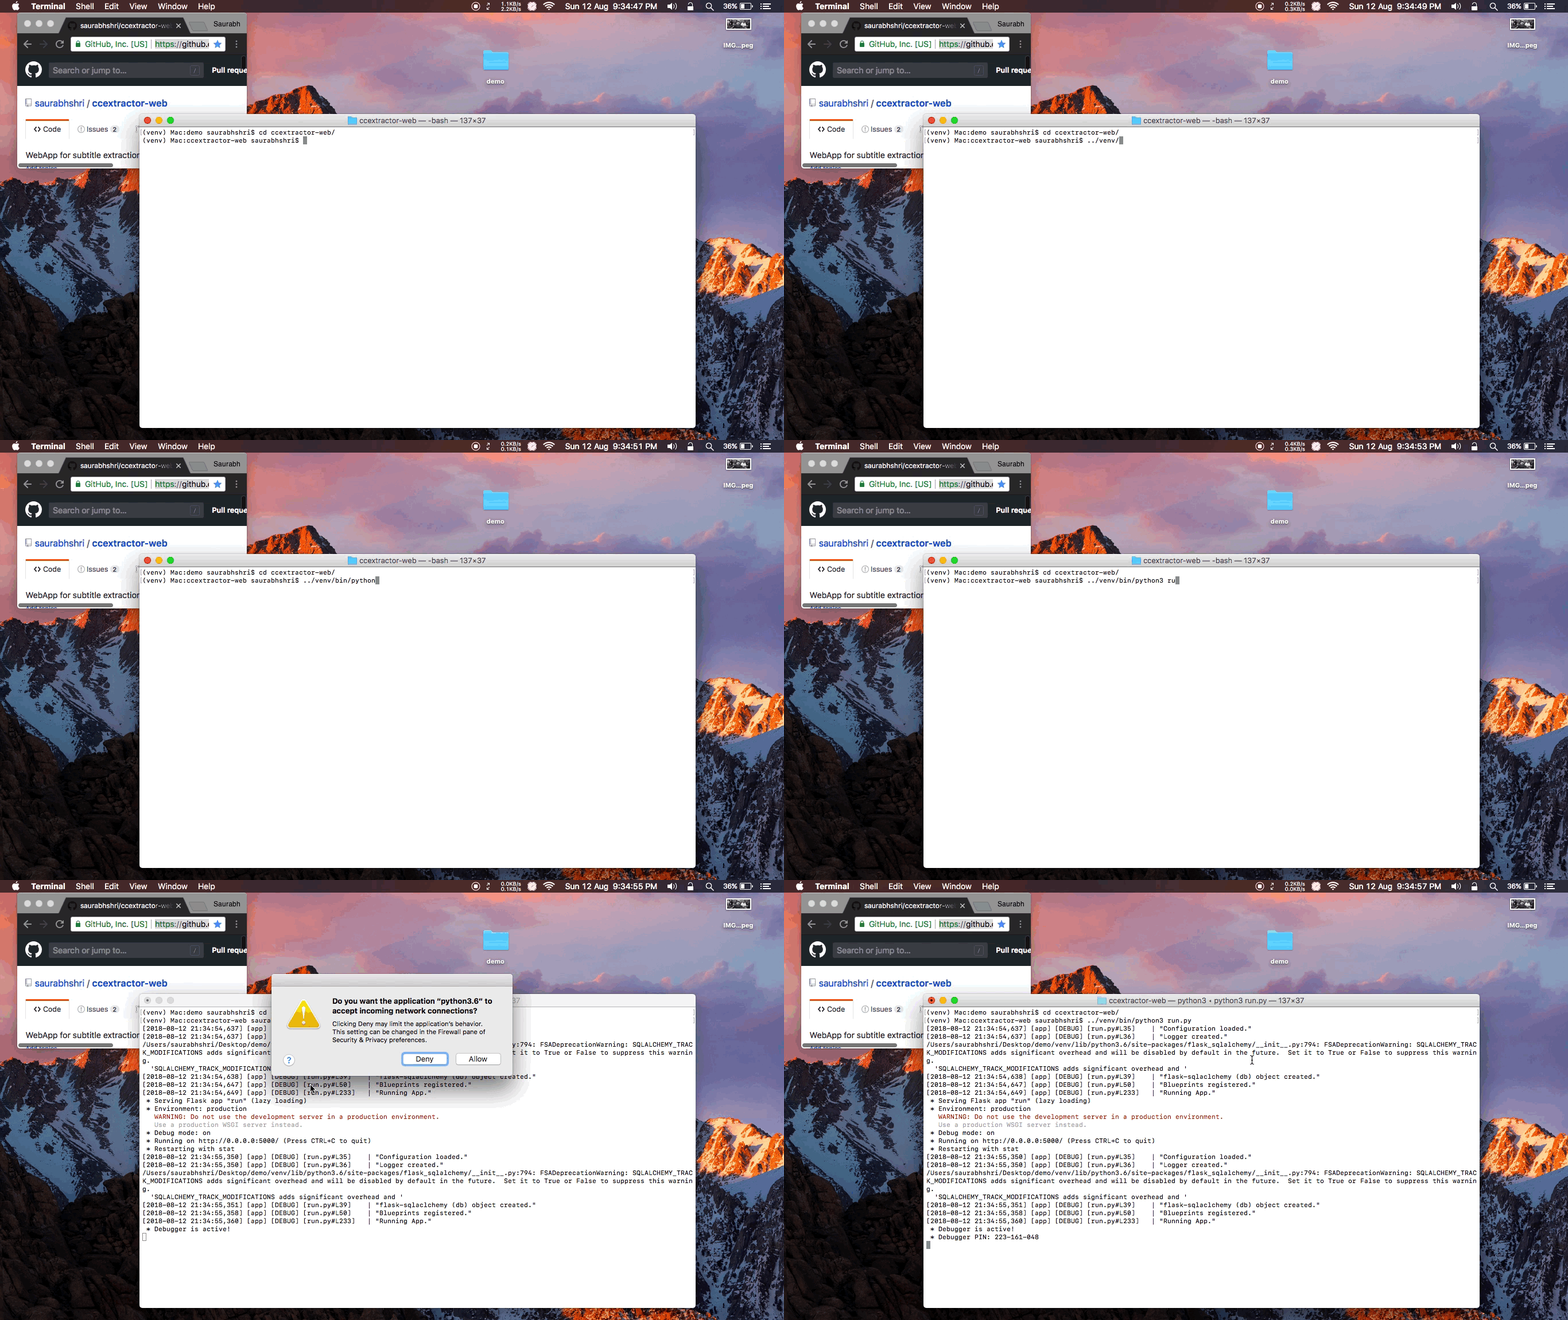
-
Clone the repository from Github using :
git clone https://www.github.com/saurabhshri/ccextractor-web.git
-
Make sure you have all the dependencies listed in
requirements.txt(located in root directory) installed :pip3 install -r requirements.txt
-
Fill the configuration files. They contain the necessary settings, preferences and the important information required for the functioning of the app. You’ll find description of each variable in the config file itself. Feel free to open an issue in case more information is needed. There are two configuration files :
-
config.py: This is a general config file containing variables required for functioning of the application. -
instance/config.py: This is a secret config file, meaning the config variables in this file contain sensitive information and should not reach git or be exposed.
-
-
Run the application :
python3 run.py
(Full video : https://youtu.be/xKtdaOmiILc)
Configured using ENABLE_LOCAL_MODE. Set it to`True` for Local Mode and False for Public Mode.
-
To use when deploying the app on local/private server for personal/single/isolated use.
-
By default logs in as this admin user.
-
All the operations (upload, processing, deletion etc. are done through this account.
-
There still exist the capability to create (and login as) other users.
While there are checks for the validity of uploaded files, it’s possible that user uploads a malicious file, and compromise running server. To sandbox executing user uploaded files, there’s a buil-in KVM support.
-
KVM with the desired platform.
-
User should be able to auto-login on boot. Also, set power settings to no sleep.
-
CCExtractor executable and network access present in KVM.
-
NFS mount with the host server to read job files.
Here are link to some helpful guides that may help you fullfil the pre-requisites
-
KVM
-
NFS Mount
To use the app with KVM support, enable it by setting ENABLE_KVM to True. Fill the config file with the relevant KVM names.
