Learn how to fine-tune a GPT model using Azure OpenAI Studio - UI Dashboard.
- Learn the what, why, and when to use fine-tuning.
- An Azure subscription.
- Access to Azure OpenAI Service.
- An Azure OpenAI resource created in the supported fine-tuning region (e.g. Sweden Central).
- GPT Models that support fine-tuning so far: gpt-35-turbo-0613 and gpt-35-turbo-1106.
- Prepare Training and Validation datasets:
- at least 50 high-quality samples (preferably 1,000s) are required.
- must be formatted in the JSON Lines (JSONL) document with UTF-8 encoding.
You can check the MS Learn document here for more details.
- Open Azure OpenAI Studio at https://oai.azure.com/ and sign in with credentials that have access to your Azure OpenAI resource. During the sign-in workflow, select the appropriate directory, Azure subscription, and Azure OpenAI resource.
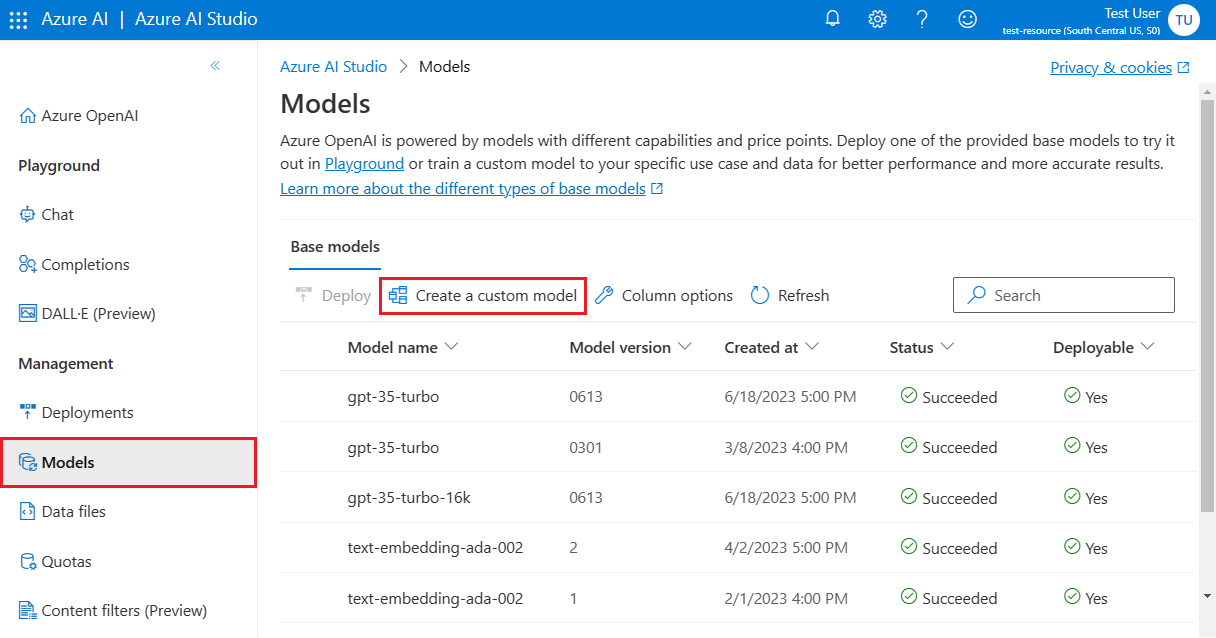
- In Azure OpenAI Studio, browse to the Management > Models pane, and select Create a custom model.
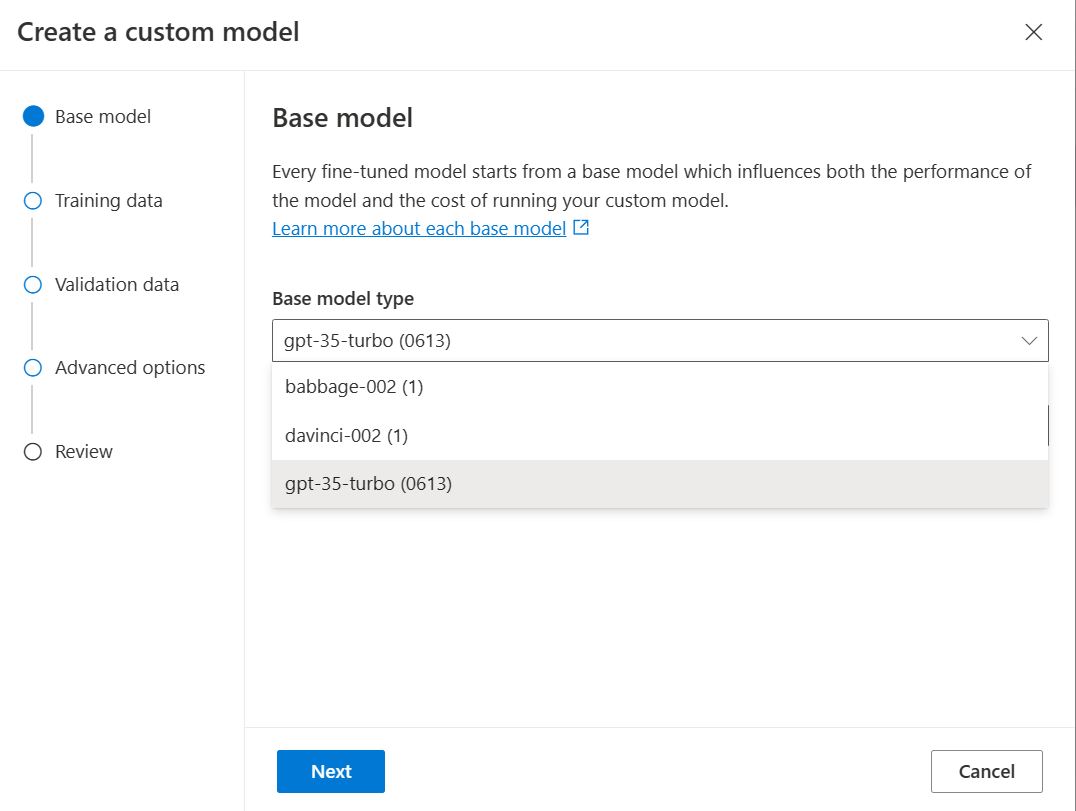
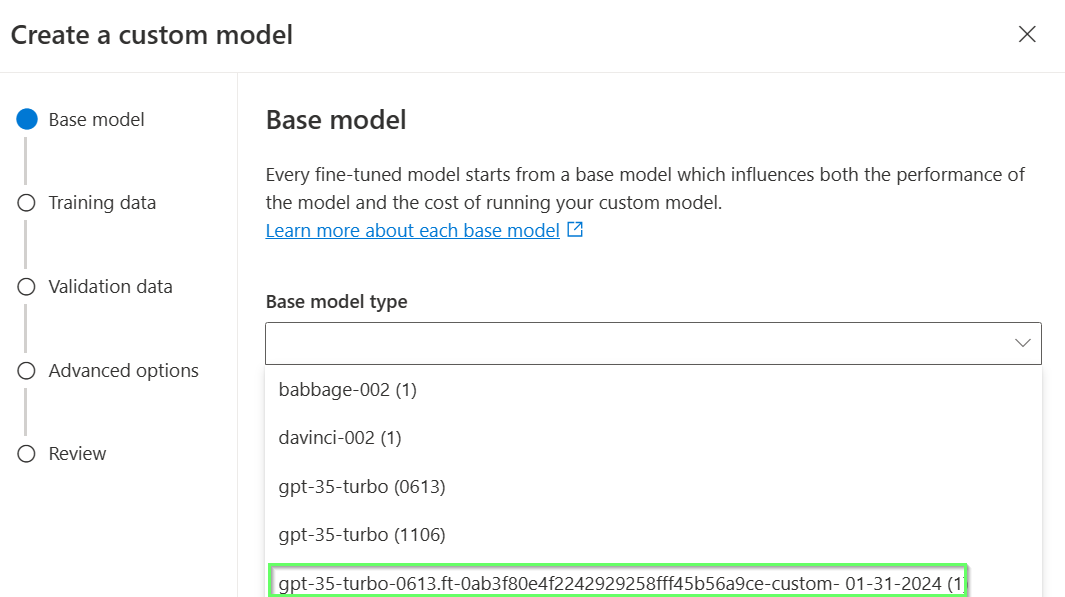
The first step in creating a custom model is to choose a base model.
The Base model pane lets you choose a base model to use for your custom model. Select the base model from the Base model type dropdown, and then select Next to continue.
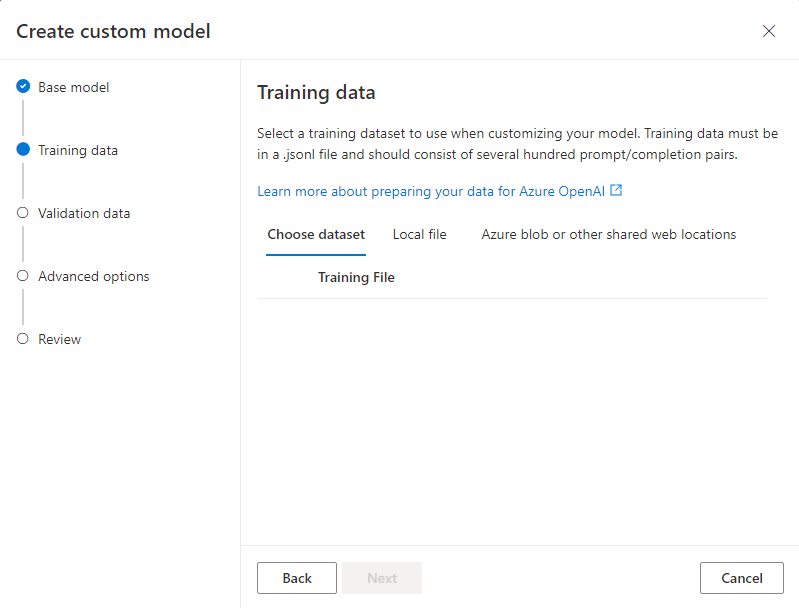
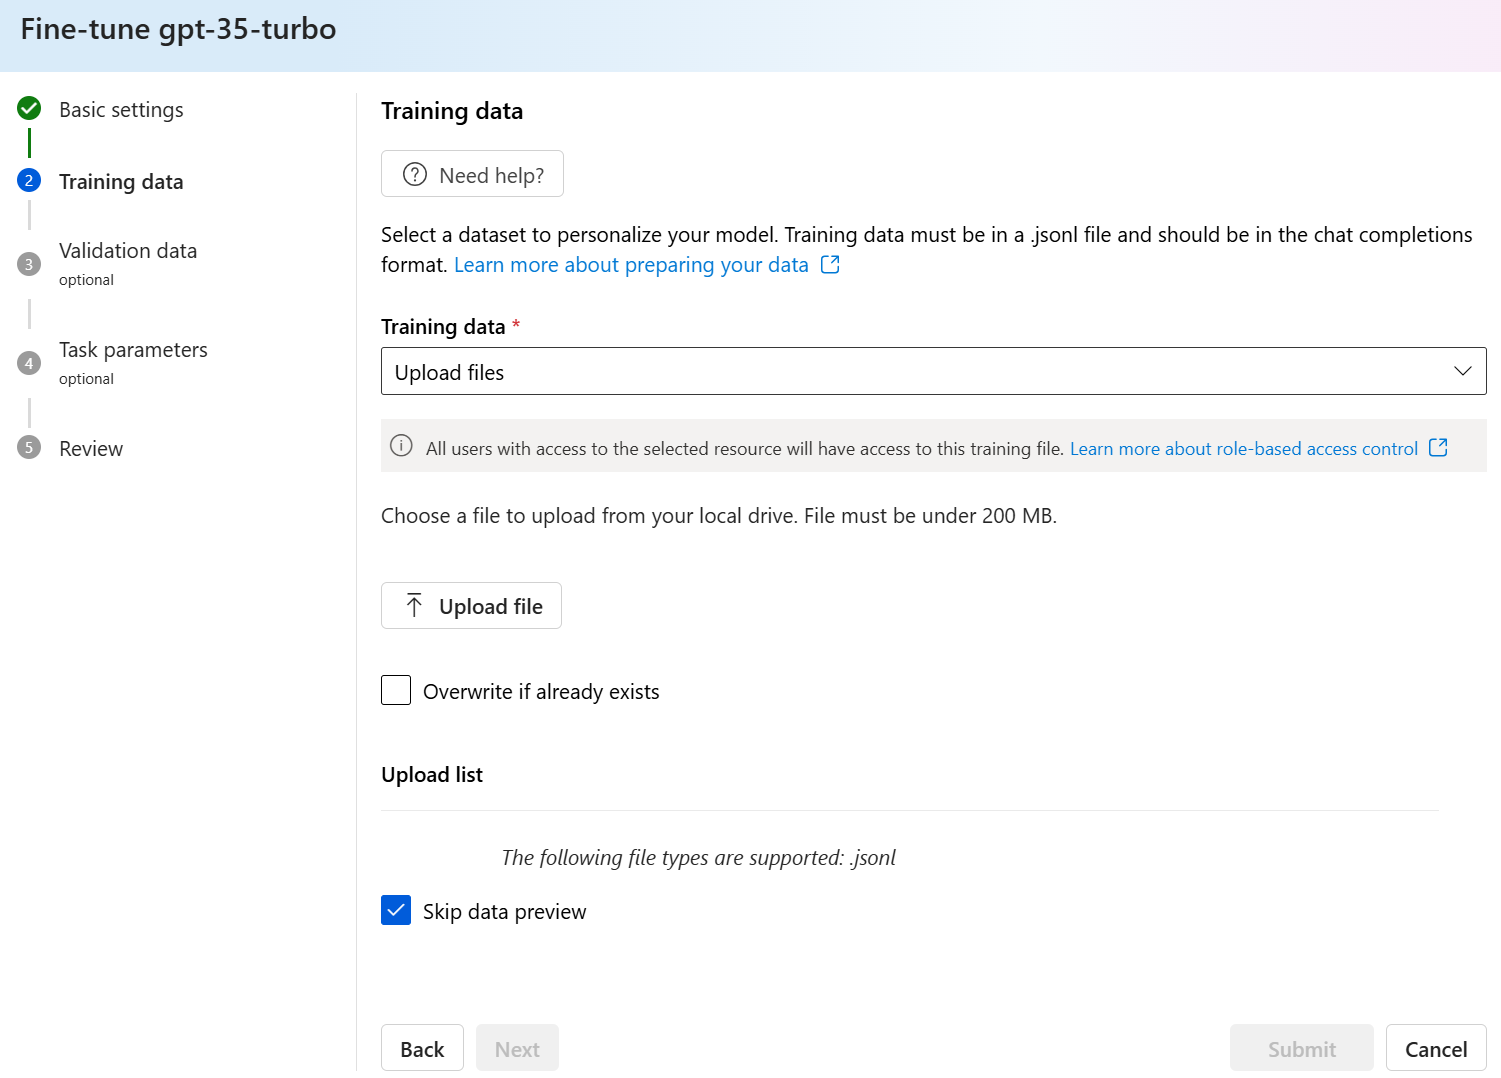
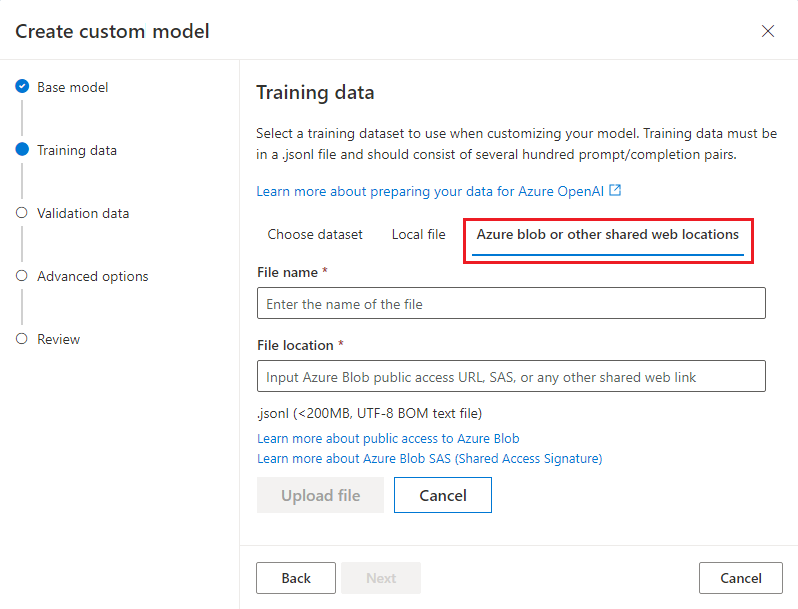
The next step is to choose your training data either from the previously uploaded one or by uploading a new one.
To upload a new training data, you can use one of the following options:
- Select Local file to upload training data from a local file.
- Select Azure blob or other shared web locations to import training data from Azure Blob or another shared web location.
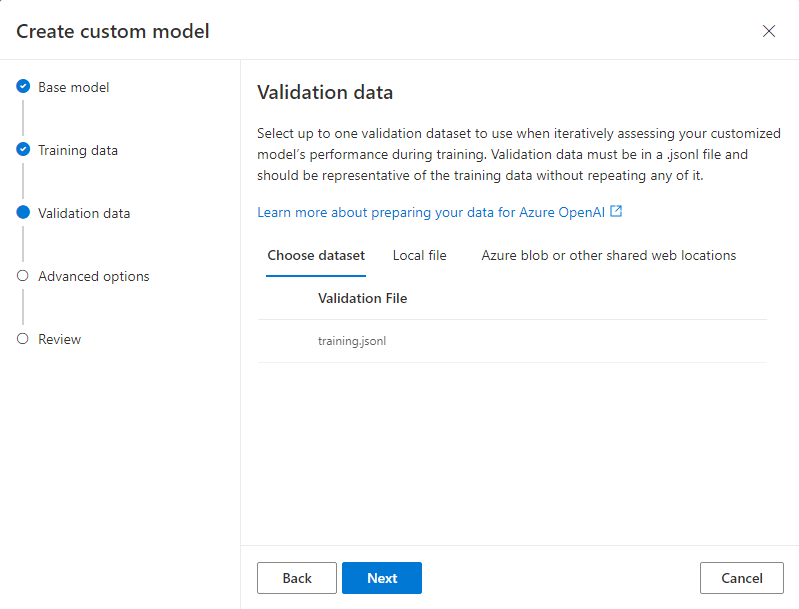
You can choose your validation data by following the similar pattern as you upload your training data.
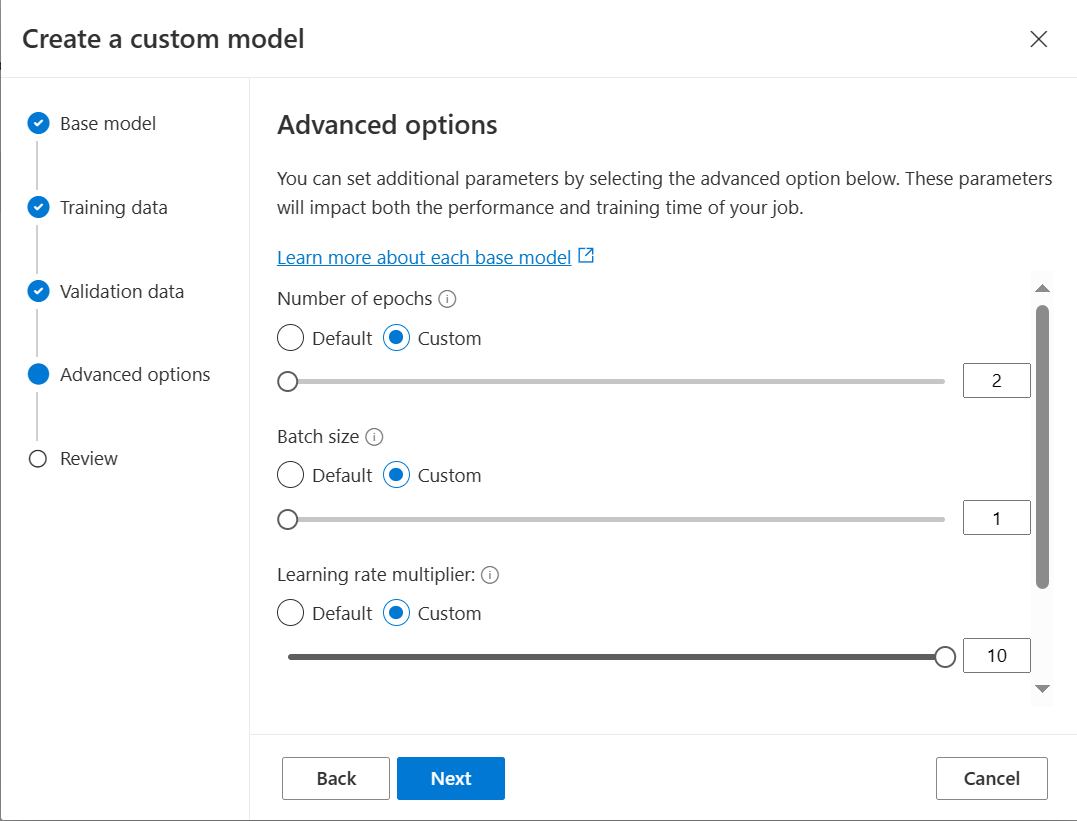
Select Default to use the default values for the fine-tuning job, or select Advanced to display and edit the hyperparameter values.
One can refer to the MS Learn document here for a detailed explanation on key tun-able hyperparameters.
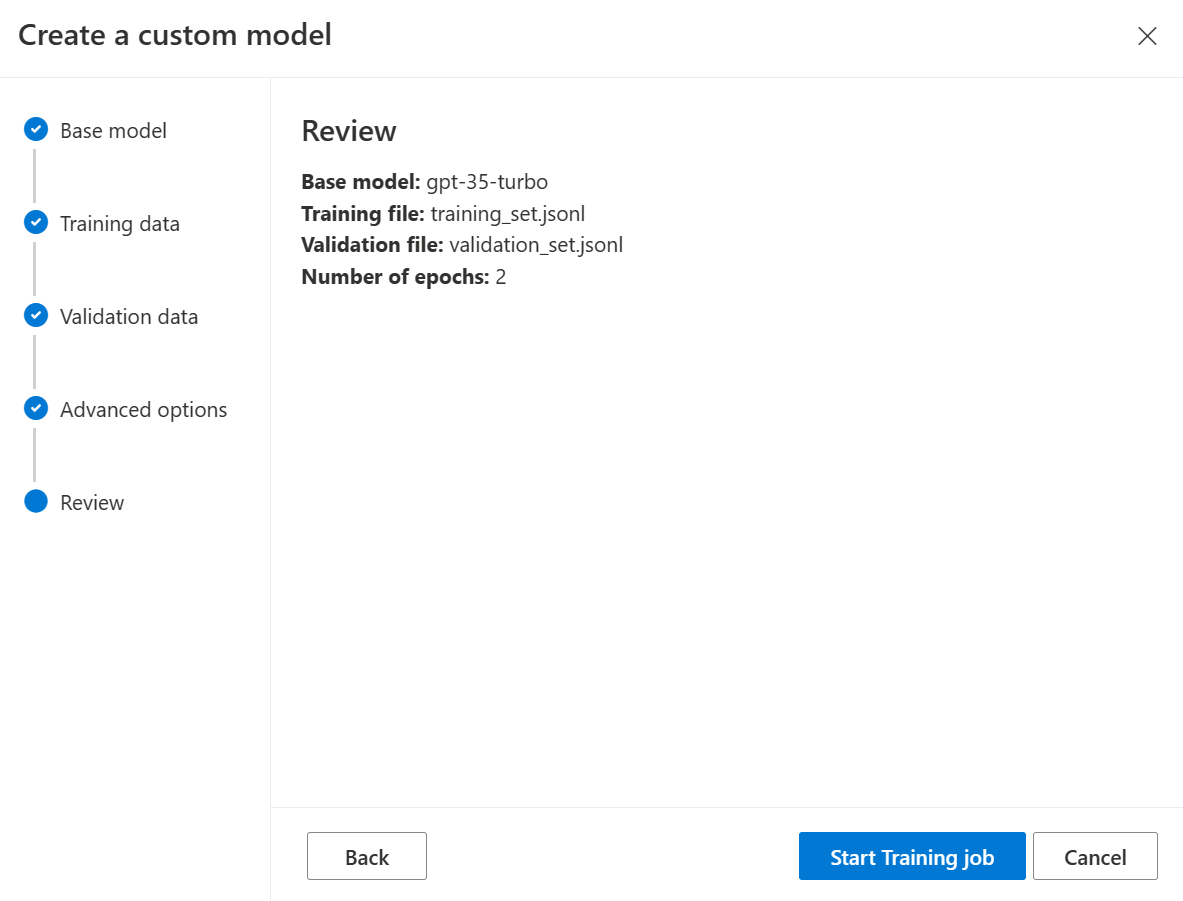
If you're ready to train your model, select Start Training job to start the fine-tuning job and return to the Models pane.
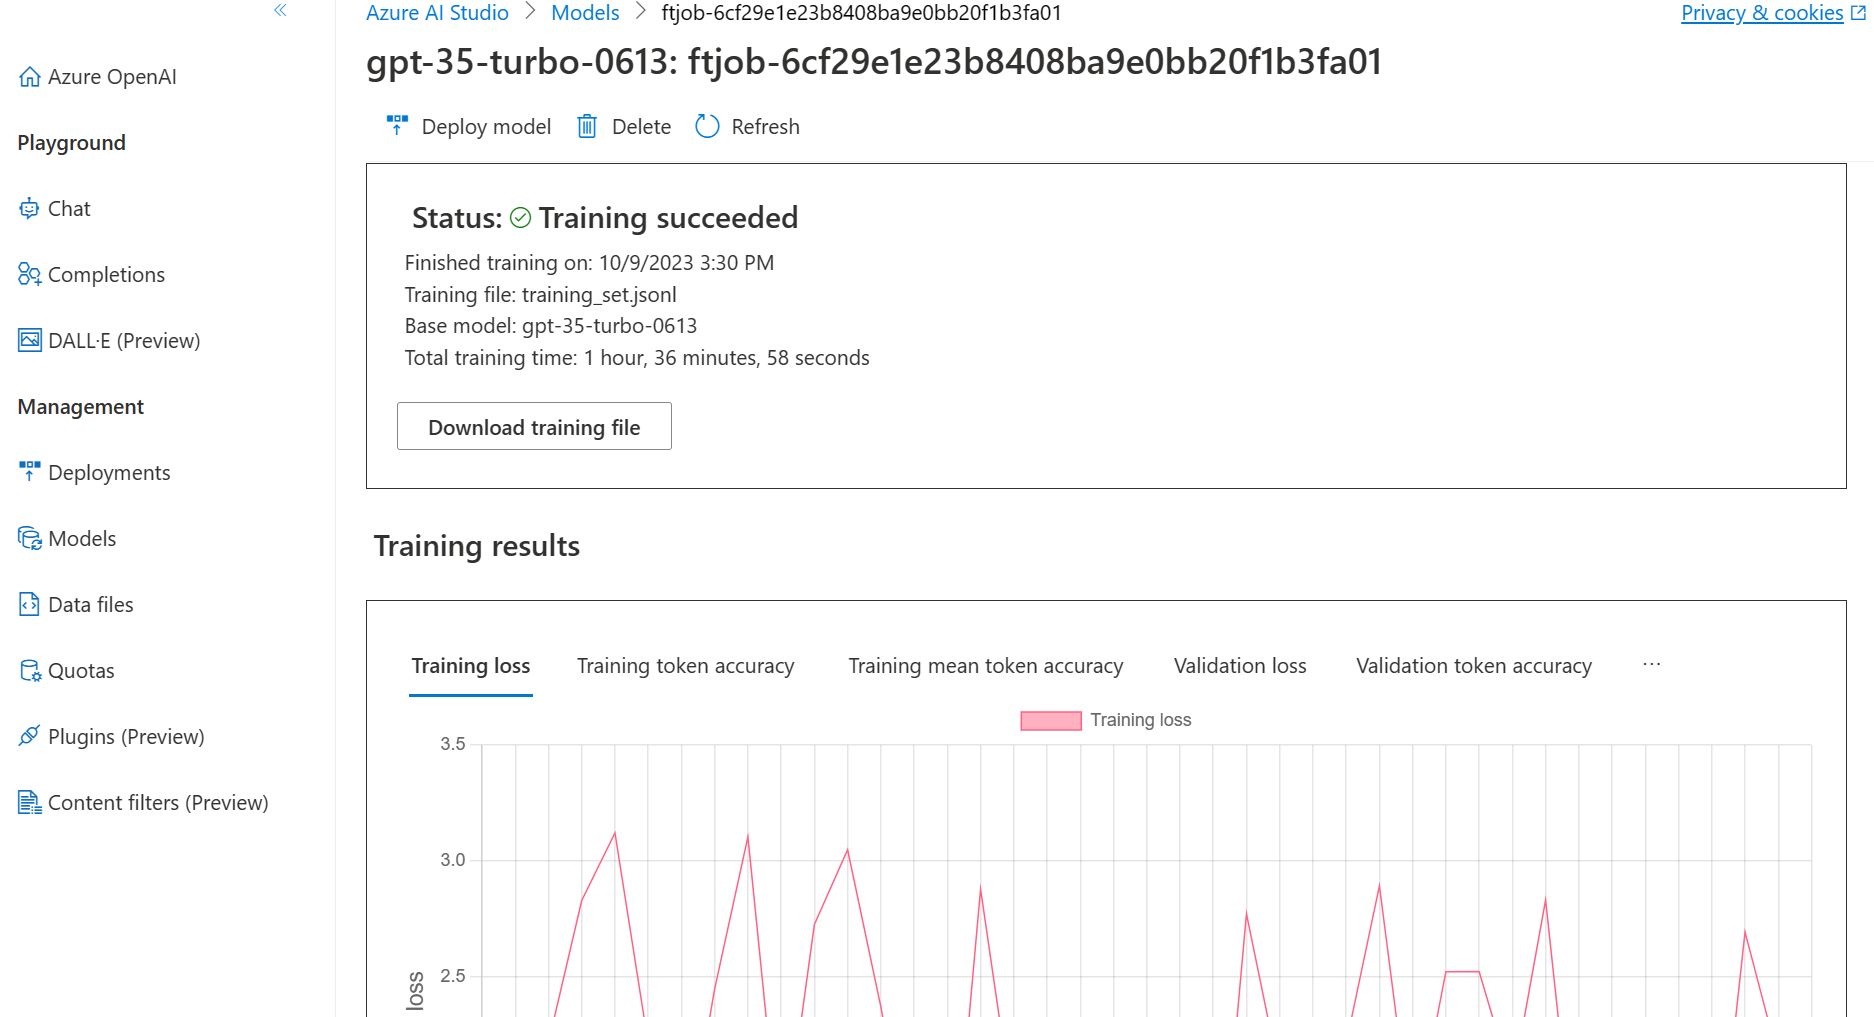
You can check the status of the custom model in the Status column of the Custom models tab.
After you start a fine-tuning job, it can take some time to complete (from minutes to hours).
When the fine-tuning job succeeds, you can deploy the custom model from the Models pane to make it available for use with completion calls.
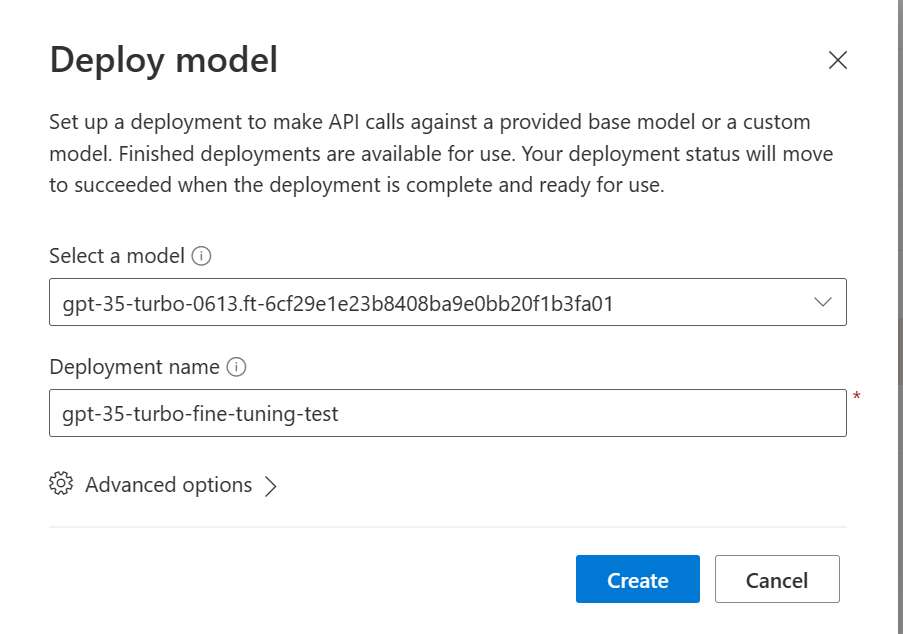
To deploy your custom model, select the custom model to deploy, and then select Deploy model.
The Deploy model dialog box opens.
In the dialog box, enter your Deployment name and then select Create to start the deployment of your custom model.
After your custom model deploys, you can use it like any other deployed model.
You can use the Playgrounds in Azure OpenAI Studio to experiment with your new deployment. You can also use the fine-tuned model by calling the completion API.
When you're done with your custom model, you can delete the deployment and model. You can also delete the training and validation files you uploaded to the service, if needed.
Once you have created a fine-tuned model you may wish to continue to refine the model over time through further fine-tuning. Continuous fine-tuning is the iterative process of selecting an already fine-tuned model as a base model and fine-tuning it further on new sets of training examples.
To perform fine-tuning on a model that you have previously fine-tuned you would use the same process as described in Step 1, but instead of specifying the name of a generic base model, you would specify your already fine-tuned model. A custom fine-tuned model would look like gpt-35-turbo-0613.ft-5fd1918ee65d4cd38a5dcf6835066ed7
