-
Notifications
You must be signed in to change notification settings - Fork 6
Home
Welcome to the East Village Trading Bot Wiki!
Here you will learn how to go from zero to a self-running robot on a web-server. All these steps were done on Windows 10 (version 2004). Most of the steps occur when dealing with the amazon web server. Once you have logged into the server, everything will be in linux commands and will be the same for everyone. If you follow this step by step, exactly, you should be up and running in no time.
To simplify installation, go ahead and register accounts on these four sites. We will be pulling resources from them as we go.
- Register account on https://alpaca.markets -> The exchange we will be trading on. Works with real/paper money
- Register account on https://tradingview.com -> This used to send alerts to the bot based off market strategies
- Register account on https://aws.amazon.com -> We will use this to host our bot and keep it running 24/7
- Register account on https://ngrok.io -> Used to create our static webhook url
- Download FileZilla - https://filezilla-project.org -> Used to easily update our bot in GUI environment
Bookmark these sites and remember your logins as you may need to revisit these sites in the future.
Alright, now for the fun part. You are only 15 minutes away from having your own 24/7 stock trading robot.
Download the East Village Trading Robot folder
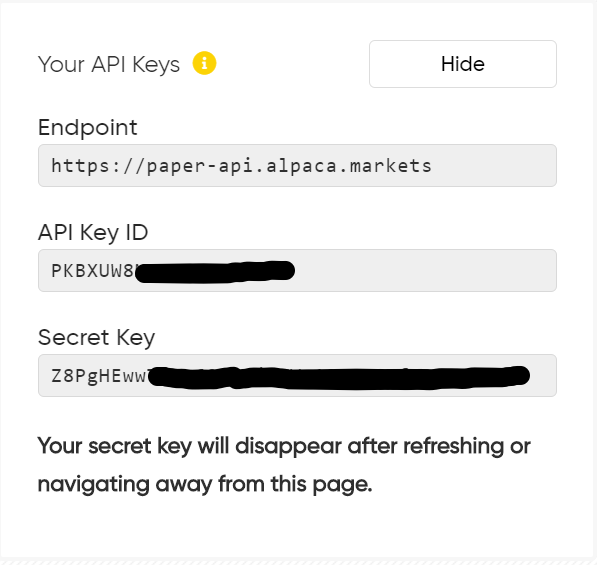
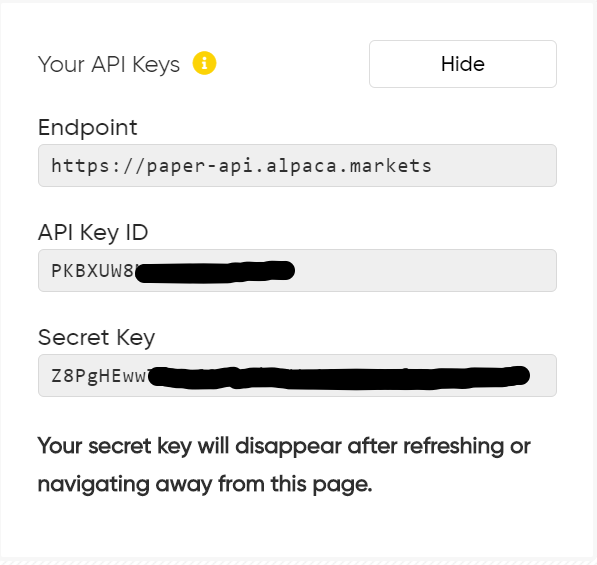
This works with live or paper trading. I recommend using the paper money api keys

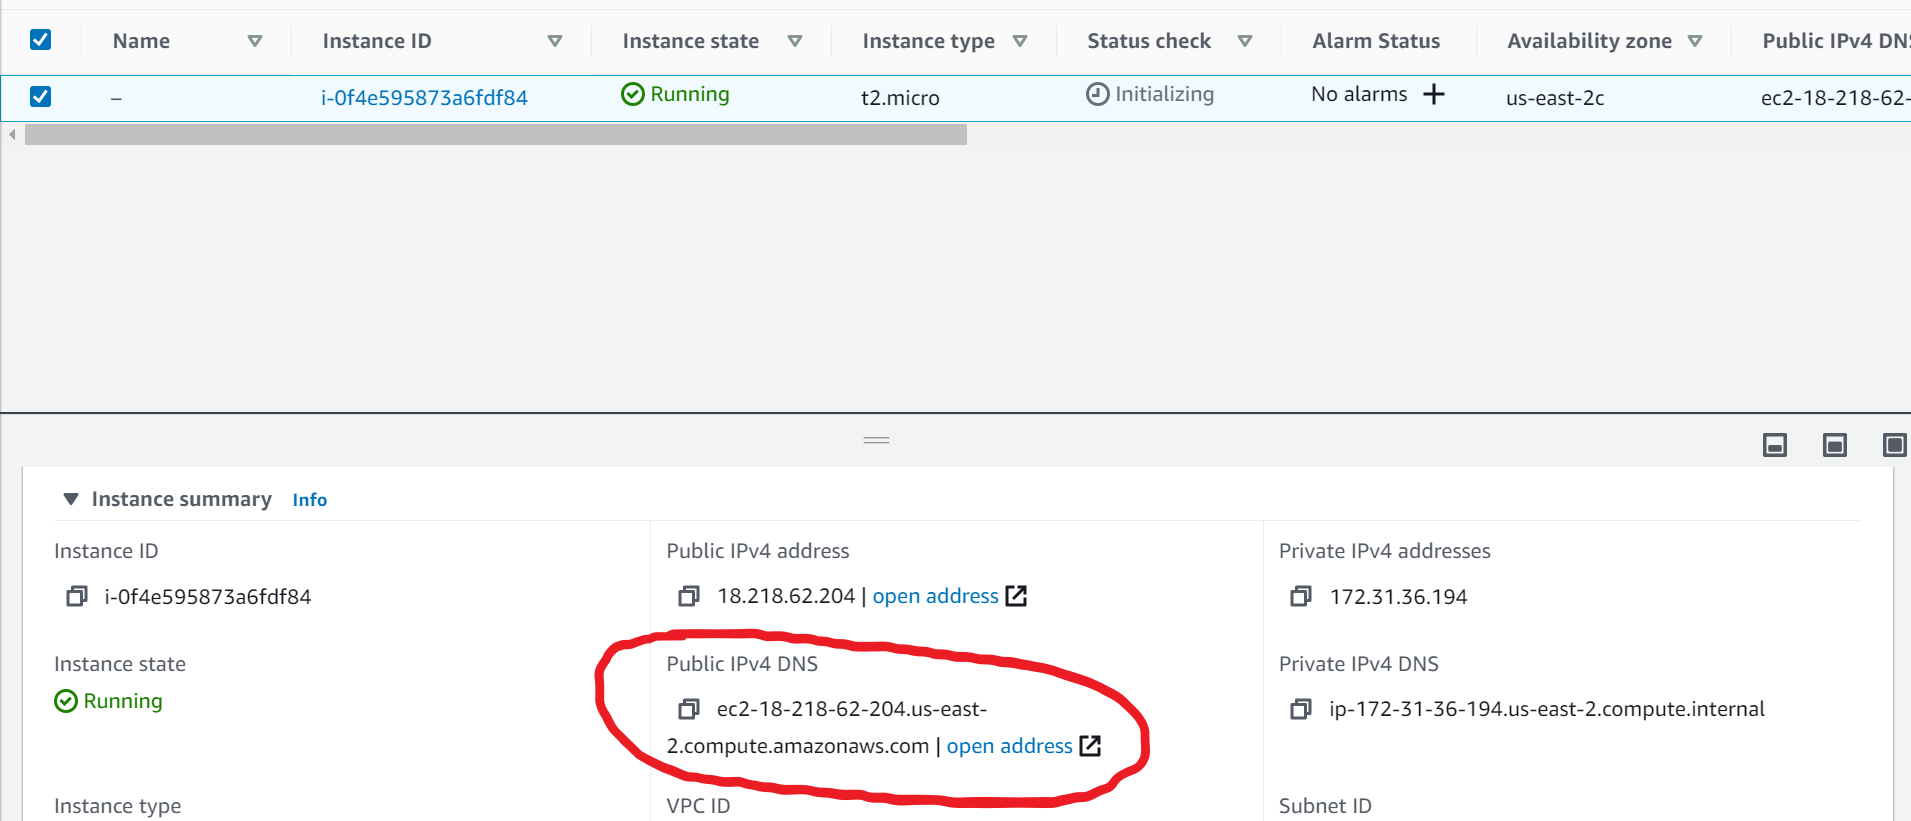
Sign into aws console
Save the downloaded key pair to your user folder: (ex: C:/Users/your pc user name here/example.pem)`
Login to your ngrok account. After you login you will see see the screen below.
Download the linux (ARM64) file (this is for your linux server). And copy the authentication token into your notepad for later
Login to your ngrok account. After you login you will see see the screen below.
Download the linux (ARM64) file (this is for your linux server). And copy the authentication token into your notepad for later
Install WSL version 2 (windows subsystem for linux). Follow Microsoft's WSL install guide
Once WSL is run in powershell (or you are in macOS/linux terminal), copy and paste the text below (replace the path and file name with your own)
cp /mnt/c/Users/YOUR_PC_USER_NAME_HERE/example_REPLACE_with_Your_own.pem ~/example_REPLACE_with_Your_own.pem


