This is Version 2 of the original Reconstruction-Style, and uses similar methodologies to acheive faster and more accurate results. It is designed based off of similar archetectures, but for better memory managemnt, is built on primarily C++ and CAFFE. Other noteworthy changes include better aherence to the original loss function as defined by Gatys' paper for better style adaptation, and also single-iteration adaptation.
There currently is no method to build on Windows, it will be added in the future
Download only install_deps.sh to any folder, and then run
sudo chmod +x install_deps.sh
sudo install_deps.sh
It will install all dependencies and the reopsitory, along with building the repository. For any issues compiling, try checking out how to do so manually below.
Detailed/Manual install
Make sure CAFFE dependencies (listed below) are installed using sudo apt-get or equivalent method on your distributuion of linux
libopenblas-dev
libopencv-dev
libboost-dev
libboost-system-dev
libboost-filesystem-dev
libboost-regex-dev
libboost-thread-dev
libboost-python-dev
libprotobuf-dev
protobuf-compiler
libgflags-dev
libgoogle-glog-dev
python-numpy
python-opencv
libmpich-dev
then run
sudo apt-get update
sudo apt-get install -y $buildDeps
Next, install CUDA, NCCL, and CUDNN Install CUDA
sudo apt-get install cuda
DON'T FORGET TO SET LD_LIBRRY_PATH and PATH
Install CUDNN
download .deb package from the official site
sudo dpkg -i {PATH TO CUDNN .deb LOCATION}
Install NCCL
wget http://github.com/NVIDIA/nccl/archive/master.zip
unzip master.zip
cd nccl-master
make
make install
rm master.zip
rm -rf nccl
rm -r nccl-master
Finally, build the repo using the makefile
git clone https://github.com/JEF1056/MetaLearning-Neural-Style.git
mv MetaLearning-Neural-Style styletransfer
rm -r styletransfer/build
cd styletransfer
make
make pycaffe
If the build succeds, then the rest of the code can be done on python.
Download the Metalearned pretrained files here:
Train_8
Train_32
All models were tested on a Tesla T4 GPU, with a 1920x1080x3 content image and a 1024x1024x3 style image.
Train_8 creates model files of about 447kb, and can be evaluated in 0.23 seconds, and a video speed of 4.62 frames/second.
Train_32 creates model files of about 7mb, and can be evaluated in 0.56 seconds, and a video speed of 3.02 frames/second.
Both models will use ~11.56gb of vram, which scales with style image size
Speed scales inversely with content image size.
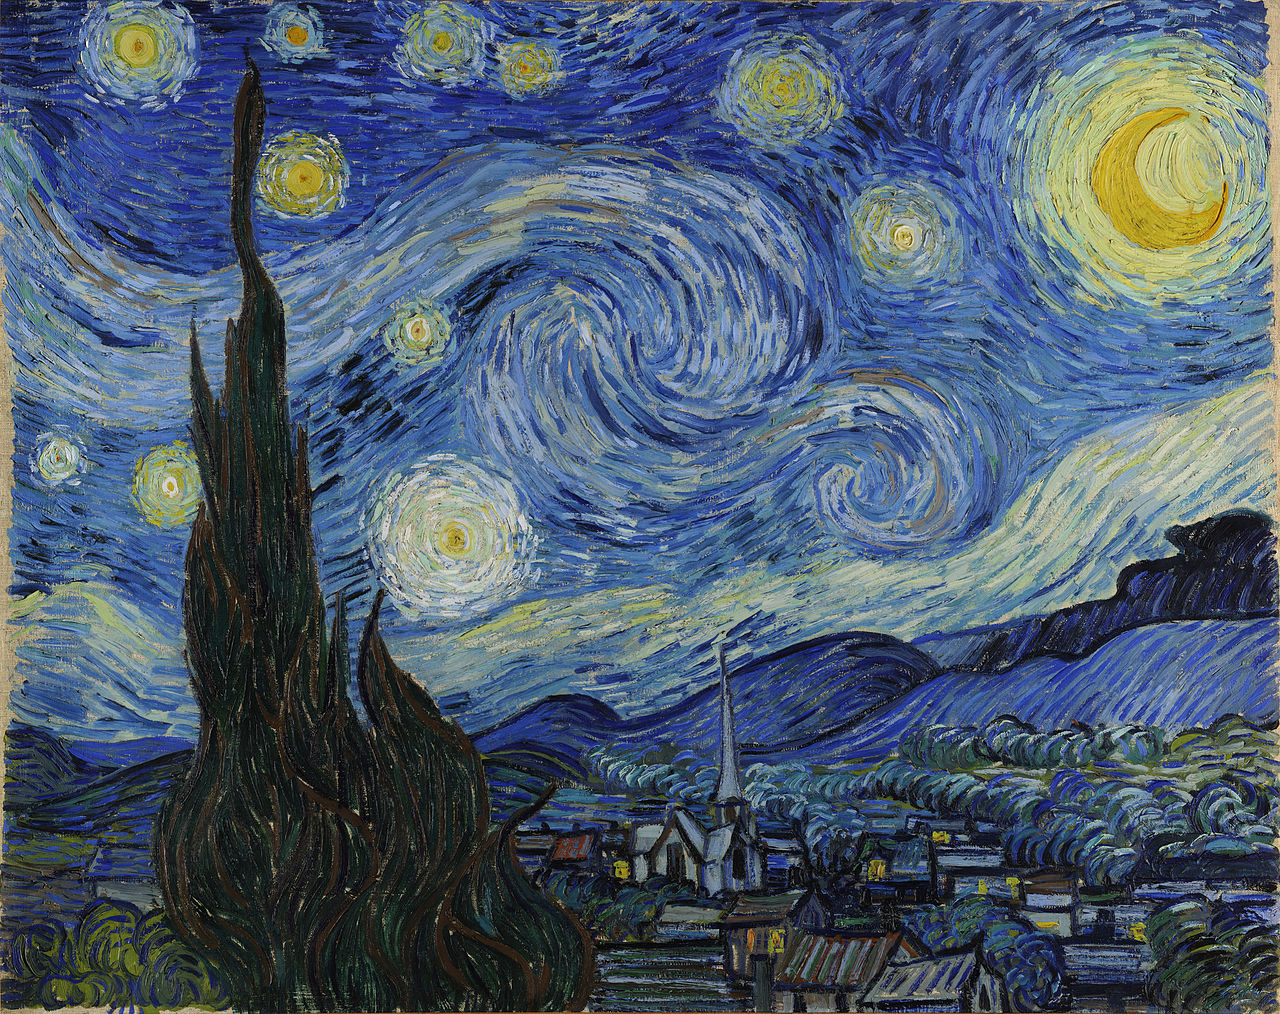
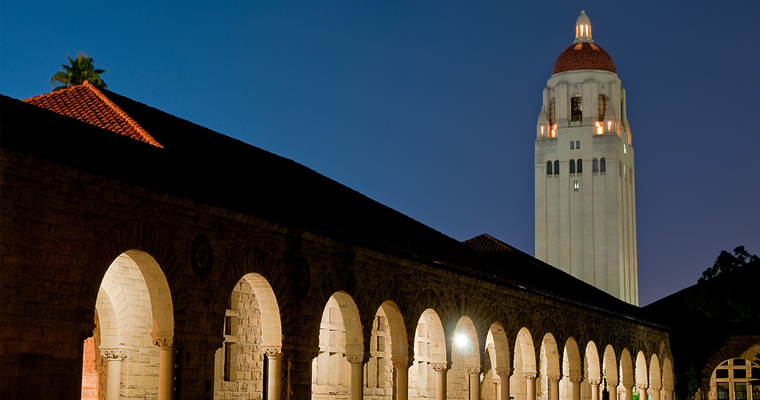
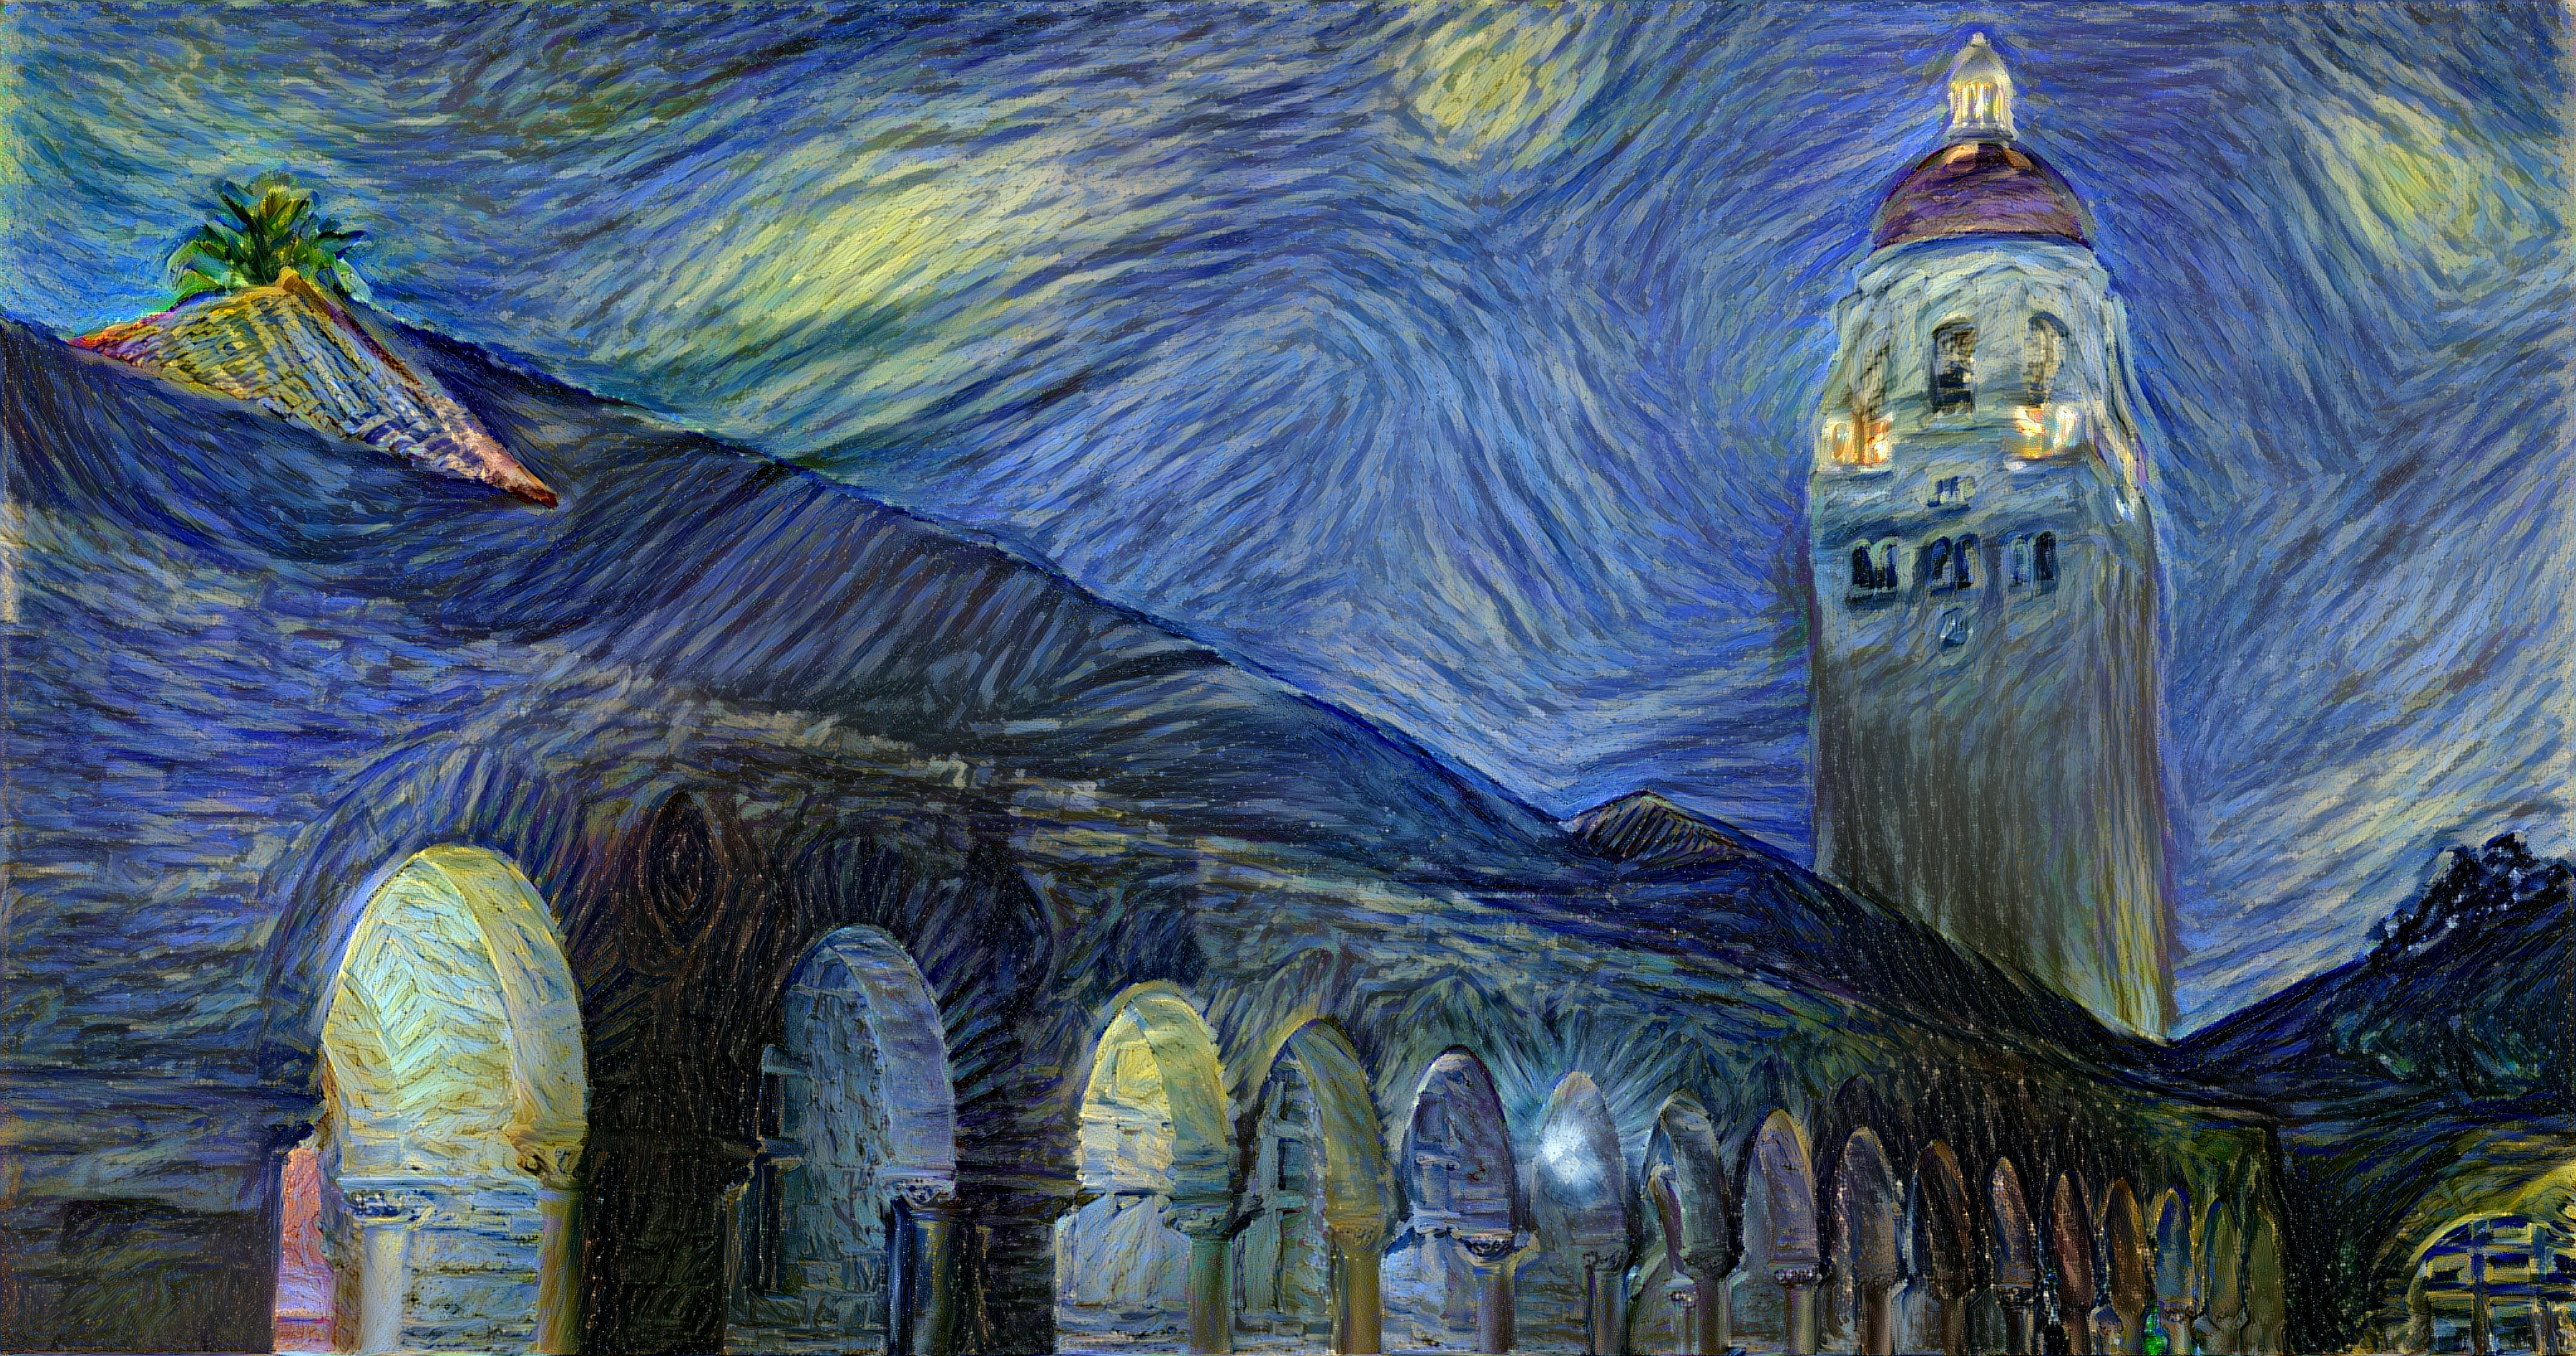
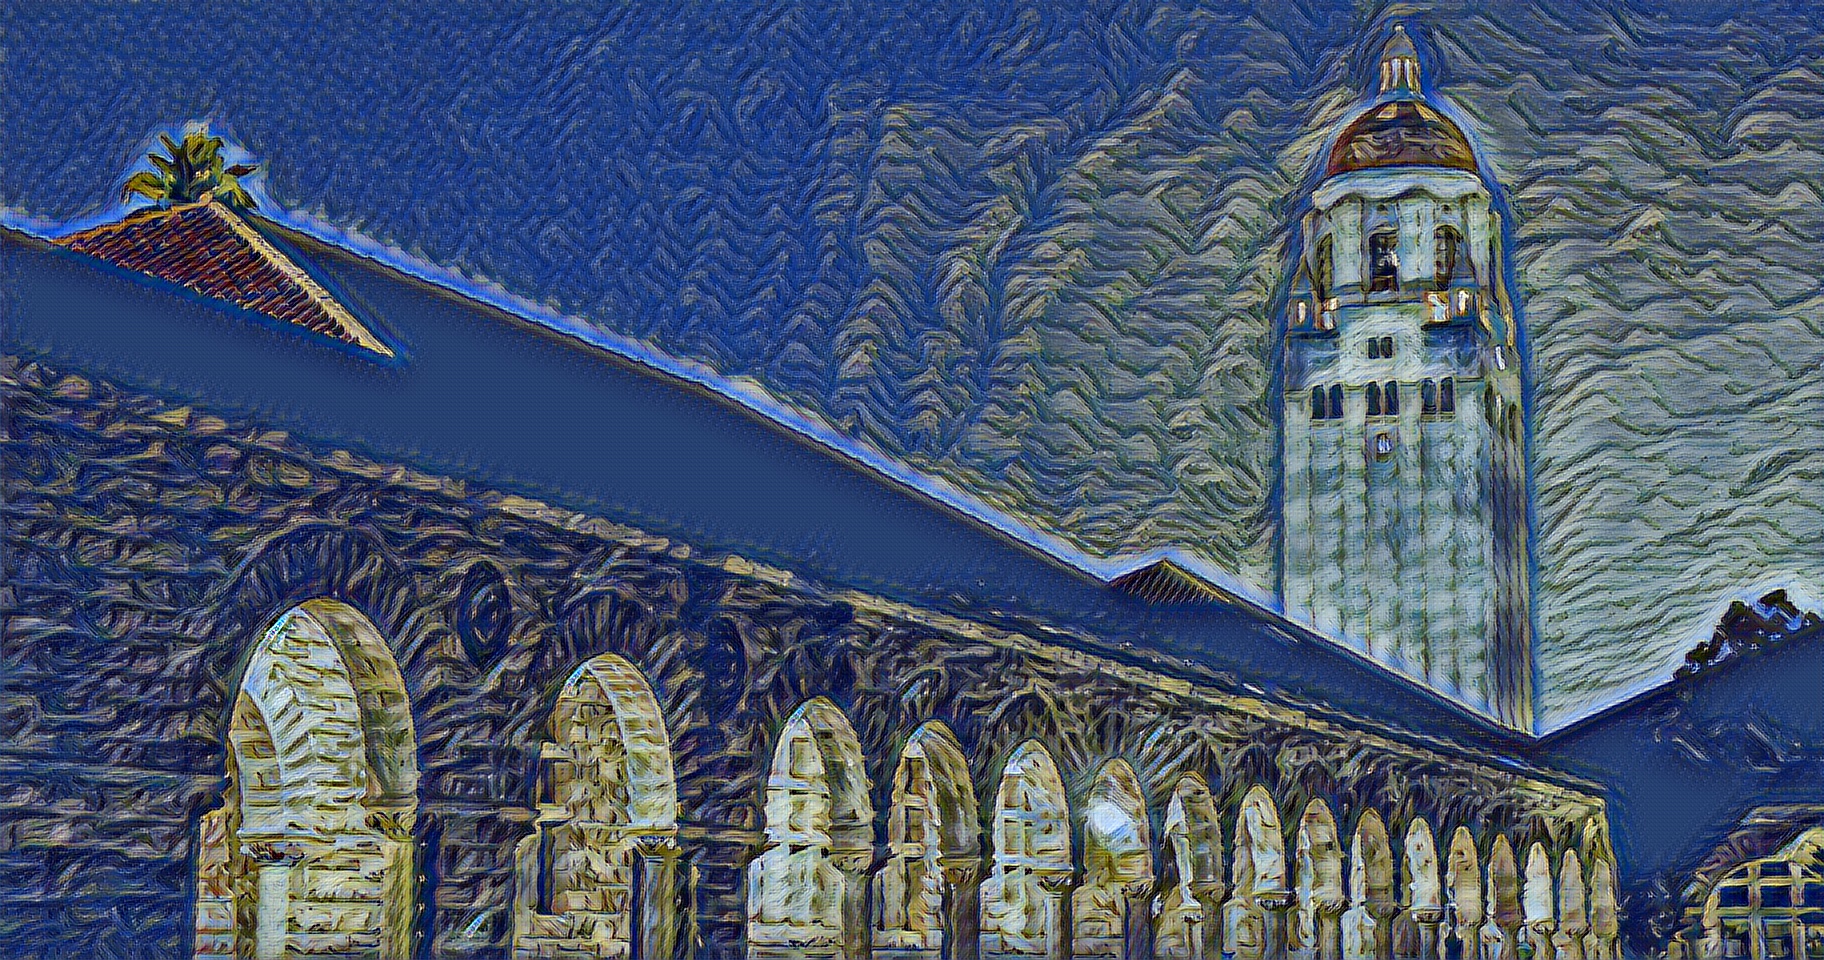
Comparison 1:
SOURCE: Arbitrary Style
LEFT: Style ||| RIGHT: Content
LEFT: Justin Johnson's implementation ||| RIGHT: This Implementation
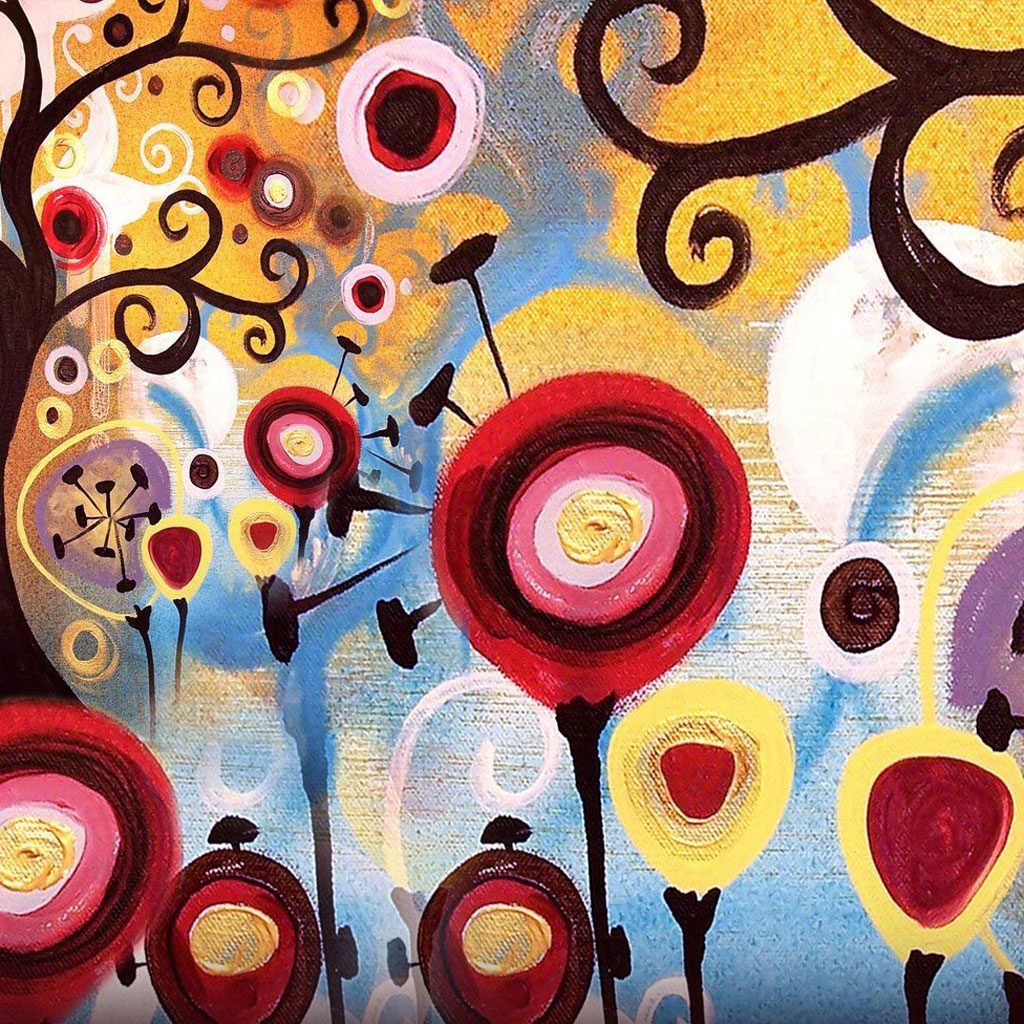
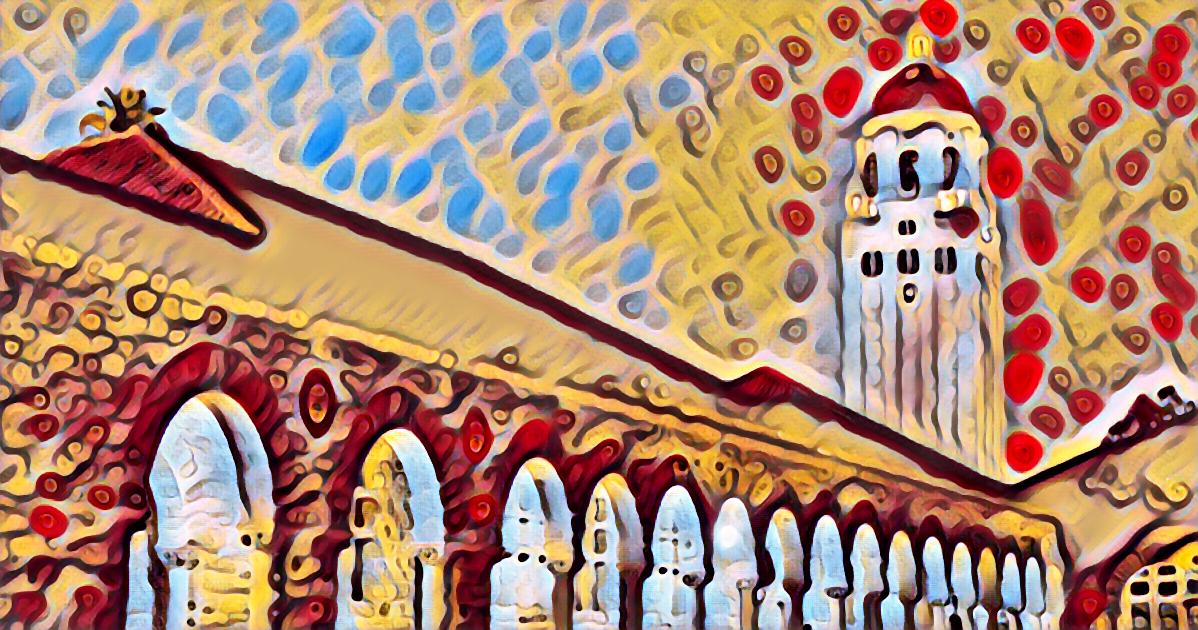
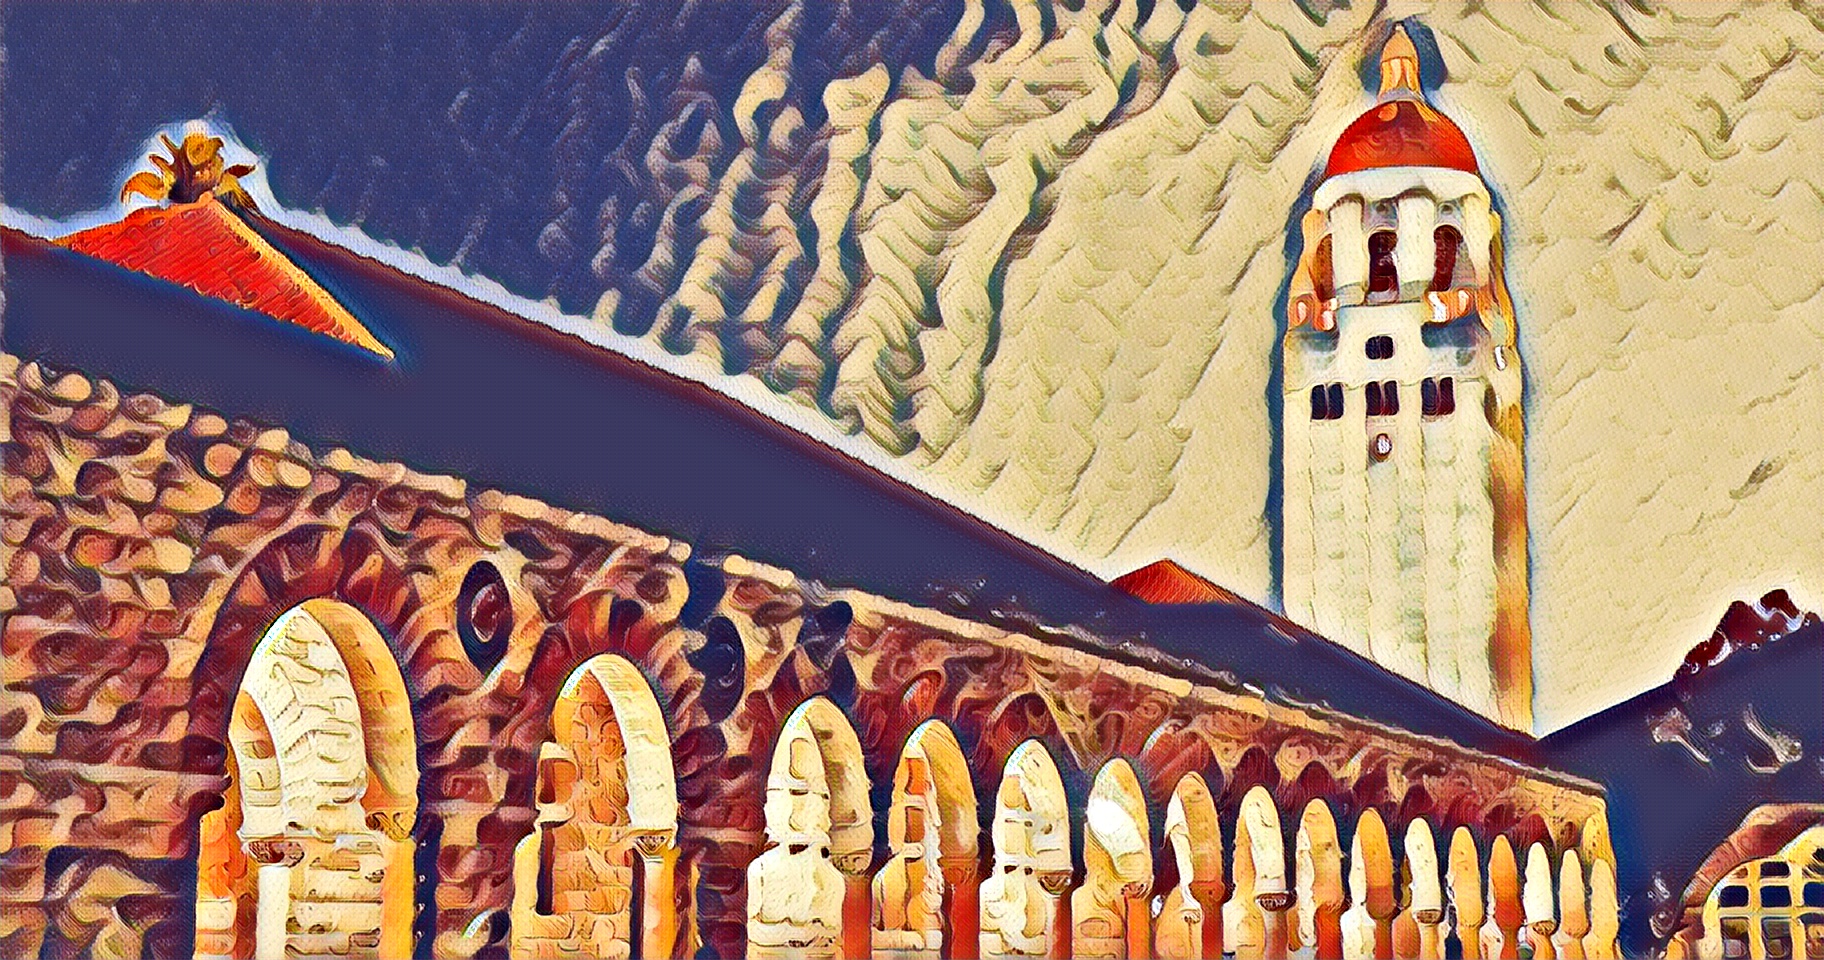
Comaprison 2:
SOURCE: Fast-Style
LEFT: Style ||| RIGHT: Content

LEFT: Justin Johnson's implementation ||| RIGHT: This Implementation
Usage is simple, and should take no more than running a single command. This is an overview of all the commands. Individual (basic) examples can be seen below.
python3 demo.py \
  --model "train_32.caffemodel" \
  --prototxt "prototxt/32/" \
  --content "{CONTENT LOCATION}.jpg" \
  --style "{STYLE LOCATION}.jpg" \
  --out "{OUTPUT LOCATION}.jpg" \
  --cr {CONTENT RESIZE RATIO} \
  --sr {STYLE RESIZE RATIO} \
  --oc \ (for original colors)
  --video (for if your file is a video)
  --realtime (for realtime camera styling)
Image
python3 demo.py \
  --content "{CONTENT LOCATION}.jpg" \
  --style "{STYLE LOCATION}.jpg" \
  --out "{OUTPUT LOCATION}.jpg"
Video
python3 demo.py \
  --content "{CONTENT LOCATION}.mp4" \
  --style "{STYLE LOCATION}.jpg" \
  --out "{OUTPUT LOCATION}.mp4" \
  --video
Realtime
python3 demo.py \
  --style "{STYLE LOCATION}.jpg" \
  --realtime