An open-source form builder. It's an alternative to products like Typeform, JotForm, Tally etc.
- No-code form builder, with infinite number of fields & submissions
- Text inputs, Date inputs, URL inputs, Phone inputs, Email inputs, Checkboxes, Select and Multi-Select inputs, Number Inputs, Star-ratings, File uploads & more
- Embed anywhere (on your website, in your Notion page, etc)
- Email notifications (for both form owner & form respondents)
- Hidden fields
- Form passwords
- URL form pre-fill
- Slack integration
- Webhooks
- Form logic
- Customize colors, add images or even some custom code
- Captcha form protection
- Form closing date
- Limit the number of submissions allowed
And much more!
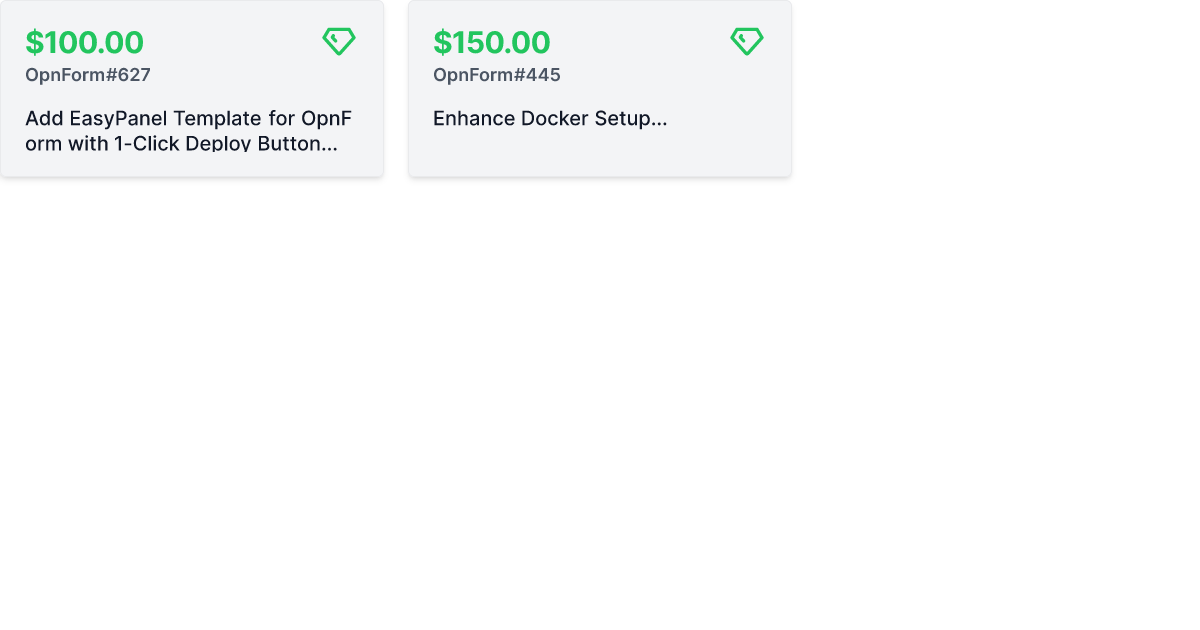
Get paid for contributing to OpnForm! Here are our open bounties:

The easiest way to get started with OpnForm is with the official managed service in the Cloud.
It takes 1 minute to try out the builder for free. You'll have high availability, backups, security, and maintenance all managed for you.
- PHP >= 8.0
- MySQL/MariaDB or PostgreSQL
- Node.js and NPM/Yarn/... to compile assets
There's a Dockerfile for building a self-contained docker image including databases, webservers etc.
This can be built and run locally but is also hosted publicly on docker hub at jhumanj/opnform and is generally best run directly from there.
docker run --name opnform -v $PWD/my-opnform-data:/persist -p 80:80 jhumanj/opnform
You should now be able to access the application by visiting http://localhost in a web browser.
The -v argument creates a local directory called my-opnform-data which will store your database and files so that your work is not lost when you restart the container.
The --name argument names the running container so that you can refer back to it later, with e.g. docker stop opnform. You can use any name you'd like.
If you have a custom env file you can use this like so:
docker run --name opnform -v $PWD/my-custom-env-file.env:/app/.env -v $PWD/my-opnform-data:/persist -p 80:80 jhumanj/opnform
This would load load in the env file located at my-custom-env-file.env, note that if you are creating a .env file for use like this it's best to start from the .docker.env example file as there are slightly different defaults for the dockerized setup.
To run on port 8080
docker run --name opnform -v $PWD/my-opnform-data:/persist -p 8080:80 jhumanj/opnform
To build a custom docker image from your local source code use this command from the root of the source repository:
docker build . -t my-docker-image-name
This should create a new docker image tagged my-docker-image-name which can be run as follows:
docker run --name opnform -v $PWD/my-opnform-data:/persist -p 80:80 my-docker-image-name
Please consult the upgrade instructions for the latest opnform version, e.g. if upgrading from v1 to v2 please check the v2 instructions as the process may change in future releases.
Normal upgrade procedure would be to stop the running container, back up your data directory (you will need this backup if you want to rollback to the old version) and then start a container running the new image with the same arguments.
e.g. if you're running from a specific opnform version with
docker run --name opnform -v $PWD/my-opnform-data:/persist -p 80:80 jhumanj/opnform:1.0.0
You could run:
# stop the running container
docker stop opnform
# backup the data directory
cp -r my-opnform-data my-opnform-backup
# start the new container
docker run --name opnform-2 -v $PWD/my-opnform-data:/persist -p 80:80 jhumanj/opnform:2.0.0
Then if everything is running smoothly you can delete the old container with:
docker rm opnform
If you haven't specified a version e.g. if you are using the image jhumanj/opnform or jhumanj/opnform:latest you will need to run docker pull jhumanj/opnform or docker pull jhumanj/opnform:latest before starting the new container.
This section explains how to get started locally with the project. It's most likely relevant if you're trying to work on the project. First, let's work with the codebase and its dependencies.
# Get the code!
git clone git@github.com:JhumanJ/OpnForm.git && cd OpnForm

# Install PHP and JS dependencies
composer install && npm install

# Compile assets (see the scripts section in package.json)
npm run dev # or build
Now, we can configure Laravel. We just need to prepare some vars in our .env file, just create it with cp .env.example .env then open it!
Configure the desired database in the DATABASE_ section. You can fine tune your installation on the laravel documentation.
Run these artisan commands:
# Generate needed secrets 🙈
php artisan key:generate
php artisan jwt:secret # and select yes!

# Creates DB schemas
php artisan migrate
Now, create an S3 bucket (or equivalent). Create an IAM user with access to this bucket, fill the environment variables: AWS_ACCESS_KEY_ID, AWS_SECRET_ACCESS_KEY, AWS_DEFAULT_REGION, AWS_BUCKET. In your AWS bucket permissions, add the following under "Cross-origin resource sharing (CORS)":
[ { "AllowedHeaders": [ "*" ], "AllowedMethods": [ "PUT", "POST", "GET", "DELETE" ], "AllowedOrigins": [ "*" ], "ExposeHeaders": [] } ]🎉 Done! Enjoy your personal OpnForm instance at: http://opnform.test.
OpnForm is a standard web application built with:
- Laravel PHP framework
- Vue.js front-end framework
- TailwindCSS
You're more than welcome to contribute to this project. We don't have guidelines on this yet, but we will soon. In the meantime, feel free to ask any question here.
OpnForm is open-source under the GNU Affero General Public License Version 3 (AGPLv3) or any later version. You can find it here.


