The slides for our presentation can be downloaded here
The goal of this hour-long, hands-on segment of our workshop is to give attendees an opportunity to explore Manifold and begin getting comfortable managing content on a Manifold project.
In particular, we'll cover the following tasks:
- Creating an account and logging in
- Creating a Manifold project
- Ingesting texts
- Customizing the project page
- Creating resource collections and resources
We'll break up into 4 groups. Each group will create a project on the CUNY Manifold Instance at https://cuny.manifoldapp.org. I'll walk everyone through basic project setup steps, and then cut you loose to setup your own projects.
Creating a Manifold account is simple. Click on the user icon in the top right corner of the screen. On the login screen, look for the "Need to Sign Up?" link. Click it, and enter your email, name, and password to create an account. Once you sign up, you will be automatically logged in.
Nota Bene: When you sign up for an account on a Manifold instance, the default "reader" role is assigned to your account. To create projects, you need a "project creator" role. If you already signed up before the workshop, the fine folks at CUNY have already assigned the creator role to your account. If you're just signing up now, the team member working with your group will assign the correct role to your account
Once you've logged in to an account with project creator permissions, you will see an enter admin mode button in the header. Click it to enter the Manifold backend.
To create a new project, click the "Add a New Project" button. Give your project a title and subtitle, and answer the layout questions. Don't worry if you're not sure about your answers, you can always make adjustments later.
Go ahead and fill out a few fields for your project. Some basic things to do here include:
- Add a publication date
- Setup a "maker" for the project
- Add twitter integration
- Add some metadata
Add a publication date, setupTake a look at the Metadata
Manifold can ingest texts in a variety of formats. To speed things up, we've setup a few suggestions for groups to explore ingestion.
The Standard Ebooks project is a volunteer driven, not-for-profit effort to produce a collection of high quality, carefully formatted, accessible, open source, and free public domain ebooks that meet or exceed the quality of commercially produced ebooks.
I've grabbed a few EPUBs in this repository that you can ingest by just entering the URL into Manifold. Alternately, you can select a different book from the Standard Ebook website, download the EPUB, and ingest it into Manifold.
One way of ingesting texts into Manifold is via a manifest file. A manifest is a YAML document that includes metadata about the text and links to documents that make up the text. Each document can be a Google Doc, a Markdown File, a Word file, or an HTML file. Documents (and the manifest itself) can be ingested from local files uploaded to Manifold, from URLs, or from a combination of remote and local sources.
For this workshop, I've created four manifests that can be ingested. Each manifest represents a text with three parts. Each part is a google doc, which you should feel free to modify!
These manifests can be ingested directly from the source on Github.
- Group #1: https://raw.githubusercontent.com/ManifoldScholar/ach-workshop/master/texts/manifests/group_1.yml
- Group #2: https://raw.githubusercontent.com/ManifoldScholar/ach-workshop/master/texts/manifests/group_2.yml
- Group #3: https://raw.githubusercontent.com/ManifoldScholar/ach-workshop/master/texts/manifests/group_3.yml
- Group #4: https://raw.githubusercontent.com/ManifoldScholar/ach-workshop/master/texts/manifests/group_4.yml
To ingest these manifest, just copy the URL and past it into the Manifold text ingestion interface. Once you've ingested the text, open one or more of the Google Docs referenced in your group's manifest. Make some changes, then reingest the manifest to see the updates in the Manifold Reader.
In the Manifold Backend, navigate to the Layout section of the project record. Explore the various options in this view, including the following:
- Open the Description + Images interface and add a background, cover image, and a project description.
- Open the Calls-to-Action interface to add links and buttons to the project hero area.
- Open the Social Links interface to add links to your project's social media presences.
- Explore the Content Blocks interface, which allows you to adjust how content is organized on the project page.
Let's augment our project with some resources. Create a new resource for your project and give it a thumbnail image.
Go ahead and add a few resources to your project. Explore the different types of resources and see how they render. Depending on how you setup your project, you may need to add a resources content block to the project page.
I've included some sample resources in this repository, which you can download and use on your sample project if you like. You will likely need to right-click on the image and select "Save image as" to save it to your hard drive before uploading it to Manifold.
- A Photo of a Gothic Castle
- Another Photo of a Gothic Castle
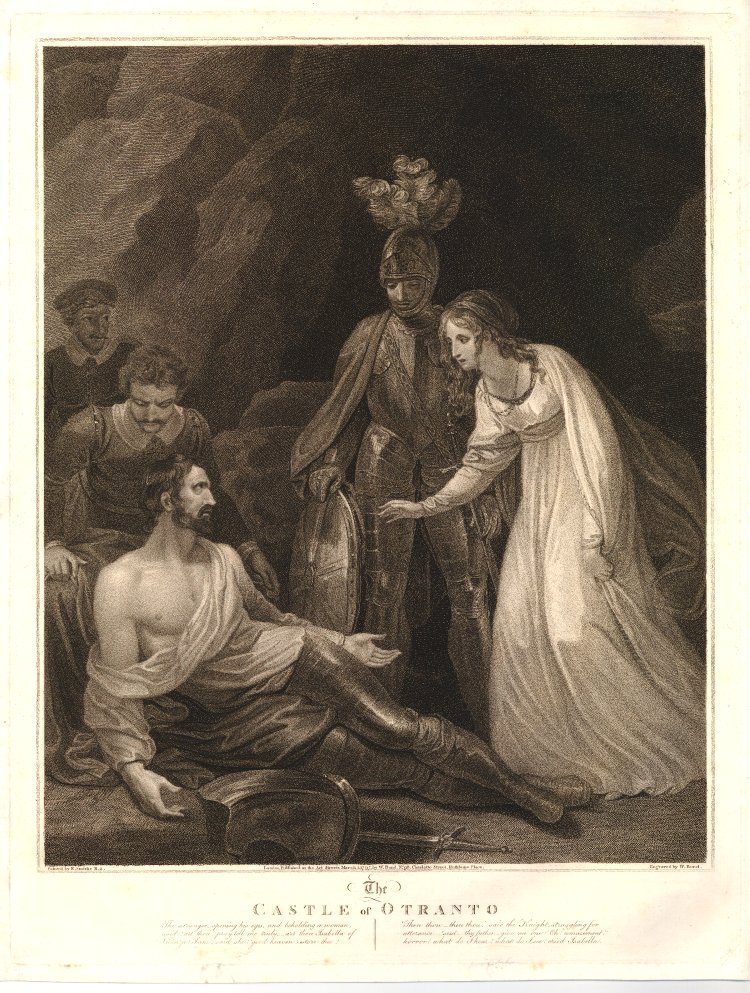
- An Illustration
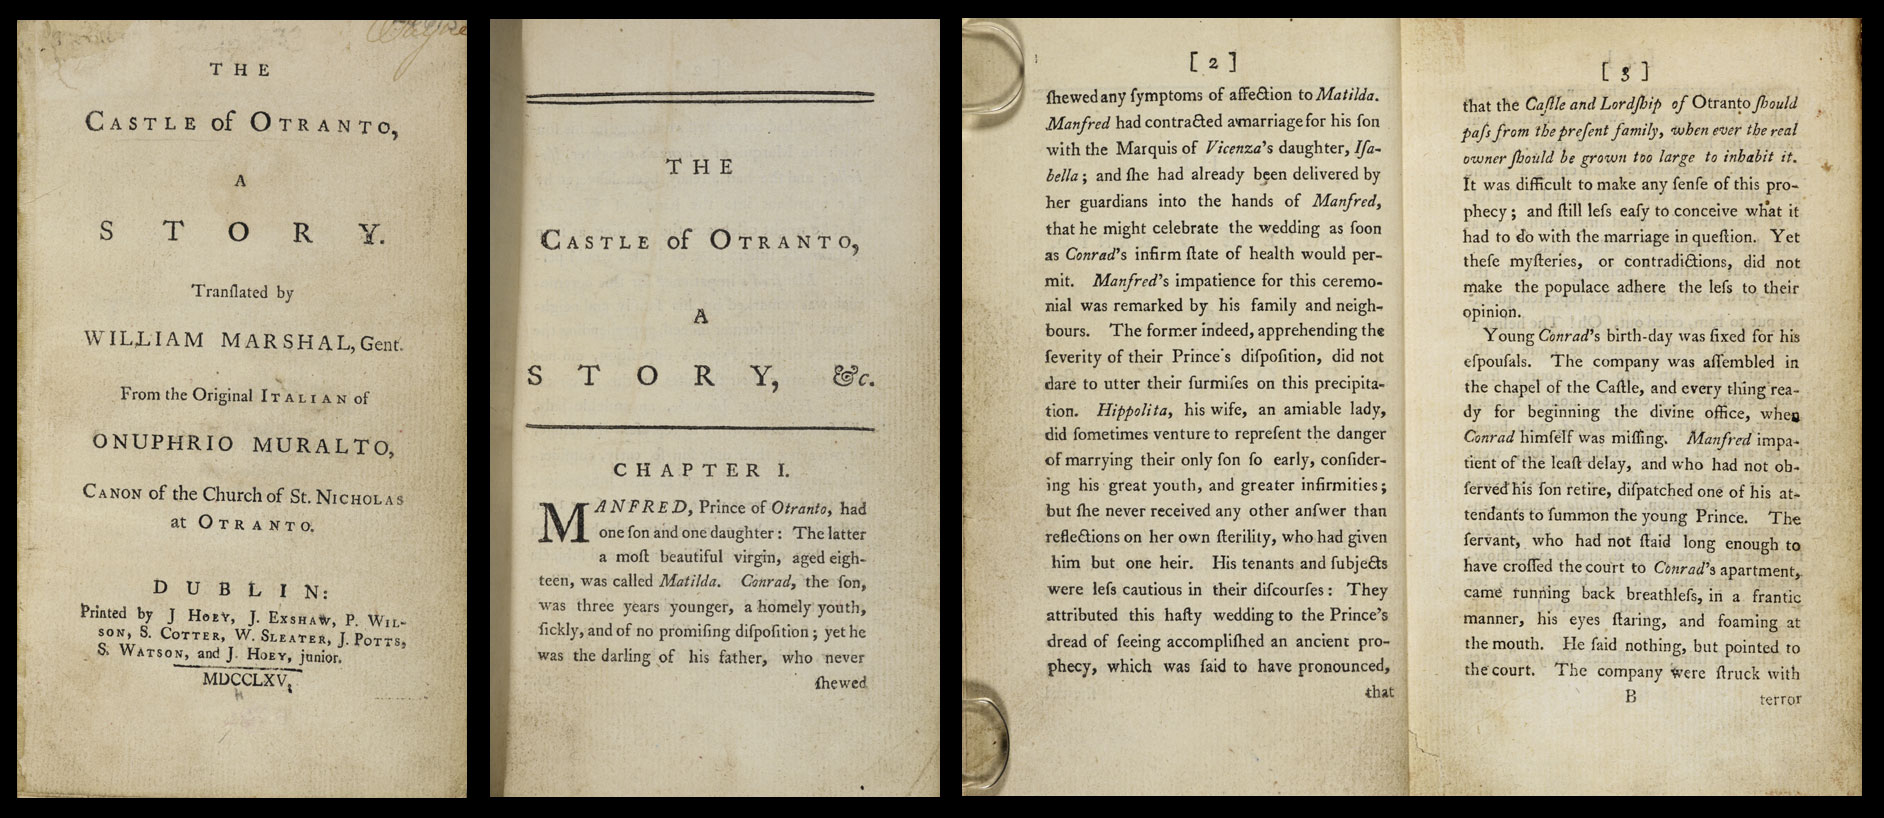
- A photo of the first edition
Finally, open your text in the reader and annotate it with a couple resources to get a sense of how we can overlay resources on the base text in Manifold.