A DIY Arduino Nano proximity sensor for your car
LUSA is a begginer-friendly Arduino project which combines basic PCB designing and 3D printing to make a simple, yet useful, proximity sensor for your car. Similarly to modern cars it uses a speaker/buzzer to beep more and more if the car gets way to close to an obstacle. This project also adds some LEDs to know better how close you are!
The basic skills needed for doing this project yourself are:
- Basic soldering skills
- Very basic Arduino knowledge
- Knowing well your car
However, I also recommend knowing this (especially for adjusting this project for yourself, or making some slight changes to, for example, the printable parts):
- Basic coding skills (Arduino or similar languages like C/C++)
- Basic 3D printing skills
- Basic PCB designing
- A bit of electronics
The parts used are:
- x5 LEDs (5 different colors)
- x5 Resistors (220 Ohms or 1K)
- x1 Active Buzzer (or similar)
- x1 Ultrasonic sensor (I used SR04)
- Arduino Nano (preferably with pins attached to it)
- The PCB in this repo (can be ordered online)
- The case for the PCB
- The case for protecting the SR04 (if you use this one)
I assume you also have:
- A PC for flashing to Arduino
- A soldering iron or soldering station
- A 3D printer (or access to a service like Shapeways)
- Some cables to attach the sensor to the Arduino
These are the steps to make LUSA yourself:
- First I recommend trying it on a breadboard to make sure your components work (especially if trying different components or adding extra features to LUSA)
- Order your PCB (I ordered mine on JLCPCB)
- If your PCB comes along with other PCBs in the same board, cut it
- Solder the components to the PCB
- Flash the program to Arduino and make sure it works
- Make sure it is cut properly, if it is too big it may not fit in the case
- Take measurements and modify case accordingly (if necessary)
- Print the case for LUSA and for the SR04
- If it fits correctly, time to solder the ultrasonic sensor (outside the case, of course)
- In my case, I soldered some male-to-female wires to the PCB, while using the female part to connect to the SR04 sensor
- Done!
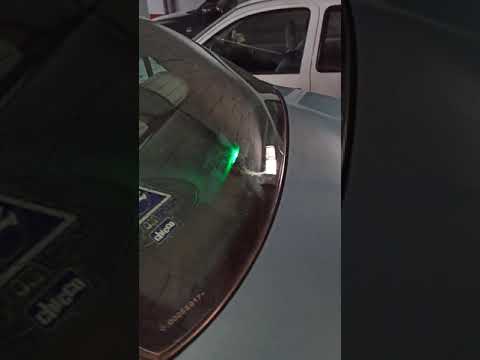
The actual last step is installing LUSA in your car. In my case, I connected it to the reversing lights circuit so that LUSA only powers when going backwards. Take into account that the sensor (the one I used at least) isn't waterproof, so try to make easily detachable, in order to remove it when cleaning the car.