A simple plugin that covers for the Godot's still missing Level of Detail management. It's a tool to manage world maps. It works recursively, meaning it can manage LOD Objects under other LOD Objects. This way you don't have to worry about managing every single prop. Futhermore this allows you to edit the world map chunk by chunk.
Only two scripts are in this plugin. The LODManager.gd and LODObject.gd. You put LODManager.gd on a Spatial node, and then put every static object under it. The manager will process anything with the built-in visible property; a MeshInstace for example. The objects need to have either one of -lod1, -lod2, -lod3 suffixes on it, else the Manager will ignore it. -lod1 objects are of the highest quality, and -lod3 objects are less so.
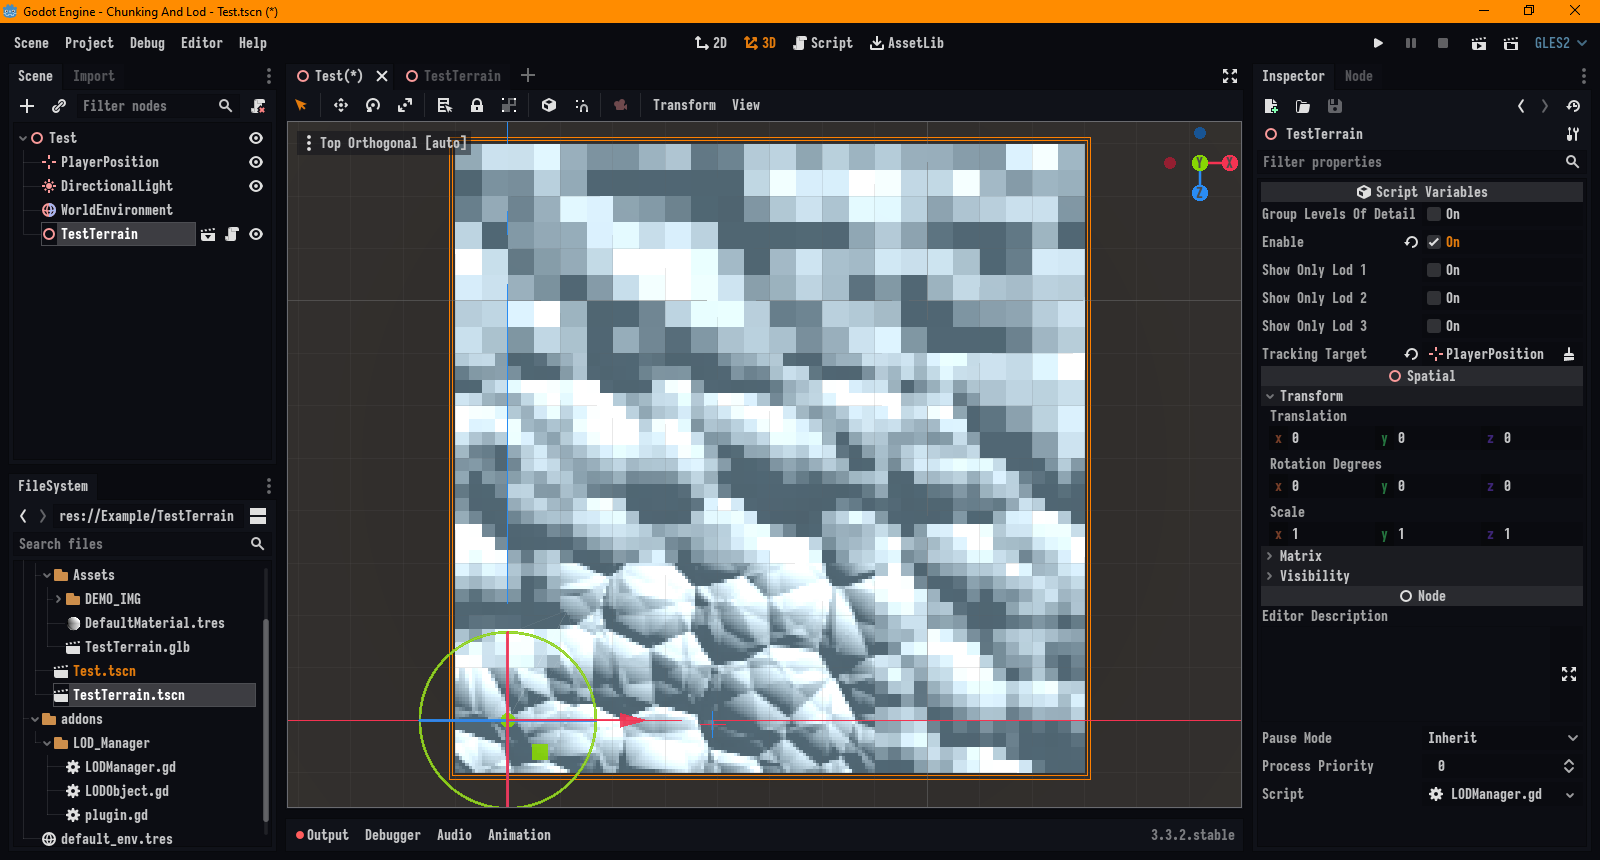
You will notice a couple of properties in the Inspector when you select the Manger node. Tracking Target is the object from which all the distances are measured. You pick a Spatial object, preferably a Position3D node, and the Manager will treat it as it would treat a player in-game. When the LODManager is enabled, you can see the effect in editor. But before you can review your work, you need to build the map. For the manager to work, the nodes are grouped in a certain way. Every -lodN node must be under an LODObject node. This is so that its easier for the developer to manage props. An LODObject will take care of any -lodN node under it. The properties it has apply to all the -lodN nodes that are its children.
As mentioned before, the Manager will descend the tree recursively, meaning that if an LODObject has an LODObject as its child, it will process that LODObject as well. Chances are that your imported (partitioned) game map is not grouped properly, but it surely is large. A 3x3 chunk map (excluding the foliage, and props; only the height map) that has 3 levels-of-detail per each chunk is comprised of 27 meshes. Imagine having to group all those meshes by hand; not to mention that your map will be much larger.
This is why the Group Levels Of Detail property exists. Treat it as a button (its a tickbox that unticks itself). When pressed, the Manager will go through all its children, and reparent them to LODObject nodes. A few things to keep in mind, however. Firstly, the grouping won't work unless the Manager is the root node of the tree(This is due to the way reparenting nodes on runtime works). If this is not done the nodes will just vanish. They will still be there, its just that you won't see them. Secondly, the manager builds groups from the respective -lod1 mesh. If a-lod2, and a-lod3 exist, but there is no a-lod1, then there will be no group a.
There are also Show Only LOD N properties, but they are quite self explanatory; just little quality-of-life features.
Now that the map is built, and the Tracking Target has been selected, you can review how it will look in-game by ticking the Enable property on the manager. The behavior will depend on the LODObject's distance properties, as you might imagine. While there is nothing preventing you from doing it, the `LODManager`` will keep all meshes indefinetly hidden if the condition LOD1 < LOD2 < LOD3 isn't satisfied.
Keep in mind that the manager doesn't simply hide nodes; it disables them. The object is made invisible. In addition to that, all its scripts, input processing, and collisions are turned off. Keep all your functional elements outside the Manager's reach, just so that you don't go scratching your head for hours wandering why the hell your script isn't working. (Or equally likely, why is my collision shape not where I placed it.) On that note, always keep collisions under LOD 1. Collisions also take up processing time, and a considerable amount of it. Unless you have some important physics that need to run in the distance, keep them within players grasp.
Let me take you through a practical example, so that you may better comprehend how it works. For this example, I shall demonstrate the making of a game map as well. For simplicity's sake, this map will be procedurally generated.
To create the meshes for our map we shall use Blender. Open up the blender, delete everything in the scene and create a plane with Shift + A.
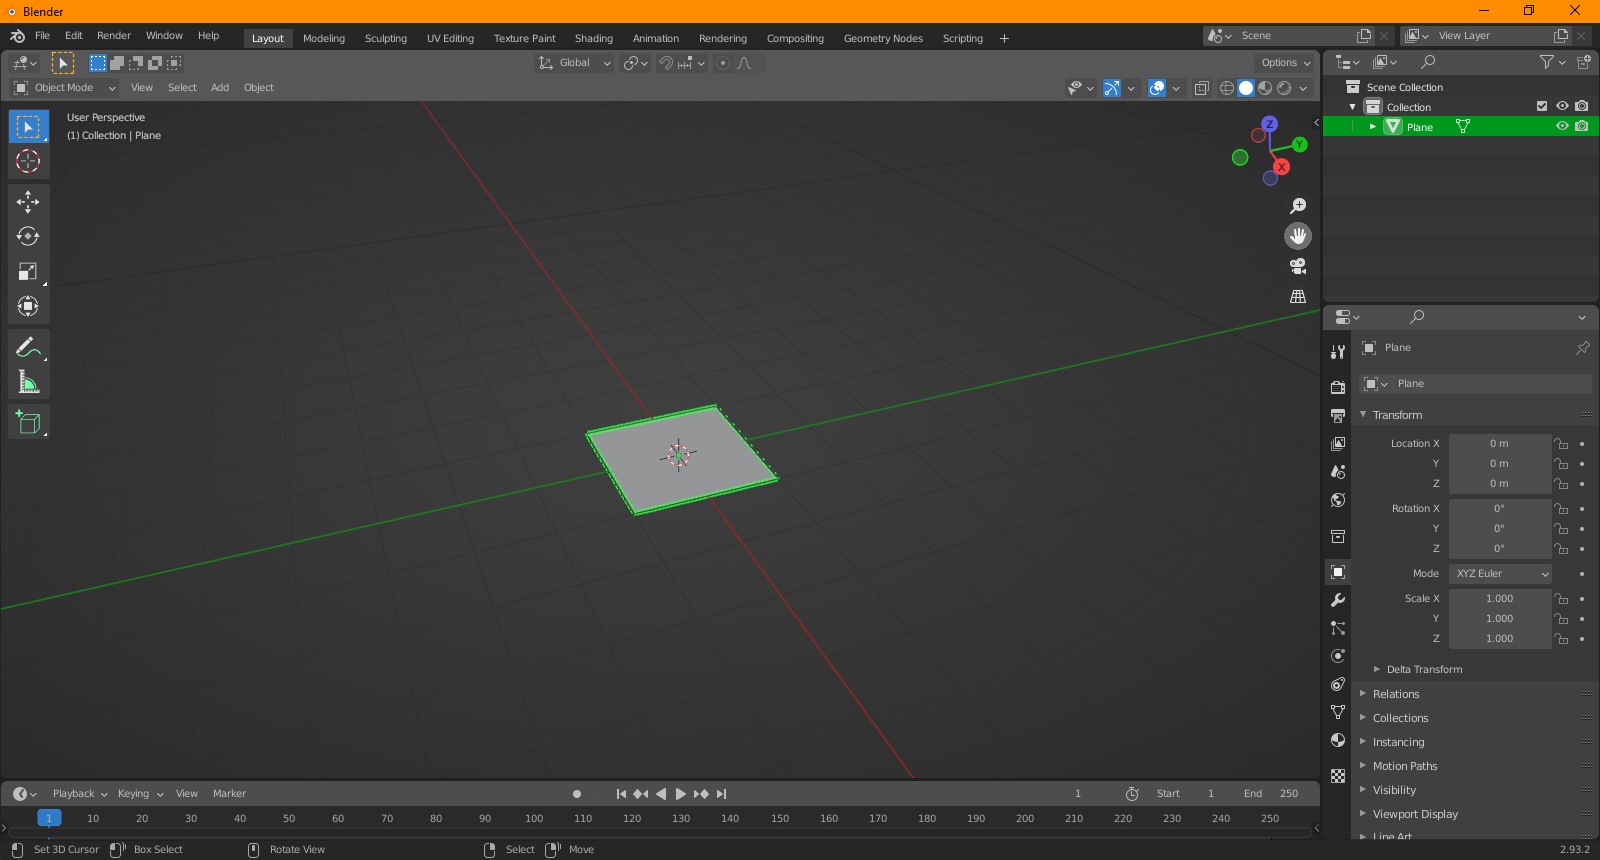
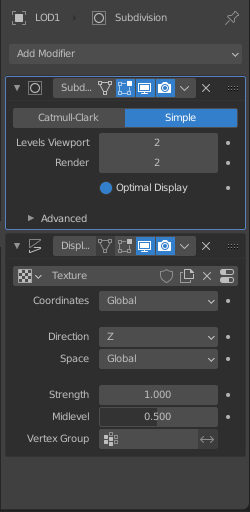
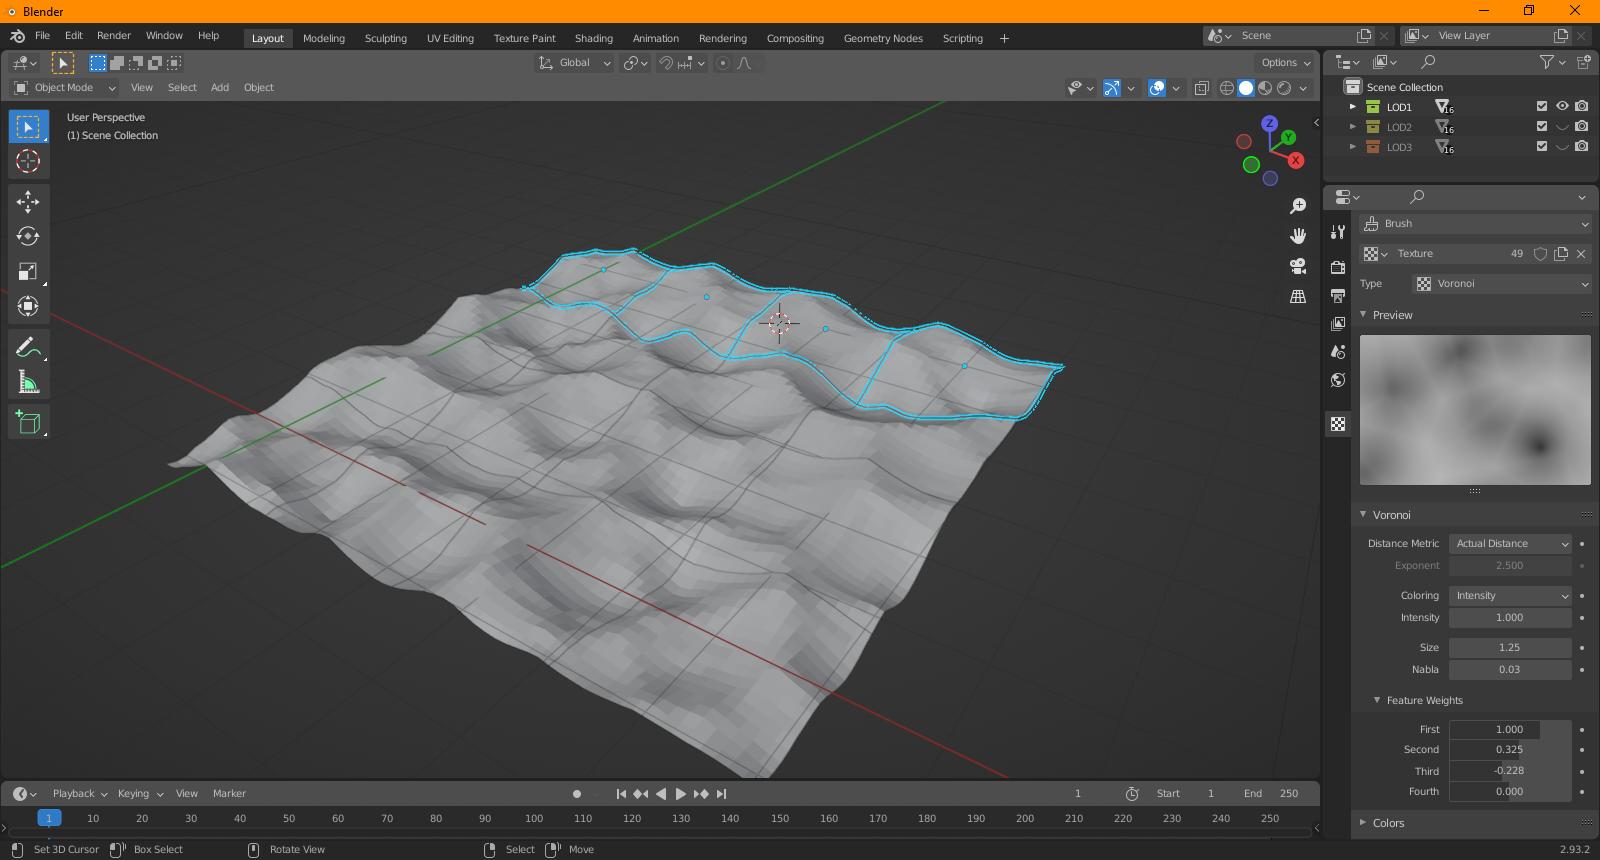
Select the plane and go to its tab. Add a "Subdivision Surface" modifier, and make it "Simple" like I did in the screenshot below. Next, add a "Displacement modifier". Set its "coordinates" to Global, "Direction" to Z, and "Space" to Global. First modifier will control the detail of our mesh, and the latter one will create the terrain. The most important setting here is the "Coordinates" option. With this set of global, if you moved the plane, it would map the terrain accordingly.
Now, you CAN create a terrain with any displacement map, but, again, for simplicity's sake this map will be procedurally generated. The way we're gonna do that, is by creating a new texture. In the texture tab, change the type from a Single Image to Voronoi. You can change options here to make it more appealing.
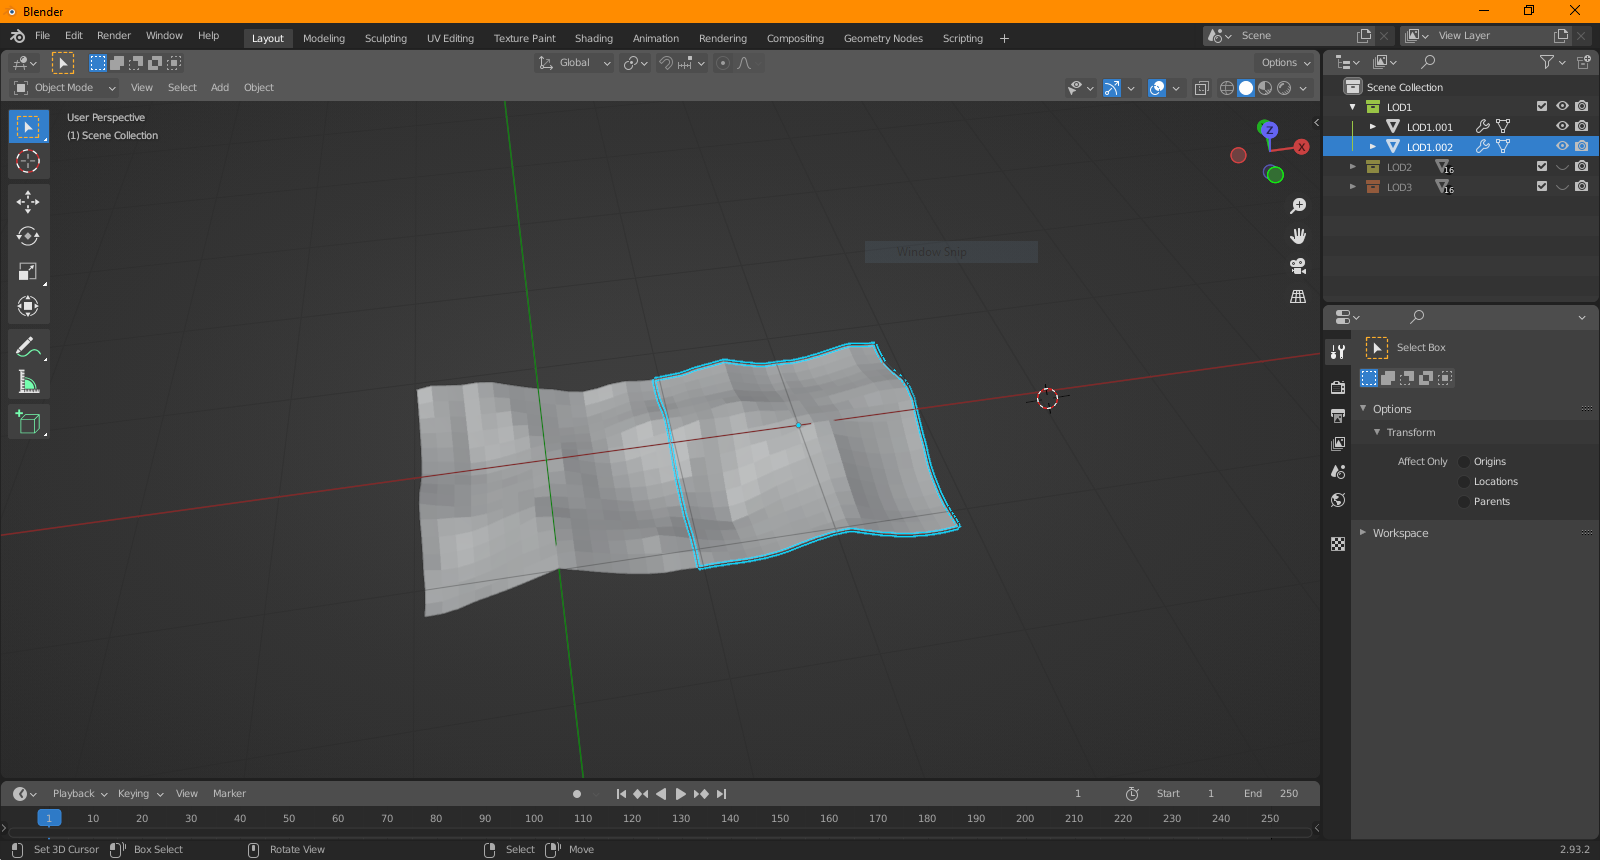
The next step is to make the meshes with different levels of detail. Select the previously created plane and press Shift + D, to duplicate it. Do this once more so that you have 3 planes overlapping. Name them like I did in Image 3: "LOD1.001", "LOD2.001", and "LOD3.001". You can even put them in separate collections for easier management.

Select the LOD3.001 plane and make it Subdivision Modifier have less subdivisions than LOD2.001, and LOD2.001 less than LOD1.001. Now you have 3 Levels of Detail. All that remains is to expand our map. You do this by selecting the 3 planes and pressing Shift + D to duplicate them. BUT, before you place the copy, press number 2. This will move the copy by 2 units along the X axis, like you see in the Image bellow. Do this a few times till you get as many chunks as you need.
Then select all those planes, duplicate them, press number 2, AND the Y key. This will move the copies down the Y axis. And finally, you'll have the grid of chunks like in the image below. The great thing about this method is that you can now alter your displacement texture, and it will update your chunks real-time.
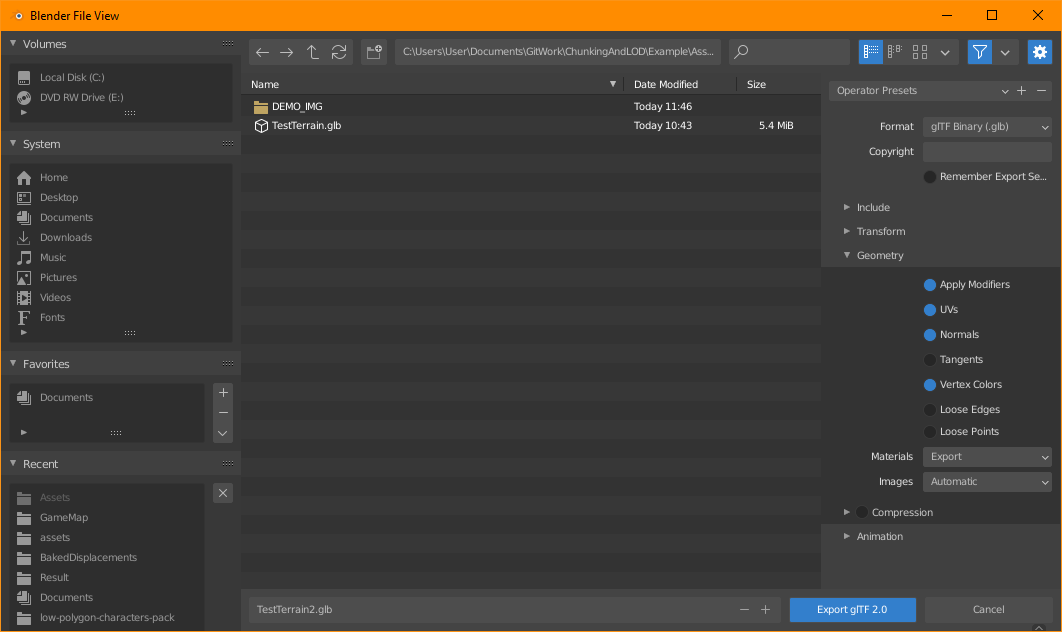
Your map is now ready for export. Export it as a glTF file. It's IMPORTANT to tick the Apply Modifiers box.
In Godot, open your project with the add-on , and create a Spatial node. Under it, add another Spatial (Name it "Manager") and a Position3D.
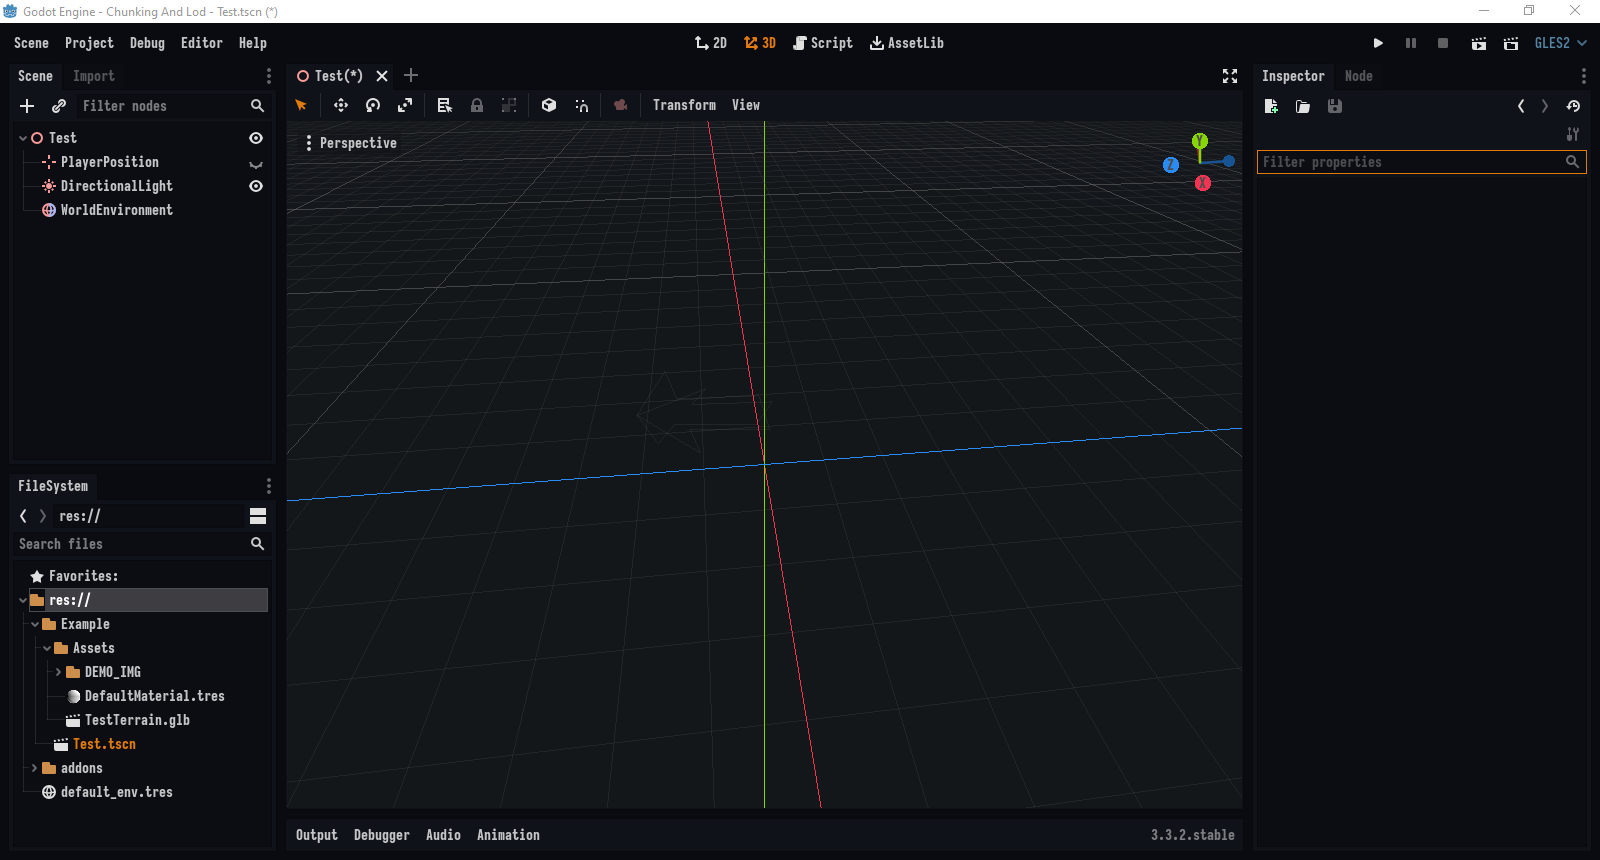
Double click on your. GlTF mesh in the Filesystem panel and open it as a new scene.

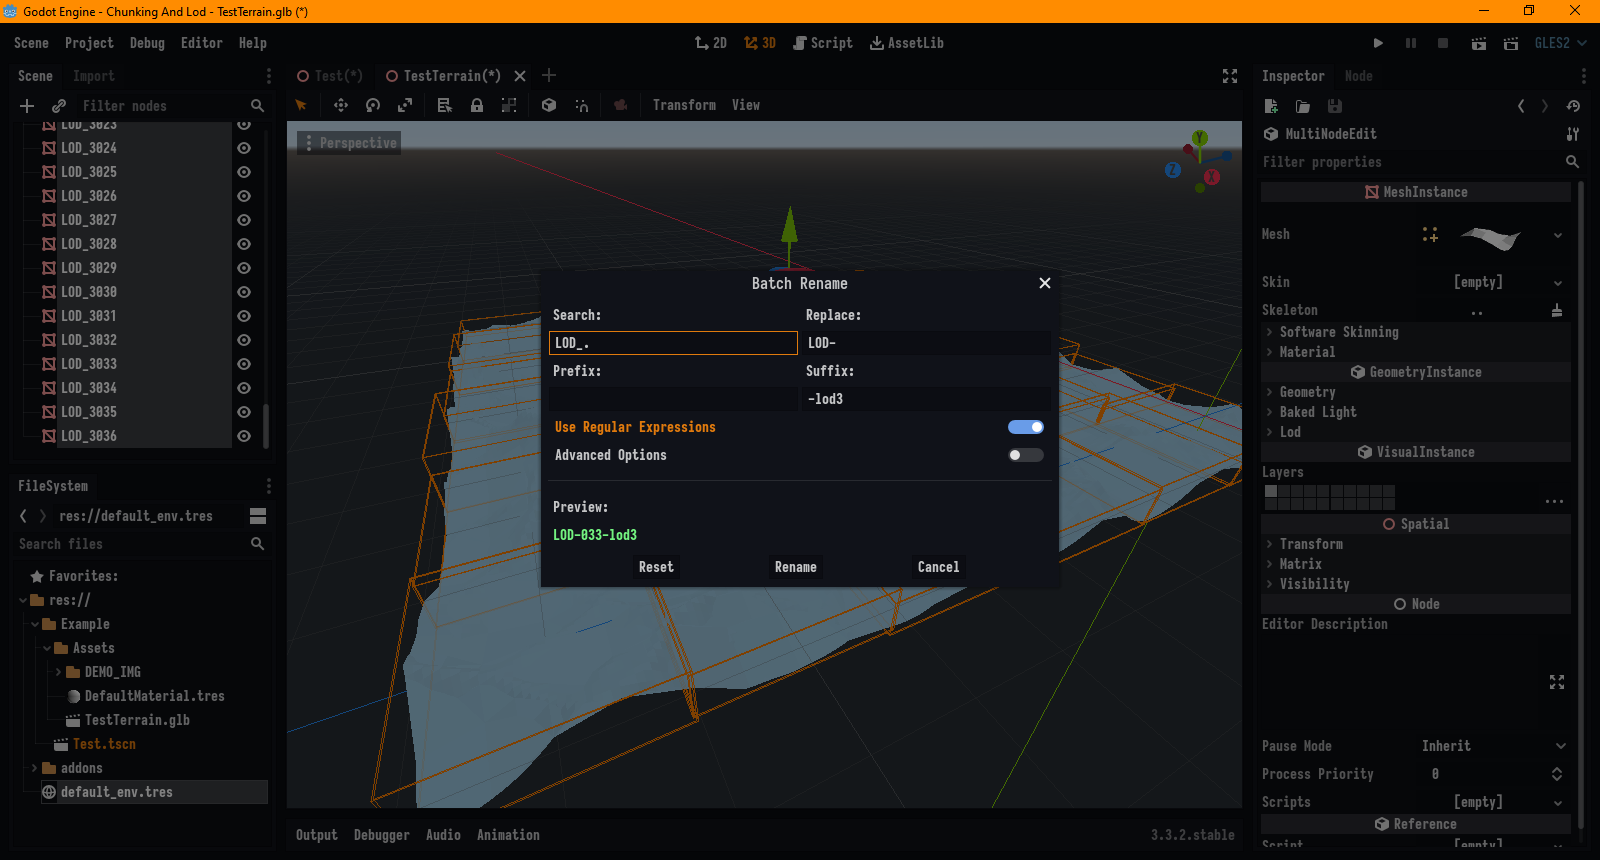
This is the most important step. Rename the MeshInstances in a way that the Manager is going to understand. Select all the meshes that start with LOD1, right click, and batch rename. Here you can copy the contents in the image below. The important thing is to have all the LOD1 meshes named in a way that it has -lod1 at the end of it. Do this for LOD2, and LOD3, but change the suffix to -lod2 and -lod3, respectively.
Now you can drag the res://add-ons/LODManager/LODManager.gd script onto your root node. Go ahead and tick the Group Levels Of Detail property. This should reorganize the meshes. You can now save this scene. Optionally, you could press one of the Show Only Loud N buttons, just to make it a bit more pleasant to the eye.

Lastly, instance your terrain in your main scene. Pick the Position3D at the Tracking Target, and tick Enable. If no Tracking Target is chosen, the manager will just take the world source (aka. vector [0,0,0]) as the player position.

From here on, you are free to place props on each of the chunks. As stated in the beginning, this plugin works recursively. If you created a separate scene out of one of the "-lod1" meshes you could place props on top of it, and as long as they have the "-lod1", "-lod2", or "-lod3" suffix, the manager will process them as well.
With this design, you can specify large chunks to stay at LOD1 till the distance A, while making its children stay on LOD1 till the distance B. The mountains fade slower than the trees, and the trees fade slower than the pebbles on the road.
Fundamentaly, the manager just disables its children. Them not being processed does improve performance, but on larger scales it does consume a lot of memory. Even so, the simple way its built hides a solution. Given that the manager descends the tree recursively, you can take a chunk and save it as a separate scene. As long as the node structure is intact, the manager will process it correctly. The answer to the question "how to chunk?" is simple. Make all chunks have LODObject as their root, and load them as a child of you LODManger. The management of loading and unloading the scenes would ultimately fall to the developer, but displaying the nodes can always be handled by the manager.
First off, I am still unsure of the impact on performance that simply hiding the object has vs. unloading it entirely. This, then, maybe isn't the best implementation performance wise. (Loading/unloading is now possible)
Secondly, there is the problem of far lights. It doesn't have to be lights per se, it's just that lights illustrate this issue the best. Imagine looking out in the distance at night. If you're out of town, you see many lights flashing. If we imagined that you were the player, then the chunk you were in would be LOD 1, and the city would be in LOD 2/3. What should happen is that the lights in the less detailed chunk should probably still show in the distance, even if they were of less quality. BUT, because the chunks are hidden, all their children are hidden with them. You CAN circumvent this by just placing the light object on the same level as the chunks. But the management the plugin is going for right now, would be a nightmare in such a scenario. (Fixed)
Thirdly, speaking of lights, this plugin was only tested on Meshes so I don't know how, and if it will work on anything else.
There are a few issues that may impede my game development process:
The aforementioned Mesh Management problem- Conic chunk loading (a method with which only the chunks that the player sees are loaded)
In case that making meshes invisible, doesn't have the desired performance, I'll probably try to make it load and unload meshes(Instancing chunks is now possible, even though their management ultimately falls down to the developer)The far light problem(Fixed by the new grouping method)- A blanket category called: "Didn't think of it yet"