Live Website · Report Bug · Request Feature
Table of Contents
Go to the VISPA-UI Documentation to check the documentation for VISPA UI. To use VISPA UI for your project just include our CSS file in your style.css file or your index.html file. The simplest and fastest way to get up and running with VISPA-UI is to use our CDN link.
Copy-paste the stylesheet <link> into your HTML files <head> to load our CSS.
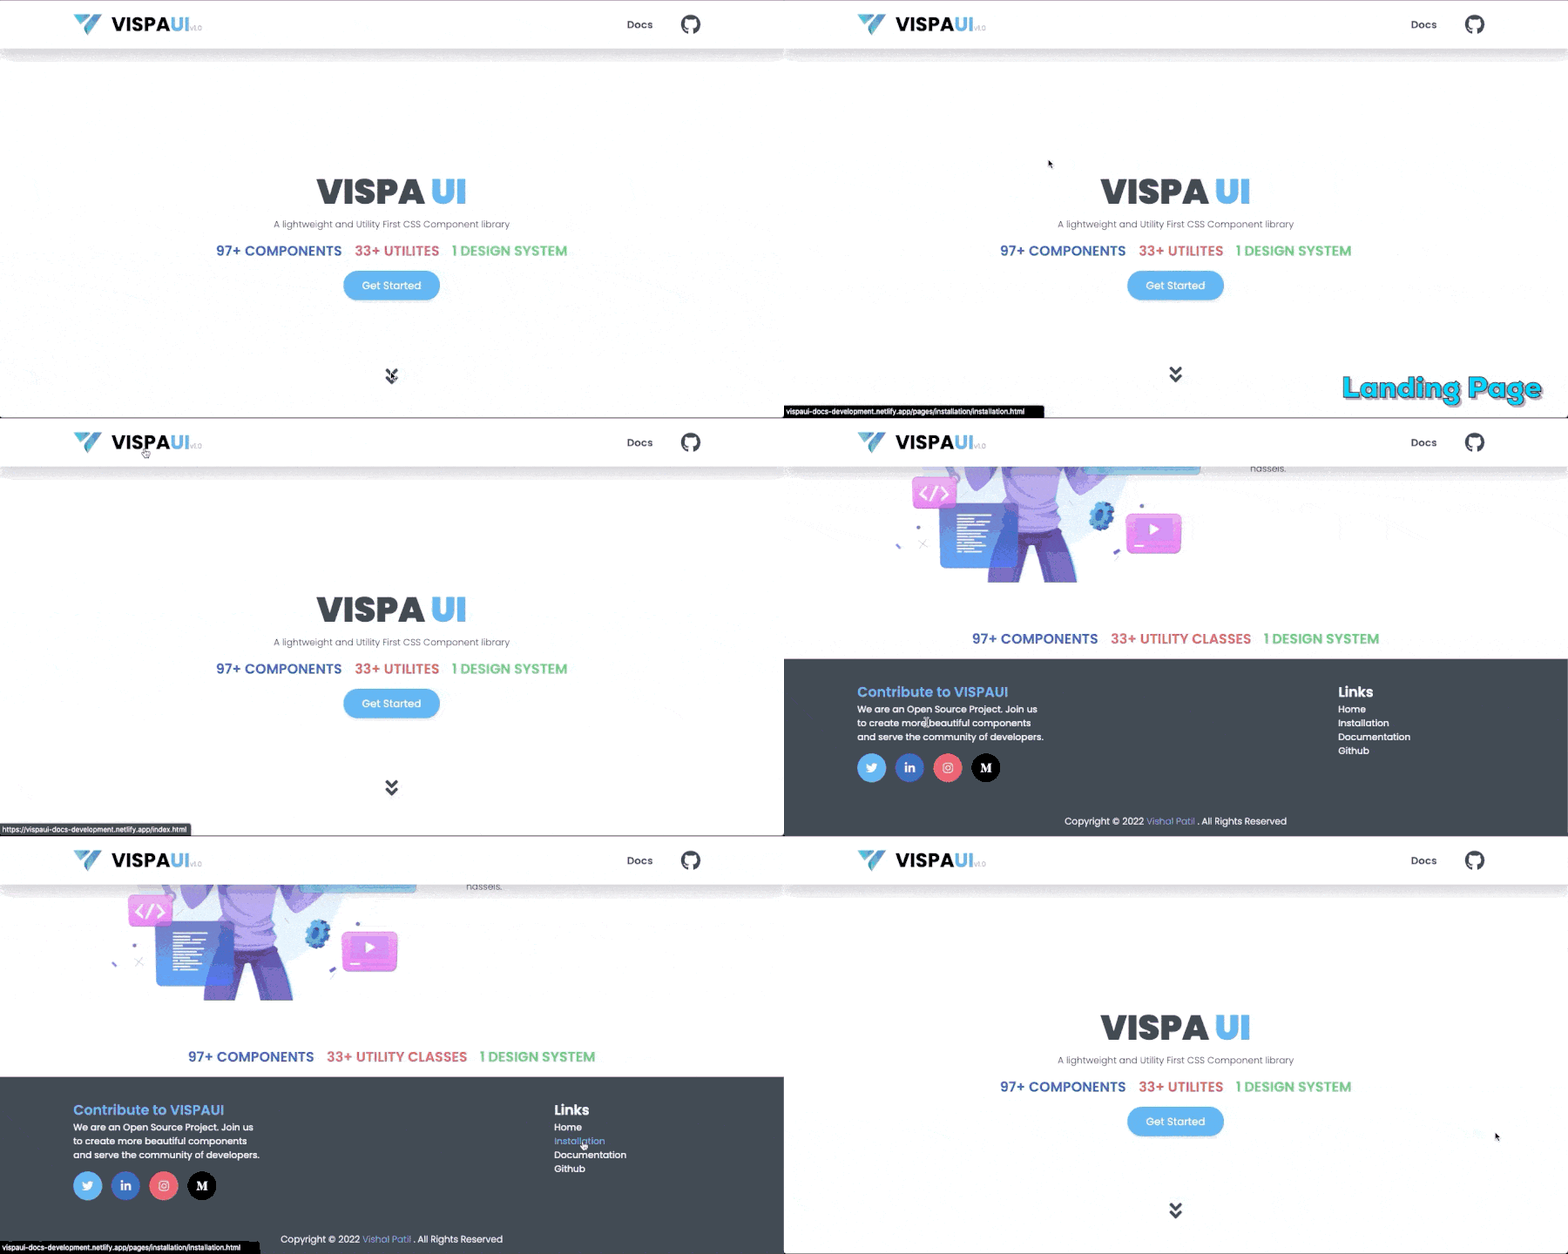
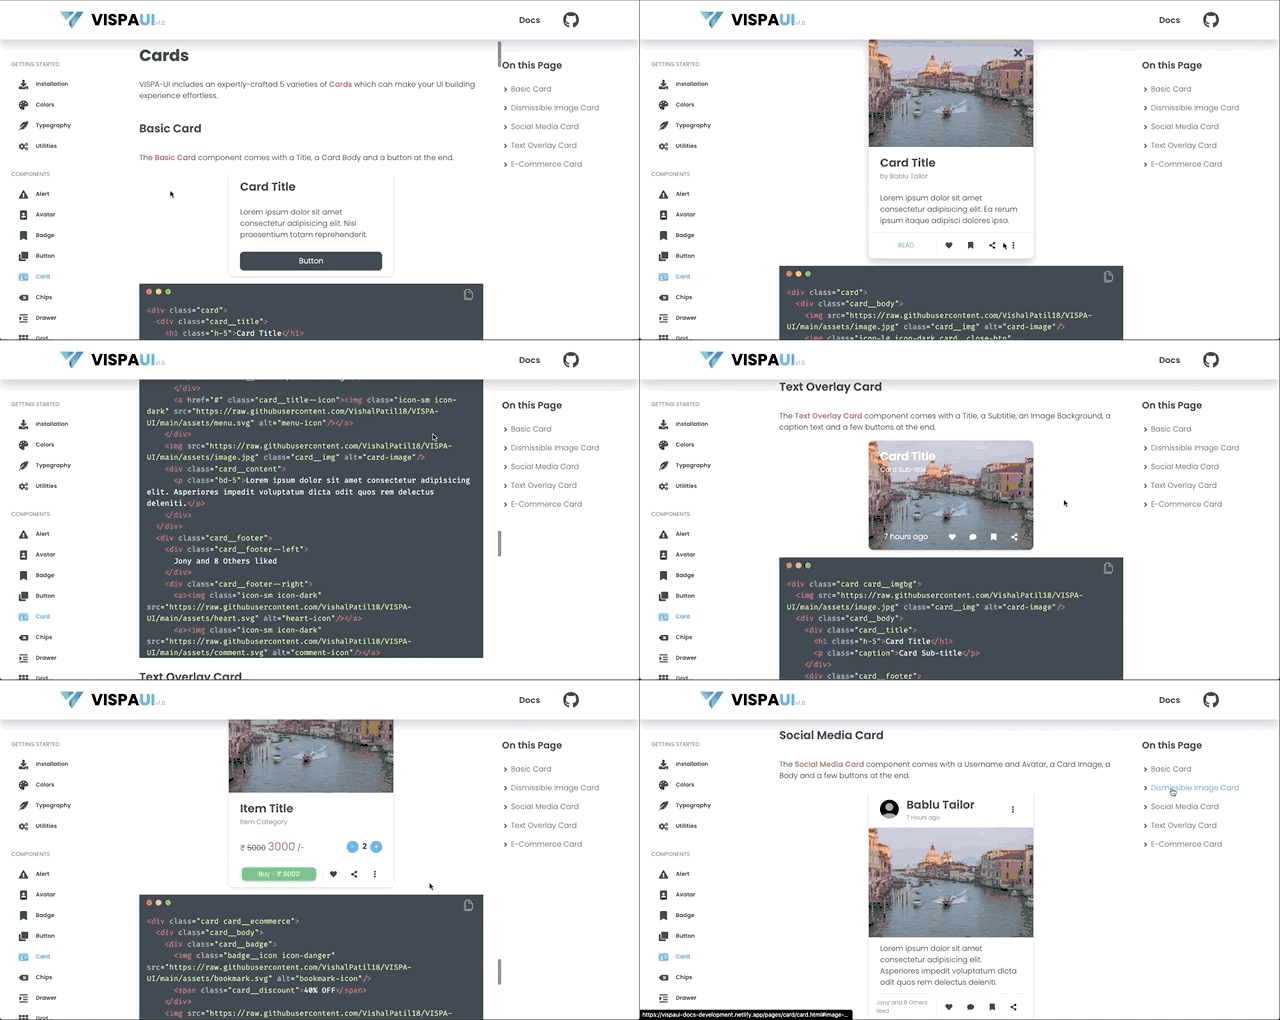
<link rel="stylesheet" href="https://vispaui-postdev-deploy.netlify.app/css/main.css">@include url("https://vispaui-postdev-deploy.netlify.app/css/main.css")- 97+ Components to build real world class UI's
- 33+ Utility Classes that make your UI Building Experience effortless
- A wide variety of components which can be used for various use-cases
- Easy to use and get started
- Customization made easy
- Get ready made HTML-CSS Components at your fingertips
- Proper documentation that helps you use the components easily
- Use our utility classes in your projects so that you can focus more on logic than UI.
- No pricing, absolutely free to use
- HTML
- CSS
- JavaScript
- Lot's of Hardwork, Learnings and ❤️
Contributions are what make the open source community such an amazing place to learn, inspire, and create. Any contributions you make are greatly appreciated.
If you have a suggestion that would make this better, please fork the repo and create a pull request. You can also simply open an issue here. Don't forget to give the project a star! Thanks again!
- Fork the Project
- Create your Feature Branch (git checkout -b feature)
- Commit your Changes (git commit -m 'Add a descriptive commit message')
- Push to the Branch (git push origin feature)
- Open a Pull Request
Special Thanks to some amazing people who helped reviewing VISPA-UI.
MIT License - Copyright (c) 2022 Vishal Patil
vishalpatil.me · GitHub @VishalPatil18 · LinkedIn @vishalrameshpatil · Twitter @VishalPatil1810


