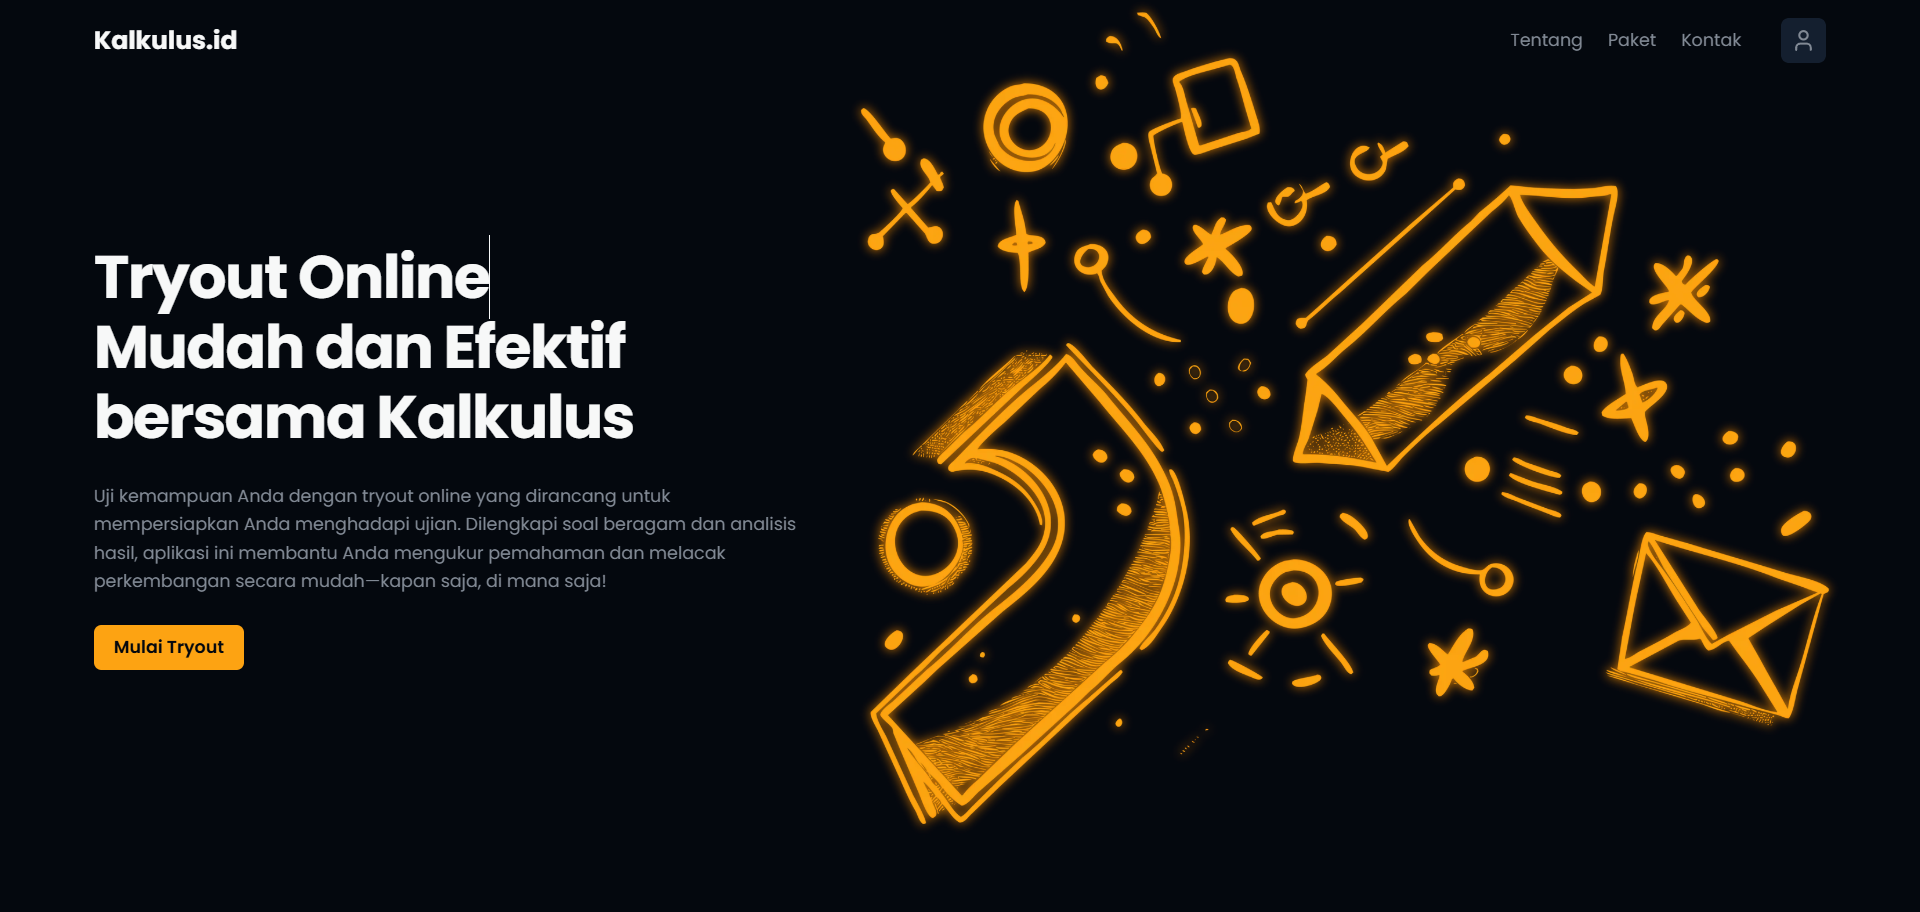
This full-stack Quiz application is developed using Next.js for the client-side and NestJS for the server-side, It includes an admin system to manage quizzes and user subscriptions.
- Authentication: Secure login and registration using JWT and Passport.
- Responsive Design: Optimized for all devices with seamless usability.
- Manual Payment: Simple manual payment process with verification.
- Admin Dashboard: Manage quizzes, users, and subscriptions efficiently.
- Subscription: Access premium features with tiered plans and secure payments.
- Quiz: Interactive multiple-choice quizzes with results, time tracking, and randomized questions.
- Frontend: Next.js with React and TypeScript, providing a modern, scalable UI framework.
- Backend: NestJS written in TypeScript, utilizing Prisma as the ORM for database interactions.
- Database: MySQL, a reliable relational database for structured data storage.
- State Management: React Context for global state and Zustand for simpler, scalable state management needs.
- Authentication: Secure authentication implemented with JWT, supported by cookies for session handling and added flexibility.
- Node.js (v14.x or later)
- npm or yarn
- MySQL database
- Environment setup for both Next.js and NestJS projects
You have to clone the client-side and server-side one by one.
git clone https://github.com/alfathrajif/quiz-app-nextjs-frontend.gitgit clone https://github.com/alfathrajif/quiz-app-nestjs-backend.git- Navigate to the
clientfolder (assumed structure for Next.js project). - Create a
.env.development.localfile with the following variables:
NODE_ENV=development
NEXT_PUBLIC_API_URL=http://localhost:3001
COOKIE_NAME=hroa0FzN4k_dev- Go to the
serverfolder (assumed structure for NestJS project). - Create a
.env.development.localfile with the following variables:
NODE_ENV=development.local
PORT=3001
DATABASE_URL="mysql://root:@localhost:3306/quiz_app_dev"
CLIENT_URL="http://localhost:3000"
JWT_EXPIRATION=10h
JWT_SECRET=52AB3DCB99B48798759A39CC8A221
COOKIE_NAME=hroa0FzN4k_devcd client # Make sure it's in the client folder
npm install
# or
yarn installcd server # Make sure it's in the server folder
npm install
# or
yarn installRun Prisma migrations to create the database tables.
npm run prisma:migrate:devOptionally, seed the database if there’s a seed file
npm run prisma:seed:devIn the server folder, start the backend server in development mode:
npm run start:dev
# or
yarn start:devIn the client folder, start the frontend app:
npm run dev
# or
yarn dev- Frontend: Visit
http://localhost:3000: - Backend: Visit
http://localhost:3001:
- Ensure the database is running and accessible via the credentials in
.env.development.local - Both frontend and backend servers should be running concurrently for the application to work as expected.
