Cyberpay provides you with the most convenient and fastest process of making and collecting payments from your customers all over the world
The mobile SDK will serve as an easy to use library to quickly integrate Cyberpay to your mobile application.
The will serve as a wrapper on the existing Cyberpay web services and create a mobile entry point for making both Card and Bank transactions.
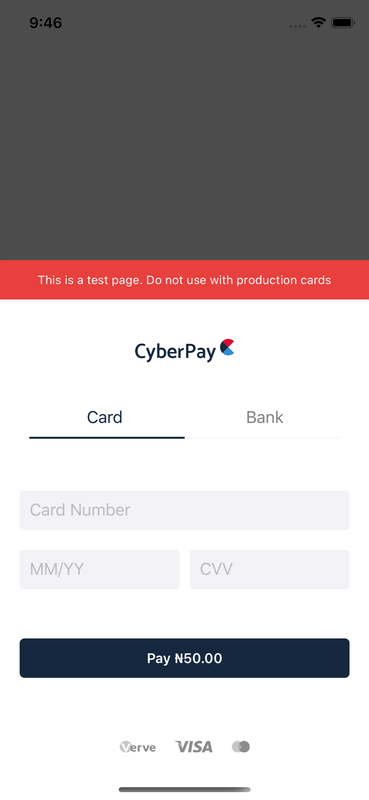
The SDK will provide custom views/layouts for checkout, pin, otp, sucured3d as well as handles all business logics taking the bulk of the job and exposing just three call backs representing the status of the transaction.
We recommend that you install the Cyberpay SDK using the Cocoapods package manager.
The Cyberpay iOS SDK is compatible with iOS Apps supporting iOS 10 and above.
-
If you haven't already, install the latest version of CocoaPods
-
Add this line to your podfile
pod 'cyberpaysdk'-
Run the following command in your terminal after navigating to your project directory.
pod install -
Ensure you use the .xcworkspace file to open your project in Xcode instead of .xcodeproj.
Step 1: Import the cyberpay sdk
import cyberpaysdkStep 2: Complete integration with Our Drop-In UI
         CyberpaySdk.shared.initialise(with: CYBERPAY_INTEGRATION_KEY, mode: .Debug)
           .setTransaction(forCustomerEmail: CUSTOMER_EMAIL, amountInKobo: CUSTOMER_AMOUNT_IN_KOBO)
           .dropInCheckout(rootController: self, onSuccess: {result in
                //Transaction was successful
                print(result.reference)

           }, onError: { (result, error) in
              //Transaction failed, returns an error
               print(error)

           }, onValidate: {result in
                //Not Needed
})Step 1: Import the cyberpay sdk
import cyberpaysdkStep 2: Complete integration with Our Server Drop-In UI
         do {
                try CyberpaySdk.shared.initialise(with: CYBERPAY_INTEGRATION_KEY, mode: .Debug)
                    .continueTransactionFromServer(withReference: SERVER_TRANSACTION_REFERENCE)
                    .serverDropInCheckout(rootController: self, onSuccess: { (result) in
                        //Transaction was successful
                        print(result.reference)
                    }, onError: { (result, error) in
                        //Transaction failed, returns an error
                        print(error)
                    }) { (result) in
                        //Not Needed
                }
            } catch  {
          }
Note : Ensure when going live, you change from .Debug to .Live, and also change the integration key. This key can be gotten from the merchant dashboard on the cyberpay merchant portal
To run the example project, clone the repo, and run pod install from the Example directory first.
cyberpaysdk is available under the MIT license. See the LICENSE file for more info.


