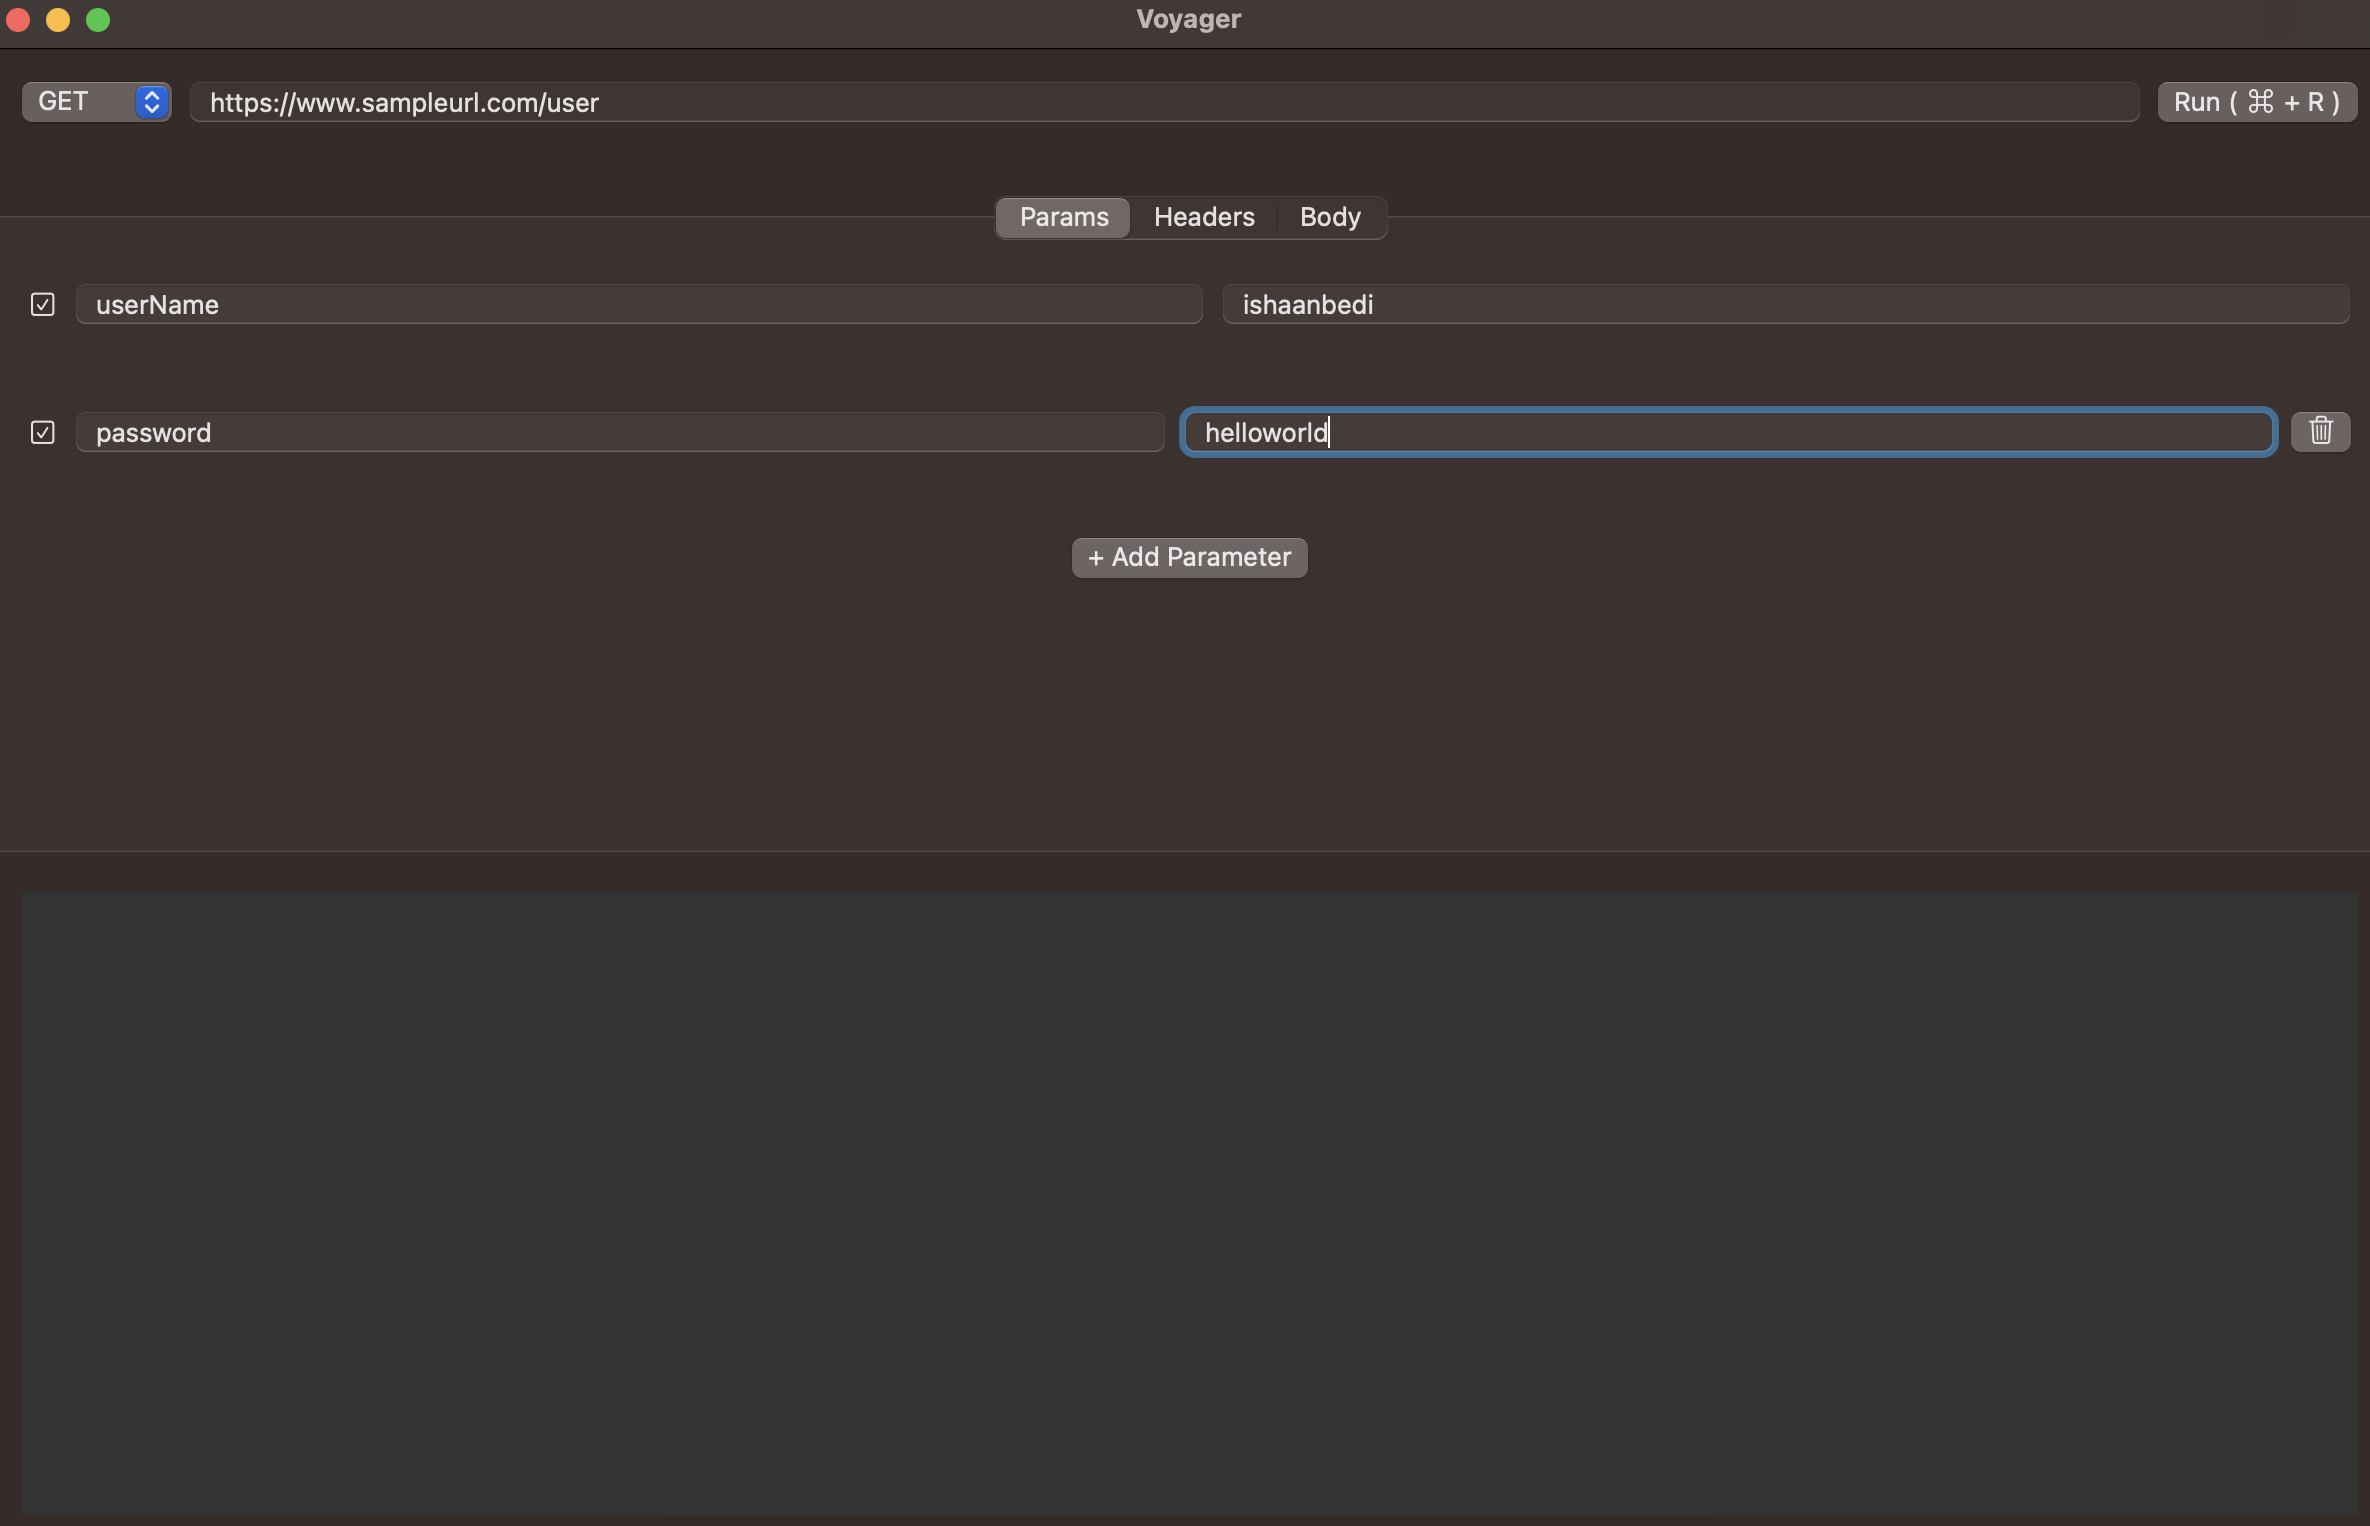
Voyager is a user-friendly macOS application designed for working with API's in an easy-to-interact playground.
Voyager provides a seamless and efficient way to test your APIs and view responses in an in-built interface.
-
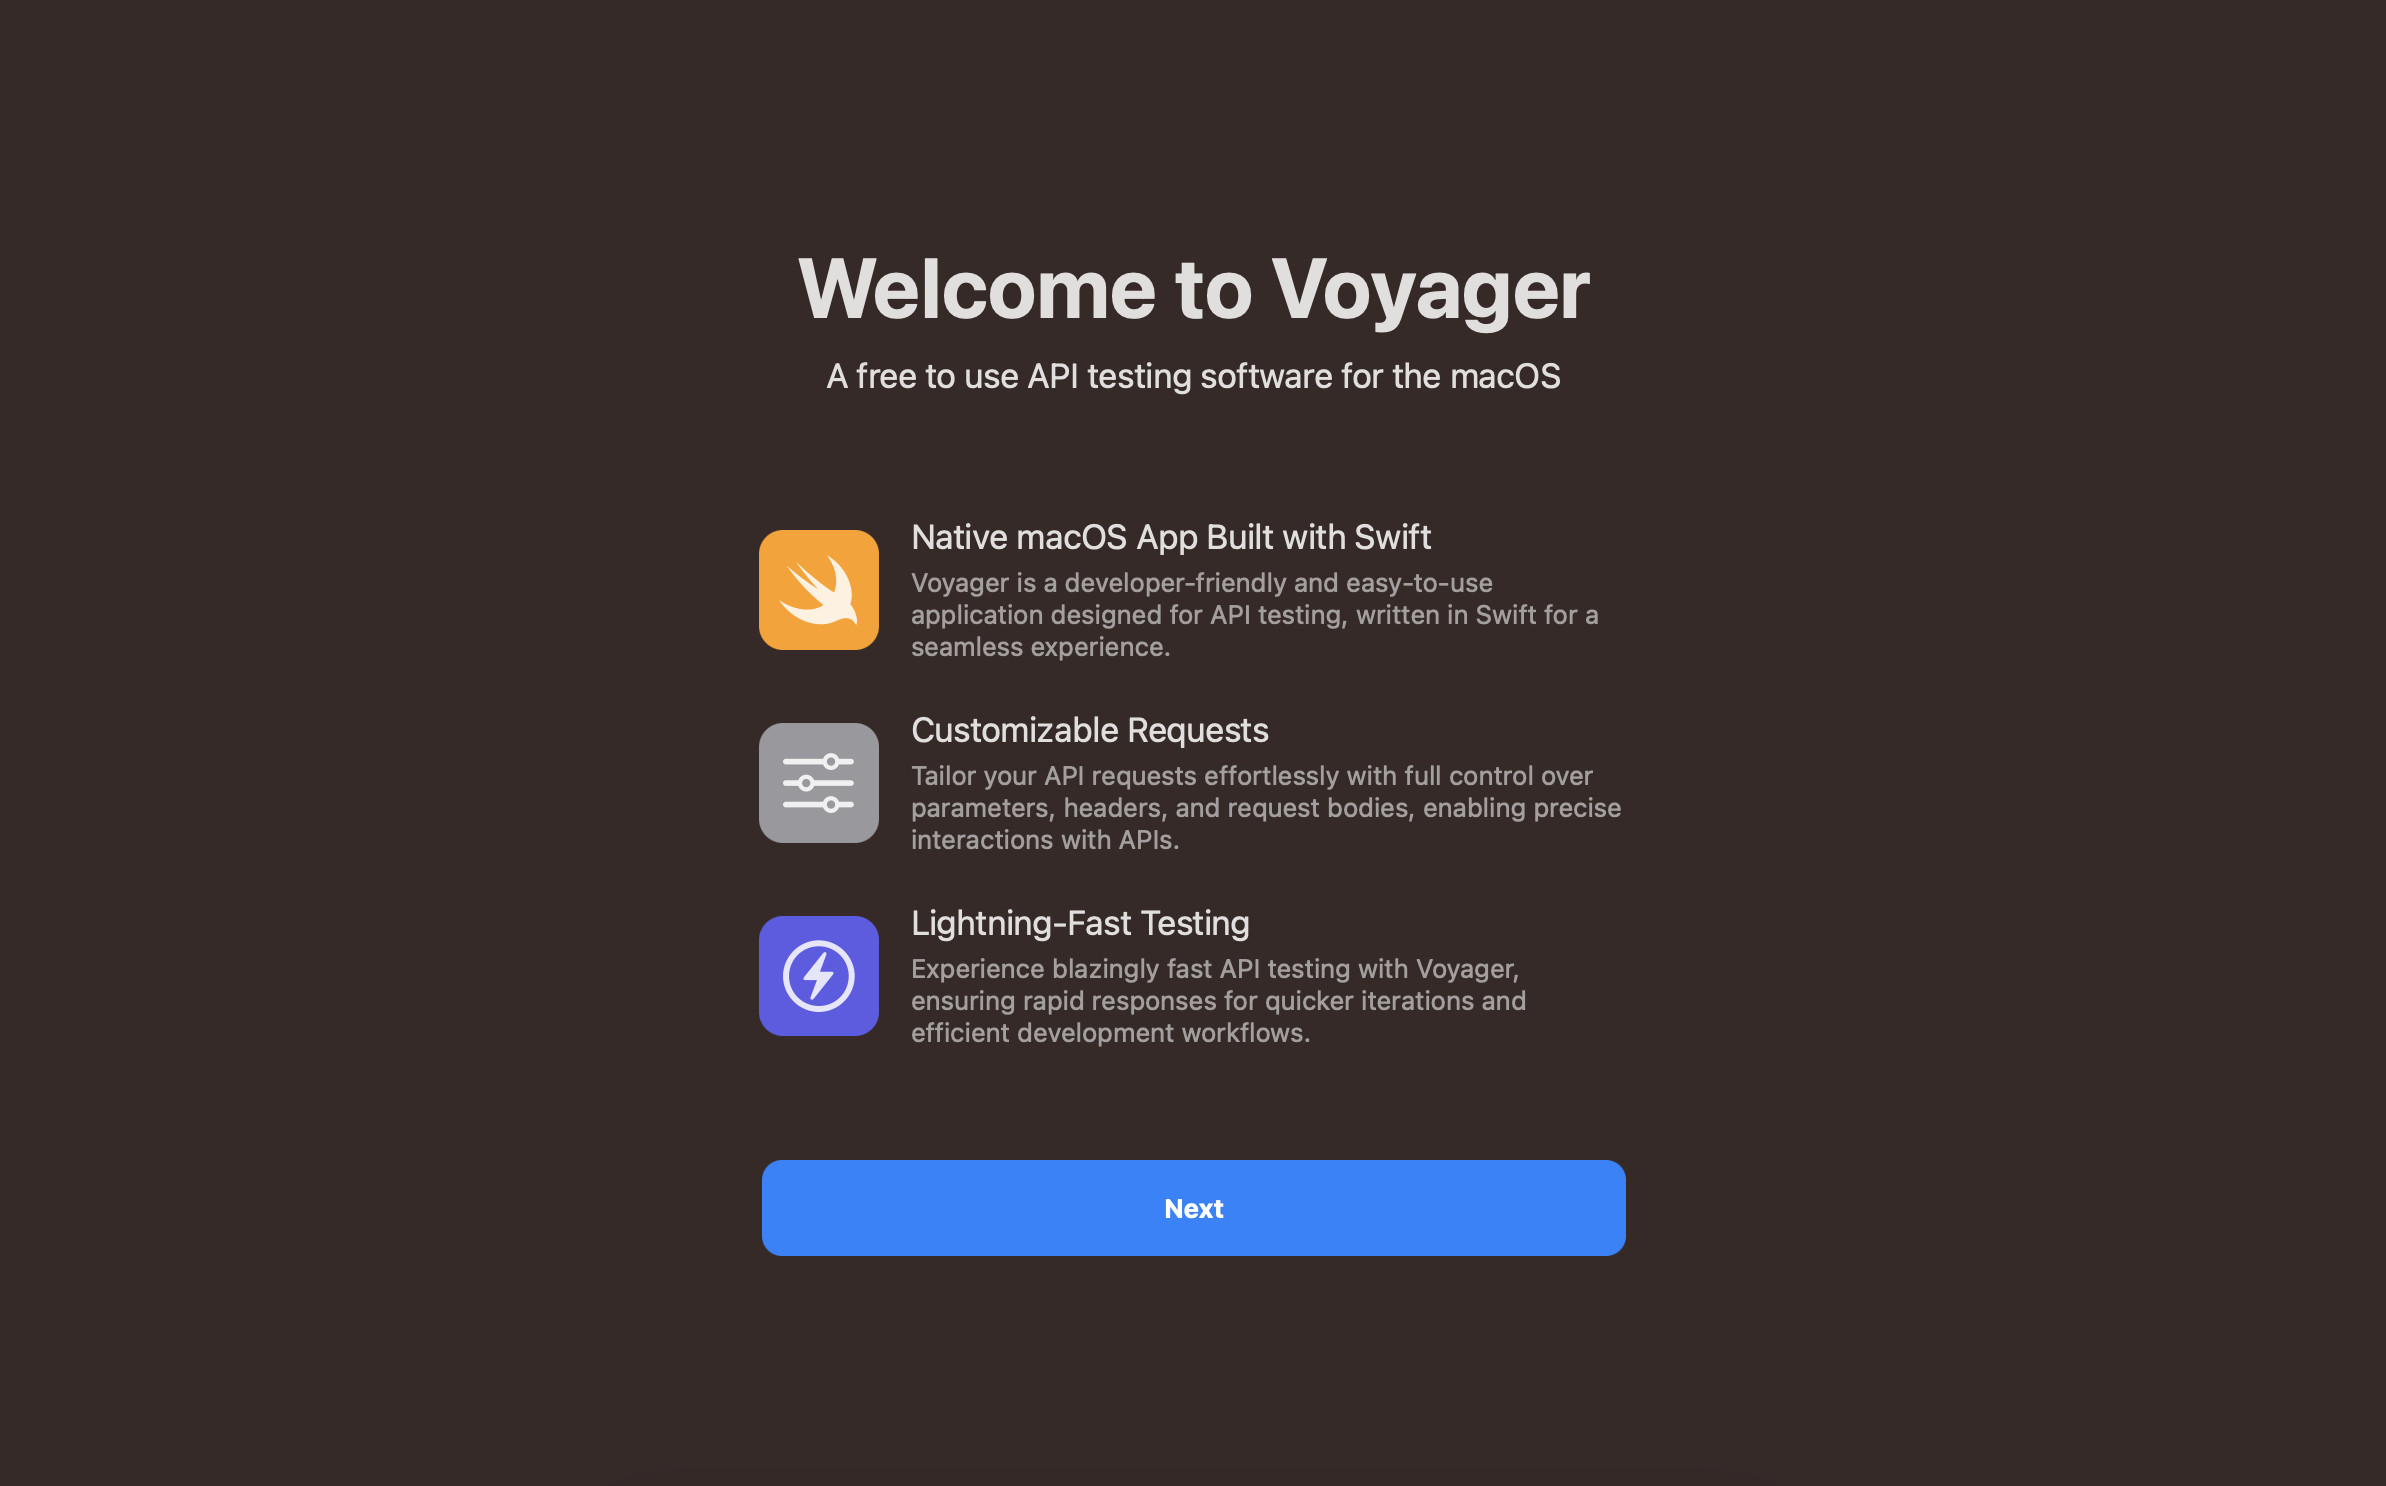
Native macOS Support: Voyager is built entirely with Swift and SwiftUI, ensuring a native and optimized user experience. This allows the app to run smoothly and efficiently on macOS, leveraging the platform's capabilities for seamless API testing.
-
User-Friendly Interface: Voyager offers an intuitive and easy-to-use interface that allows users to quickly set up and execute API requests. The native design integrates seamlessly with macOS, making it familiar to users and enhancing productivity.
-
Request Customization: Developers can easily customize their API requests with various parameters, headers, authentication methods and body of the request. The responsiveness of the app ensures that users can quickly configure their requests and get instant feedback based on their customizations and changes.
Read the official post on ishaanbedi.com/posts/voyager to learn more about Voyager.
Voyager runs on macOS 12.0 or later.
To build the app from the source, you will need Xcode 12.0 or later installed on your Mac. Also, Voyager depends on some third-party libraries that are managed using Swift Package Manager. Xcode will automatically download and install these dependencies when you build the project for the first time.
Voyager is available to download for free from GitHub Releases.
Please visit the releases page to download the latest version of Voyager.
-
Download and Install: Download Voyager from the releases page and install it on your Mac. Installation is as simple as dragging the app to your Applications folder after opening the
DMGfile. -
Launch Voyager: After installation, open Voyager from the Applications folder.
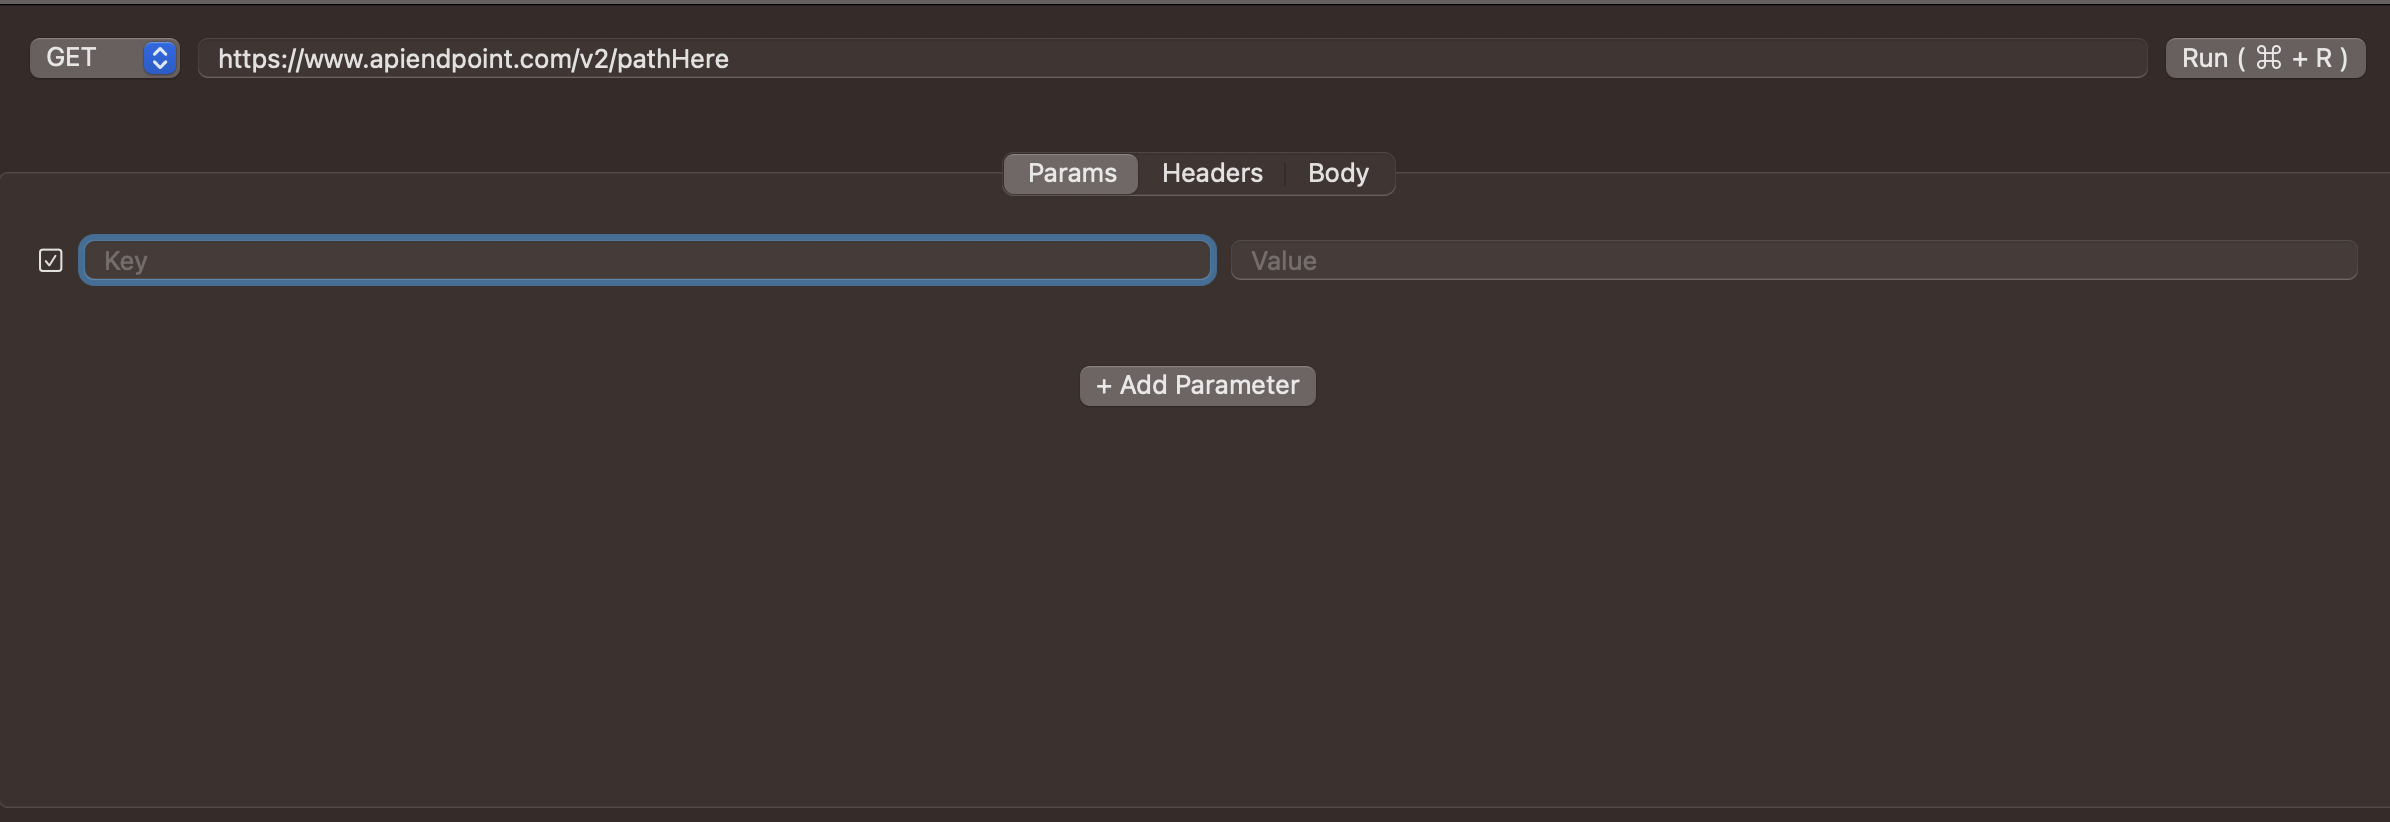
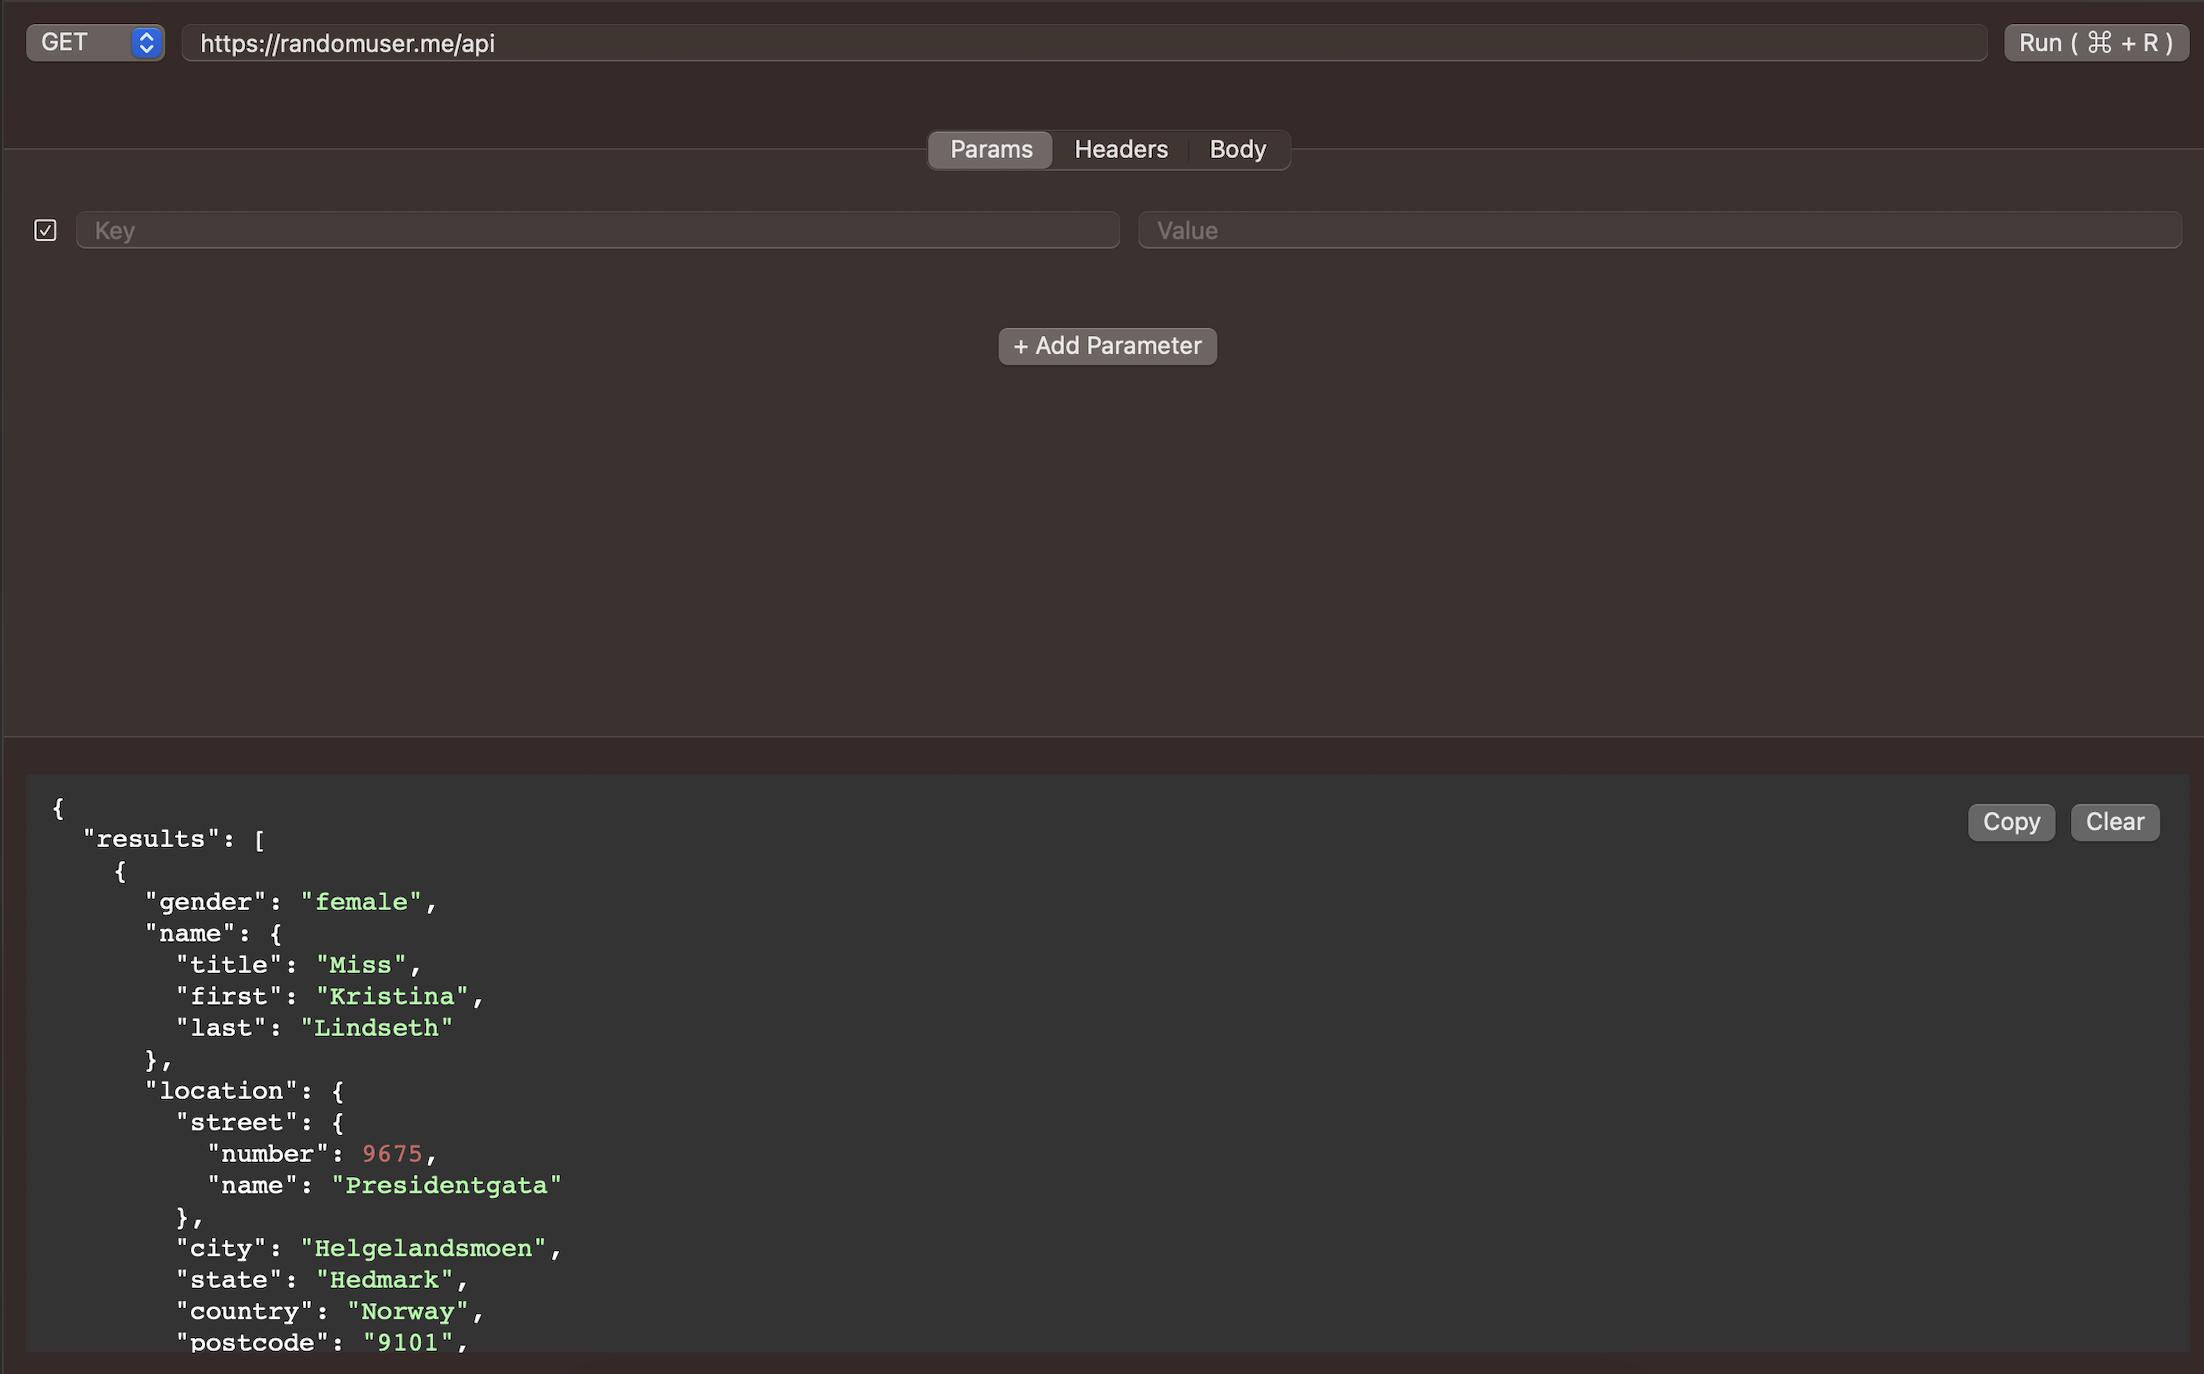
The interface is easy to understand and navigate. The application window is divided into two sections:
- Query Builder: This is where you can configure your API requests. You can enter the API URL, choose the request method, add headers, parameters, and authentication if needed.
- Response Viewer: The response will be displayed in the application in the response viewer section. If the response is in JSON format, it will be formatted and displayed properly, making it easy to read and understand. If the response is in any other format, it will be displayed as plain text here.
You can add as many query parameters as a key-value pair as you want. You can also add as many headers as you want. The headers are added as a key-value pair as well. You can also add authentication tokens and bearer tokens to your request in the Header Section, based on the requirements of your API endpoint.
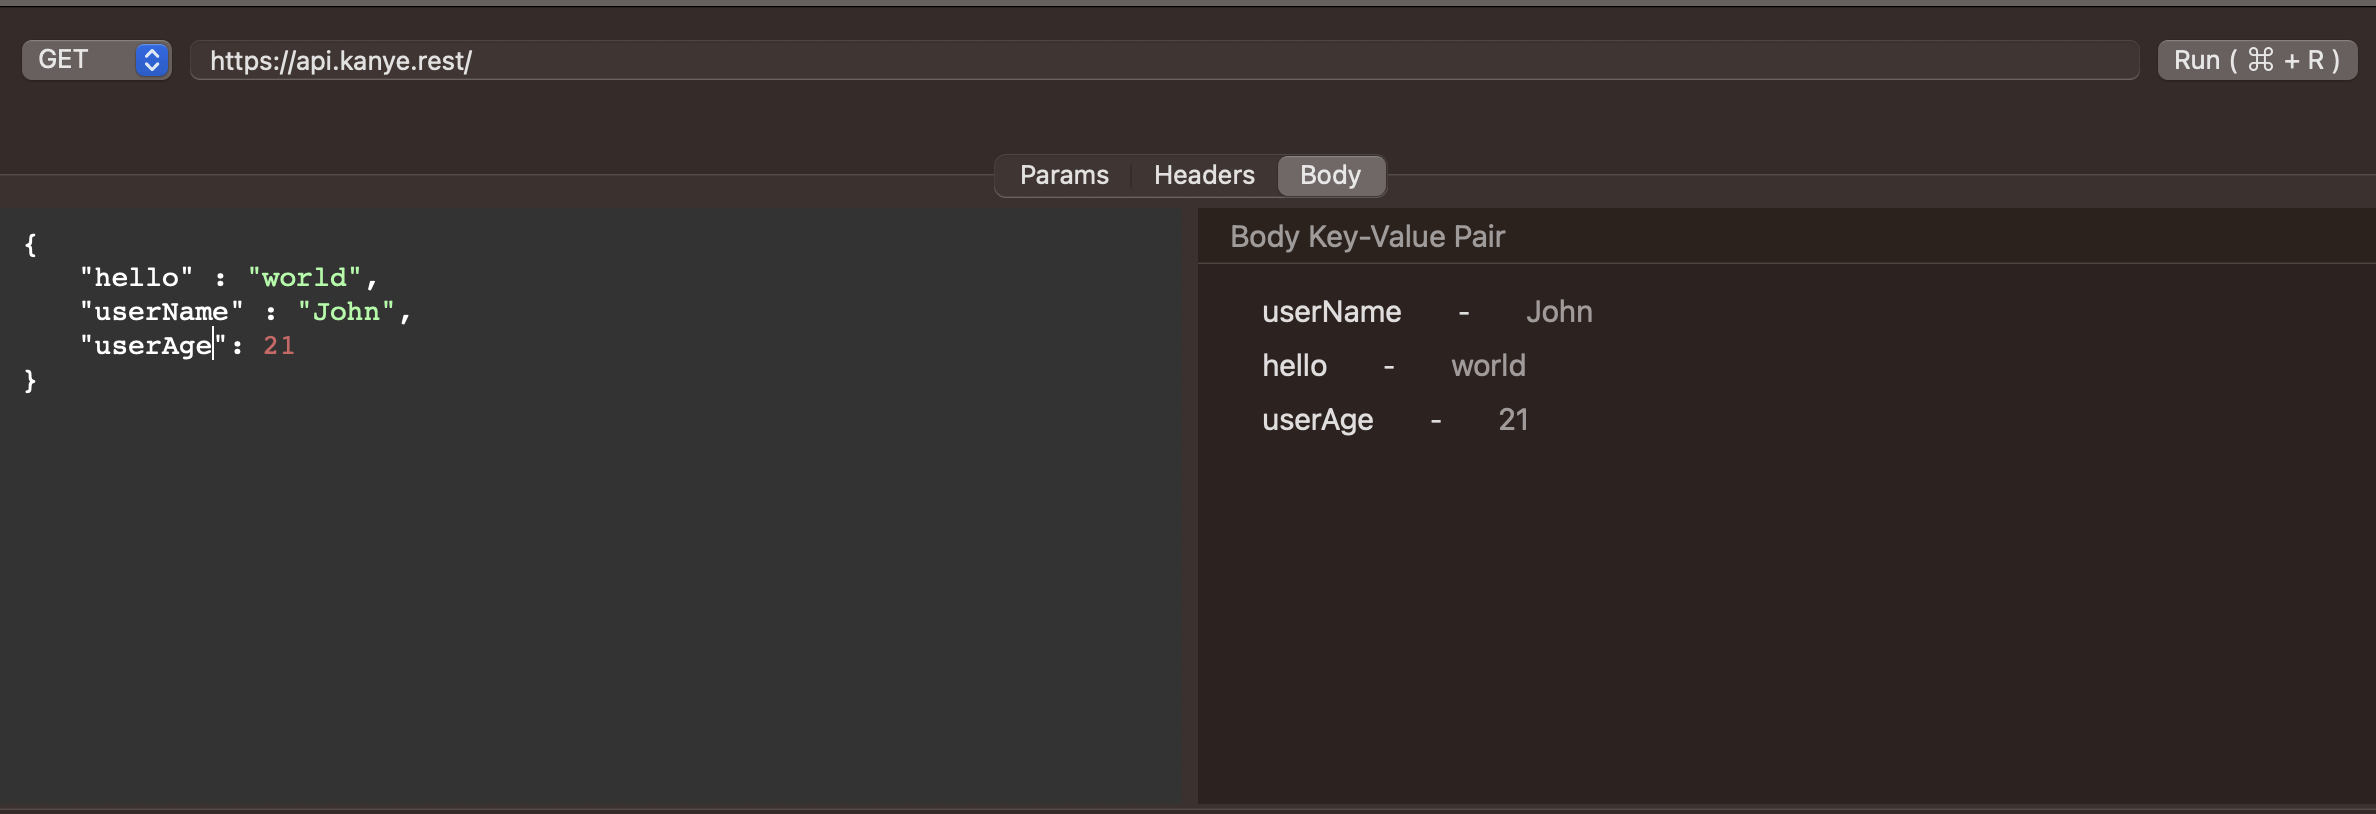
Currently, Voyager supports Basic Authentication and Bearer Token Authentication. You can also add a request body to your request. The request body has to be in JSON format so as to be compatible with Voyager. The translated JSON body will be displayed side by side with the request body in the Query Builder section in a Key-Value pair property list format for easy readability. Also, if you type an invalid JSON, Voyager will notify you of the same in the side-by-side JSON body section.
To send a request, enter the API URL in the provided field in the Query Builder section. Then, choose the request method from the dropdown menu. You can choose from GET, POST, PUT, DELETE, PATCH, and HEAD. After that, you can add headers, parameters, and authentication if required.
Execute the request by clicking the "Run" button or pressing the "Command + R" keyboard shortcut. The response will be displayed in the Response Viewer section.
Voyager could not have been possible without the help of the following open-source projects:
-
Alamofire: Under the hood, Voyager uses Alamofire to make API requests and processes the response to update the UI accordingly.
-
SwiftJSONFormatter: Voyager uses SwiftJSONFormatter to format JSON responses in a readable format for the user to understand and debug.
-
CodeEditor: Voyager uses CodeEditor to display the raw JSON editor and the response editor so as to give a familiar feel to the user of working in an IDE. This also allows the user to easily edit the JSON body and see the changes in real-time in a highlighted format.
Voyager is a simple and easy-to-use API testing tool that allows you to quickly test your API endpoints and view responses in a native macOS application. It is designed to be user-friendly and intuitive, making it easy for developers to test their APIs and debug issues.
No. While Voyager is a great tool for testing APIs, it is not a replacement for Postman or Insomnia. I built Voyager to be a simple and easy-to-use tool for API testing that can be used instantly and is super lightweight, fast, and just gets the work done while building my apps. While Postman/Insomnia provides 10x or maybe 100x more features as compared to Voyager, it doesn't aim to compete with them in terms of complexity and extensibility since this tool is meant to be used for quick API testing and debugging.
Voyager is built with tools and technologies that are exclusive to macOS, so it cannot run on any other operating system.
Voyager is built with Swift and SwiftUI, and some of the features used in the app depend on external libraries that support macOS 12.0 or later. Therefore, Voyager cannot run on older versions of macOS. However, you can build the app from the source and run it on older versions of macOS while downgrading some features while building the app and customizing the code yourself as per your needs.
No, you do not need to have Xcode installed to use Voyager. You can download the app from the releases page and install it on your Mac. However, if you want to build the app from source, you will need to have Xcode installed on your Mac.
To report bugs or request new features, please open an issue on GitHub.
If you encounter any vulnerabilities, please reach out to me directly at hey@ishaanbedi.com if it involves sensitive information or security concerns.
Voyager is distributed under the MIT License.
See the License file for more information.
