Ray the talking plant lets you know when it is thirsty, if the temperature is outside its range, and additional other.
In this tutorial, I will show you how to use a Particle Photon to test the moisture level of some soil. If the moisture falls outside a certain range (too wet or too dry) we will send a text message to a cell phone.
If you have any questions or a piece of this tutorial is unclear, I would encourage you to create an issue and I will address it ASAP.
- Particle Photon (particle, Sparkfun, Adafruit)
- Soil Moisture Sensor (sparkfun)
- Mini breadboard (sparkfun)
$ npm install particle-cli -gFor more in depth coverage of the Pre-requisites, head on over to to the PREREQS.md page.
- Connect the Particle Photon
- Associate the Photon with our Particle account
- Wire the Photon to the Soil Moisture Sensor
- Upload a sketch to the Photon
- Print values to serial
- Create the webhook
- Write the sketch
- Bonus Steps COMING SOON!
- Control a solenoid
- Build a web interface
Okay! Let's really dive in. The first thing we need to do is associate our Photon with our Particle Account.
Once that's all set, we need to physically wire up the soil moisture sensor to the Photon.
Finally, we need to upload a sketch, the code itself, to the Photon.
Let's dive in!
We are going to use the particle command line utility particle-cli to associate our Photon to our Particle account.
Plug in a usb cable from the Photon to your laptop, and open [a] terminal application. You will want to run the following command.
$ particle setupYou should see a screen that looks something like this
_   _      _        _
_ __   __ _ _ __| |_(_) ___| | ___  (_) ___
| '_ \ / _` | '__| __| |/ __| |/ _ \ | |/ _ \
| |_) | (_| | |  | |_| | (__| |  __/_| | (_) |
| .__/ \__,_|_|   \__|_|\___|_|\___(_)_|\___/
|_|                     https://particle.io/

> Setup is easy! Let\'s get started...
? Hello Stranger! This seems to be your first time here. What would you like to
do? (Use arrow keys)
❯ Create a new account
Login
You can use the up and down arrows to choose between Create a new account and Login. I already created a new account according to the Pre-requisites, so I will choose to Login.
You should see a screen that looks like this, letting you know that you successfully logged in, and wanting to know if you should setup the particle that is connected via USB.
> Let's get you logged in!
? Please enter your email address jordan@skole.us
? Please enter your password **************
> Successfully completed login!

! PROTIP: Hold the MODE/SETUP button on your device until it blinks blue!
! PROTIP: Please make sure you are connected to the internet.

> I have detected a Photon connected via USB.
? Would you like to continue with this one? (Y/n)
Type Y to let the Particle command line application know that we do want to continue setting up the Photon connected via USB.
? Would you like to continue with this one? Yes
! The Photon supports secure Wi-Fi setup. We'll try that first.

! PROTIP: Wireless setup of Photons works like a wizard!
! PROTIP: We will automagically change the Wi-Fi network to which your computer is connected.
! PROTIP: You will lose your connection to the internet periodically.

? Found "Photon-RS7R". Would you like to perform setup on this one now? (Y/n)
The command line application is letting us know that it discovered a Photon in Setup Mode called Photon-RS7R. You should see something similar, but the last 4 digits will be different than mine, since no two Photons are the same.
Type Y and hit enter to perform setup on your connected Photon.
⚠️ Although the particle is connected via USB, we are actually only using that to identify the unique identifiers on the Photon device. We will actually tell the Photon to create a small Wireless Local Area Network or LAN. This is like a private internet with only two devices connected. Your laptop, and the Photon. From this point forward we will communicate over this wireless network and only rely on the USB cable for power. How cool is that!
> Obtained magical secure claim code.

> Hey! We successfully connected to Photon-RS7R
> Now to configure our precious Photon-RS7R

! PROTIP: If you want to skip scanning, or your network is configured as a
! PROTIP: non-broadcast network, please enter manual mode to proceed...

? Would you like to manually enter your Wi-Fi network configuration? (y/N)
The command line application will ask you if you want to manually enter your Wi-Fi network configuration. For this first time around, I will assume that your wireless network is broadcasting its name for anybody to connect to.
If we choose the default answer of N then the Photon will scan the airwaves for any network and the type of security, if any, and help us connect to it. In this case it has detected my home Wi-Fi network of Skoles-47-24G which is what we will use for the rest of the tutorial.
I selected my Wi-Fi network, Skoles-47-24G from the dropdown, and typed in my wireless network password My-Wireless-Password. You should use your own network settings.
? Would you like to manually enter your Wi-Fi network configuration? No
? Please select the network to which your Photon should connect: Skoles-47-24G
? Please enter your network password: My-Wireless-Password
Once you hit enter the command line application will confirm that you have entered the correct information for you to verify.
> Here's what we're going to send to the Photon:

> Wi-Fi Network: Skoles-47-24G
> Security: WPA2
> Password: My-Wireless-Password

? Would you like to continue with the information shown above? (Y/n)
If everything looks good, type Y and hit enter! Your photon should begin connecting to the internet!
> Obtaining device information...
> Setting up device id 270046000c47343233323032
> Requesting public key from the device...
> Setting the magical cloud claim code...
> Telling the Photon to apply your Wi-Fi configuration...
> The Photon will now attempt to connect to your Wi-Fi network...

> Configuration complete! You've just won the internet!
? Would you like to return this computer to the wireless network you just config
ured? (Y/n)
Go ahead and type Y and check that your computer is connected to your regular network (in my case Skoles-47-24G) again.
Your device id will be different than the one shown here, but should look similar. If everything went well, the led on your Photon should start "breathing" a cyan color.
Congratulations! Your Photon should now be connected to the internet! We are almost ready to deploy code to it!
> It looks like your Photon has made it happily to the cloud!

! PROTIP: Your Photon may start a firmware update immediately upon connecting for the first time.
! PROTIP: If it starts an update, you will see it flash MAGENTA until the update has completed.
? What would you like to call your photon?
Give your Photon a name. I will call mine ray-the-plant after this tutorial.
? What would you like to call your photon? ray-the-plant
> Your Photon has been bestowed with the name ray-the-plant
> Congratulations! You've just won the internet!
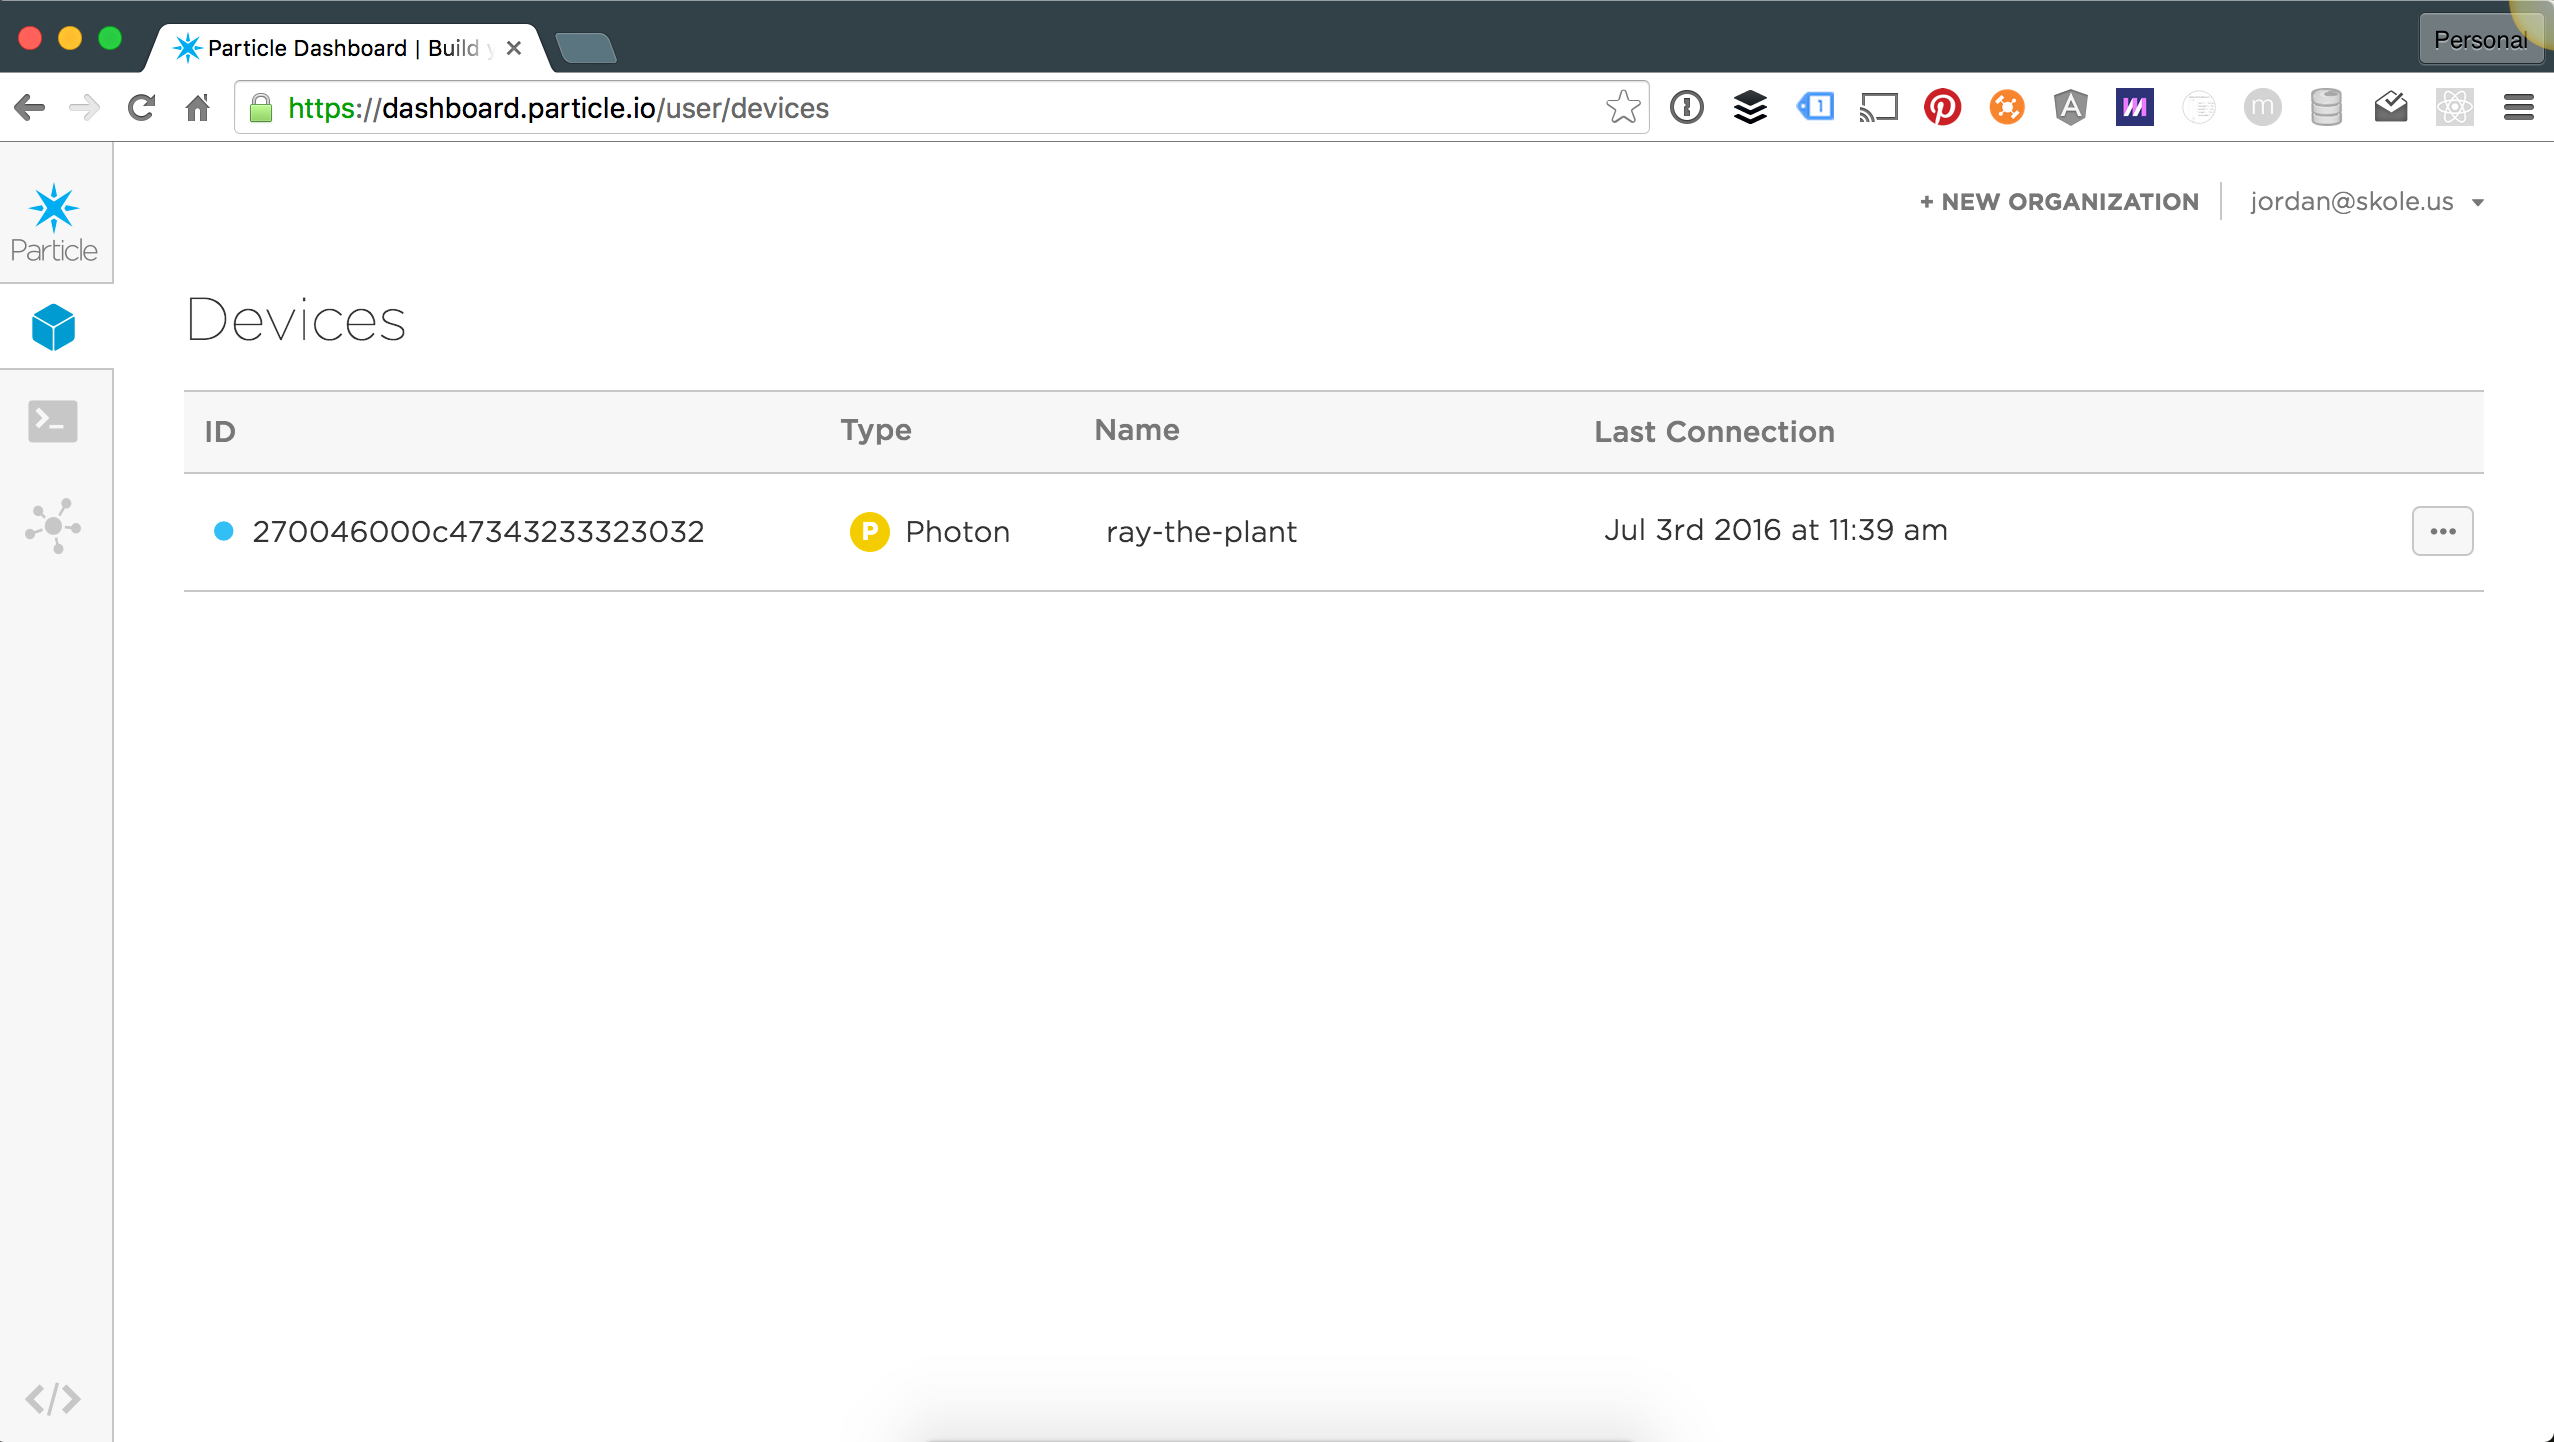
> Ok, bye! Don't forget `particle help` if you're stuck! <3Nice work!! but we are not completely done yet. Let's login to our photon account and make sure that we see our new Photon device.
Head on over to https://dashboard.particle.io/user/devices and log into your Particle account. You should see a new device in the list, with the name we gave it.