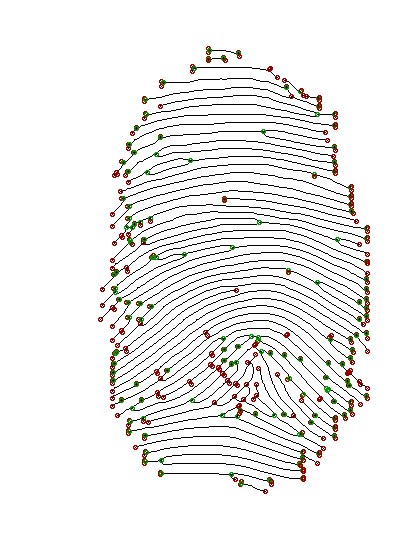
Some implementations of fingerprint recognition algorithms. The base code for fingerpint enhancement, thinning, core point detection and minutiaes extraction is taken from https://github.com/rtshadow/biometrics. We have added fingerprint alignment based on core points part. Alignment is necessary for cancellable biometrics transformation systems such as cartesian transformation.
- python 2.7
- python imaging library (PIL)
- numpy
- matplotlib
First pre-process the fingerprint image using python mextract.py images/101_1.tif 1 16 --preprocess --smooth --save (note that 1 is tolerance for corepoint detection and 16 is the blocksize.) And then to align the preprocessed image and to extract the minutiaes points to a file use: python mextract.py images/101_1.tif 1 16 --smooth --save . The enhanced, aligned fingerprint images and the extracted minutiaes will be saved in the same directory (images/) of the fingerprint template.
Images:
- Before
- After:
You can visit https://github.com/rtshadow/biometrics for more explanation.
Finds singular points on fingerprint.
How it works (more detailed description here):
- divide image into blocks of
block_size - for each block:
- calculate orientation of the fingerprint ridge in that block (i.e. what is the rigde slope / angle between a ridge and horizon)
- sum up the differences of angles (orientations) of the surrounding blocks
- there are 4 cases:
- sum is 180 (+- tolerance) - loop found
- sum is -180 (+- tolerance) - delta found
- sum is 360 (+- tolerance) - whorl found
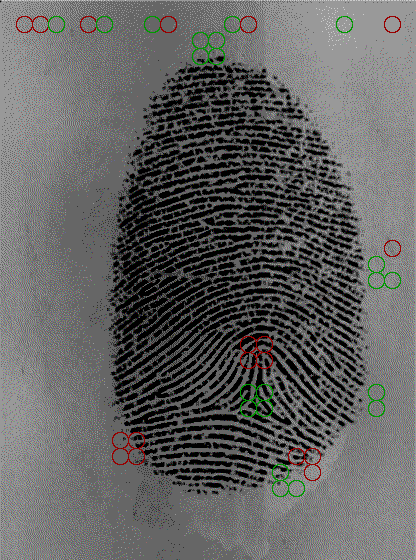
The python script will mark the singularities with circles:
- red for loop
- green for delta
- blue for whorl
Example: python poincare.py images/ppf1.png 16 1 --smooth
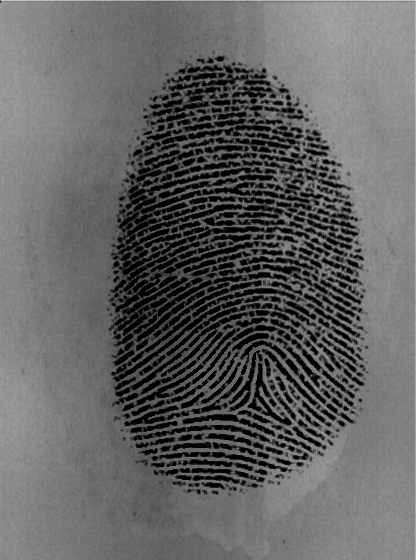
Images:
- Original
- With singular points marked by algorithm:
Note: algorithm marked singular points not only inside fingerprint itself, but on its edges and even outside. This is a result of usage of non-preprocessed image - if the image was enhanced (better contrast, background removed), then only singular points inside fingerprint would be marked.
How it [works] (http://bme.med.upatras.gr/improc/Morphological%20operators.htm#Thining)
Example: python thining.py images/ppf1_enhanced.gif --save
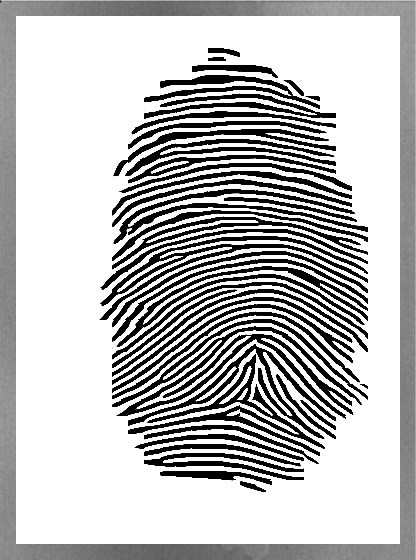
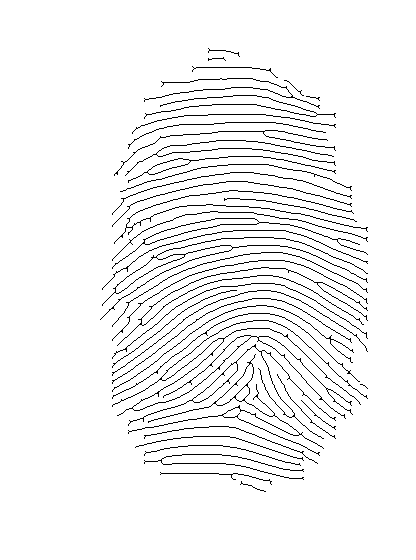
Images:
- Before
- After:
Crossing number methods is a really simple way to detect ridge endings and ridge bifurcations.
First, you'll need thinned (skeleton) image (refer to previous section how to get it). Then the crossing number algorithm will look at 3x3 pixel blocks:
- if middle pixel is black (represents ridge):
- if pixel on boundary are crossed with the ridge once, then we've found ridge ending
- if pixel on boundary are crossed with the ridge three times, then we've found ridge bifurcation
Example: python crossing_number.py images/ppf1_enhanced_thinned.gif --save


