Contains Firmware for Mints Wearable Systems on the Raspberry Pi OS
Download Rasberry Pi Imager to your PC via this link.
wget https://dwservice.net/download/dwagent.sh
chmod +x dwagent.sh
sudo ./dwagent.sh
Follow the on screen instructions
curl http://cdn.pisugar.com/release/pisugar-power-manager.sh | sudo bash
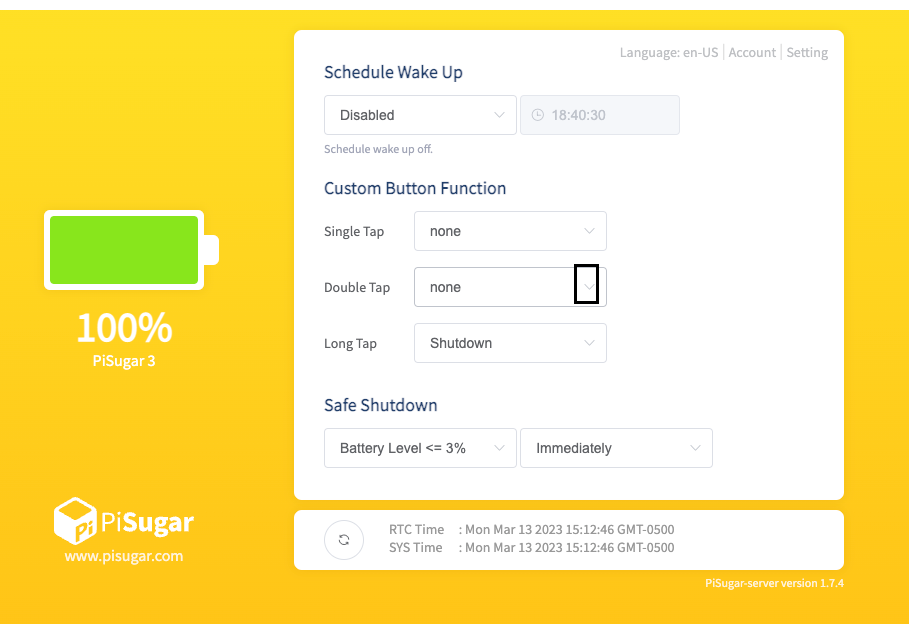
After the installation finishes - Go to the http://:8421 page and update the RTC Clock on the PI Sugar 3
To manually change the settings, edit the kernel command line with sudo nano /boot/cmdline.txt. Find the console entry that refers to the serial0 device, and remove it, including the baud rate setting. It will look something like console=serial0,115200. Make sure the rest of the line remains the same, as errors in this configuration can stop the Raspberry Pi from booting.
- Add dwservice tag
- Start the rasberry pi via main power
- update both the rtc as well as the pi time via the pisugar interface
-
Using the rasberry pi imager do an sd card image
-
Using Raspi Config, enable Wi-Fi, I2C and the serial Port.
sudo raspi-config
- Check wpa_supplimant file
sudo nano /etc/wpa_supplicant/wpa_supplicant.cpnf
-
Reboot the Pi
sudo reboot -
Install dwservice
https://www.dwservice.net/download/dwagent.sh
chmod +x dwagent.sh
sudo ./dwagent.sh
- clone the git repo
mkdir gitHubRepos
- Install pisugaru SW
curl http://cdn.pisugar.com/release/pisugar-power-manager.sh | sudo bash
- Update pisugar SW
curl https://cdn.pisugar.com/release/PiSugarUpdate.sh | sudo bash
- Add an extra I2c Pipeline
On the to /boot/config.txt add the following lines
dtoverlay=i2c-gpio,bus=4,i2c_gpio_delay_us=1,i2c_gpio_sda=23,i2c_gpio_scl=24And connect the secondary I2C devices to gpio pins 23(16) and 24(18).
sudo nano /boot/config.txt
- Update pi sugar
curl https://cdn.pisugar.com/release/PiSugarUpdate.sh | sudo bash
curl https://cdn.pisugar.com/release/PiSugarUpdate.sh | sudo bash
  pip3 install adafruit-circuitpython-gps
  pip3 install adafruit-extended-bus
