 SPReplicator is a PowerShell module that helps replicate SharePoint list data.
This module uses the SharePoint Client Side Object Model (CSOM), the PnP.PowerShell module and all required libraries and dlls are included. Installing the SharePoint binaries is not required for the replication to work 👍 Thank you Microsoft for the redistributable nuget and PnP.PowerShell.
SPReplicator works with both on-prem and SharePoint Online and is currently in beta. It also works on .NET Core, so it's cross-platform, and supports Windows, macOS and Linux.
Please report any issues to clemaire@gmail.com.
SPReplicator is now in the PowerShell Gallery. Run the following from an administrative prompt to install SPReplicator for all users:
Install-Module SPReplicatorOr if you don't have administrative access or want to save it locally (just for yourself), run:
Install-Module SPReplicator -Scope CurrentUserIf you're scheduling tasks via Task Schedule or SQL Server agent, installing the module with administrative privileges is best because it will ensure all users have access via Program Files.
For more details about commands, visit the wiki or use Get-Help.
This module can be used for replicating data in a number of ways.
- Between air gapped (offline) servers that do not have direct access to each other
- Directly from SharePoint site collection to SharePoint site collection
- From SQL Server to SharePoint
- From SharePoint to SQL Server
- From CSV to SharePoint
- From SharePoint to CSV
- From On-prem to SharePoint Online and back
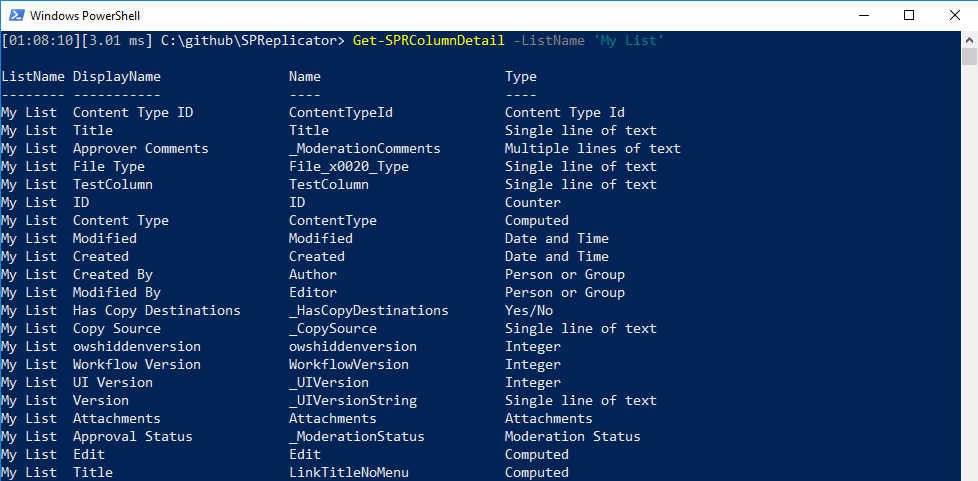
SPReplicator has a number of commands that help you manage SharePoint lists. You can view, delete, and add records easily and there's even a command that makes it easy to see internal column names and datatypes.
Export-SPRListItem -Site https://intranet -List Employees -Path \\nas\replicationdata\Employees.csvYou can specify -Site and -Credential with every command. Or you can establish a connection and not worry about specifying the Site or Credentials in subsequent command executions.
There is no need to assign the output to a variable, as it creates a reusable global variable $global:spsite.
# using your own account credentials
Connect-SPRSite -Site https://intranet

# specifying other credentials
Connect-SPRSite -Site https://intranet -Credential ad\otheruser

# using your own account credentials and SP Online
Connect-SPRSite -Site https://corp.sharepoint.com -Credential otheruser@corp.onmicrosoft.com

# using MFA
Connect-SPRSite -Site https://corp.sharepoint.com -AuthenticationMode WebLogin

# using app login
Connect-SPRSite -Site https://corp.sharepoint.com -AuthenticationMode AppOnly -Credential 1e36c5cc-5281-4235-a84f-c94dc2de8800
Now that we've established a connection via Connect-SPRSite, we no longer need to specify the Site.
We can import data two ways, using Import-SPRListItem or Add-SPRListItem
# Import from CSV
Import-SPRListItem -List Employees -Path \\nas\replicationdata\Employees.csv

# Import from SQL Server
Invoke-DbaQuery -SqlInstance sql2017 -Query "Select fname, lname where id > 100" | Add-SPRListItem -List emps

# Import any PowerShell object, really. So long as it has the properly named columns.
Get-ADUser -Filter * | Select SamAccountName, whateverelse | Add-SPRListItem -List ADList

# Didn't have time to create a good SharePoint list? Use -AutoCreateList
Get-ADUser -Filter * | Add-SPRListItem -List ADList -AutoCreateList
This was just a subset of command examples. For more command examples, visit the wiki or use Get-Help.
A Power BI Template can be downloaded from here.
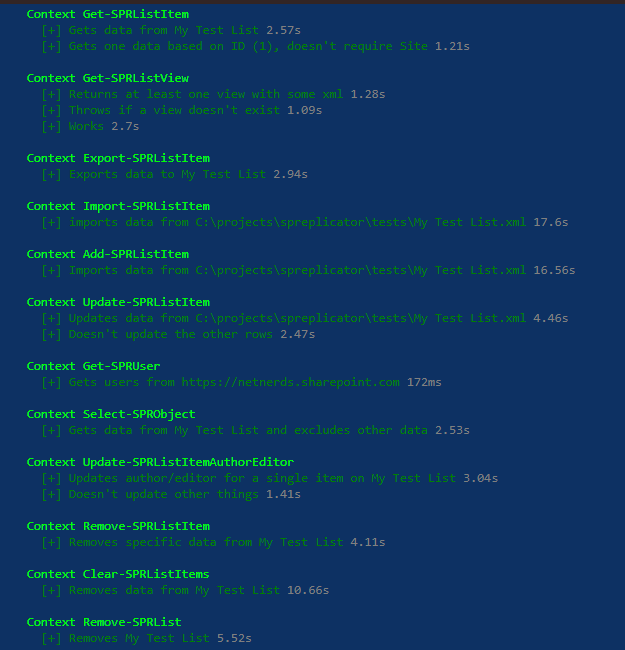
This module comes with integration tests! If you'd like to see how I test the commands, check out Integration.Tests.ps1
To find out more about any command, including additional examples, use Get-Help.
Get-Help Get-SPRColumnDetail -Detailed


