-
Notifications
You must be signed in to change notification settings - Fork 43
GUI Overview
3D View | Tool Panel | Entity Viewer | Console | Configuration | Camera Control

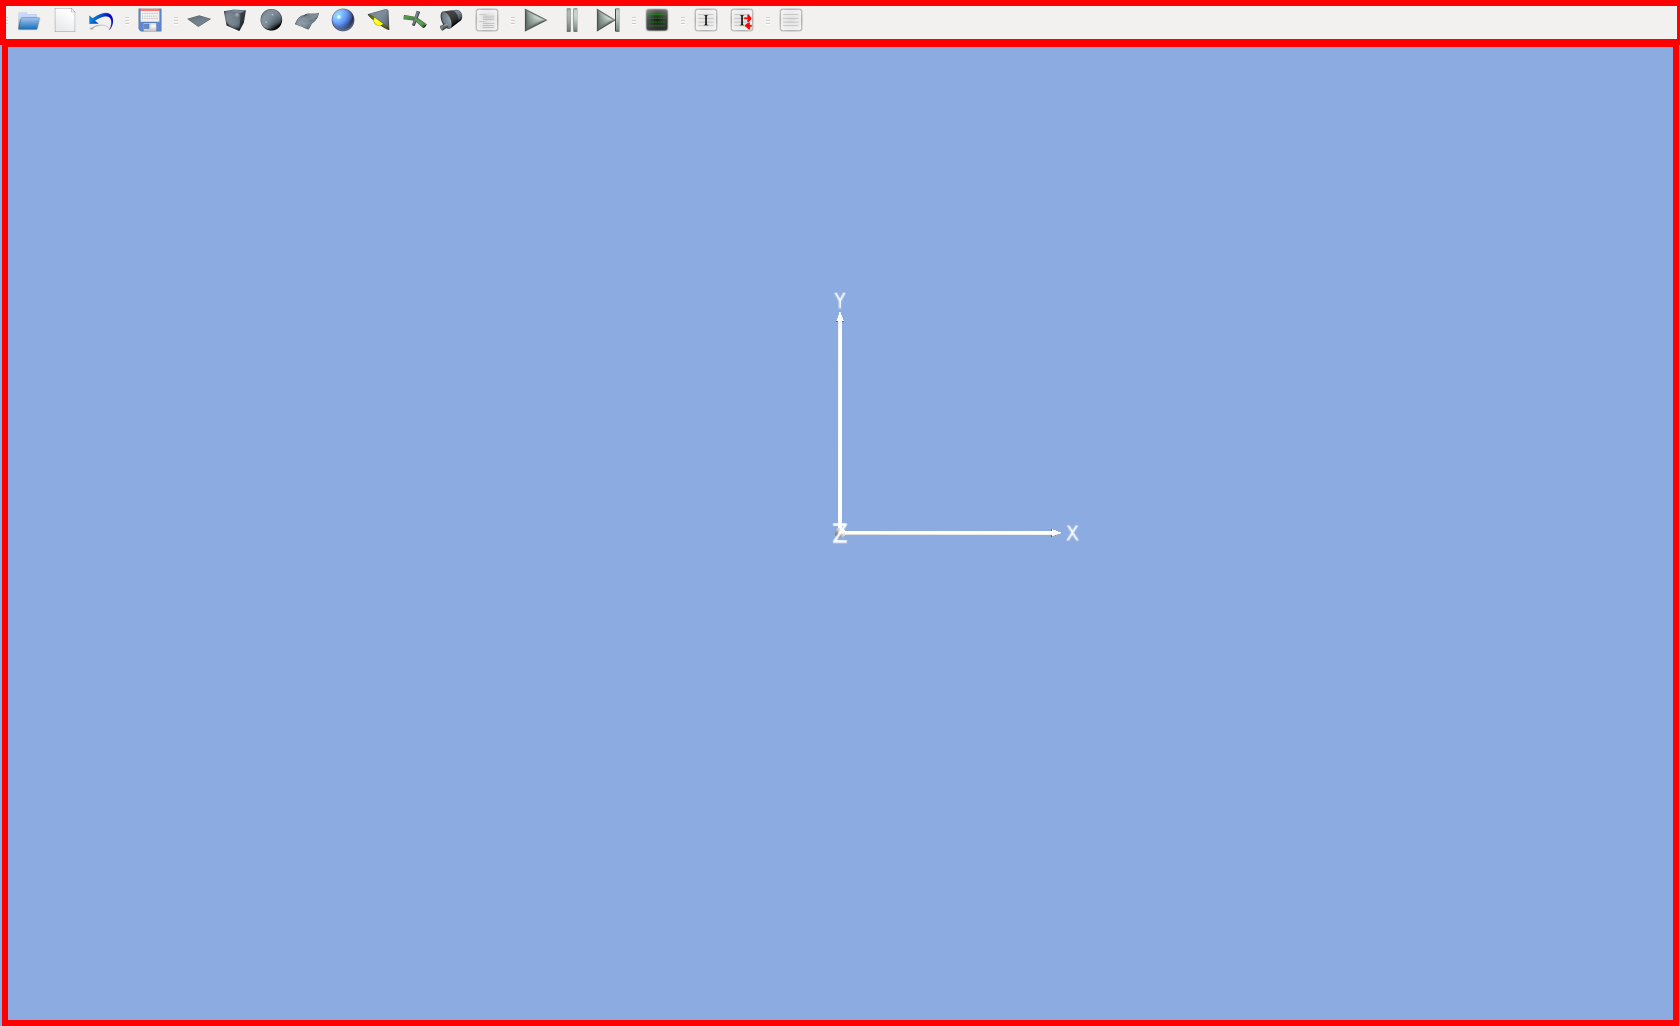
This is the default mars user interface when running in docking mode. You can see a big 3D view and a tool panel on top.
The MARS GUI is completely modular and can be configured in the settings under MarsGui or live in the editor by dragging the widgets around. You also have the choice between a docked mode (single window with widgets) or windowed mode (every widget is its own window). You can toggle the mode with Strg+D or in the menu bar View->Dock
The 3D view is displaying the visual components of a simulation onto the screen. You can move the camera with your arrow keys or by holding down the middle mouse button for translation in the plane of the cameras view or the right mouse button for zooming. If you hold down the left mouse button you can rotate the camera.
The tool panel gives access to the most important features of MARS.

- Open: Opens a dialog to choose a file of one of the supported formats to load into the simulation.
- Clear Simulation: Removes all nodes of the running simulation and resets the scene.
- Reset Simulation: Resets a simulation to the state when it was loaded.
- MARS Scene:
- Add Plane: Adds a plane primitive to the simulation.
- Add Box: Adds a box primitive to the simulation.
- Add Sphere: Adds a Sphere primitive to the simulation.
- Add Mesh: Opens a dialog to import a single mesh into the simulation.
- Add Material: Adds a default material to the material list.
- Add Light: Adds a light to the simulation.
- Add Joint: Adds a joint to two given nodes in the simulation.
- Add Motor: Adds a motor to a given joint in the simulation.
- Entity Viewer: Opens or closes the Entity Viewer
- Start: Starts the simulation.
- Pause: Pauses the simulation.
- Single Step: Steps one time frame forward in the simulation.
- Console: Opens or closes the Console
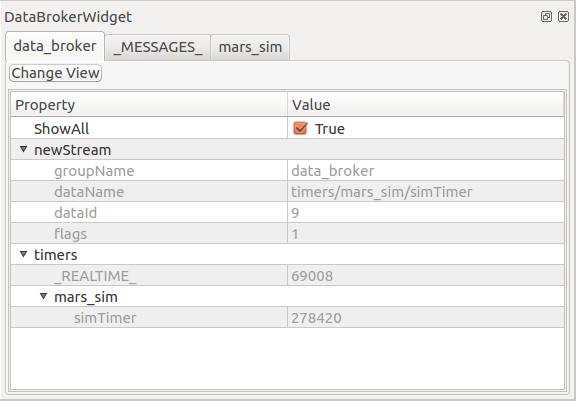
- DataBroker: Opens or closes the DataBroker
- DataBroker Connections: Opens or closes the DataBroker Connections View
- Configuration: Opens or closes the mars settings dialog.

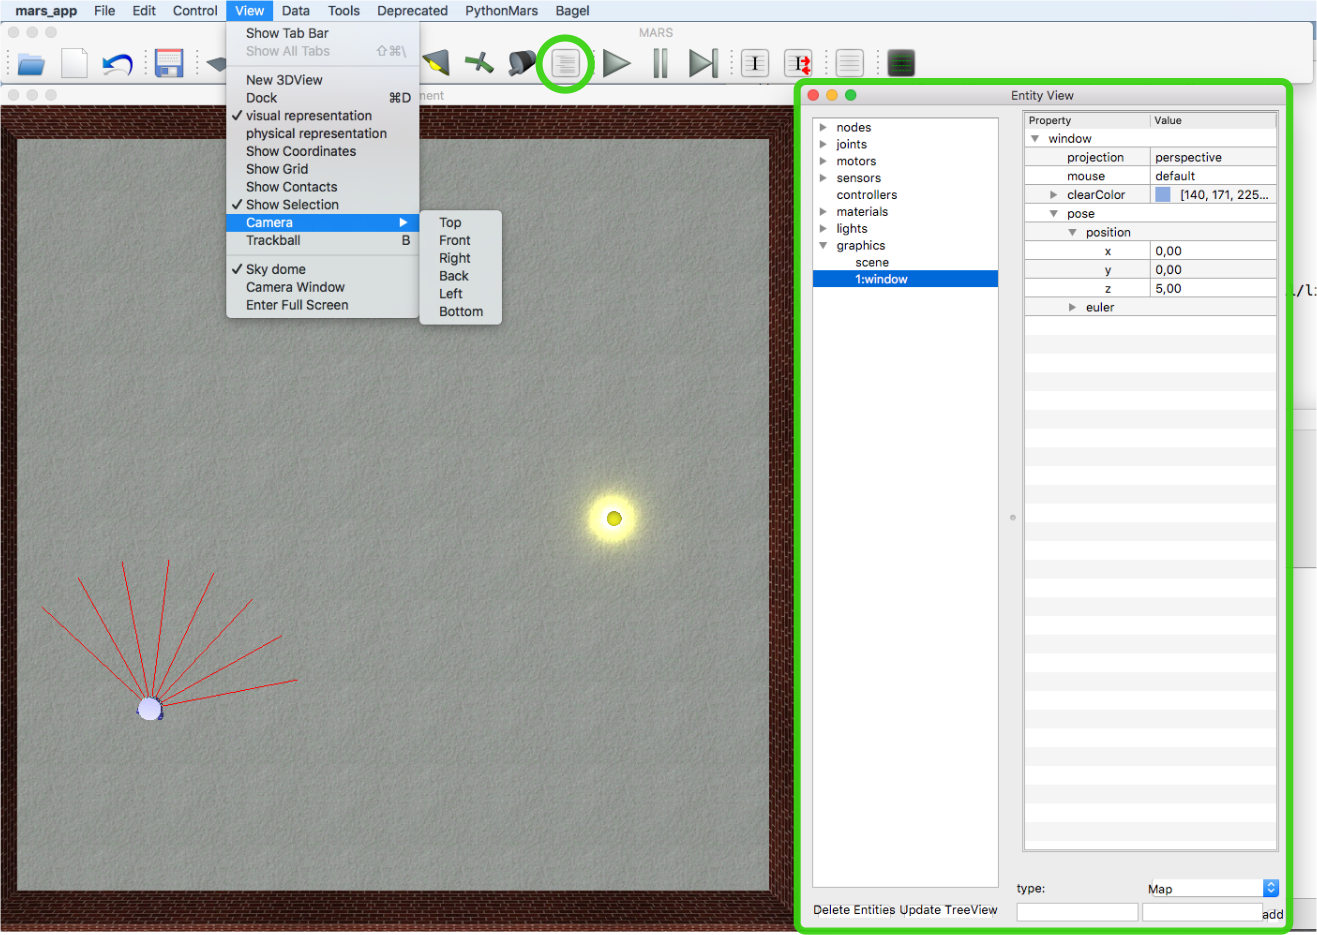
The Entity Viewer you can open with (13) in the tool panel lists all nodes, joints, motors, sensors, materials and lights currently loaded in the simulation. There is one quirk though. If you add or remove any entities while the window is open you have to use the UpdateTreeView button for the tree to be updated.
You can also select a number of entities in the listing and delete them from the simulation by using thr Delete Entities button.
On the right side the details of a selected item are shown. You can also manipulate them to alter the behavior of a specific item. More on that in a later tutorial.

The Console is a window for all sorts of debug messages logged by the internal systems of MARS or loaded plugins. The checkboxes (de-)activate messages of a certain level.

This window displays all available data streams generated and consumed by MARS and its plugins. The Change View button is just used to alternate between two different styles of the detail representation.

On this window you can find all available settings for MARS including graphics and simulation settings. More on that in a later tutorial.

The menu "View/Camera" allows to select predefined camera positions. The projection type of the camera (orthographic or perspective) can be changed in the Entity Viewer for the window (graphics/window). Also, how the mouse controls the camera can be configured. Options are:
- default: left -> orientation; middle -> move up/down -- left/right; right -> move forward/backward -- left/right
- inverted: inverts the default control
- osg: the OSG default control
- iso: fixed camera orientation on x and y; left -> move forward/backward -- left/right; right -> rotate around z
- trackball: left -> zoom in/out; middle -> rotate around camera pivot; right -> select object; key ',' set pivot to selected object or zero
Beside the mouse, also the arrow keys can be used to control the camera. For instance, using the keys and the inverted mouse control is similar to a first person control.
Additionally, a fixed pose for the camera can be configured in the Entity Viewer.
