-
Notifications
You must be signed in to change notification settings - Fork 5
Installation on Microsoft Azure
For education entities that are using Ed-Fi Cloud ODS (see: (https://techdocs.ed-fi.org/display/CLOUD/Cloud+ODS+and+API)), the Microsoft Azure installation path is recommended.
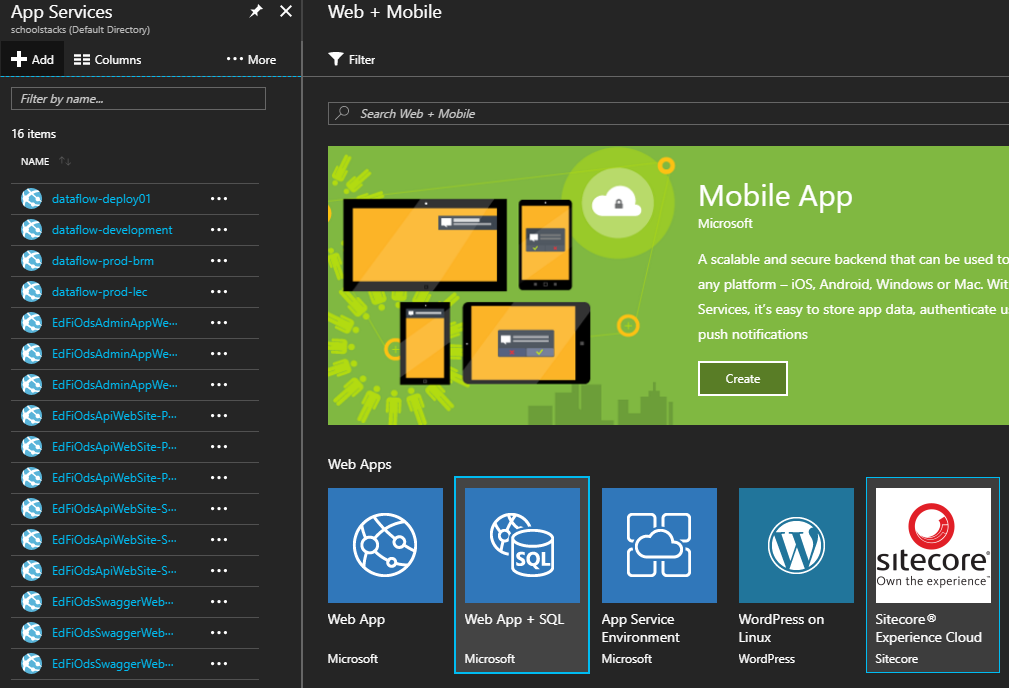
Login to Microsoft Azure and create a new Web App + SQL web service. For SQL Server, a Standard S0 instance (with 10 DTU and 250 GB) is fine for initial deploy and can be scaled up as needed. Input a SQL Admin Username and Password.
Data Flow in Azure mode uses a Storage Account to store incoming CSV and Excel files. Click on Storage Accounts, + Add to create a new storage account. Fill in the details and click Create.
Data Flow in Azure mode will use a common configuration as defined in Application Settings for the App Service. Please define the following settings in App Settings and Connection Strings:
App Settings
| Key | Value |
|---|---|
| EncryptionKey | [random string of characters] |
| FileMode | Azure |
| ShareName | [Share name created in step #2] |
| AllowTestCertificates | [true or false depending on environment] |
Connection Strings
| Key | Value |
|---|---|
| defaultConnection | Data Source=[server];Initial Catalog=[database];Persist Security Info=True;User ID=[user];Password=[password] |
| storageConnection | [string from Azure Storage Account created above] |
Download the master folder/branch and place it into selected location on your machine with Visual Studio 2015.
Right click on the DataFlow.Web project. Select the Publish option. Select the instance of the newly created App Service. Accept defaults for a Release configuration and Publish to Azure.
Repeat these same steps and Publish as Azure WebJob the DataFlow.Server.FileTransport and DataFlow.Server.TransformLoad projects as well. Accept defaults for a Release configuration and Publish.
The first time the application will run will present the “Register” option below the Email and Password link. Click on this to register your administrative user.
Next, configure the application by entering your Ed-Fi ODS API server credentials. The base URL is the API endpoint in the format of https://[url]/api/v2.0/2017. Enter the API server key and secret. The Test API Connection will show if the information is correct. Below that is customization information if you’d like to add your organization’s branding to the dataflow.
Once, configured Data Flow should show a browser with schools configured in the API:


