-
Notifications
You must be signed in to change notification settings - Fork 2
Home
Bazinga is a lightweight tool (only 2 extra npm packages ngrok and yargs required) written in Node.js that can be used for info gathering and credentials harvesting via social engineering. It can also be used to redirect multiple users to multiple websites or to serve different websites to different users. This is done via tokens embedded in the URL. This tool can:
- Gather the usual info about an IP like Geolocation and all.
- Gather juicy info about an IP like movies, games, software, etc downloaded via torrent.
- Redirect the user to a website.
- Be used for credentials harvesting via phishing pages.
- Serve different sites to the different users based on tokens.


Bazinga requires nodejs basic packages and external packages like ngrok and yargs to run. To install this tool in Ubuntu, run the following commands:
git clone https://github.com/vikas-kundu/bazinga.git
cd bazinga
sudo chmod +x install.sh
sudo ./install.sh
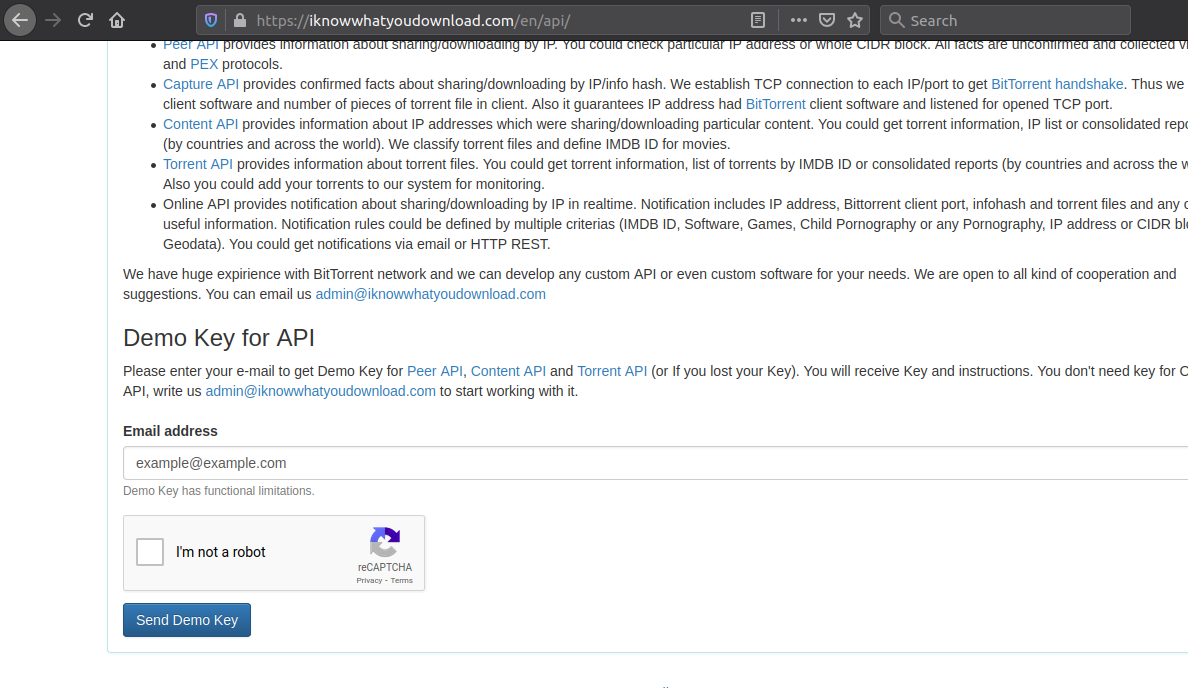
This will install nodejs and the necessary packages for you. Now for it to function fully, you also need an API key from this clicking here.
 This key is necessary if you wish to perform info gathering. Else for only credentials harvesting, no need for the key. Finally, save the key in the bazinga/config/options.js file and you are good to go.

For help info run:
node bz -h
Usage Examples:
node bz --generator=1 --mode=info --token-len=32 --port 8080
node bz --generator=2 --mode=phish --local-url=/sites/github/index.html
node bz --generator 3 --mode info --redirect-url 'https://www.reddit.com'
node bz --generator 4 --mode info --listener
node bz --listener
Show help
[boolean]
No. of unique tokens to generate. [number] [default: 0]
For IP Capture and Info gather: mode=info
For Phishing: mode=phish
[string] [default: "info"]
Start server to capture incoming requests. [boolean] [default: false]
URL to redirect the victim after capturing IP or saving phishing credentials. [string] [default: "http://www.google.com"]
Phishing page to serve the victim. To be used with mode=phish. All those pages are present in the sites folder of bazinga. [string] [default: "./sites/error.html"]
Port address to bind proxy server. [number] [default: 2313]
Length of token to be generated. [number] [default: 12]
When the user calls the tool with the --generator parameter, tokens are saved in session.js file. Each token has some distinct properties associated with it i.e. mode, local-url, etc. When the --listener parameter is provided, the tool starts a local HTTP server of node js on a particular port (default or user-provided) and a Ngrok tunnel on the same.

This Ngrok tunnel gives the tool the ability to target users over the internet. When a Ngrok tunnel is obtained, all the tokens are picked from session.js, attached with ngrok tunnel URL, and saved in links.txt file. The contents of links.txt may look something like this:

Thereafter, when you share the links with a victim and the victim opens the link, either the victim is redirected or a phishing page is served. Based on what you saved the token for. For example, a Github login phishing page of the tool looks like this.

Notice the ngrok URL in the address bar along with token (?id=). Once the victim enters credentials, the victim is then redirected to a link (default or user-specified). For instance, in this case, google.

The tool then informs you that credentials have been captured and outputs the file location where victim credentials are saved.

Finally, if you open the file at that location, credentials will be seen in JSON format like this.

- Add more phishing pages.
- Add a logger and use colors.
- Create a GUI.
MIT