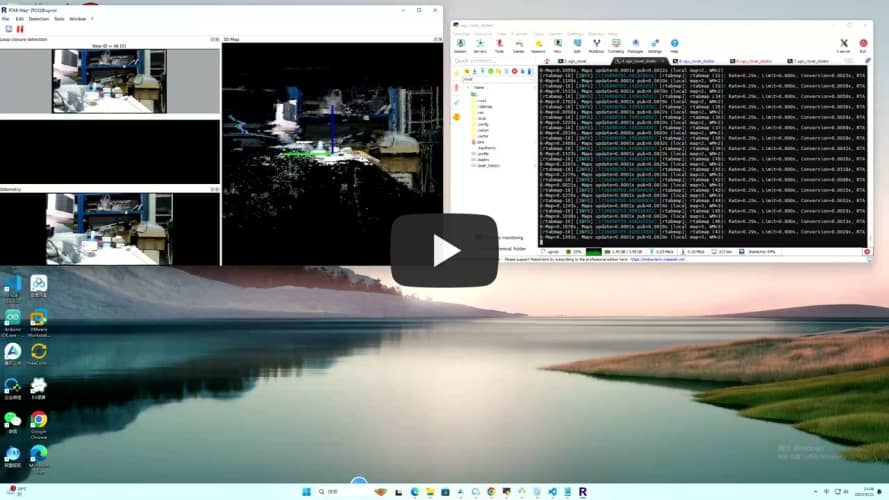
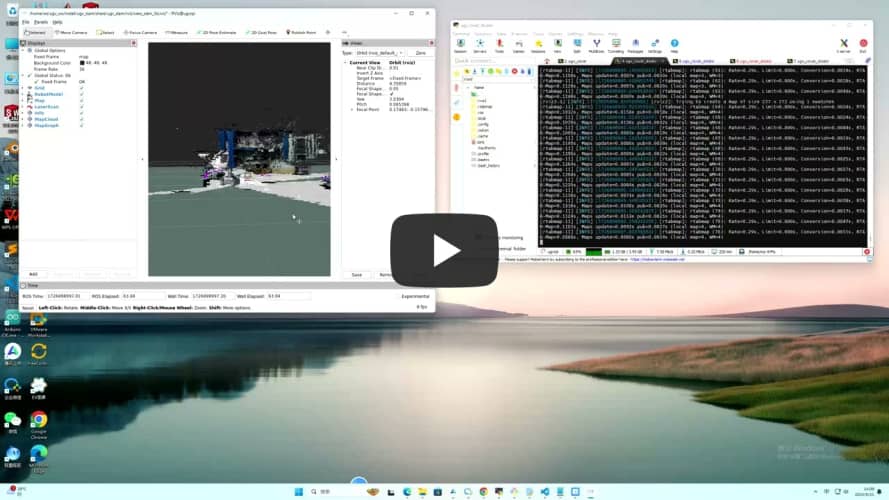
1.Environment
- pc software:VMware Workstation 17Pro、mobarxterm
- ugv Version:UGV ROVER、UGV BEAST
2.Architecture
-
project:https://github.com/DUDULRX/ugv_ws/tree/ros2-humble
git clone -b ros2-humble-develop https://github.com/DUDULRX/ugv_ws.git
-
First compilation on the virtual machine (compiling one by one on the robot)
cd /home/ws/ugv_ws
. build_first.sh
build_first.sh content
cd /home/ws/ugv_ws
colcon build --packages-select apriltag apriltag_msgs apriltag_ros cartographer costmap_converter_msgs costmap_converter emcl2 explore_lite openslam_gmapping slam_gmapping ldlidar rf2o_laser_odometry robot_pose_publisher teb_msgs teb_local_planner vizanti vizanti_cpp vizanti_demos vizanti_msgs vizanti_server ugv_base_node ugv_interface
colcon build --packages-select ugv_bringup ugv_chat_ai ugv_description ugv_gazebo ugv_nav ugv_slam ugv_tools ugv_vision ugv_web_app --symlink-install
echo "source /opt/ros/humble/setup.bash" >> ~/.bashrc
echo "eval "$(register-python-argcomplete ros2)"" >> ~/.bashrc
echo "eval "$(register-python-argcomplete colcon)"" >> ~/.bashrc
echo "source /home/ws/ugv_ws/install/setup.bash" >> ~/.bashrc
source ~/.bashrc
-
Daily compilation of virtual machines (one by one on the car)
cd /home/ws/ugv_ws
. build_common.sh
build_common.sh content
cd /home/ws/ugv_ws
colcon build --packages-select apriltag apriltag_msgs apriltag_ros cartographer costmap_converter_msgs costmap_converter emcl2 explore_lite openslam_gmapping slam_gmapping ldlidar rf2o_laser_odometry robot_pose_publisher teb_msgs teb_local_planner vizanti vizanti_cpp vizanti_demos vizanti_msgs vizanti_server ugv_base_node ugv_interface
colcon build --packages-select ugv_bringup ugv_chat_ai ugv_description ugv_gazebo ugv_nav ugv_slam ugv_tools ugv_vision ugv_web_app --symlink-install
source install/setup.bash
-
Compile apriltag
cd /home/ws/ugv_ws
. build_apriltag.sh
build_apriltag.sh content
cd /home/ws/ugv_ws/src/ugv_else/apriltag_ros/apriltag
cmake -B build -DCMAKE_BUILD_TYPE=Release
cmake --build build --target install
cd /home/ws/ugv_ws
-
-
Ubuntu software:
Install according to wiki install ros2 humble
apt-get update
apt-get upgrade

apt install python3-pip
apt-get install alsa-utils
apt install python3-colcon-argcomplete

apt install ros-humble-cartographer-*
apt install ros-humble-desktop-*
apt install ros-humble-joint-state-publisher-*
apt install ros-humble-nav2-*
apt install ros-humble-rosbridge-*
apt install ros-humble-rqt-*
apt install ros-humble-rtabmap-*
apt install ros-humble-usb-cam
apt install ros-humble-depthai-*

#Simulation virtual machine installation
apt install gazebo
apt install ros-humble-gazebo-*
-
Python3 Library:
domestic
cd ~/ugv_ws
python3 -m pip install -r requirements.txt -i https://pypi.tuna.tsinghua.edu.cn/simple
foreign
cd ~/ugv_ws
python3 -m pip install -r requirements.txt
requirements.txt content
pyserial
flask
mediapipe
requests
-
Feature pack ugv_ws
ugv_main Main functions
ugv_base_node Two-wheel differential kinematics
ugv_bringup drive, control
ugv_chat_ai web ai interaction
ugv_description Model
ugv_gazebo simulation
ugv_interface Information interface
ugv_nav navigation
ugv_slam Mapping
ugv_tools tool
ugv_vision visual interaction
ugv_web_app web
ugv_else ( ugv_main dependence)
apriltag_ros
cartographer
costmap_converter
emcl_ros2
explore_lite
gmapping
ldlidar
rf2o_laser_odometry
robot_pose_publisher
teb_local_planner
vizanti
3.Use (ros packages on the car are all executed in docker)
use_rviz optional true, false (default)
car model optional rasp_rover, ugv_rover, ugv_beast
lidar model optional ld06, ld19 (default), stl27l
-
Start the car and turn off the auto-start script.
sudo killall -9 python
Enter docker and start ssh to remotely access docker and the visual interface
-
Car settings docker
-
Remote to docker
#username
root
#Password needs to be set in advance
ws
Enter workspace
cd /home/ws/ugv_ws
-
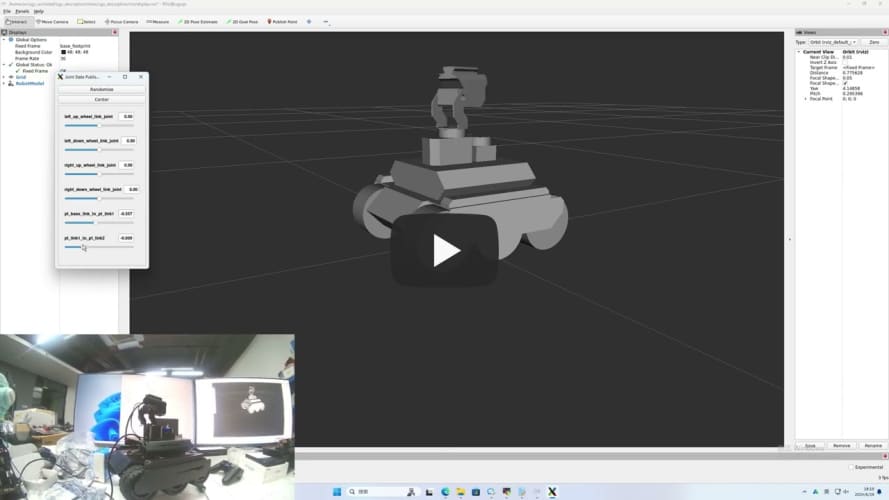
View model joints
-
rasp_rover
export UGV_MODEL=rasp_rover
start up
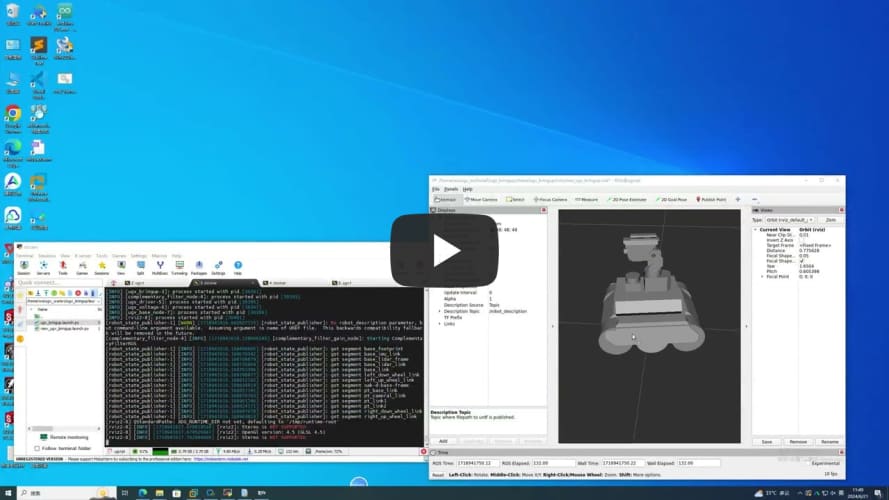
ros2 launch ugv_description display.launch.py use_rviz:=true
-
ugv_rover
export UGV_MODEL=ugv_rover
start up
ros2 launch ugv_description display.launch.py use_rviz:=true
-
ugv_beast
export UGV_MODEL=ugv_beast
start up
ros2 launch ugv_description display.launch.py use_rviz:=true
-
Drive the car (can control the pan/tilt and LED lights)
ros2 run ugv_bringup ugv_driver
Drag the slider related to the joint angle publisher to control the gimbal
Control the light data 0-255 data[0] control the light IO4 near the oak camera data[1] control the light IO5 near the usb camera
ros2 topic pub /ugv/led_ctrl std_msgs/msg/Float32MultiArray "{data: [0, 0]}" -1
-
-
Chassis driver (executed within docker)
If you switch to another radar, modify
export LDLIDAR_MODEL=
-
Use radar as imu sensor data (more stable)
ros2 launch ugv_bringup bringup_lidar.launch.py use_rviz:=true
Rotate the car in place to check the posture
-
-
Joystick, keyboard control
Start the car
ros2 launch ugv_bringup bringup_lidar.launch.py use_rviz:=true
-
Visual interaction
Start the car
ros2 launch ugv_bringup bringup_lidar.launch.py use_rviz:=true
-
Start related interfaces
control car
ros2 run ugv_tools behavior_ctrl
Turn on the camera, easy
ros2 run usb_cam usb_cam_node_exe
Turn on the camera and remove distortion
ros2 launch ugv_vision camera.launch.py
-
Monocular
-
Apriltag control
apriltag only sets tag36h11, which can be modified by yourself
-
Apriltag control
1 2 3 4 Right, left, front and rear, other stops
ros2 run ugv_vision apriltag_ctrl
-
Apriltag Simple tracking
Select the left and right according to the x coordinate of the center point of the ar tag. After centering, select the front and rear according to the y coordinate. If the y is upward, the front is forward, and if the y is downward, the rear is
ros2 run ugv_vision apriltag_track_0
-
Apriltag Target tracking (AR code needs to specify size 0.08)
pose recognition
Here, the previous command to turn on the camera is turned off and replaced with the following
ros2 launch ugv_vision apriltag_track.launch.py
-
Simply drive to the target point (rotate, go straight)
Turn on tracking
ros2 run ugv_vision apriltag_track_1
command line
ros2 topic pub /apriltag/track std_msgs/msg/Int8 -1
-
Combine nav2 to drive to the target point (you need to close the previous startup file and change to open nav)
Turn on navigation
ros2 launch ugv_nav nav.launch.py use_rviz:=true
Turn on tracking
ros2 run ugv_vision apriltag_track_2
-
-
-
-
-
Mapping
-
2D (LiDAR)
-
Gmapping
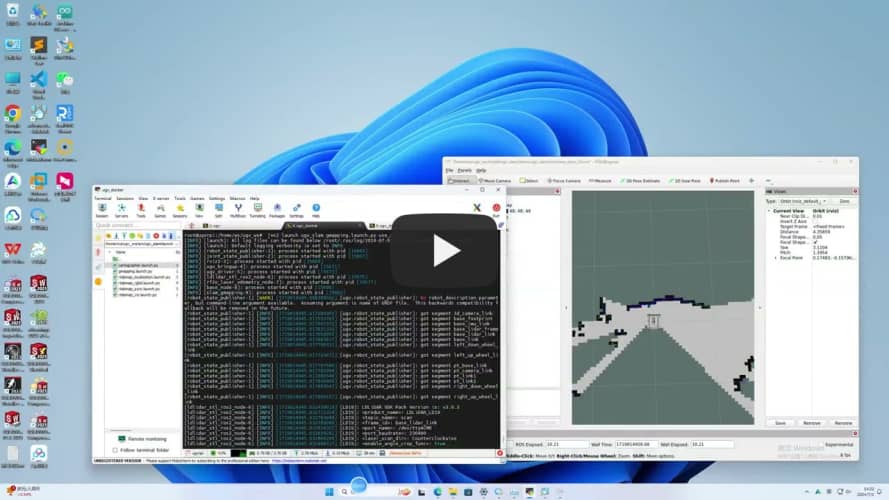
ros2 launch ugv_slam gmapping.launch.py use_rviz:=true
control car
ros2 run ugv_tools keyboard_ctrl
save map
./save_2d_gmapping_map.sh
save_2d_gmapping_map.sh内容
cd /home/ws/ugv_ws/src/ugv_main/ugv_nav/maps
ros2 run nav2_map_server map_saver_cli -f ./map
-
Cartographer
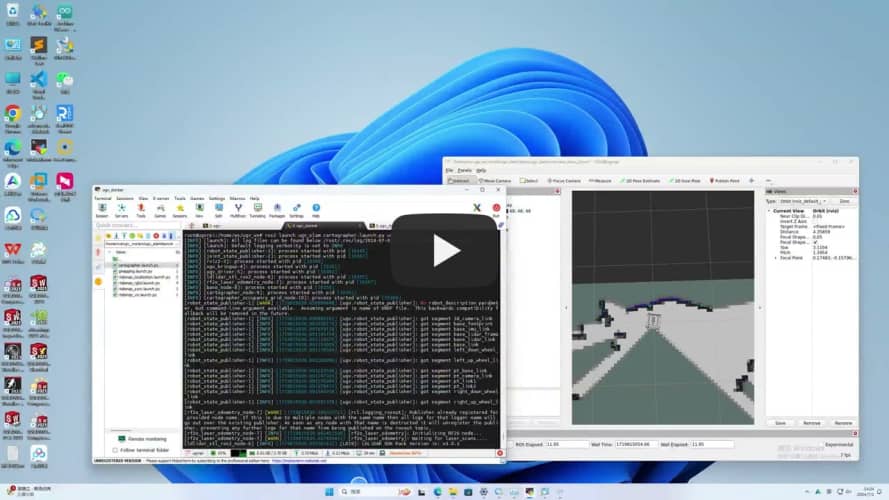
ros2 launch ugv_slam cartographer.launch.py use_rviz:=true
control car
ros2 run ugv_tools keyboard_ctrl
save map
./save_2d_cartographer_map.sh
save_2d_cartographer_map.sh内容
cd /home/ws/ugv_ws/src/ugv_main/ugv_nav/maps
ros2 run nav2_map_server map_saver_cli -f ./map && ros2 service call /write_state cartographer_ros_msgs/srv/WriteState "{filename: '/home/ws/ugv_ws/src/ugv_main/ugv_nav/maps/map.pbstream'}"
-
-
3D (lidar + depth camera)
-
Rtabmap
-
Rtabmap_viz Visualization
ros2 launch ugv_slam rtabmap_rgbd.launch.py use_rviz:=false
control car
ros2 run ugv_tools keyboard_ctrl
-
Rviz Visualization
ros2 launch ugv_slam rtabmap_rgbd.launch.py use_rviz:=true
control car
ros2 run ugv_tools keyboard_ctrl
After the mapping is completed, directly press ctrl+c to exit the mapping node, and the system will automatically save the map. Map default save path ~/.ros/rtabmap.db
-
-
-
-
Navigation
-
2D
-
Local localization
use_localization amcl(default),emcl,cartographer
-
amcl
Start first, you need to manually specify the approximate initial position
ros2 launch ugv_nav nav.launch.py use_localization:=amcl use_rviz:=true
Then by controlling the car, simply move and rotate to assist in initial positioning.
ros2 run ugv_tools keyboard_ctrl
-
emcl
After startup, you need to manually specify the approximate initial position
ros2 launch ugv_nav nav.launch.py use_localization:=emcl use_rviz:=true
-
cartographer
Note that you need to use Cartographer to build the map before you can proceed.
ros2 launch ugv_nav nav.launch.py use_localization:=cartographer use_rviz:=true
After startup, if the accurate position has not been located, you can control the car and simply move it to assist in the initial positioning.
ros2 run ugv_tools keyboard_ctrl
-
-
Local navigation
use_localplan dwa,teb(default)
-
dwa
ros2 launch ugv_nav nav.launch.py use_localplan:=dwa use_rviz:=true
-
teb
ros2 launch ugv_nav nav.launch.py use_localplan:=teb use_rviz:=true
-
-
-
3D
- Rtabmap
-
Local navigation
Turn on positioning
ros2 launch ugv_nav rtabmap_localization_launch.py
Turn on nav (you can wait slowly until the 3D data is loaded before navigating, it will take a while)
use_localplan dwa,teb(default)
-
dwa
ros2 launch ugv_nav nav_rtabmap.launch.py use_localplan:=dwa use_rviz:=true
-
teb
ros2 launch ugv_nav nav_rtabmap.launch.py use_localplan:=teb use_rviz:=true
-
-
- Rtabmap
-
-
Mapping and navigation are enabled at the same time (two-dimensional)
ros2 launch ugv_nav slam_nav.launch.py use_rviz:=true
-
Web ai interaction
-
Start the car
ros2 launch ugv_bringup bringup_lidar.launch.py use_rviz:=true
-
Start related interfaces
ros2 run ugv_tools behavior_ctrl
-
Web ai Interaction (requires relevant ai interface, currently ollama local deployment)
ros2 run ugv_chat_ai app
-
-
Web side control
Drive the car first, refer to the above chassis drive, map construction and navigation, and start mapping and navigation at the same time.
-
ugv web
ros2 launch ugv_web_app bringup.launch.py host:=ip
-
-
Command interaction
ros2 run ugv_tools behavior_ctrl
-
Basic control (you need to put the car down and run, and judge whether the goal has been completed based on the odometer)
ros2 launch ugv_bringup bringup_lidar.launch.py use_rviz:=true
Forward data unit meters
ros2 action send_goal /behavior ugv_interface/action/Behavior "{command: '[{\"T\": 1, \"type\": \"drive_on_heading\", \"data\": 0.1}]'}"
Back data unit meters
ros2 action send_goal /behavior ugv_interface/action/Behavior "{command: '[{\"T\": 1, \"type\": \"back_up\", \"data\": 0.1}]'}"
Rotation data unit degree ,positive number left rotation, negative number right rotation
ros2 action send_goal /behavior ugv_interface/action/Behavior "{command: '[{\"T\": 1, \"type\": \"spin\", \"data\": -1}]'}"
Stop
ros2 action send_goal /behavior ugv_interface/action/Behavior "{command: '[{\"T\": 1, \"type\": \"stop\", \"data\": 0}]'}"
Navigation needs to be enabled below
ros2 launch ugv_nav nav.launch.py use_rviz:=true
-
Get current point position
ros2 topic echo /robot_pose --once
-
Save as navigation point
data Navigation point name, optional a-g
ros2 action send_goal /behavior ugv_interface/action/Behavior "{command: '[{\"T\": 1, \"type\": \"save_map_point\", \"data\": \"a\"}]'}"
-
Move to navigation point
data Navigation point name, optional a-g
ros2 action send_goal /behavior ugv_interface/action/Behavior "{command: '[{\"T\": 1, \"type\": \"pub_nav_point\", \"data\": \"a\"}]'}"
The saved points will also be stored in the file.
-
-
Gazebo comprehensive simulation (executed on virtual machine)
cd ~/.gazebo/
git clone https://github.com/osrf/gazebo_models.git models
cp -r /home/ws/ugv_ws/src/ugv_main/ugv_gazebo/models/world models
cp /home/ws/ugv_ws/ugv_description.zip models
cd ~/.gazebo/models/
unzip ugv_description.zip
rm -rf ugv_description.zip
-
View model
-
rasp_rover
export UGV_MODEL=rasp_rover
start up
ros2 launch ugv_gazebo display.launch.py
-
ugv_rover
export UGV_MODEL=ugv_rover
start up
ros2 launch ugv_gazebo display.launch.py
-
ugv_beast
export UGV_MODEL=ugv_beast
start up
ros2 launch ugv_gazebo display.launch.py
-
-
Load model
The following takes ugv_rover as an example
Specify model
export UGV_MODEL=ugv_rover
start up
ros2 launch ugv_gazebo bringup.launch.py
-
Joystick, keyboard control
-
Mapping
-
2D (LiDAR)
-
Gmapping
ros2 launch ugv_gazebo gmapping.launch.py
control car
ros2 run ugv_tools keyboard_ctrl
save map
./save_2d_gmapping_map_gazebo.sh
save_2d_gmapping_map_gazebo.sh content
cd /home/ws/ugv_ws/src/ugv_main/ugv_gazebo/maps
ros2 run nav2_map_server map_saver_cli -f ./map
-
Cartographer
ros2 launch ugv_gazebo cartographer.launch.py
control car
ros2 run ugv_tools keyboard_ctrl
save map
./save_2d_cartographer_map_gazebo.sh
save_2d_cartographer_map_gazebo.sh content
cd /home/ws/ugv_ws/src/ugv_main/ugv_gazebo/maps
ros2 run nav2_map_server map_saver_cli -f ./map && ros2 service call /write_state cartographer_ros_msgs/srv/WriteState "{filename: '/home/ws/ugv_ws/src/ugv_main/ugv_gazebo/maps/map.pbstream'}"
-
-
3D (lidar + depth camera)
-
Rtabmap
-
Rtabmap_viz Visualization
ros2 launch ugv_gazebo rtabmap_rgbd.launch.py
control car
ros2 run ugv_tools keyboard_ctrl
-
Rviz Visualization
ros2 launch ugv_gazebo rtabmap_rgbd.launch.py use_rviz:=true
control car
ros2 run ugv_tools keyboard_ctrl
After the mapping is completed, directly press ctrl+c to exit the mapping node, and the system will automatically save the map. Map default save path ~/.ros/rtabmap.db
-
-
-
-
Navigation
-
2D
-
Local positioning
use_localization amcl(default),emcl,cartographer
-
amcl
Start first, you need to manually specify the approximate initial position
ros2 launch ugv_gazebo nav.launch.py use_localization:=amcl
Then by controlling the car, simply move and rotate to assist in initial positioning.
ros2 run ugv_tools keyboard_ctrl
-
emcl
After startup, you need to manually specify the approximate initial position
ros2 launch ugv_gazebo nav.launch.py use_localization:=emcl
-
cartographer
Note that you need to use Cartographer to build the map before you can proceed.
ros2 launch ugv_gazebo nav.launch.py use_localization:=cartographer
After startup, if the accurate position has not been located, you can control the car and simply move it to assist in the initial positioning.
ros2 run ugv_tools keyboard_ctrl
-
-
Local navigation
use_localplan dwa,teb(默认)
-
dwa
ros2 launch ugv_gazebo nav.launch.py use_localplan:=dwa
-
teb
ros2 launch ugv_gazebo nav.launch.py use_localplan:=teb
-
-
-
3D
- Rtabmap
-
Local navigation
Turn on positioning
ros2 launch ugv_gazebo rtabmap_localization_launch.py
Turn on nav (you can wait slowly until the 3D data is loaded before navigating, it will take a while)
use_localplan dwa,teb(默认)
-
dwa
ros2 launch ugv_gazebo nav_rtabmap.launch.py use_localplan:=dwa
-
teb
ros2 launch ugv_ngazebo nav_rtabmap.launch.py use_localplan:=teb
-
-
- Rtabmap
-
-
Mapping and navigation are enabled at the same time (two-dimensional)
ros2 launch ugv_gazebo slam_nav.launch.py
-
Automatic exploration (to be in a closed rule area)
ros2 launch explore_lite explore.launch.py
-
-
Web ai interaction
-
Start related interfaces
ros2 run ugv_tools behavior_ctrl
-
web ai Interaction (requires relevant ai interface, currently ollama local deployment)
ros2 run ugv_chat_ai app
-
-
Web control
-
ugv web
ros2 launch ugv_web_app bringup.launch.py host:=ip
-
-
Command interaction
ros2 run ugv_tools behavior_ctrl
-
Basic control (you need to put the car down and run, and judge whether the goal has been completed based on the odometer)
Forward data unit meters
ros2 action send_goal /behavior ugv_interface/action/Behavior "{command: '[{\"T\": 1, \"type\": \"drive_on_heading\", \"data\": 0.5}]'}”
Back data unit meters
ros2 action send_goal /behavior ugv_interface/action/Behavior "{command: '[{\"T\": 1, \"type\": \"back_up\", \"data\": 0.5}]'}”
Rotation data unit degree positive number rotate right, negative number rotate left
ros2 action send_goal /behavior ugv_interface/action/Behavior "{command: '[{\"T\": 1, \"type\": \"spin\", \"data\": -1}]'}”
Stop
ros2 action send_goal /behavior ugv_interface/action/Behavior "{command: '[{\"T\": 1, \"type\": \"spin\", \"data\": 0}]'}”
Navigation needs to be enabled below
ros2 launch ugv_gazebo nav.launch.py use_rviz:=true
-
Get current point position
ros2 topic echo /robot_pose --once
-
Save as navigation point
data navigation point name, optional a-g
ros2 action send_goal /behavior ugv_interface/action/Behavior "{command: '[{\"T\": 1, \"type\": \"save_map_point\", \"data\": \"a\"}]'}"
-
Move to navigation point
data navigation point name, optional a-g
ros2 action send_goal /behavior ugv_interface/action/Behavior "{command: '[{\"T\": 1, \"type\": \"pub_nav_point\", \"data\": \"a\"}]'}"
The saved points will also be stored in the file.
-
-


