-
Notifications
You must be signed in to change notification settings - Fork 11
Using the Reflow Oven
huffeec edited this page Nov 10, 2022
·
4 revisions
- Get your PCB made
- Lasercut (etching with cut settings is better for precision) a solderpaste stencil out of mylar
- Get some spare PCBs the same thickness to use as a border round the one you're going to make
- Take the solder paste out of the fridge. For stencilling the tub of paste seems to work better than that in dispenser syringes, the syringes are best for manually applying paste.
- Set up the reflow oven near your work area
- Get some masking tape
- Get the squeegee
- (optional) Get a flux pen. More useful if you're manually applying paste, rather than with a stencil
- Get your parts
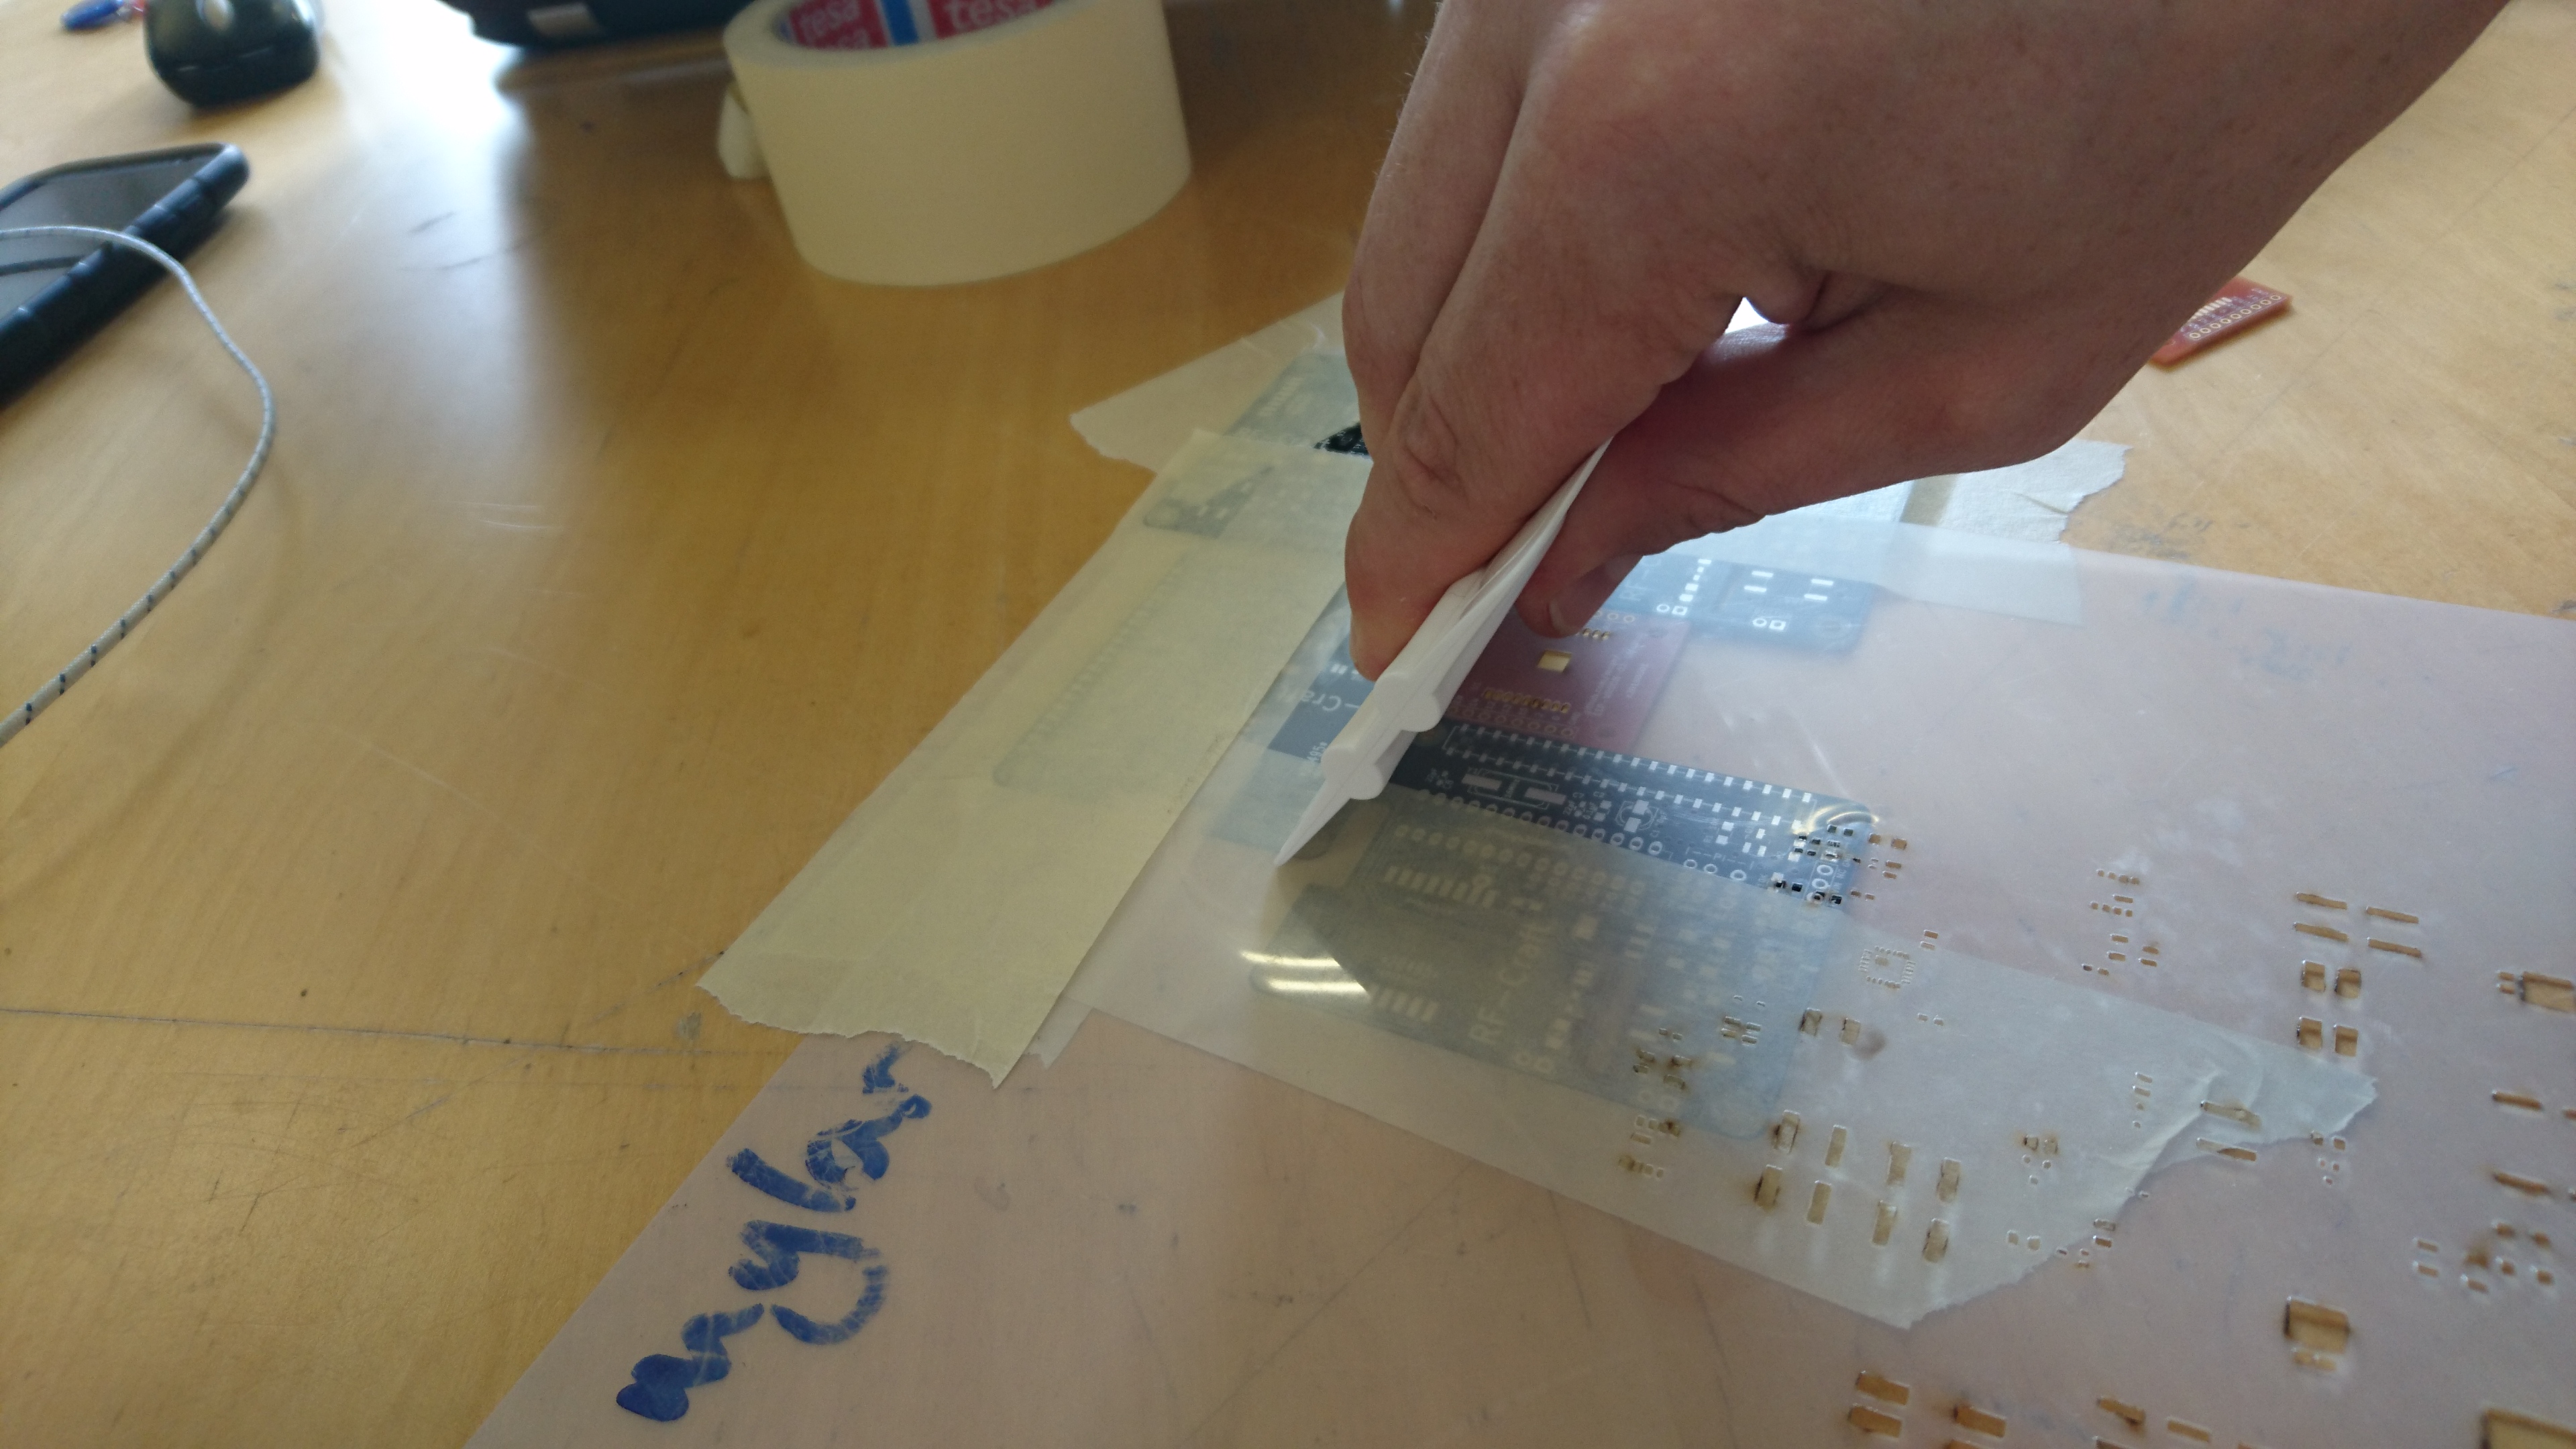
- Tape the spare PCBs down to surround the PCB you're going to solder - see photo. You want a good flat area above that you can swipe down from with the squeegee and space to bring the squeegee down past the PCB you're pasting. Allowing space below the PCB (so "support" on either side) to slide in the next PCB makes it easier to do lots.
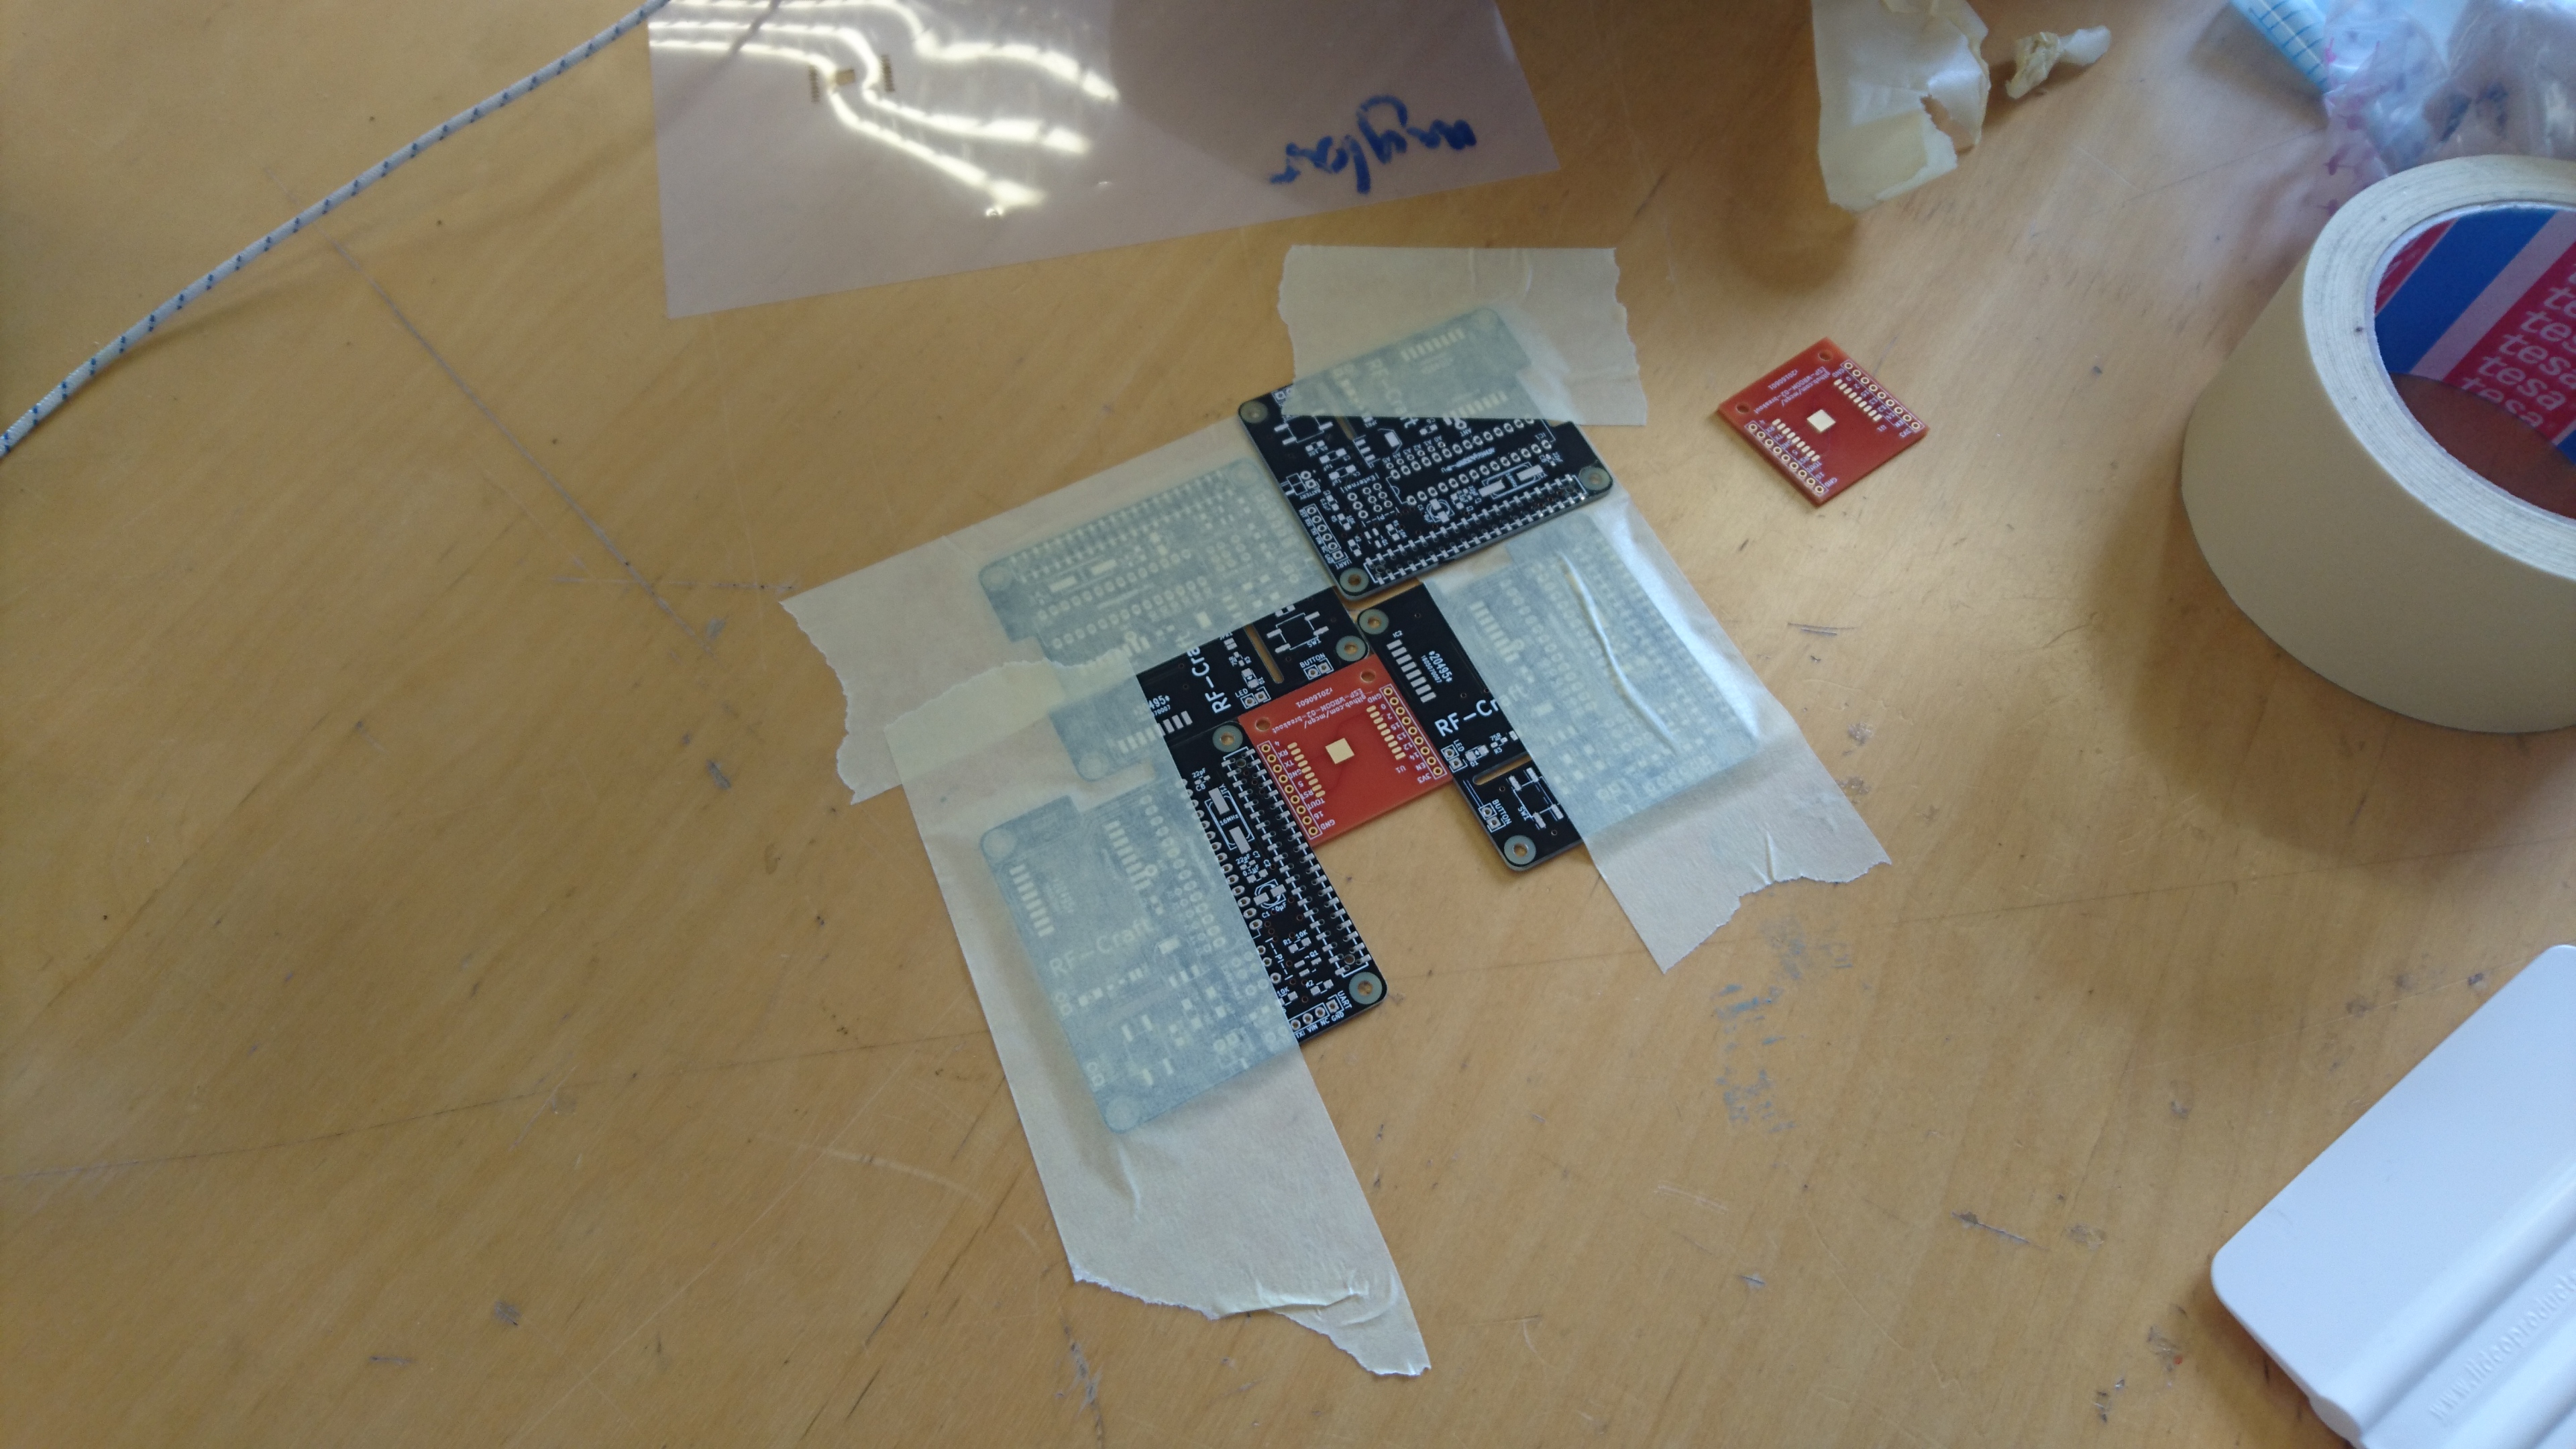
- Position the stencil and visually align the pads, then tape the top edge down (to make a tape hinge to allow the stencil to be lifted without disturbing the registration and therefore paste).
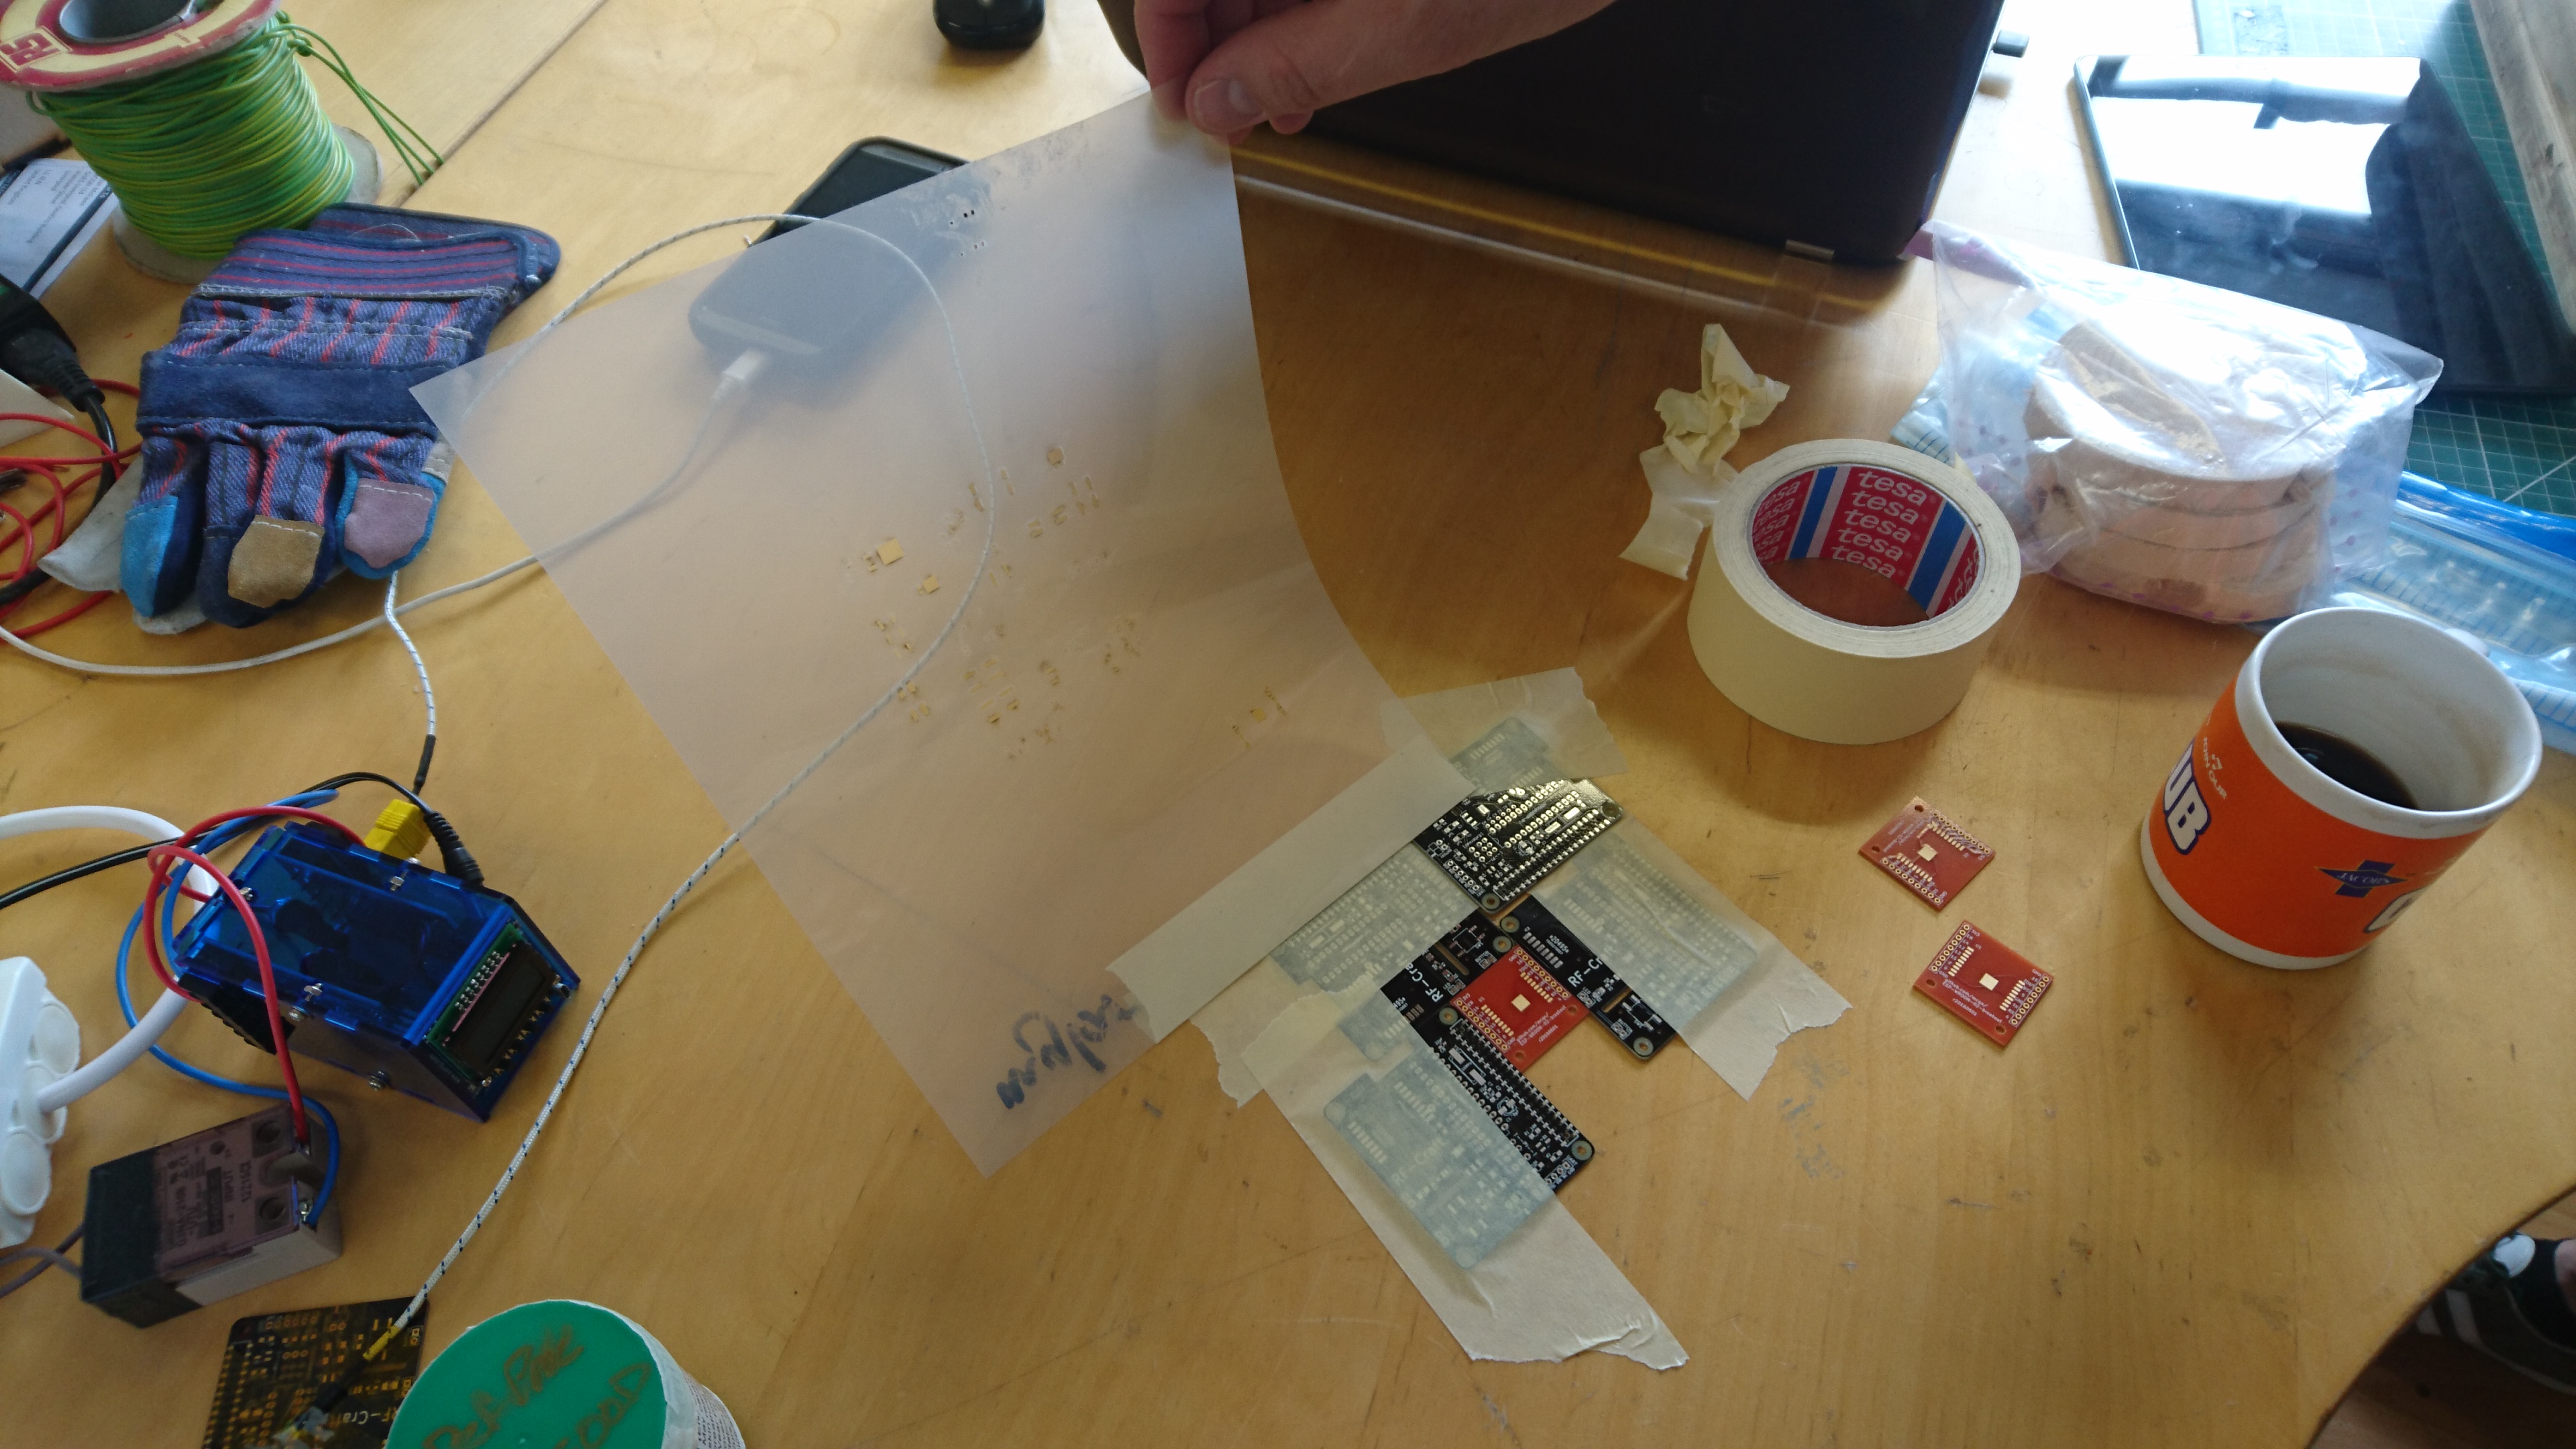
- Apply some paste above the stencil across the top
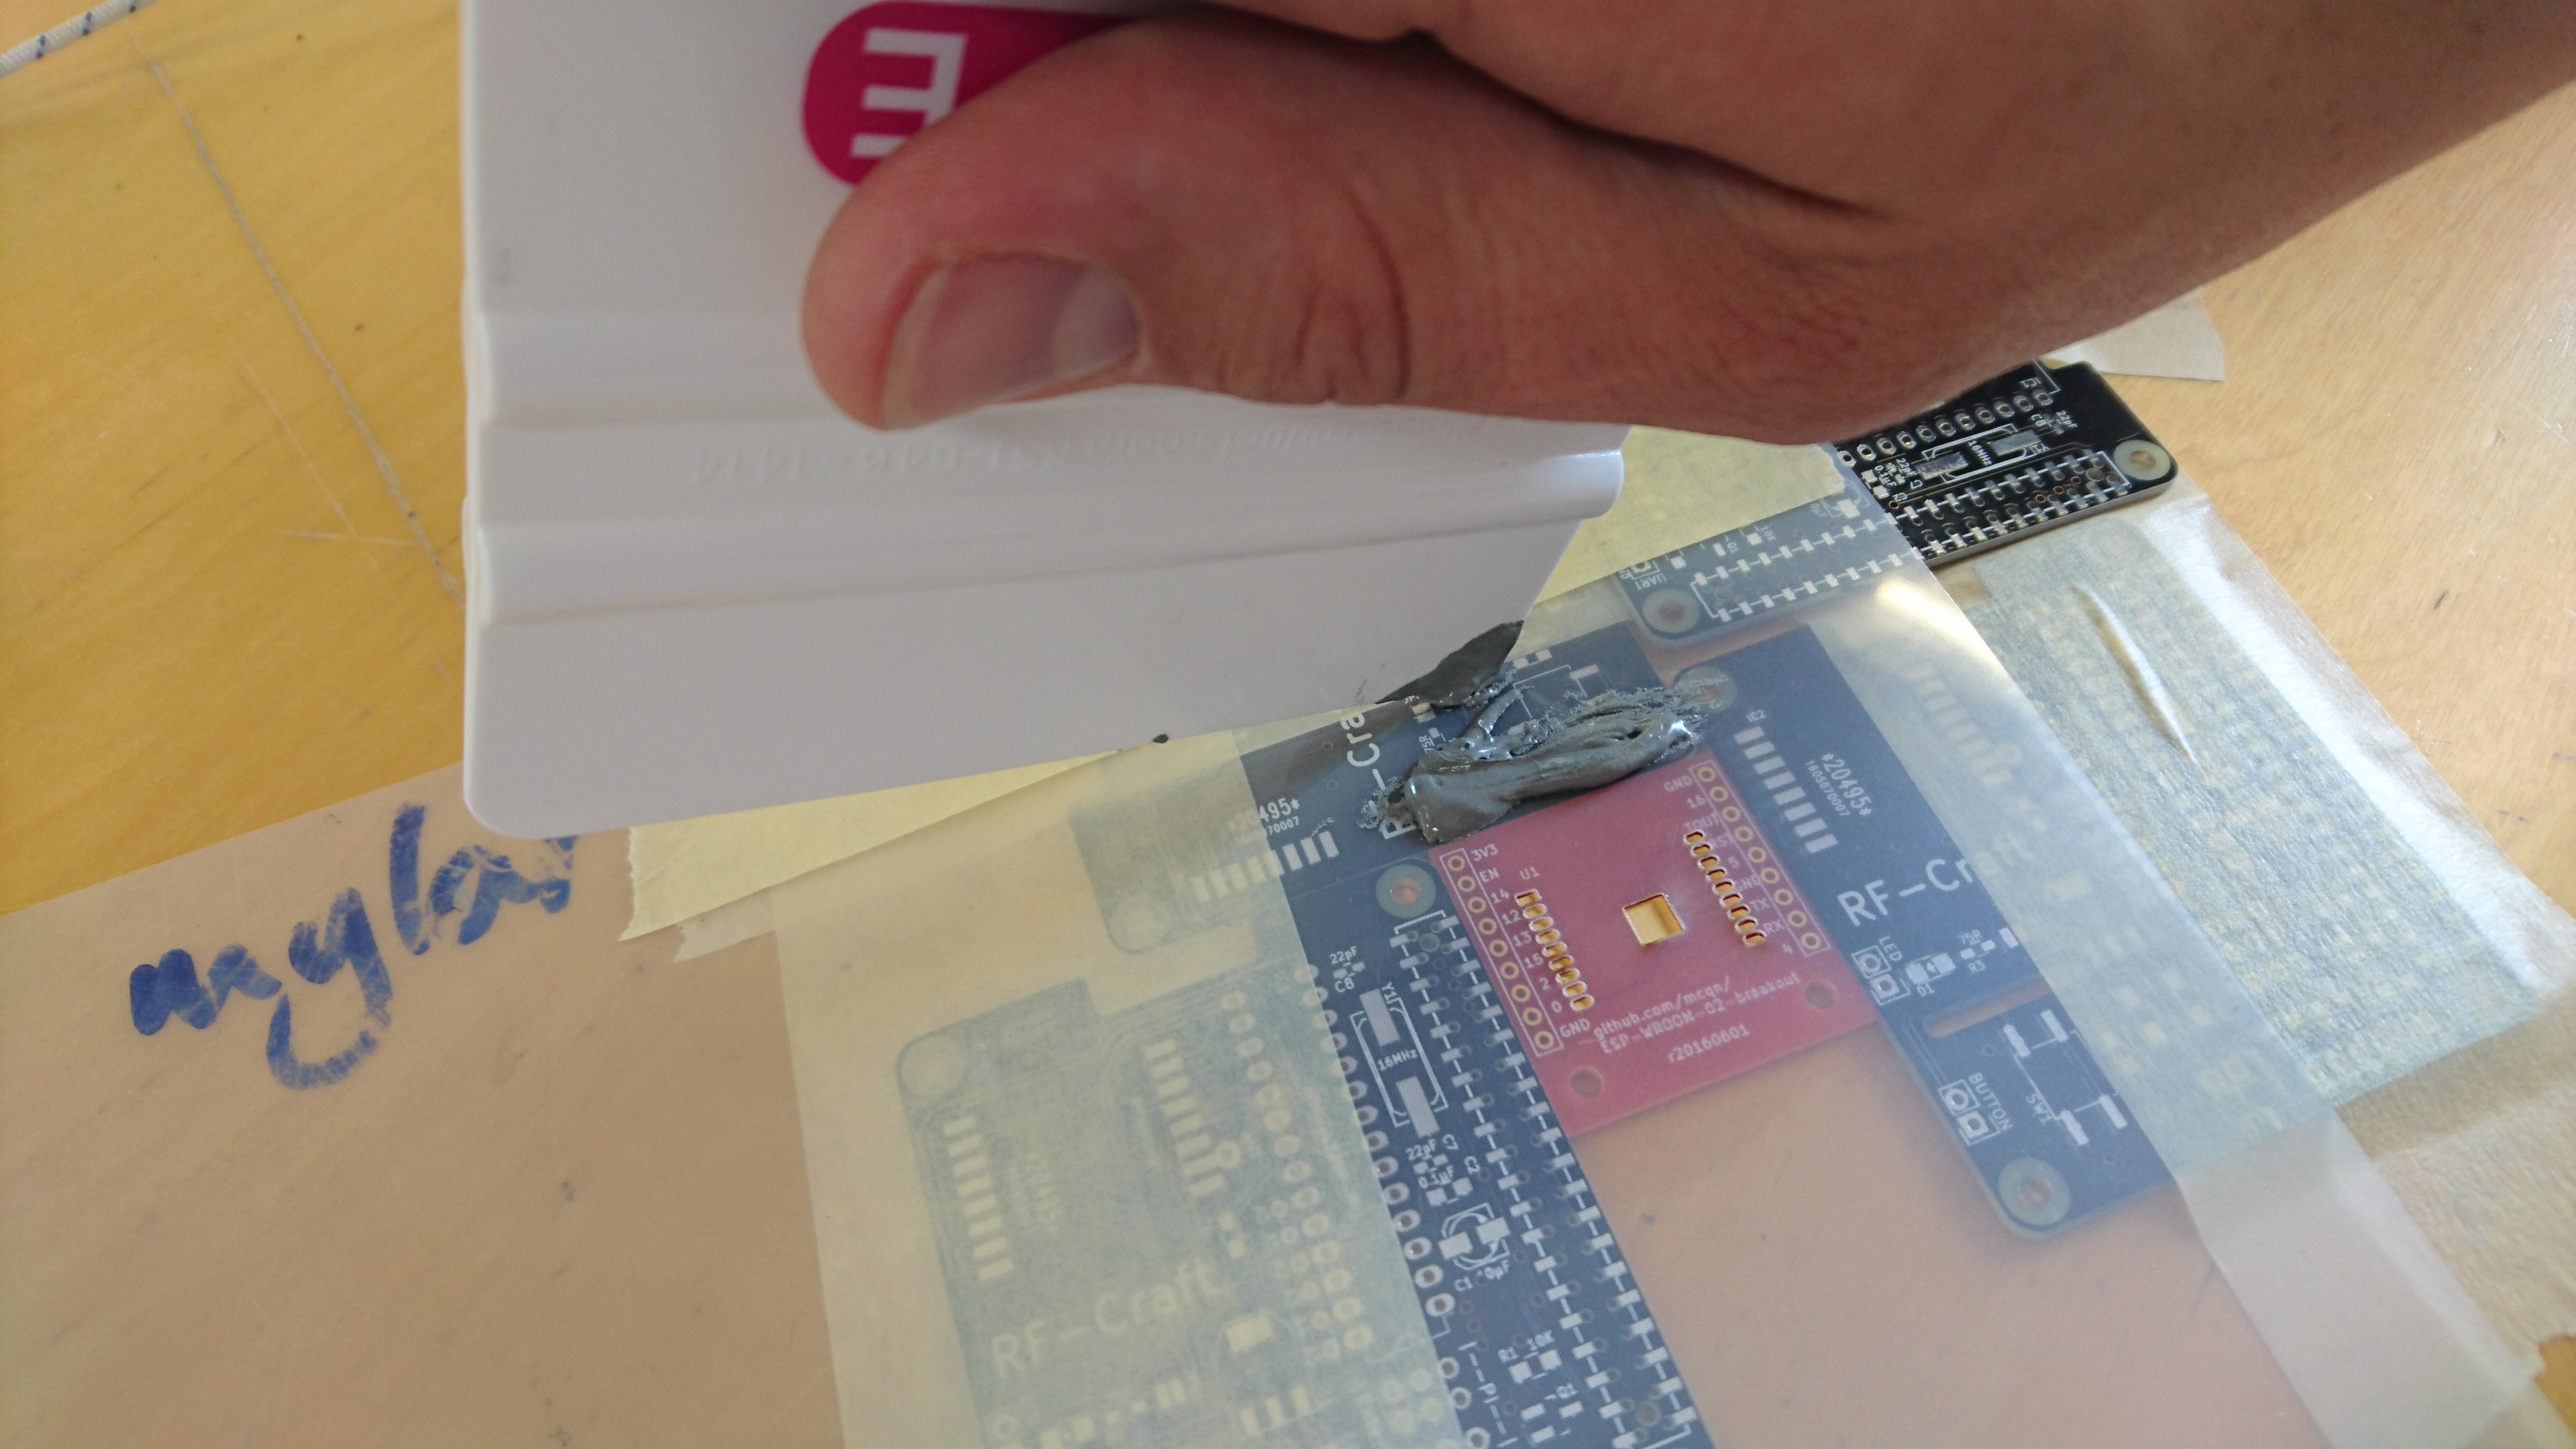
- Wipe the paste down across the stencil, with a low angle (see photo) to flood the holes
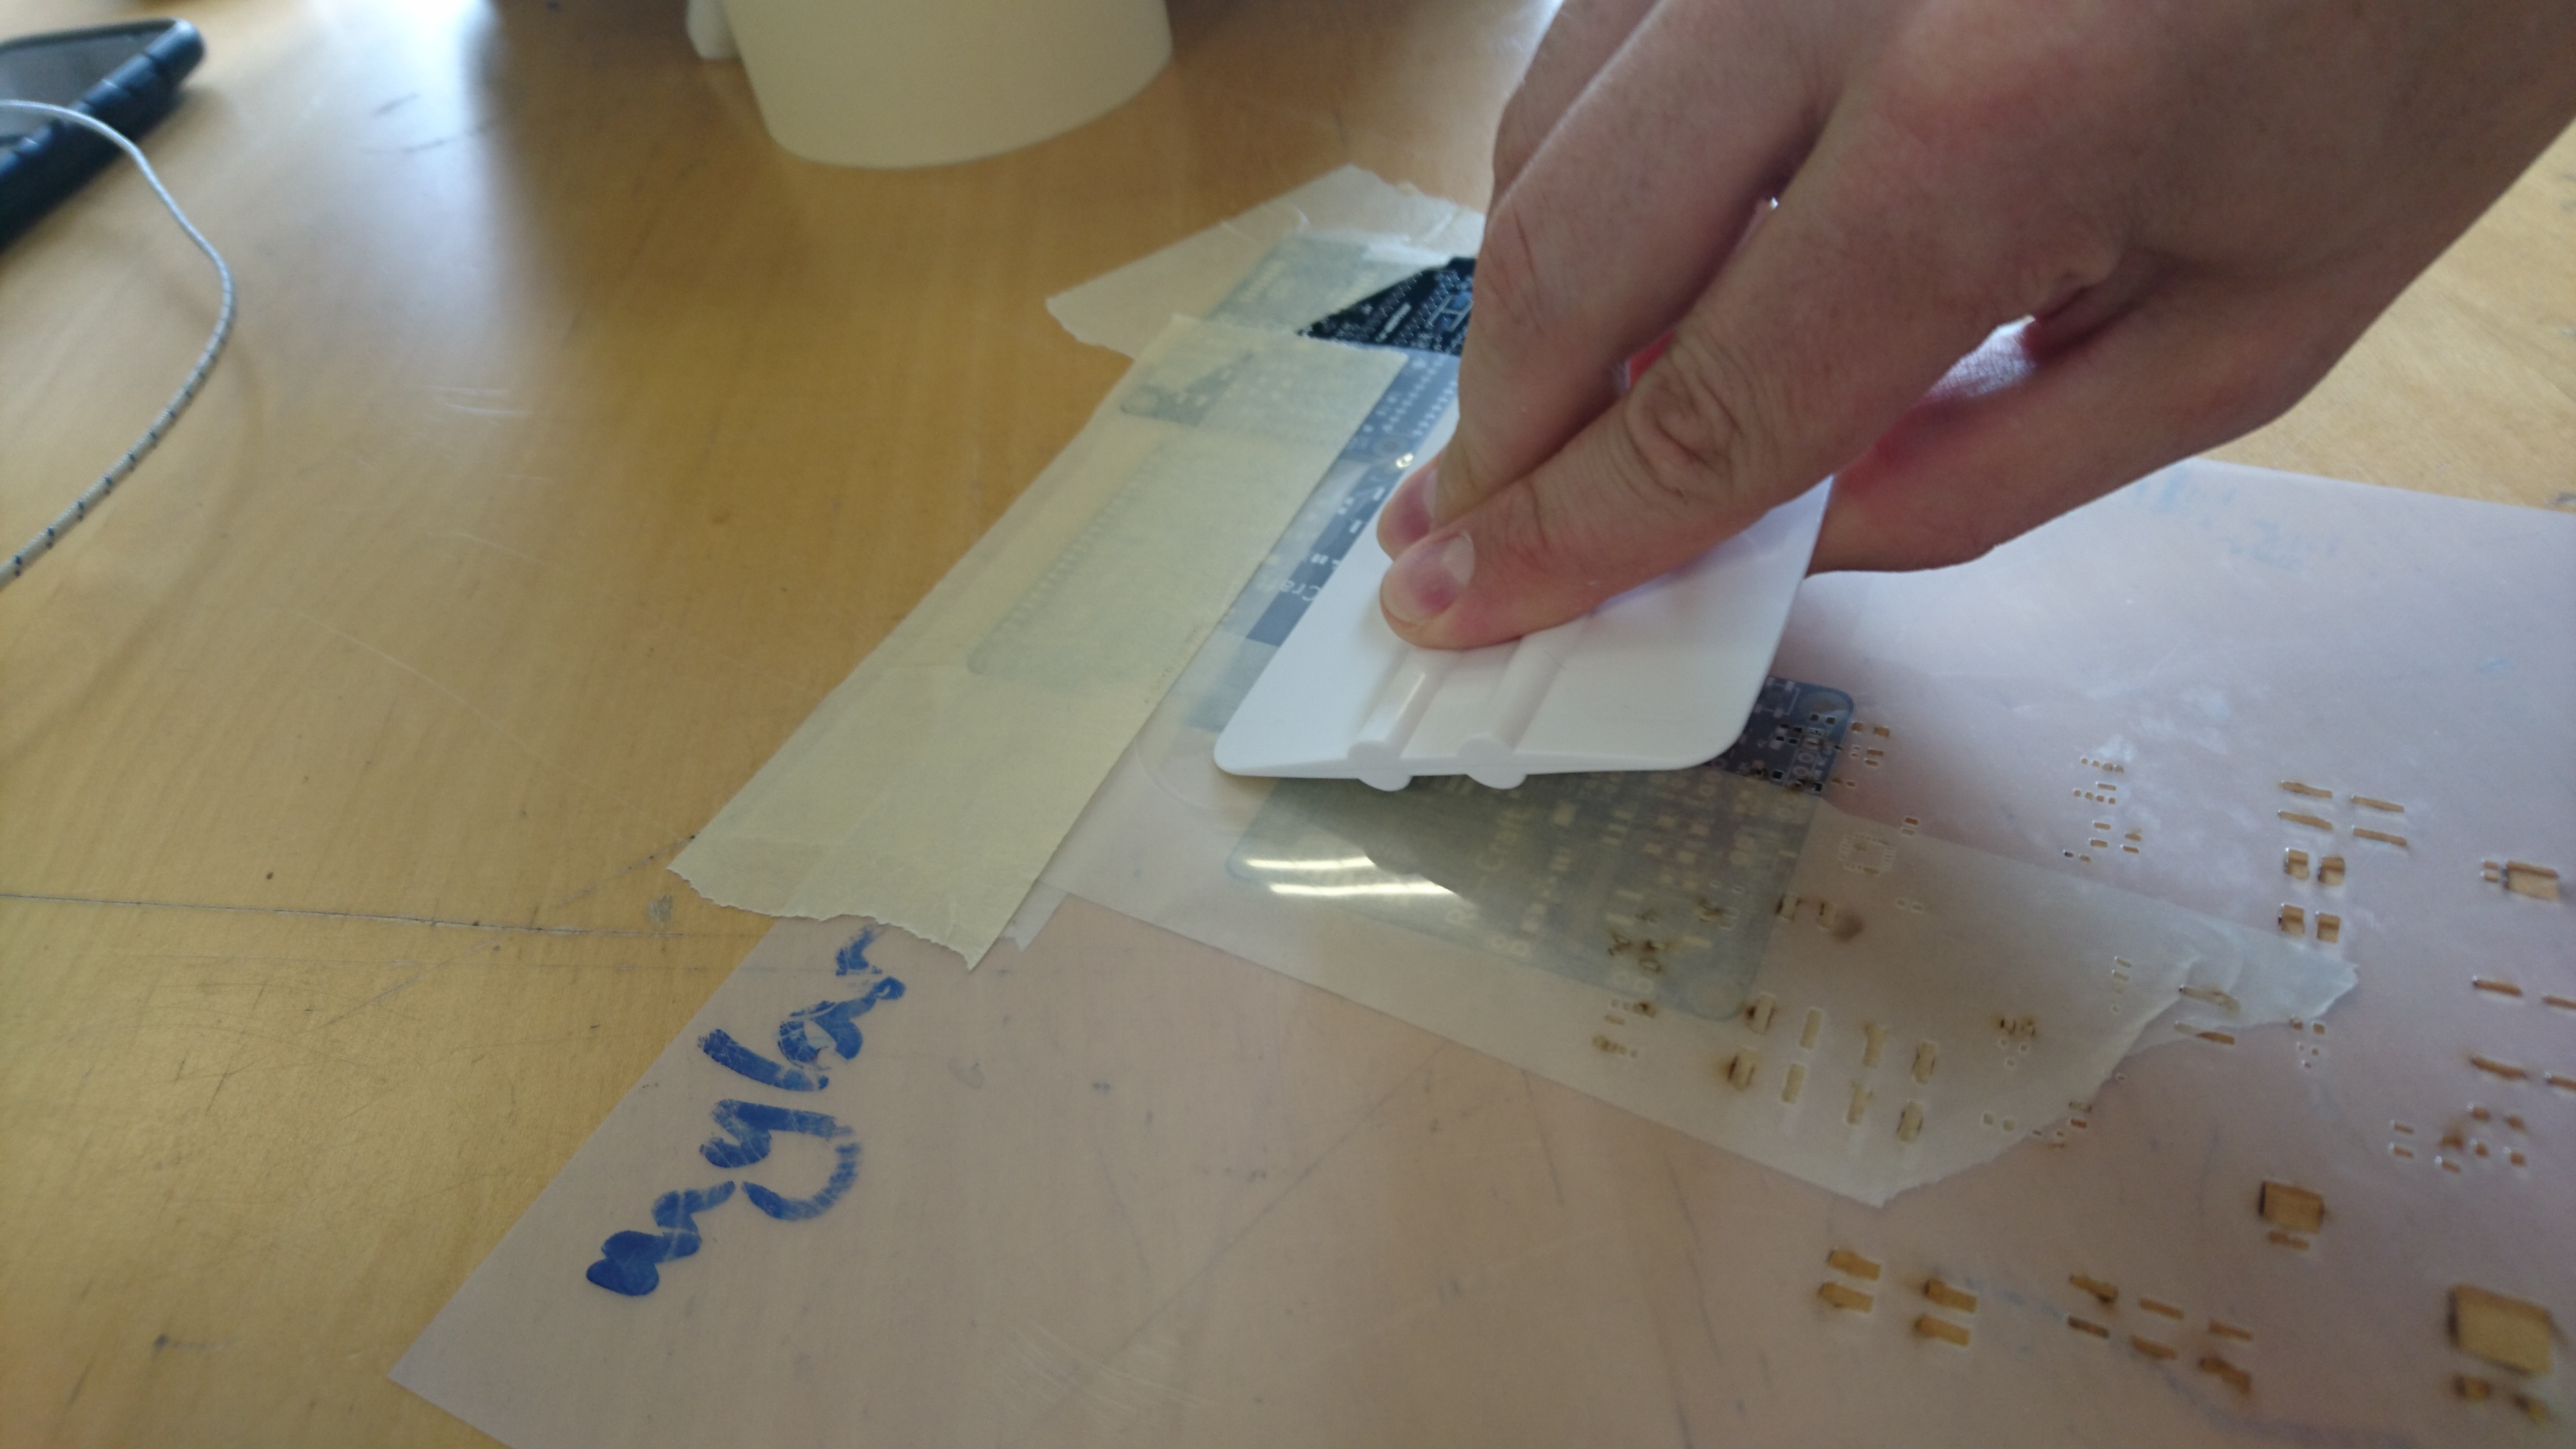
- Do a second wipe across with a higher angle to remove the excess
- Carefully lift the stencil and check that there's solder on all the pads
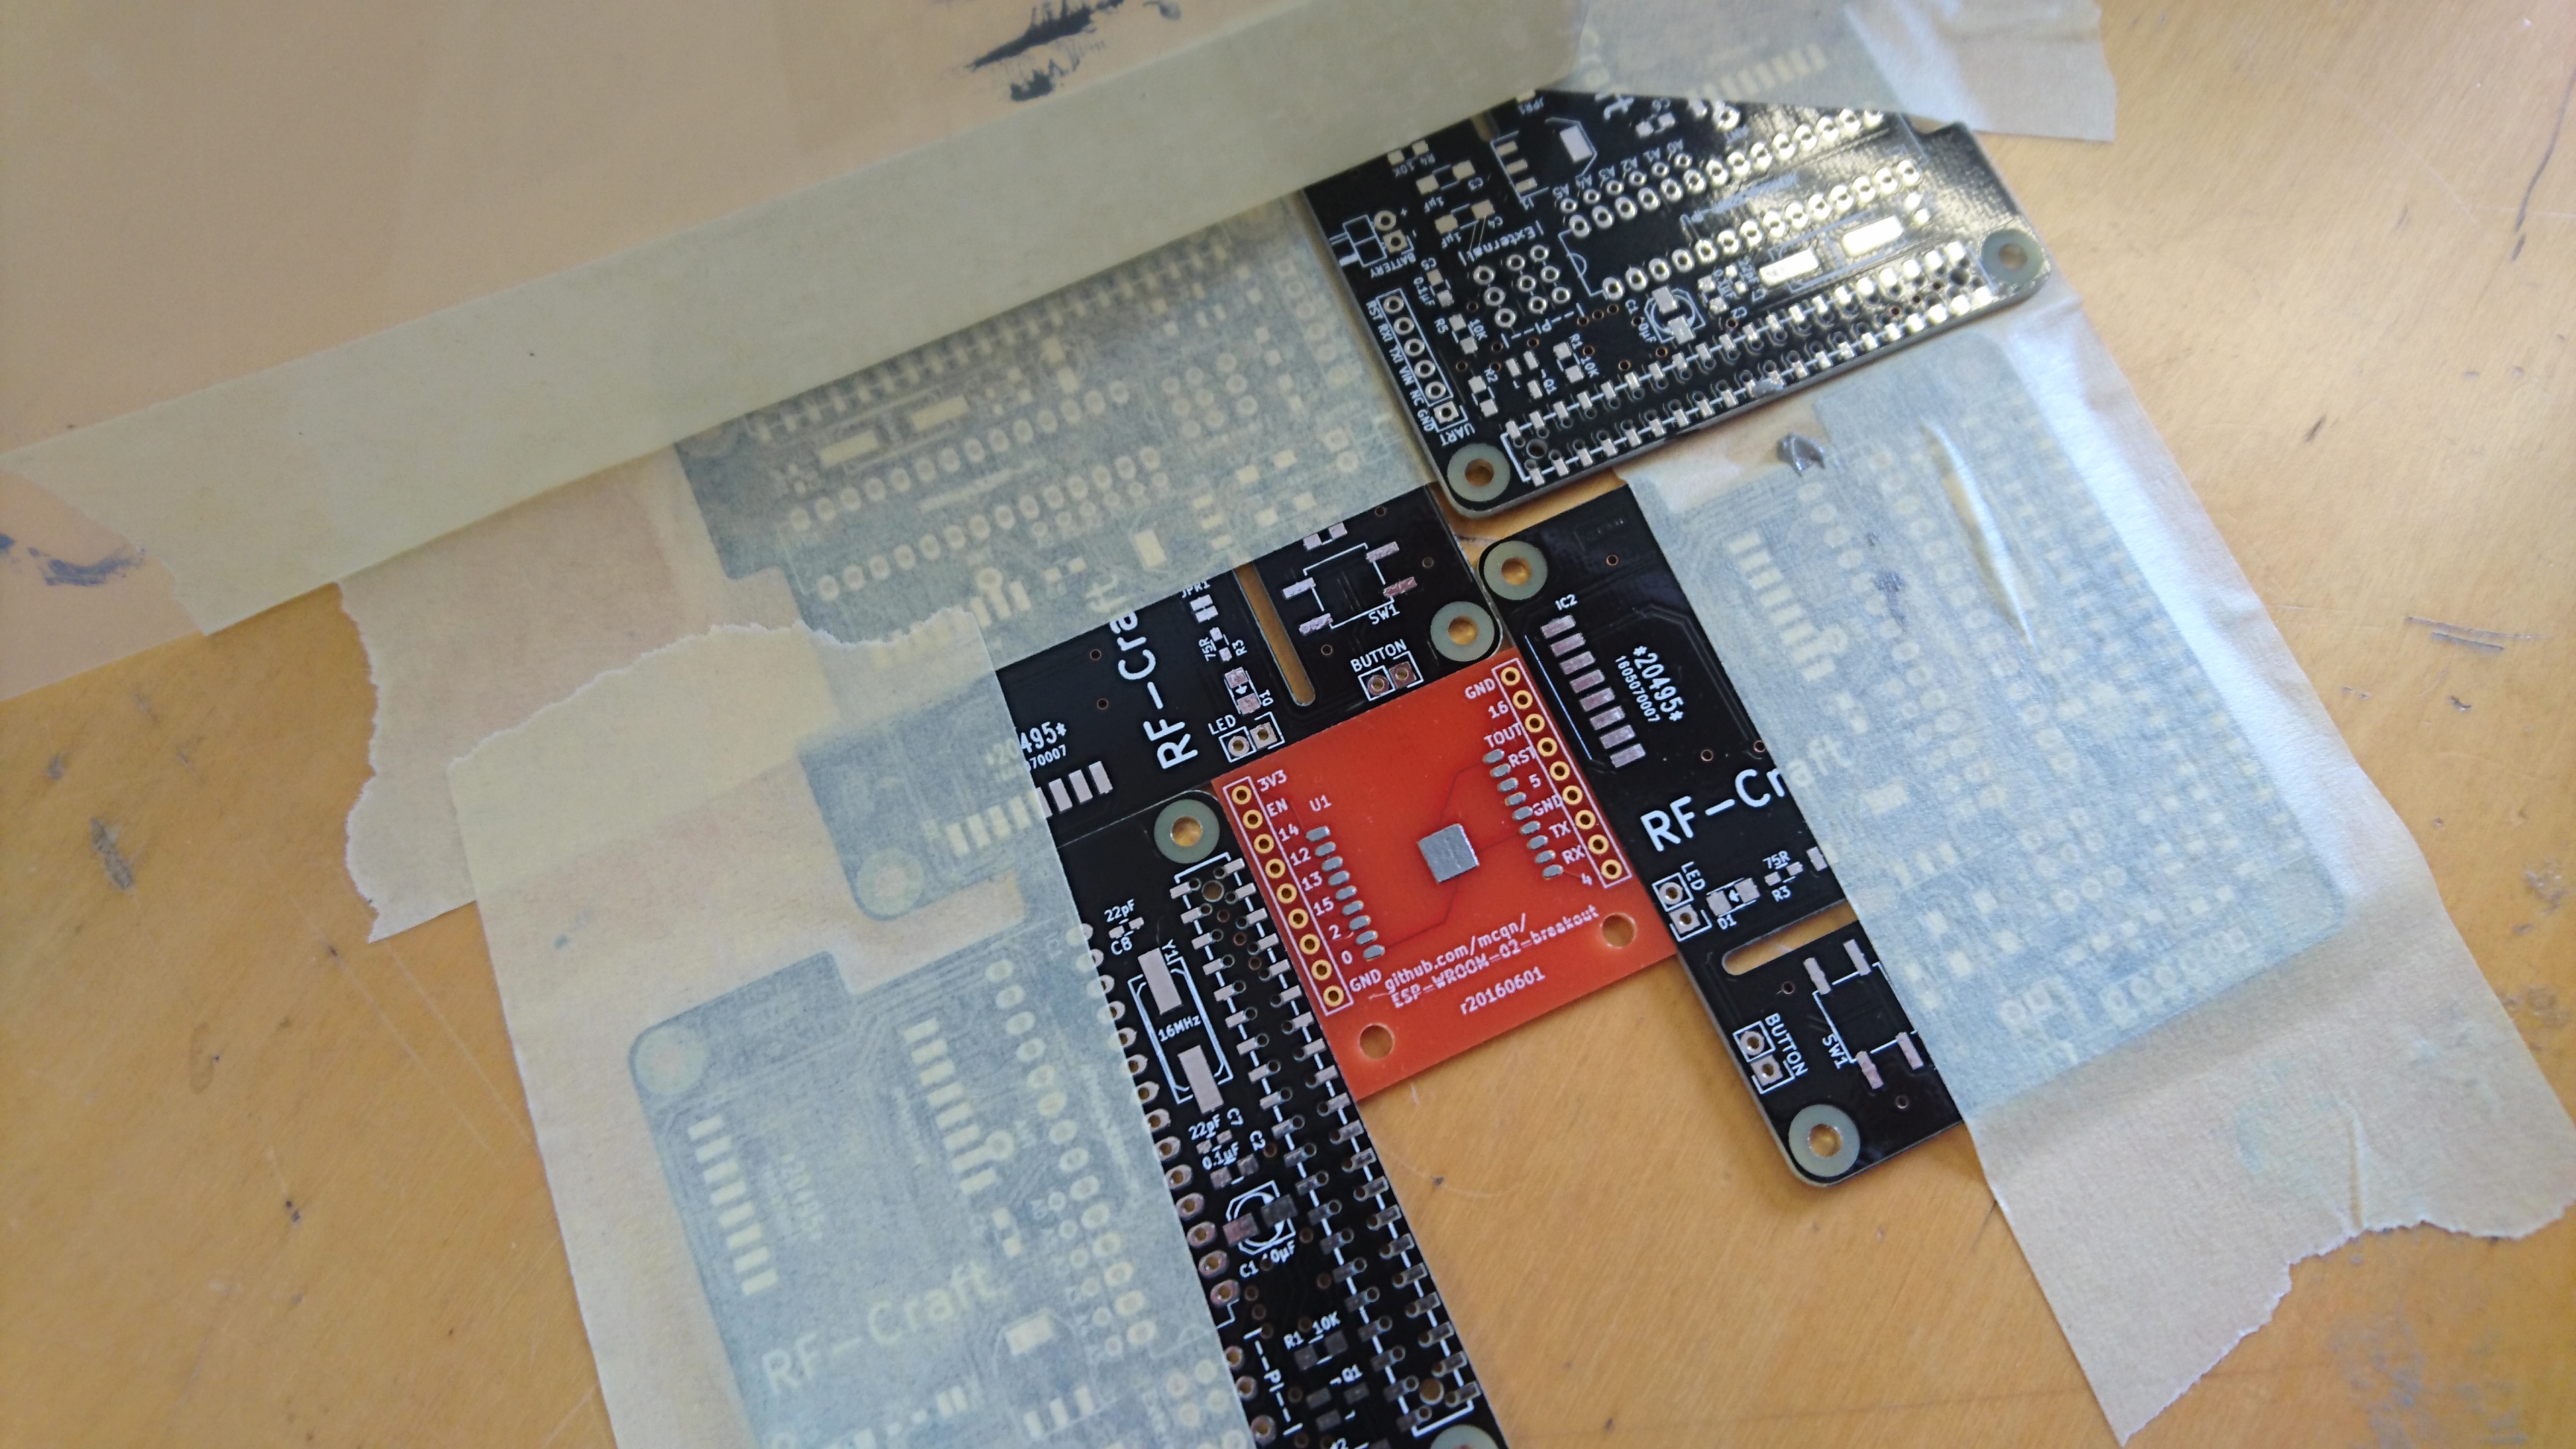
- Remove the PCB
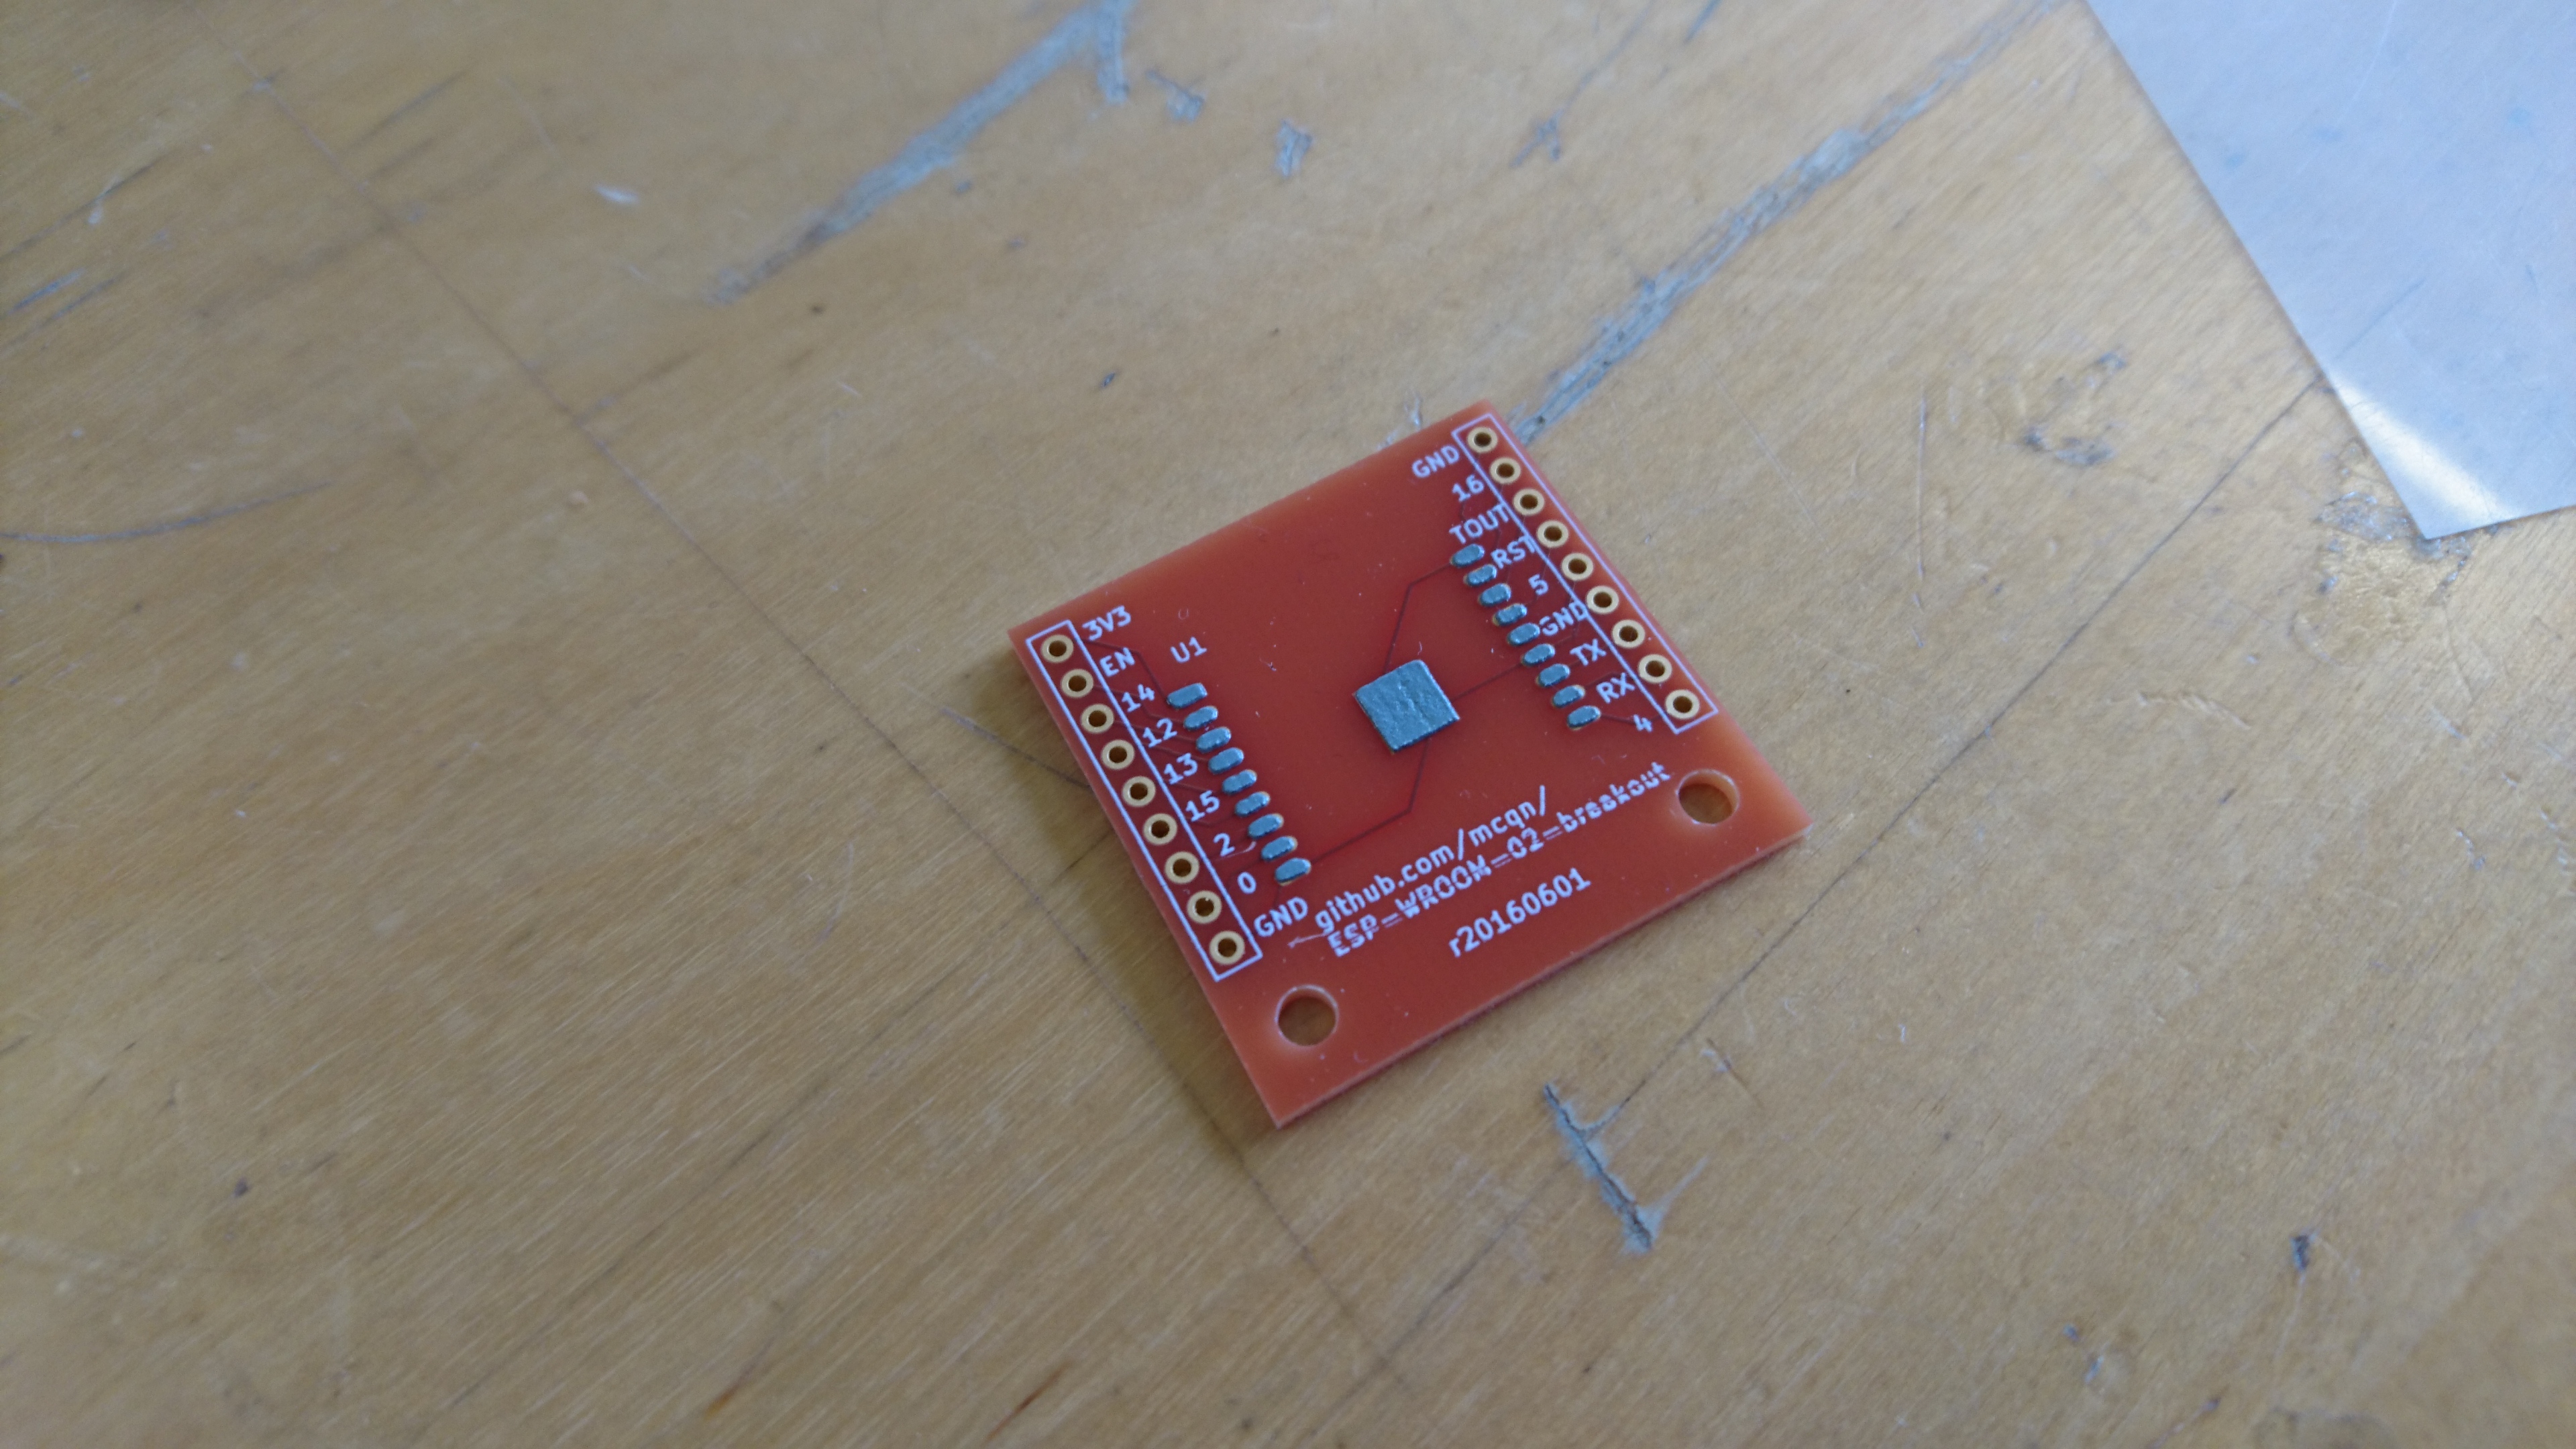
- Repeat for all the PCBs you're going to solder up in this batch
- Once you've done the last board, seal up the tub of solder paste and clean down the squeegee and stencil with paper towel
- Place component(s) the right way round.

- Workshop Safety
- The machine must always be attended while in use
- Ensure the area around and inside the machine is completely clear before turning on (marked area)
- Always leave the machine turned off
- NB These instructions refer to the previous version of the firmware, the new menu may be slightly different.
- Switch on the reflow oven with the switch on the back
- Press
F3then choose the right reflow profile.wave3should work for most lead-free soldering - Pressing
F4will select the profile and take you back to the main menu - Open the drawer at the front
- Load board(s) to be reflowed onto the plate. Place them carefully so none of the components move.
- Close the drawer
- Press
F1to start the reflow. The top temperature reading is the target temperature and the bottom one is the actual temperature. - If you need to stop things at any time you can press and hold
S⚠️ DO NOT LEAVE THE BOARD UNATTENDED. RISK OF FIRE⚠️ - Wait for the profile to run through. The buzzer will sound when it reaches the end. About 6 or 7 minutes.
- Press
Sto stop the reflow (and turn off the buzzer) - Open the drawer to let it cool more quickly
- Wait for it to cool to below 45 degrees before removing from the oven
If you need to set a custom heating profile refer to these instructions https://github.com/UnifiedEngineering/T-962-improvements/wiki/Configuring-a-temperature-profile-for--reflow
If you're looking for an idea of what soldered boards should look like after reflow, the NASA Guidelines, Section 7 is a good guide.
Quick Links: Website • Groups • Rooms • Equipment • Issue Tracker • Discussion Group • Image Credits
☝️ Filter all pages above!
(Full search available on the top of page)
WiFi: DoES Liverpool, password: decafbad00
- Wiki Home
- Making
- Get involved
- In The Space
- Bank and PayPal Details
or